
Create your own Christmas Tree Advent Calendar DIY this year filled with toys, candy, and other desired items!


Advent Calendars are a great way to countdown to Christmas!
Check out my list of themed Advent Calendars! You’ll find a variety of different themed calendars including calendars with chocolate candy, slime, squishy toys, and more!
This year, I’m teaching you how to make your very own DIY Advent Calendar Christmas Tree made with empty toilet paper rolls!
Follow this step by step photo tutorial that will show you exactly how to make this fun calendar to enjoy for the holiday season.
Christmas Tree Advent Calendar DIY
Supplies:
- Rigid cardboard piece (size 12”X15”)
- Black permanent marker
- Tissue paper (any color)
- Scissors
- 12 empty toilet paper rolls
- 24 rubber bands
- Dark green craft paint
- Paint brush or sponge
- Glue gun and glue sticks
- 24 small toys or small candy

Instructions:
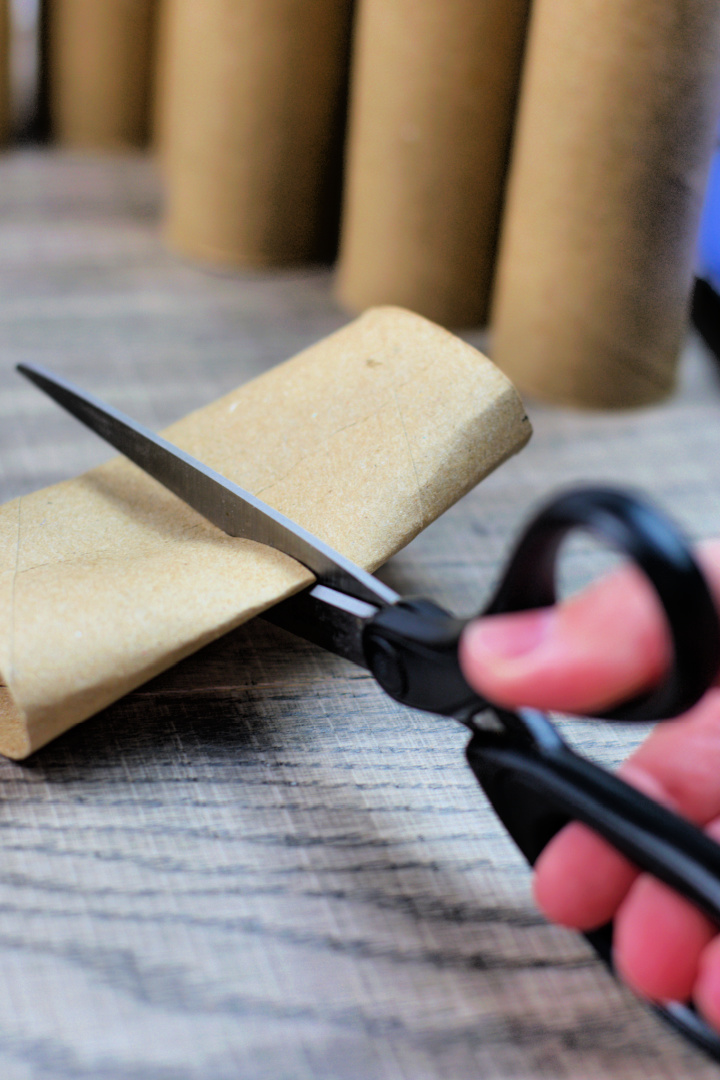
Cut all 24 paper rolls in halves.

Place your cut paper rolls on your cardboard in the shape of a tree starting with one roll at the very top, adding two underneath it and increasing each row by one paper roll until you’ve formed a row of 6(six) rolls.
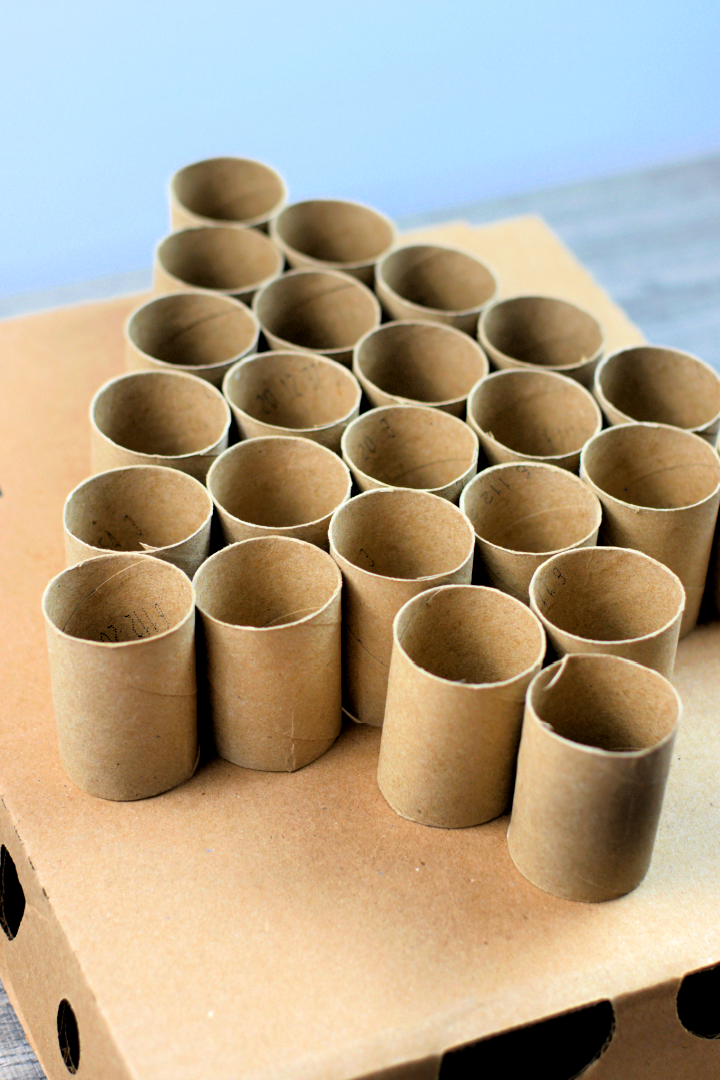
Finish your tree shape by making the trunk. Add a row of two paper rolls and end with a single paper roll on the very last row.
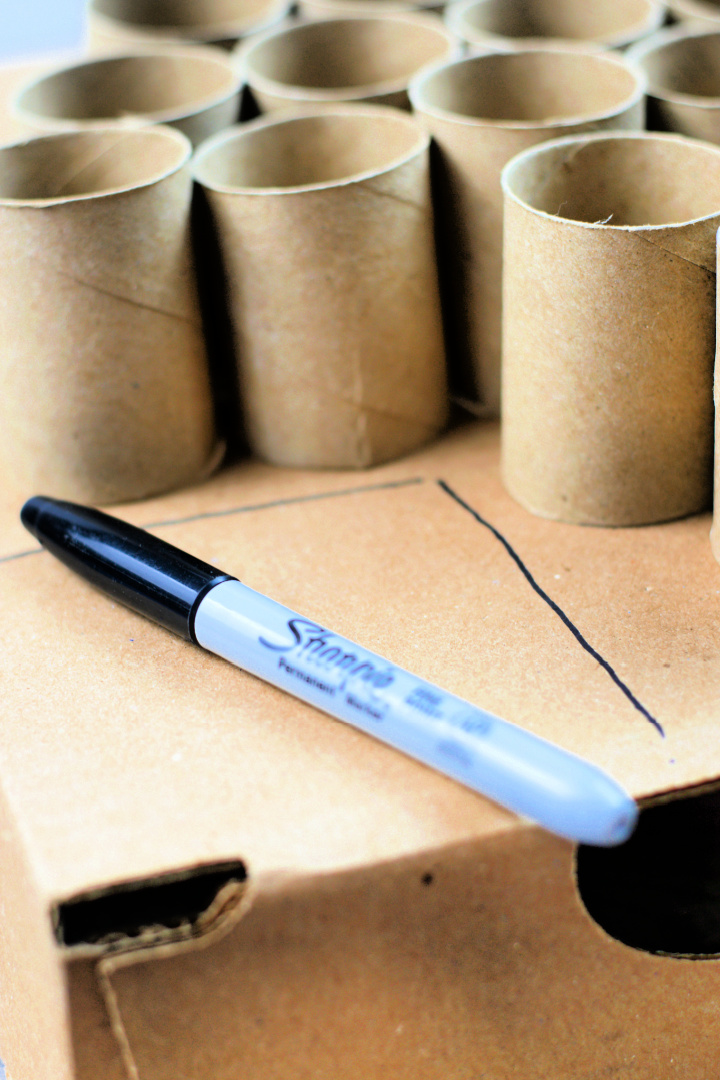
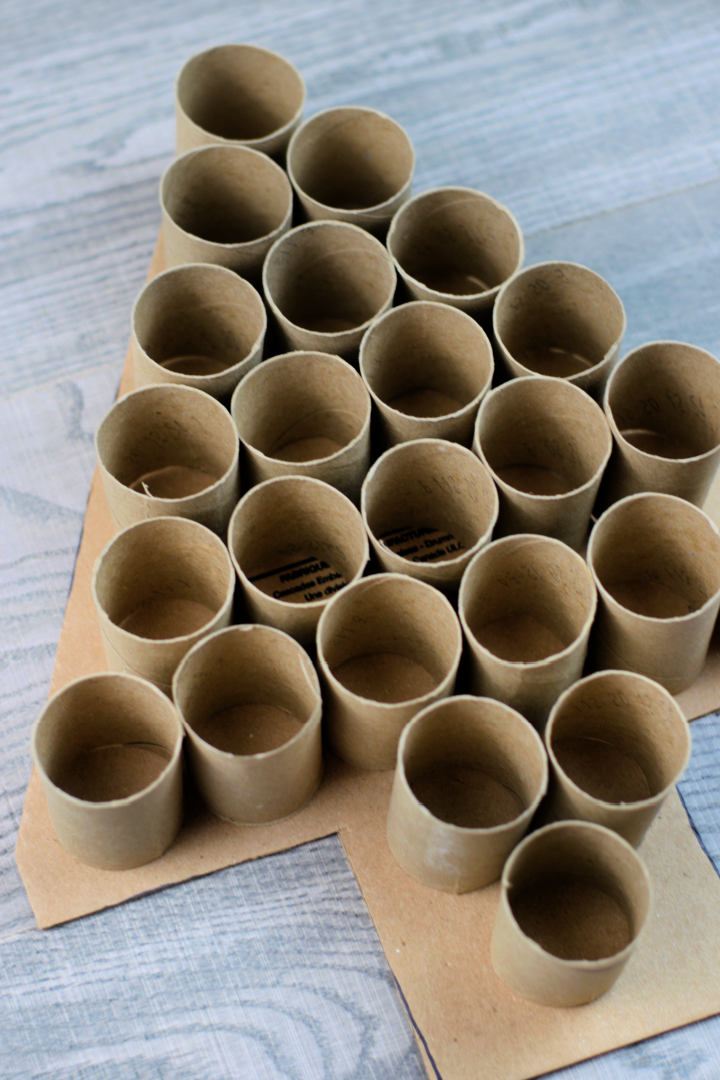
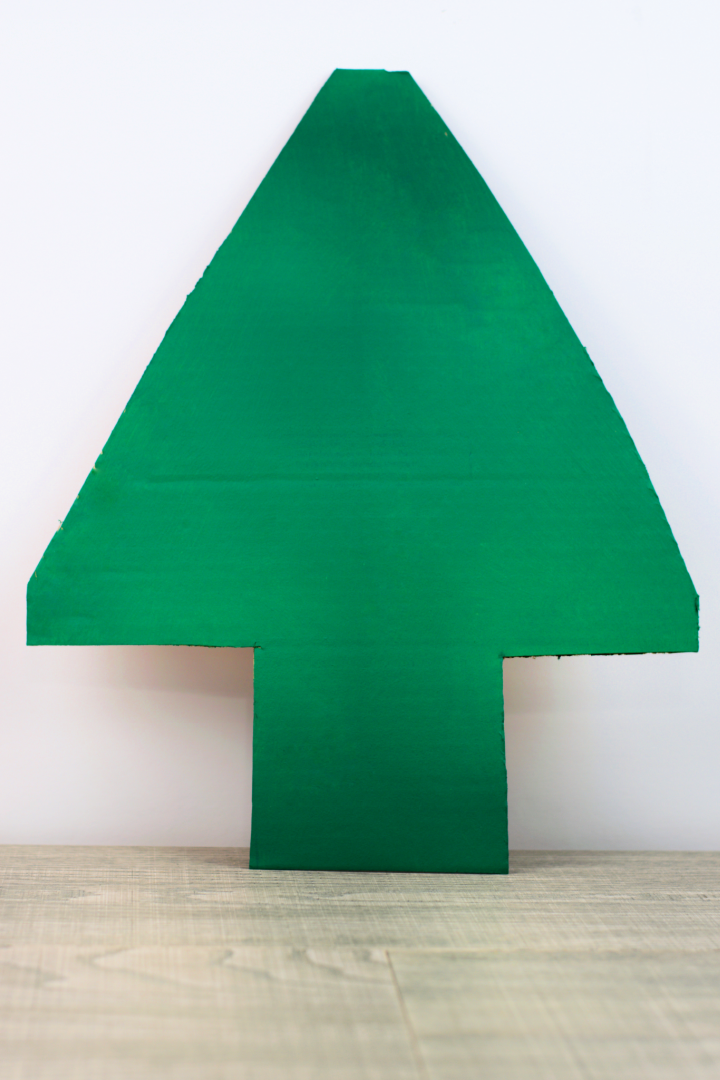
Outline your paper roll tree with a marker then cut off the excess cardboard.
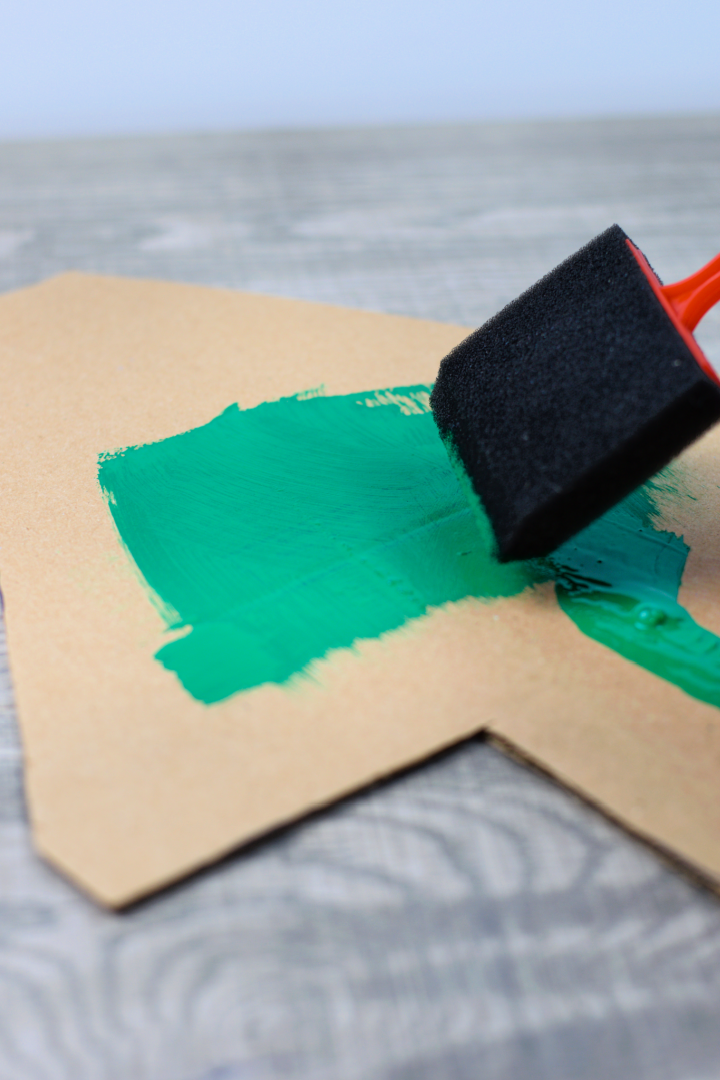
Paint your tree shaped cut out in dark green with a paint brush and let dry.
While your tree is drying, cut 4”X4” squares of tissue paper. For our project we chose red, green and blue tissue paper, however don’t feel limited to these colors. Whichever color you end up choosing, make sure to cut out 16 (sixteen) squares of each color.

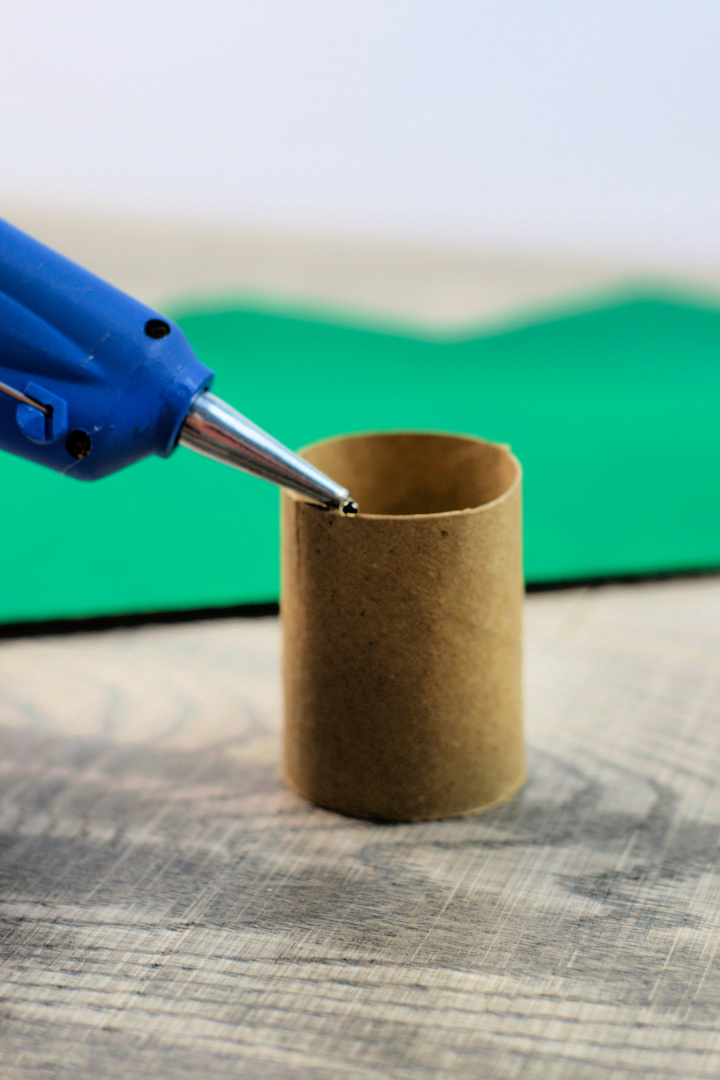
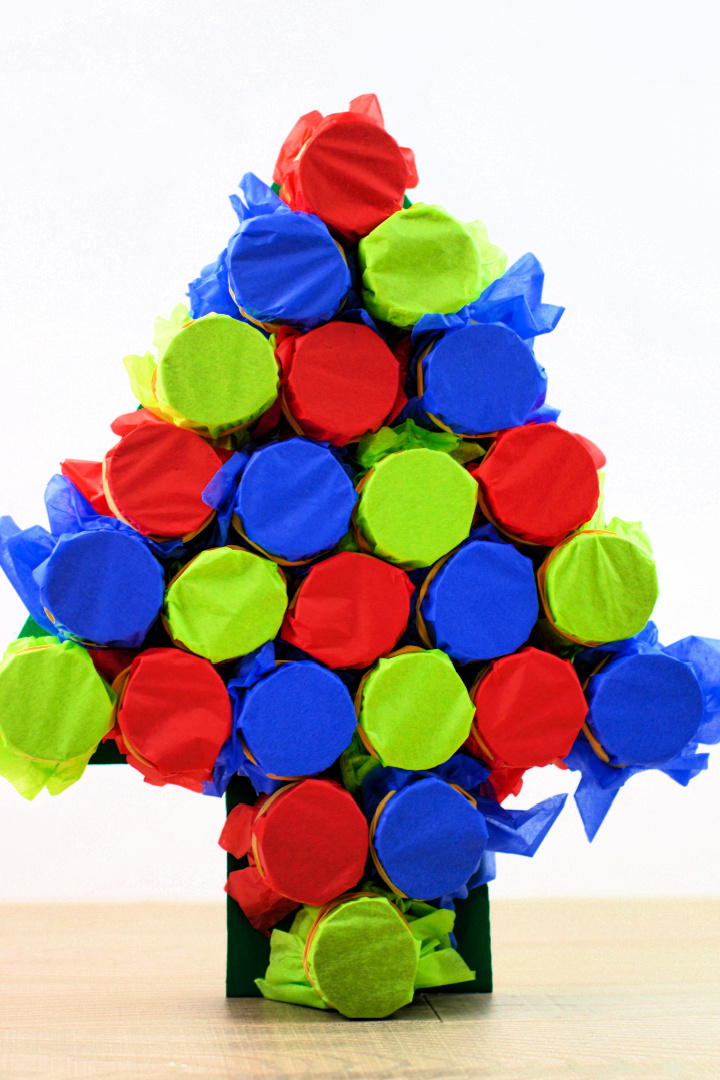
Once your tree is dry, glue the first cut paper roll to the very top of your tree.
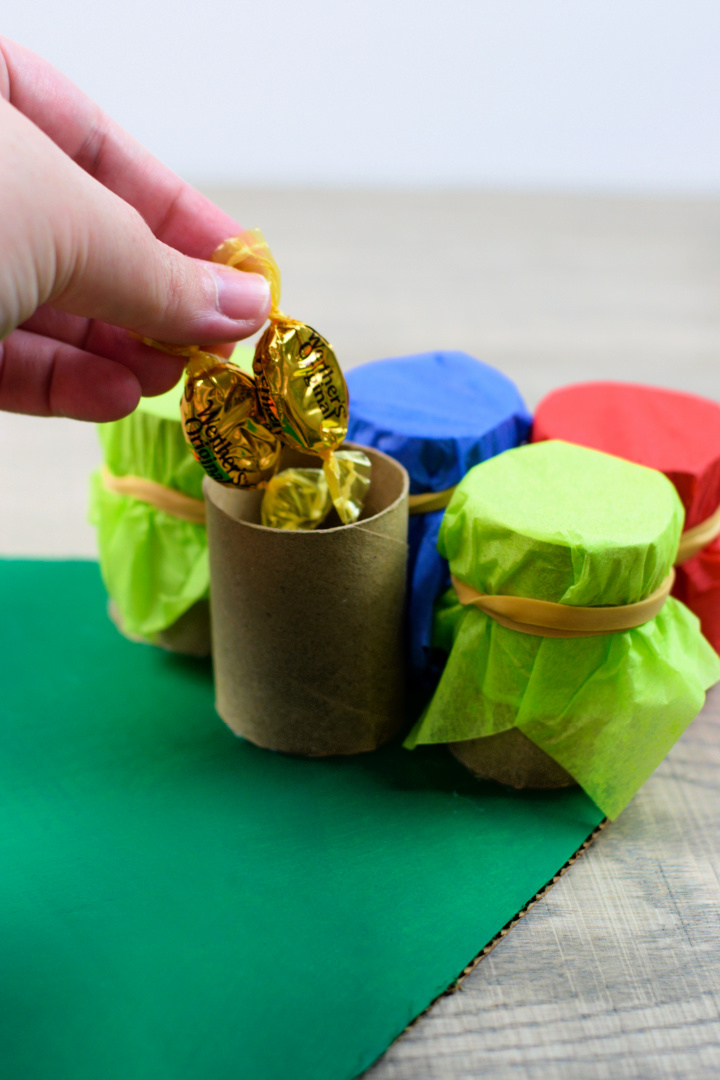
Insert your gift into the paper roll then cover with 2 pieces of tissue paper and secure with a rubber band.


Repeat this process and increase each row by one paper roll as you did back in step two (2) remembering to add your gift and sealing each paper roll shut with tissue paper and rubber band.


Finish your tree shape by making the trunk. Add a row of two paper rolls and end with a single paper roll on the very last row.
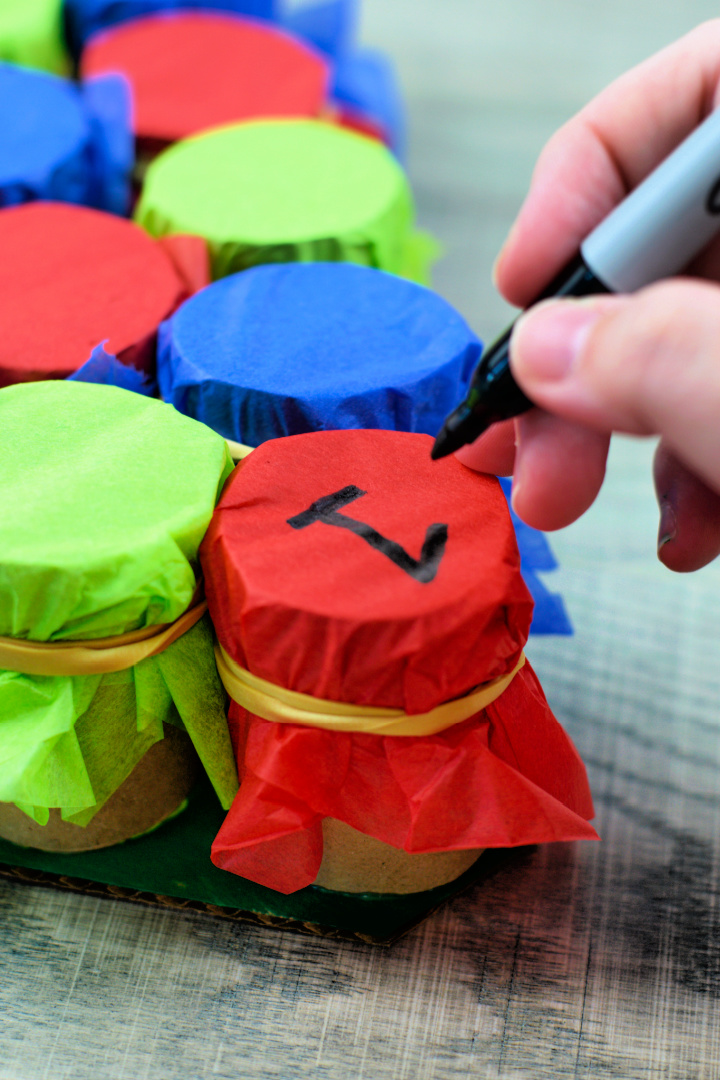
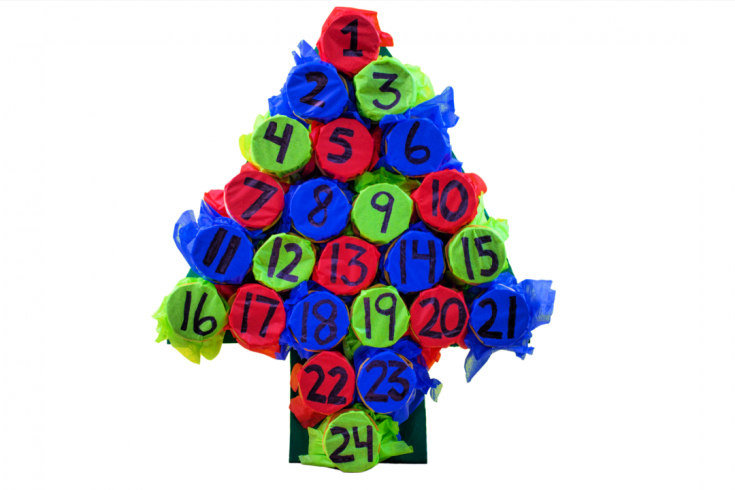
Now take your marker and identify each paper roll with a number from 1 to 24. They do not have to follow each other, you can mix the numbers for added fun.
Christmas Tree Advent Calendar DIY

Materials
- Rigid cardboard piece (size 12”X15”)
- Black marker (sharpie)
- Tissue paper (color of choice)
- Scissors
- 12 empty toilet paper rolls
- 24 rubber bands
- Dark Green paint
- Paint brush or sponge
- Glue gun and glue sticks
- 24 small gifts of your choosing
Instructions
Cut all paper rolls in halves.
Place your cut paper rolls on your cardboard in the shape of a tree starting with one roll at the very top, adding two underneath it and increasing each row by one paper roll until you’ve formed a row of 6(six) rolls.
Finish your tree shape by making the trunk. Add a row of two paper rolls and end with a single paper roll on the very last row.
Outline your paper roll tree with a marker then cut off the excess cardboard.
Paint your tree shaped cut out in dark green with a paint brush and let dry.
While your tree is drying, cut 4”X4” squares of tissue paper. For our project we chose red, green and blue tissue paper, however don’t feel limited to these colors. Whichever color you end up choosing, make sure to cut out 16 (sixteen) squares of each color.
Once your tree is dry, glue the first cut paper roll to the very top of your tree.
Insert your gift into the paper roll then cover with 2 pieces of tissue paper and secure with a rubber band.
Repeat this process and increase each row by one paper roll as you did back in step two (2) remembering to add your gift and sealing each paper roll shut with tissue paper and rubber band.
Finish your tree shape by making the trunk. Add a row of two paper rolls and end with a single paper roll on the very last row.
Now take your marker and identify each paper roll with a number from 1 to 24. They do not have to follow each other, you can mix the numbers for added fun.