
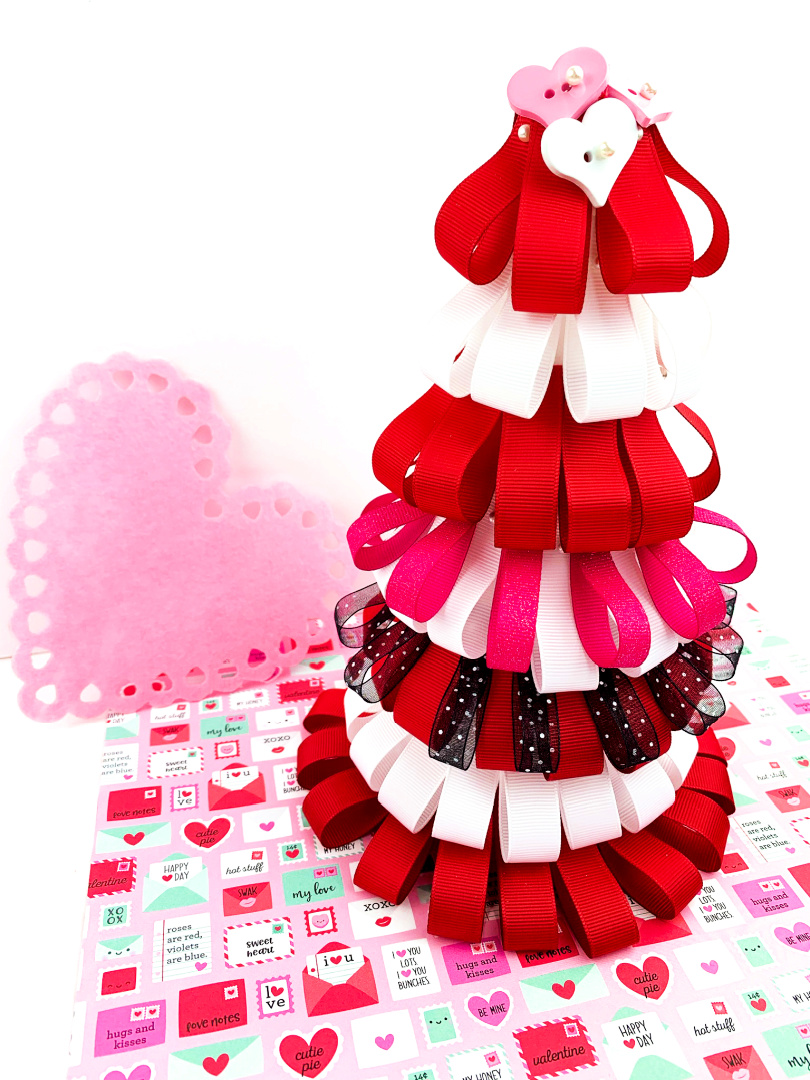
Create this beautiful Valentine’s Day Ribbon Tree Decoration to display in your home or classroom this year!

If you are looking for a fun Valentine’s Day craft to do with you tween or teenager, this craft is perfect!
Kids will love creating this Valentine’s Day Ribbon Tree using a variety of different ribbon choices!
The best part about this craft is that you can actually personalize it any way you want and mix things up a bit by choosing any types of ribbon.
Today I’m sharing our ribbon tree with you as an idea for a fun craft to make with your older children.
Valentine’s Day Ribbon Tree Decoration
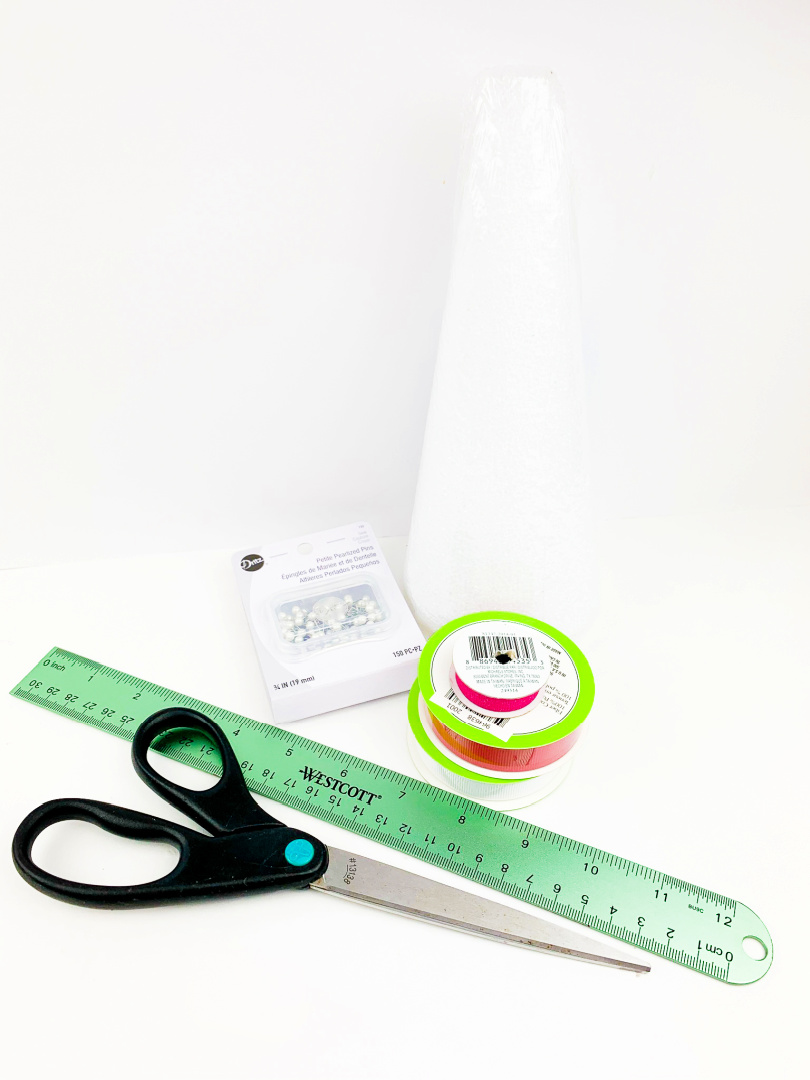
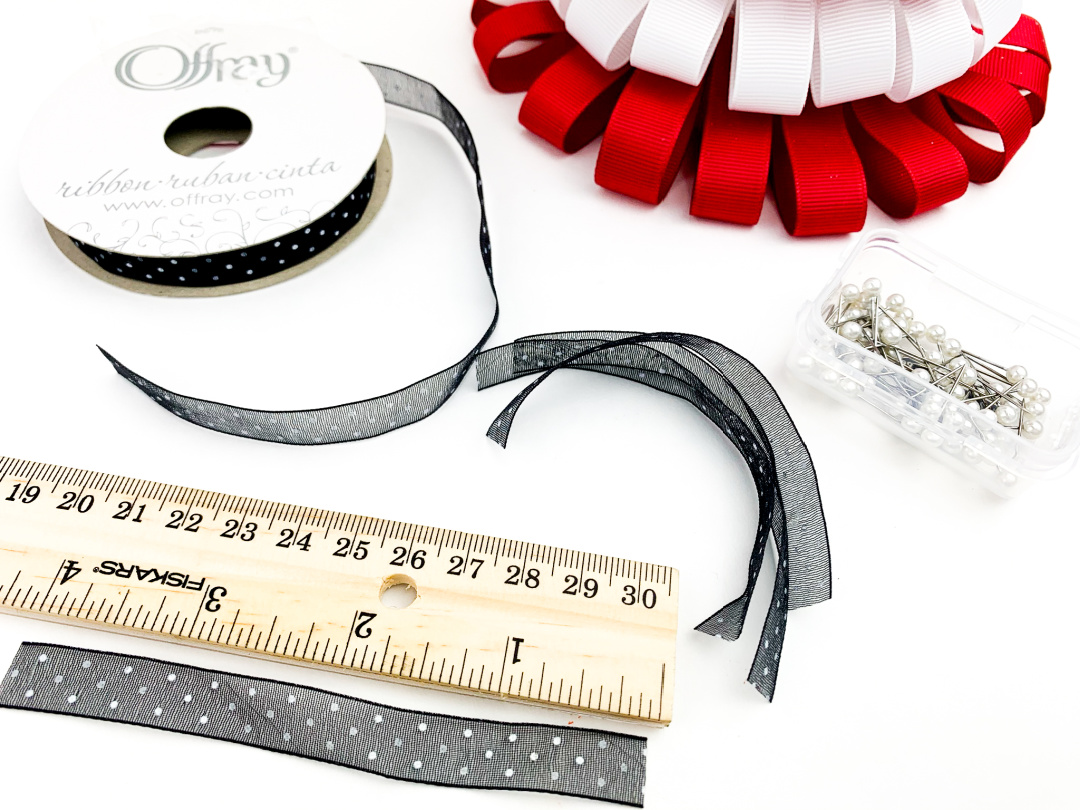
Supplies:
- 10 inch tall styrofoam cone
- red ribbon (5/8 in.)
- white ribbon (5/8 in.)
- pink ribbon (3/8 in.)
- black and white polka dot ribbon (3/8 in.)
- petite pearlized pins (3/4 in.)
- heart buttons
- ruler
- scissors
Get creative with ribbon! Shop Valentine’s Day Ribbon if you want to try different ribbon choices! So many great selections to choose from for your tree.
Directions:
(Note: Use caution if you have young kids completing this activity since sharp pins are used. Adult supervision encouraged.)
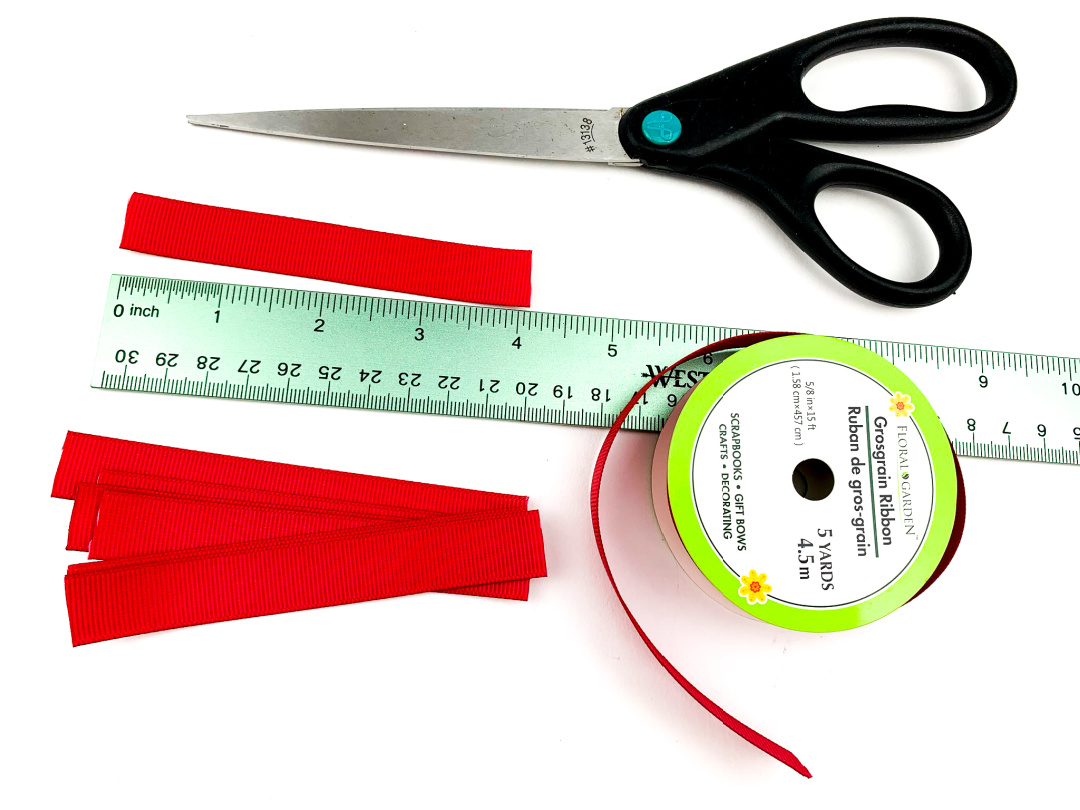
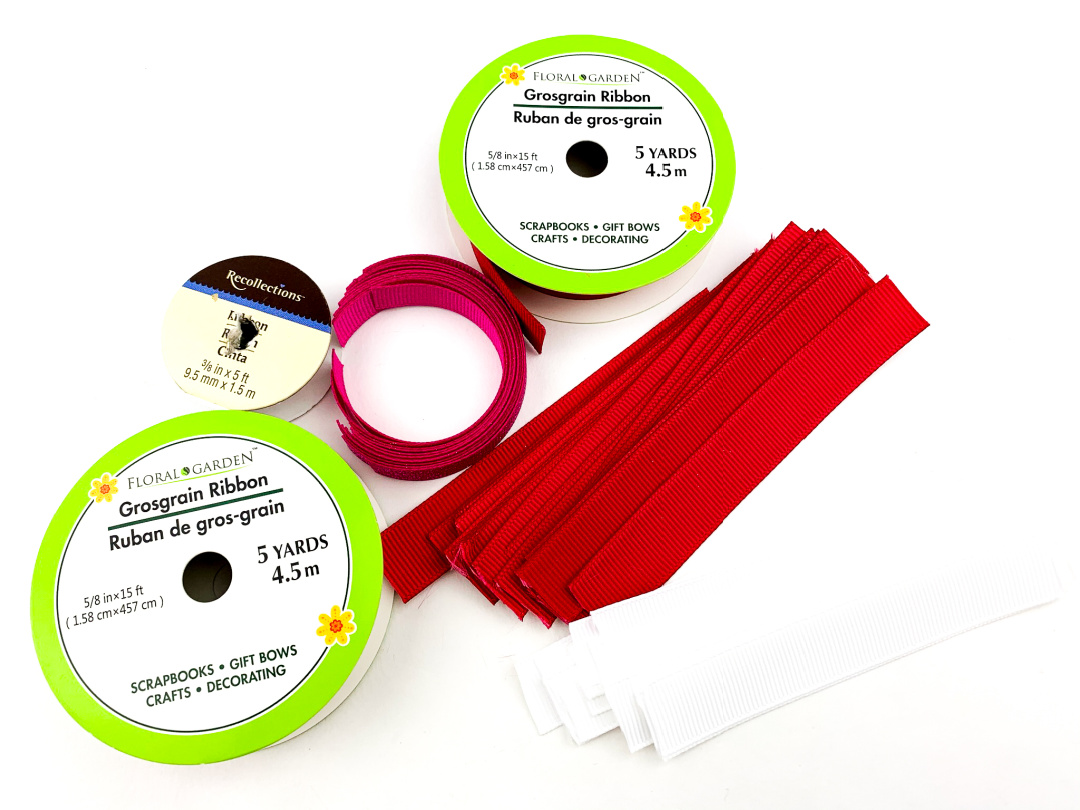
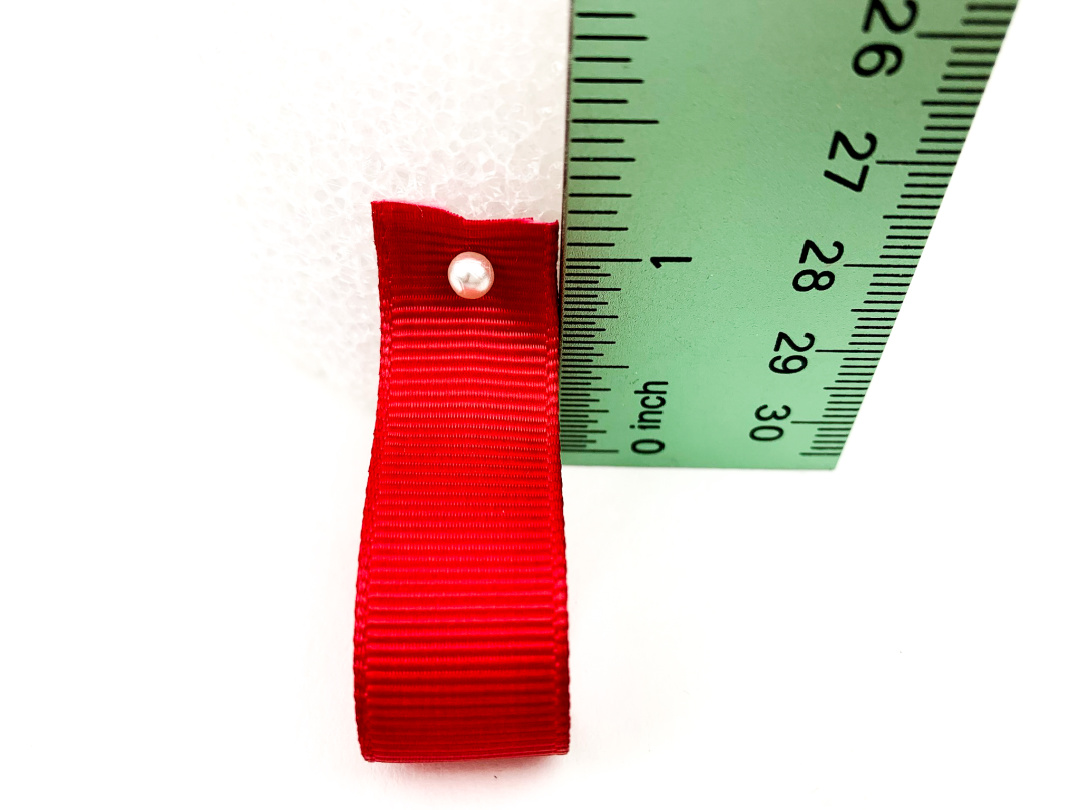
Cut the red, white, pink, and black ribbon into 4 inch. strips.

Start with the red ribbon first. Bring the ends of the ribbon together to create a loop. Place a pin towards the top part where the ends meet.
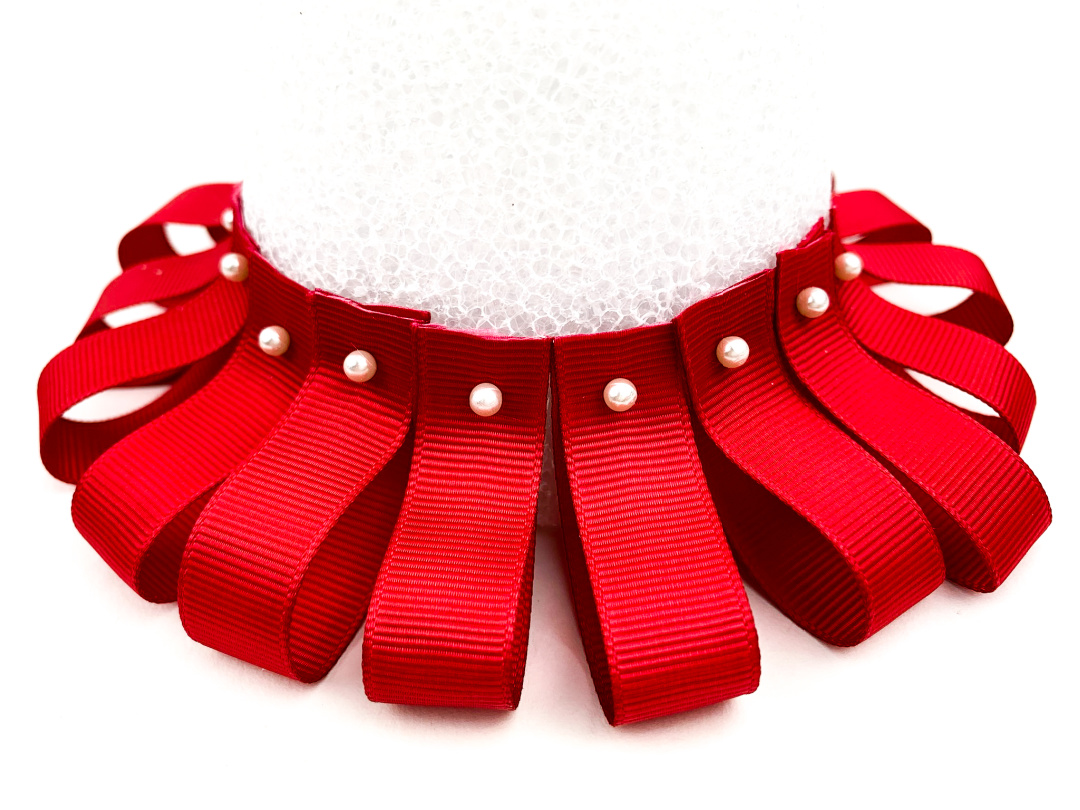
Pin the ribbon onto the styrofoam about one inch above the bottom of the tree.
Complete this step all the way around the bottom of the cone.
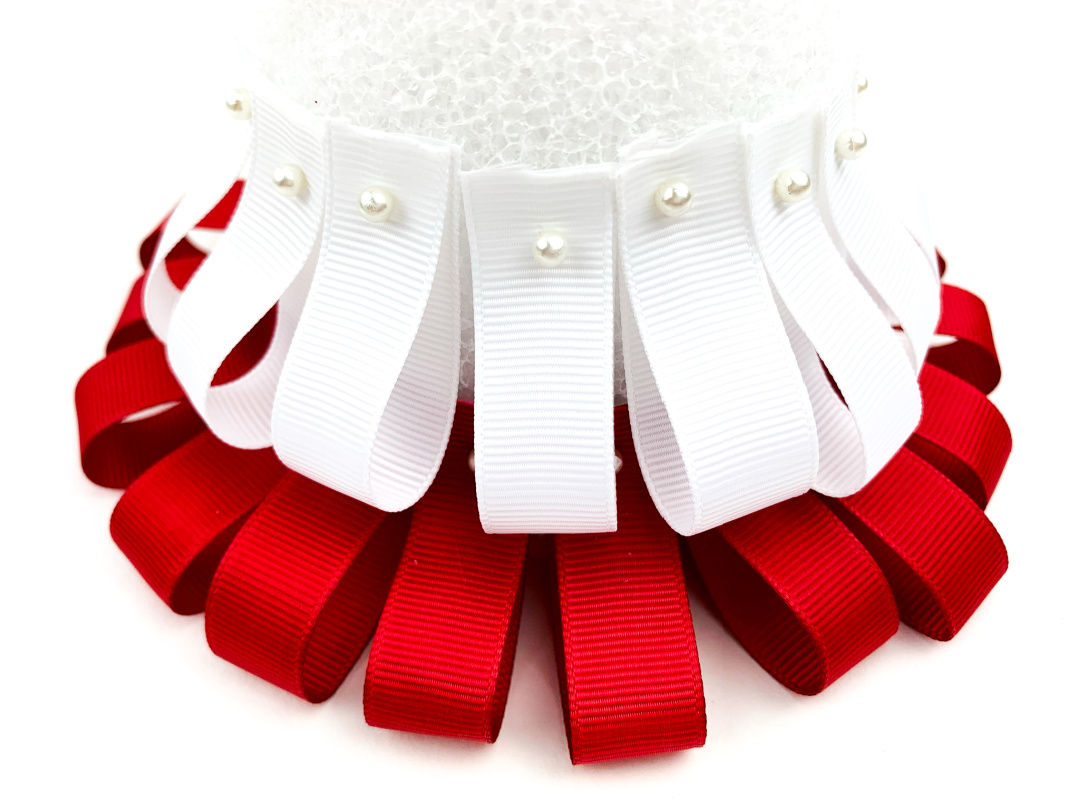
Repeat this step with the white ribbon and go all the way around the cone. Tip: Place the ribbon directly above the ribbon below it to cover the pin top slightly.
Continue this until you cover the whole tree with ribbon.
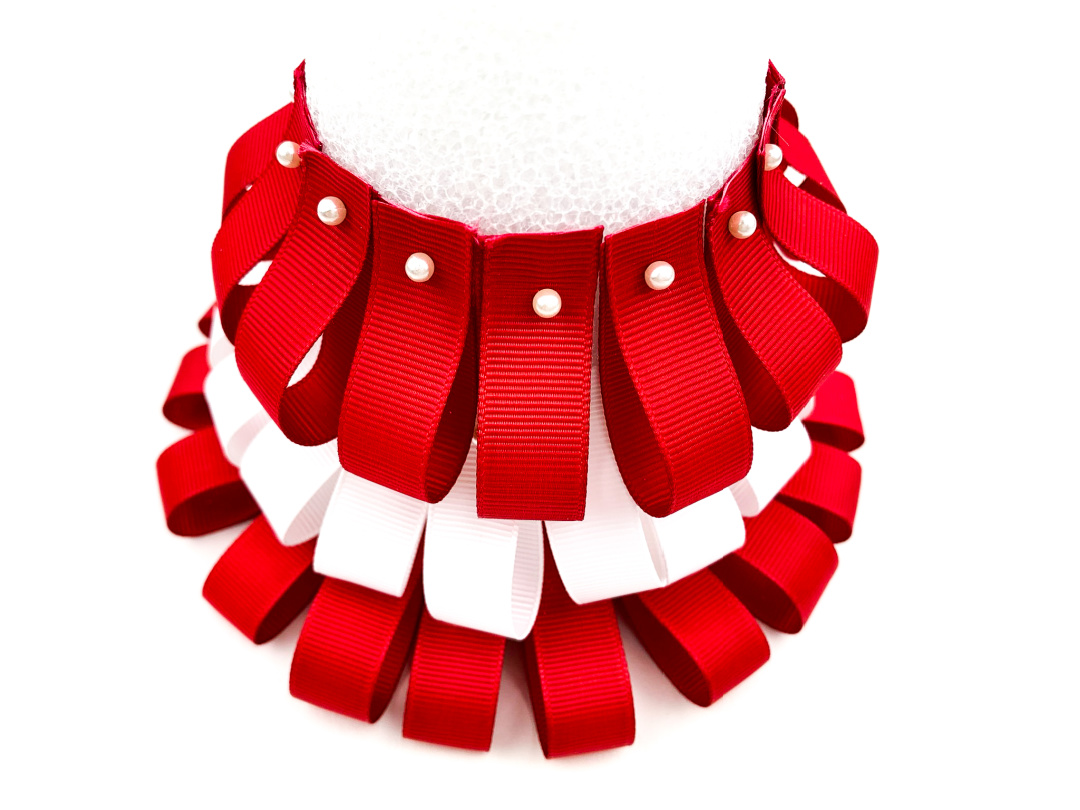
Add the pink and the black and white polka dotted ribbon in between the ribbon layers as desired.

Once you get to the top, pin the heart buttons on.
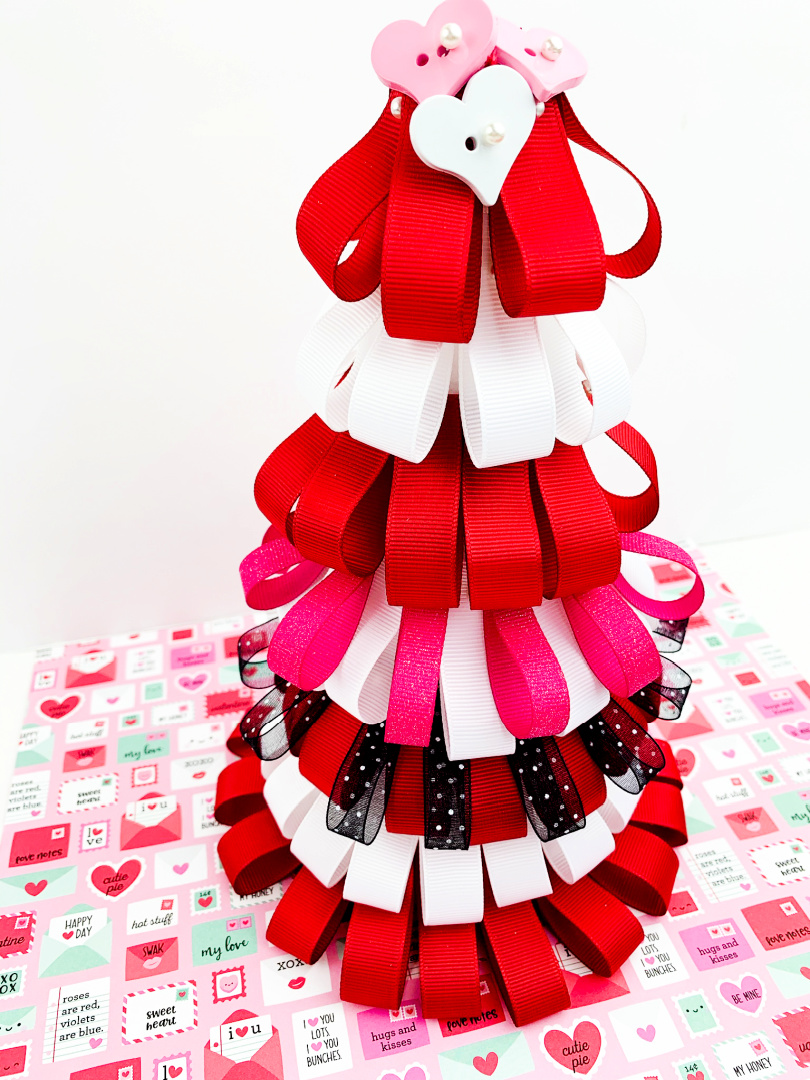
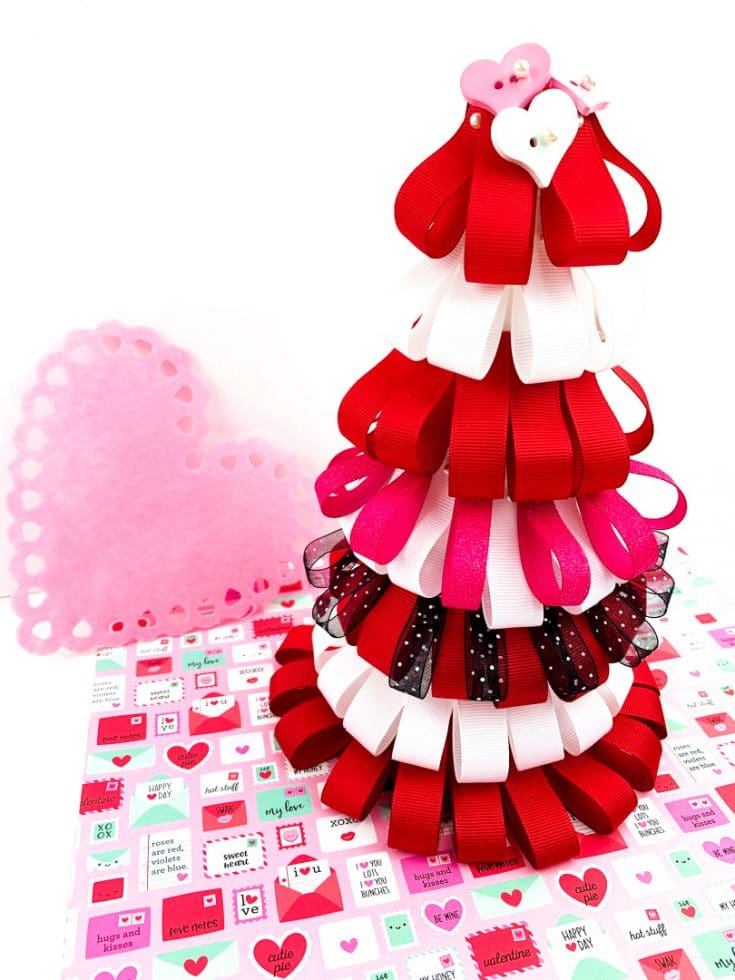
Display this tree in your home or classroom!
Valentine's Day Ribbon Tree Decoration

Materials
- 10 inch tall styrofoam cone
- Red ribbon (5/8 in.)
- White ribbon (5/8 in.)
- Pink ribbon (3/8 in.)
- Black and white polka dot ribbon (3/8 in.)
- Petite pearlized pins (3/4 in.)
- Heart buttons
- Ruler
- Scissors
Instructions
(Note: Use caution if you have kids completing this activity since sharp pins are used. Adult supervision encouraged.)
Cut the red, white, pink, and black ribbon into 4 inch. strips.
Start with the red ribbon first. Bring the ends of the ribbon together to create a loop. Place a pin towards the top part where the ends meet. Pin the ribbon onto the styrofoam about one inch above the bottom of the tree. Complete this step all the way around the bottom of the cone.
Repeat this step with the white ribbon and go all the way around the cone. Tip: Place the ribbon directly above the ribbon below it to cover the pin top slightly.
Continue this until you cover the whole tree with ribbon, including the pink and the black. Once you get to the top, pin the heart buttons on.
Display this tree in your home or classroom!