

Looking for a fun, educational, and hands-on Valentine’s Day activity for your kids? A Valentine’s Day sensory bottle for kids is perfect!
Why Make a Valentine’s Day Sensory Bottle?
Sensory bottles, also called calm down jars, are excellent for:
- Calming and self-regulation: Watching the glitter swirl helps kids relax.
- Sensory exploration: Sight, touch, and movement all stimulate learning.
- Fine motor skills: Pouring, shaking, and mixing strengthens hand-eye coordination.
- Parent-child bonding: Crafting together is a fun way to spend quality time.
Creating a sensory bottle is more than just a craft—it’s a memorable Valentine’s keepsake that encourages learning and creativity.
Why Kids Love Sensory Bottles
Kids are drawn to sensory bottles because:
- It feels like a science experiment: Mixing, measuring, and observing changes.
- Visual stimulation: Glitter, confetti, and gems create a mesmerizing effect.
- Creative customization: Kids can decide how much glitter, confetti, or gems to add.
Sensory bottles give children a sense of control over the activity, which makes them more engaged and excited to participate.
Learning Outcomes for Children
Making a Valentine’s Day sensory bottle isn’t just fun—it helps kids develop essential skills:
- Fine motor skills: Pouring glue and adding decorations strengthens hand muscles.
- Sensory development: Sight and touch are stimulated as kids explore glitter, confetti, and water movement.
- Problem-solving: Kids experiment with different layers to get the movement just right.
- Creativity: Choosing colors and decorations encourages self-expression.
This craft is suitable for preschoolers and elementary-aged children alike.
Variations for More Fun
- Use different glitter colors like pink, purple, or gold for a unique look.
- Try themed confetti such as stars, sequins, or tiny foam hearts.
- Experiment with different bottle shapes and sizes to see how the contents move.
- Add small toys, beads, or charms for extra sensory stimulation.
Classroom vs. Home Tips
At home:
- Let each child make their own bottle to take home.
- Encourage decorating the lid with stickers, ribbon, or tape.
In the classroom:
- Pre-mix glue and water for faster assembly with multiple children.
- Use small cups or trays to organize glitter and confetti for each student.
- Encourage sharing ideas on how to layer or decorate their bottles.
Safety and Cleanup Tips
- Make sure kids handle glue safely and wash hands after crafting.
- Use duct tape or glued lids to prevent spills.
- Keep sensory bottles away from very young children who might open them.
- If glitter spills, use a damp paper towel or lint roller for easy cleanup.
Extra Fun Ideas
- Gift bottles to friends or relatives for Valentine’s Day.
- Use bottles as part of a Valentine’s Day sensory station during class parties.
- Make themed bottles for other holidays—swap out colors and confetti for Christmas, Halloween, or birthdays.
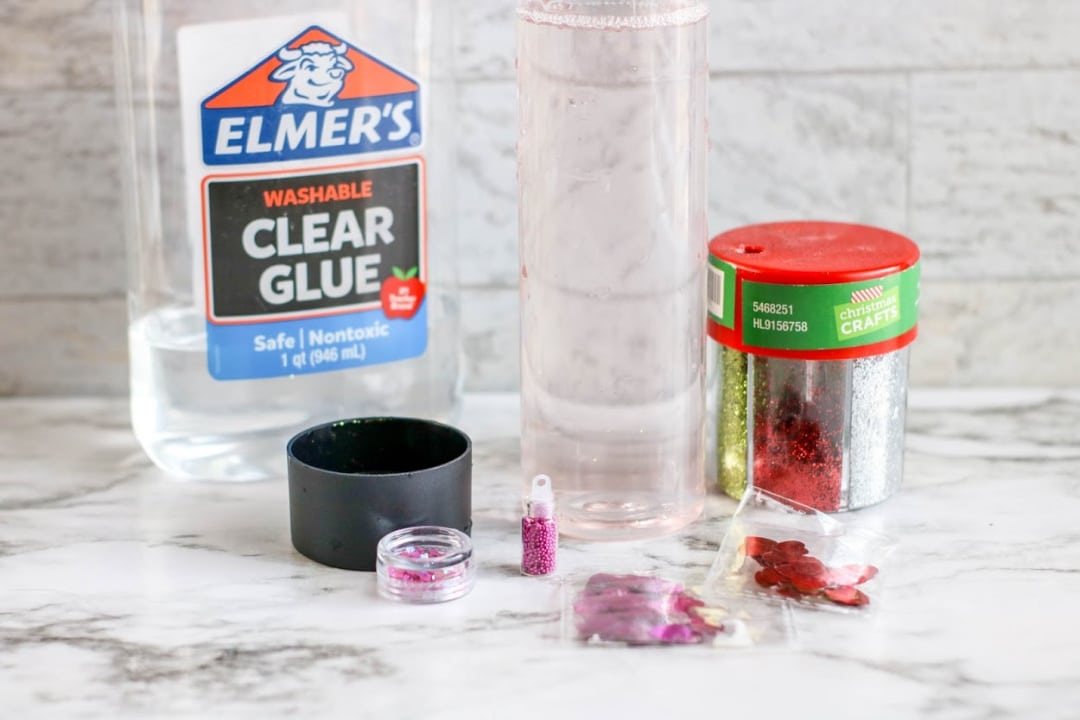
Supplies Needed
- 1 clear sensory bottle (13.6–16 oz)
- 2–3 bottles of clear Elmer’s Glue (6 oz each)
- About 1 cup warm water
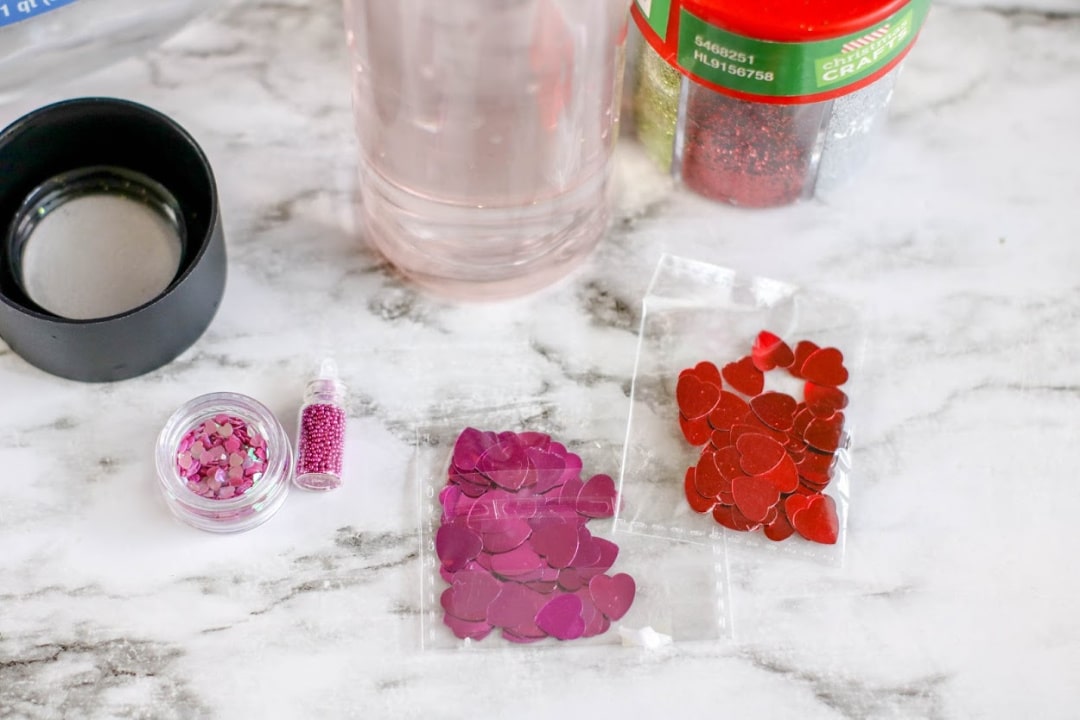
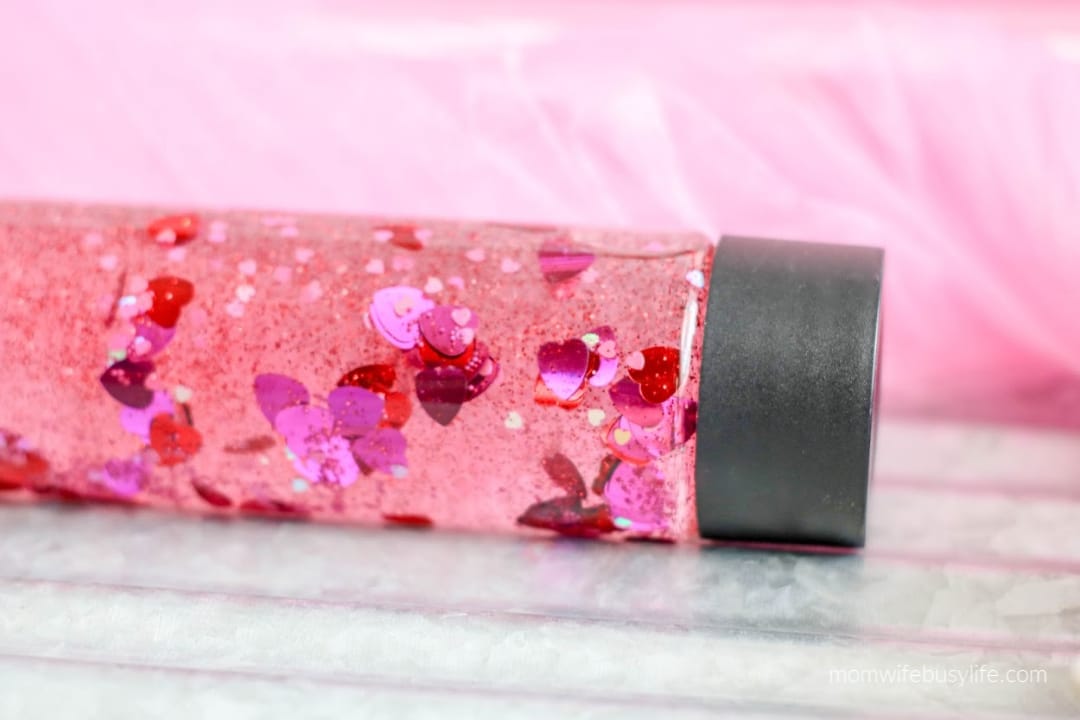
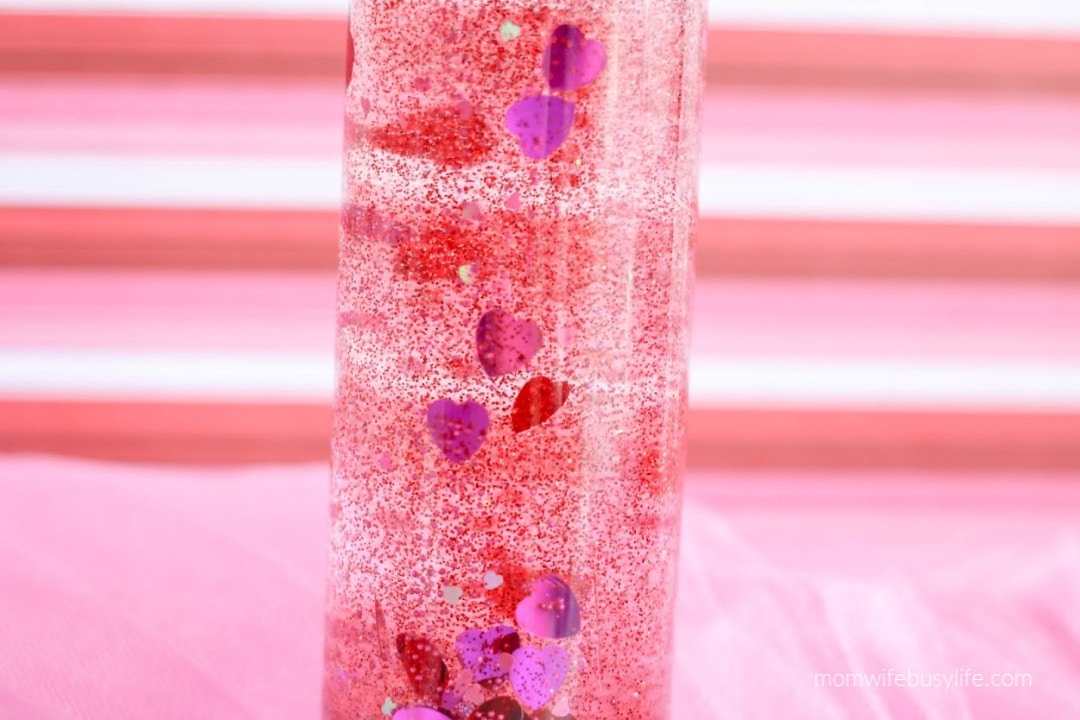
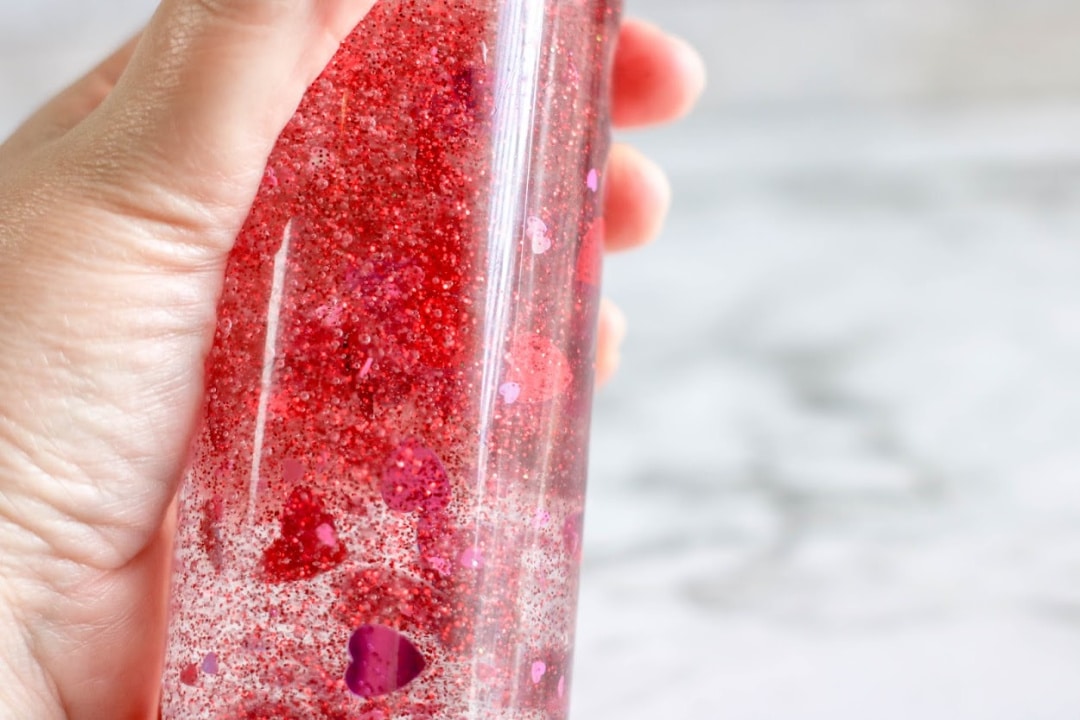
- 1 tbsp heart confetti
- 1 tbsp red glitter
- Heart gems (optional)
Step-by-Step Directions
1. Prepare the glue mixture
- Empty one bottle of glue into the sensory bottle.
- Fill the empty glue bottle about half full with warm water (around ¼ cup).
- Seal and shake to combine the remaining glue with the water.
- Pour the mixture into the sensory bottle with glue and stir or shake well.
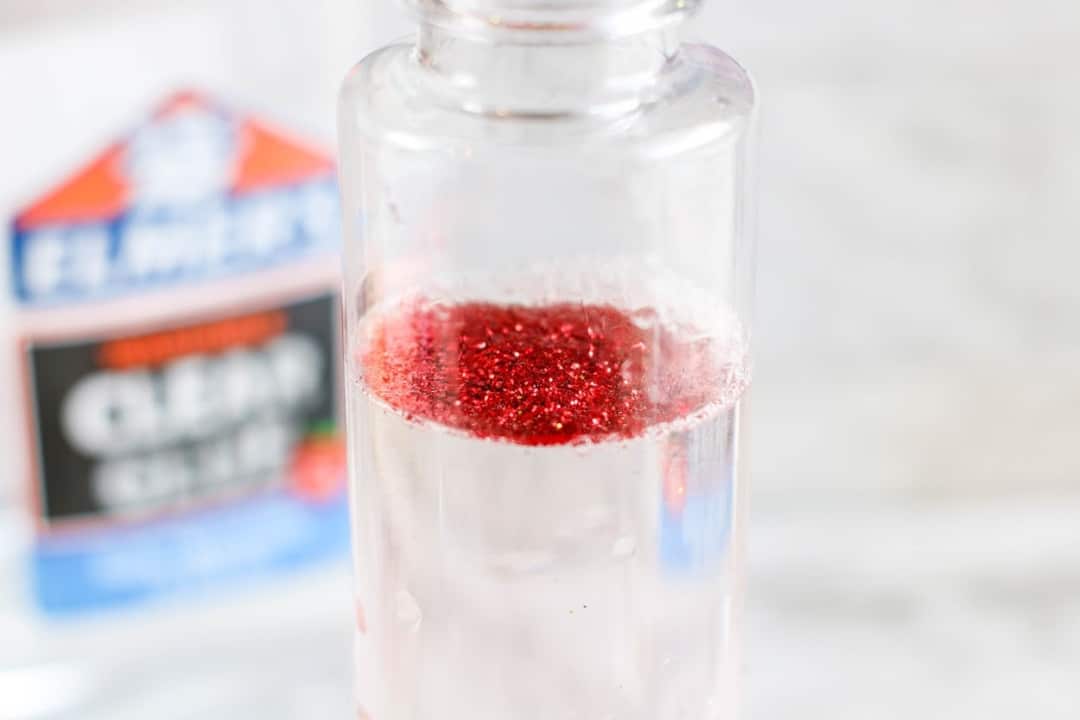
2. Add glitter and decorations
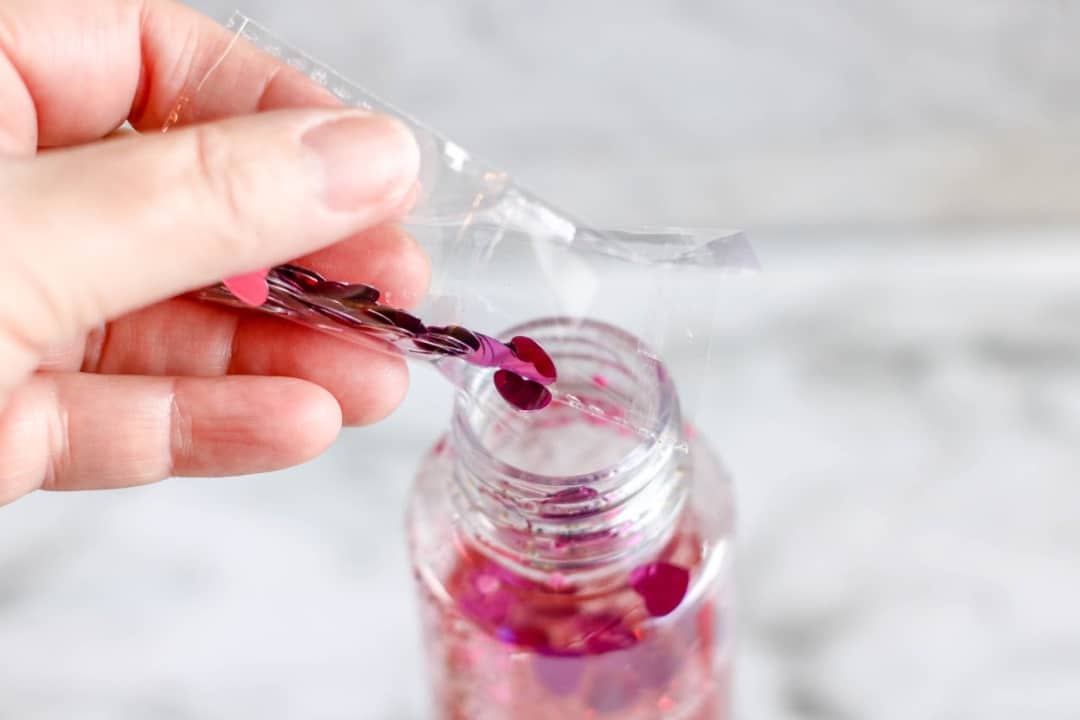
- Add heart confetti, red glitter, and optional heart gems.
- Layer as desired:
- If contents move too slowly, add warm water.
- If contents move too quickly, add more glue.
- Continue layering glitter and decorations until the bottle moves just how you like.
3. Seal and finish
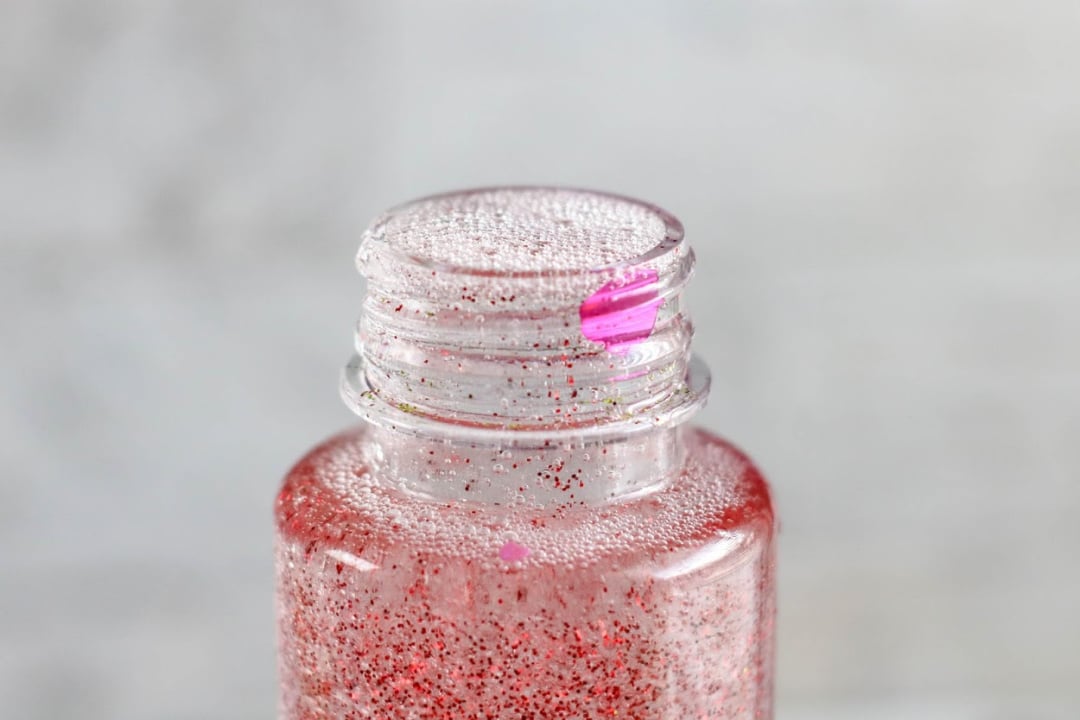
- Close the bottle tightly and glue the lid to prevent spills.
- Optional: cover the lid with duct tape or decorative washi tape.
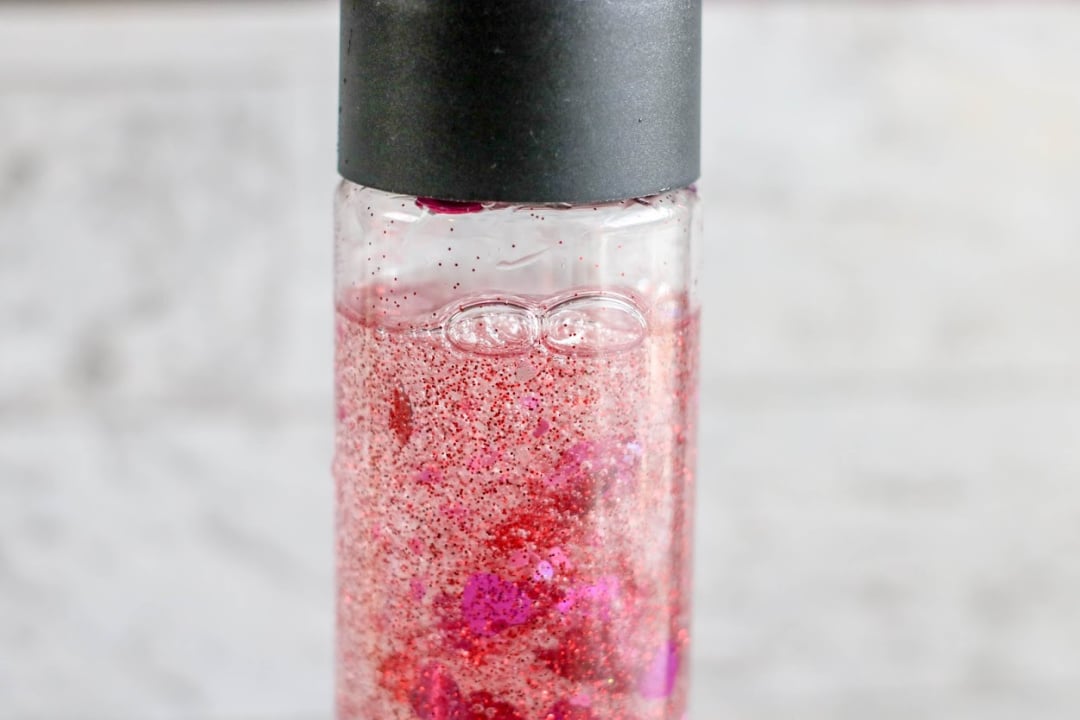
4. Enjoy the sensory fun!
- Shake, swirl, and watch the glitter and confetti dance.
- Perfect for quiet time, sensory play, or Valentine’s Day classroom activities


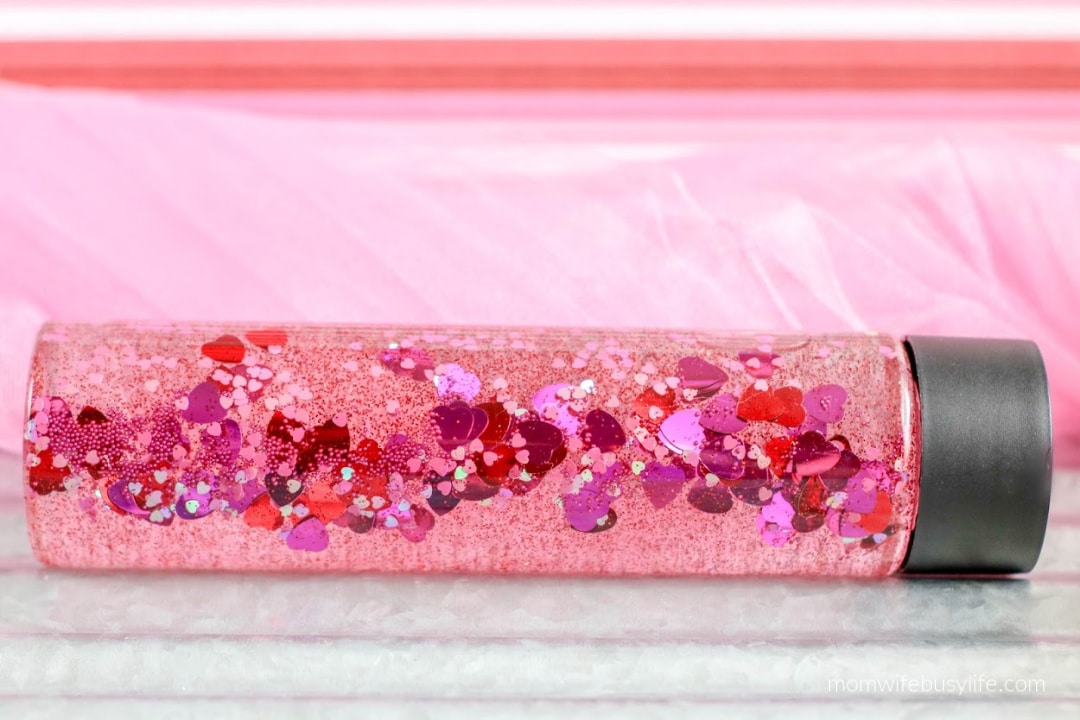
Valentine's Day Sensory Bottle
Materials
- 1 (13.6 to 16 ounce) clear sensory bottle
- 2 to 3 (6 ounce) bottles Elmer's Glue in clear
- About 1 cup warm water
- 1 tbsp. heart confetti
- 1 tbsp. red glitter
- heart gems (if desired)
Instructions
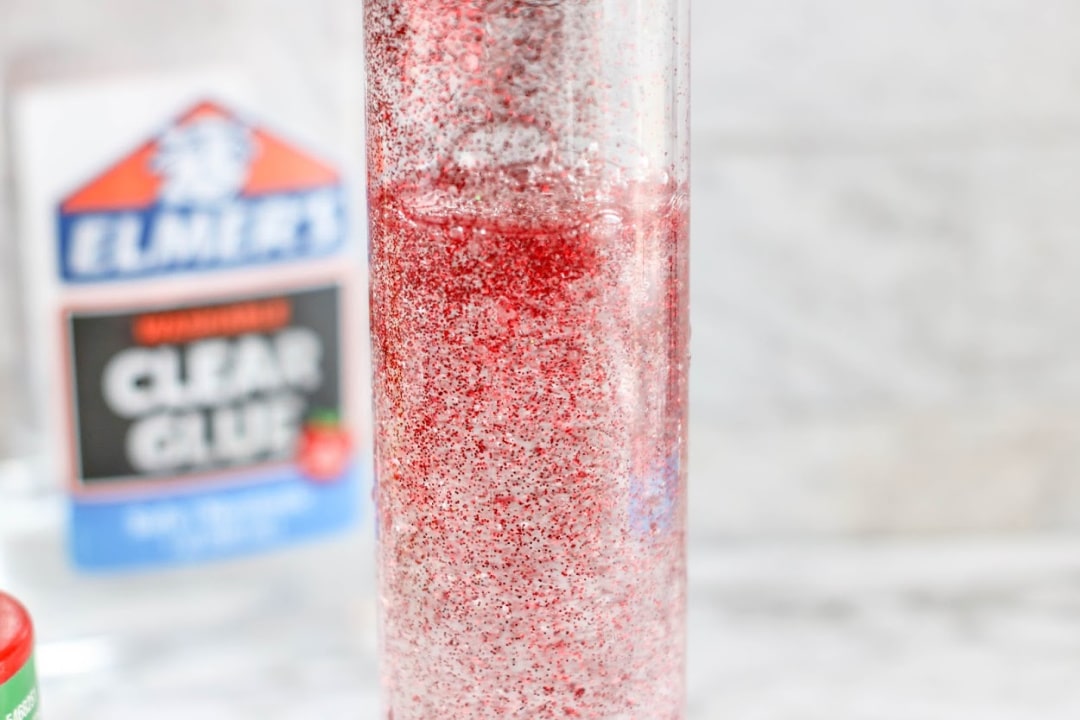
Empty one bottle of glue into bottle.
Fill the empty glue bottle about half full with warm water (about ¼ cup) and seal with the lid. Shake well to combine the remaining glue with the water. Pour into jar with glue and shake or stir to combine.
If you are adding glitter or toys, add part of the glitter and toys into the glue mixture.
Seal the jar and shake well. If the glitter or confetti does not move easily, add more warm water. If the glitter or confetti moves to quickly, add additional glue. Continuing adding in layers with the glitter and toys until you achieve your desired effect.
When the contents of the bottle move according to your preference, seal the bottle and glue the lid closed to avoid spills.
If desired, cover the lid with duct tape or additional decorations.