-
5 Printable Apple Activity Packs
Are you looking for apple themed activities for your children or classroom this season? These apple activity packs below include a few great activities that kids can complete for the back to school or fall season! If you are completing an apple unit, these packs will also be a great addition to your unit. There…

-
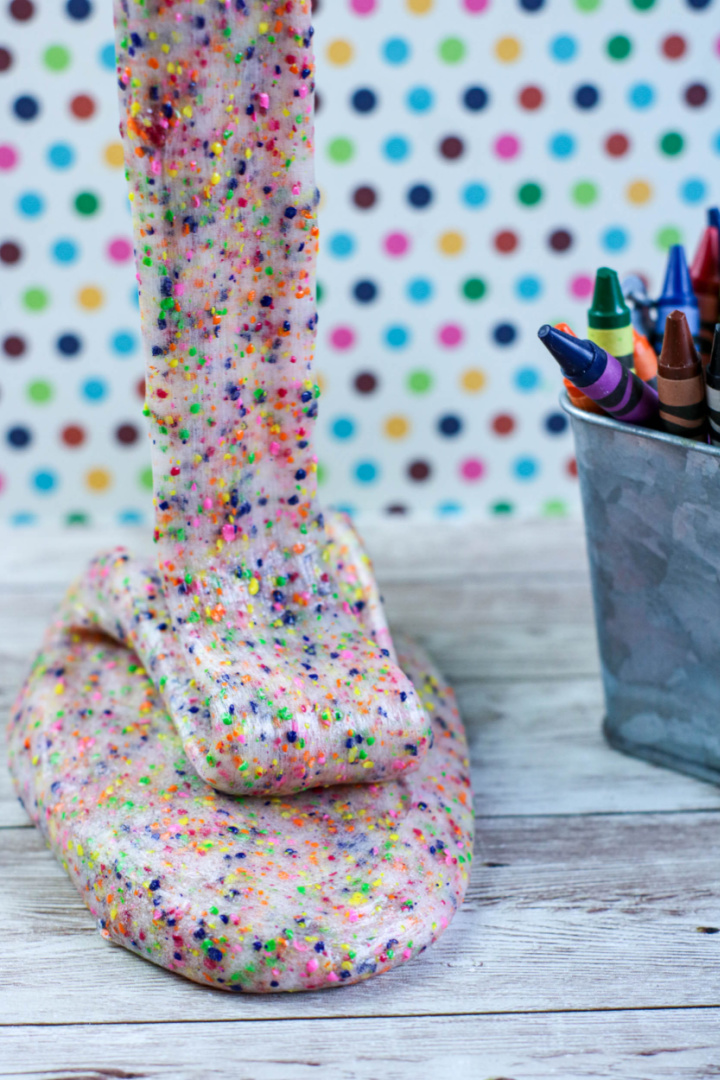
Crayon Slime Recipe: A Fun Back to School Activity for Kids
Make this bright, colorful, and stretchy Crayon Slime with pieces of broken crayons! This is a great back to school activity, too. Crayon Slime Recipe: A Fun Back to School Activity for Kids Looking for a hands-on activity that keeps little hands busy and gets creative juices flowing? This crayon slime recipe is a colorful…
-
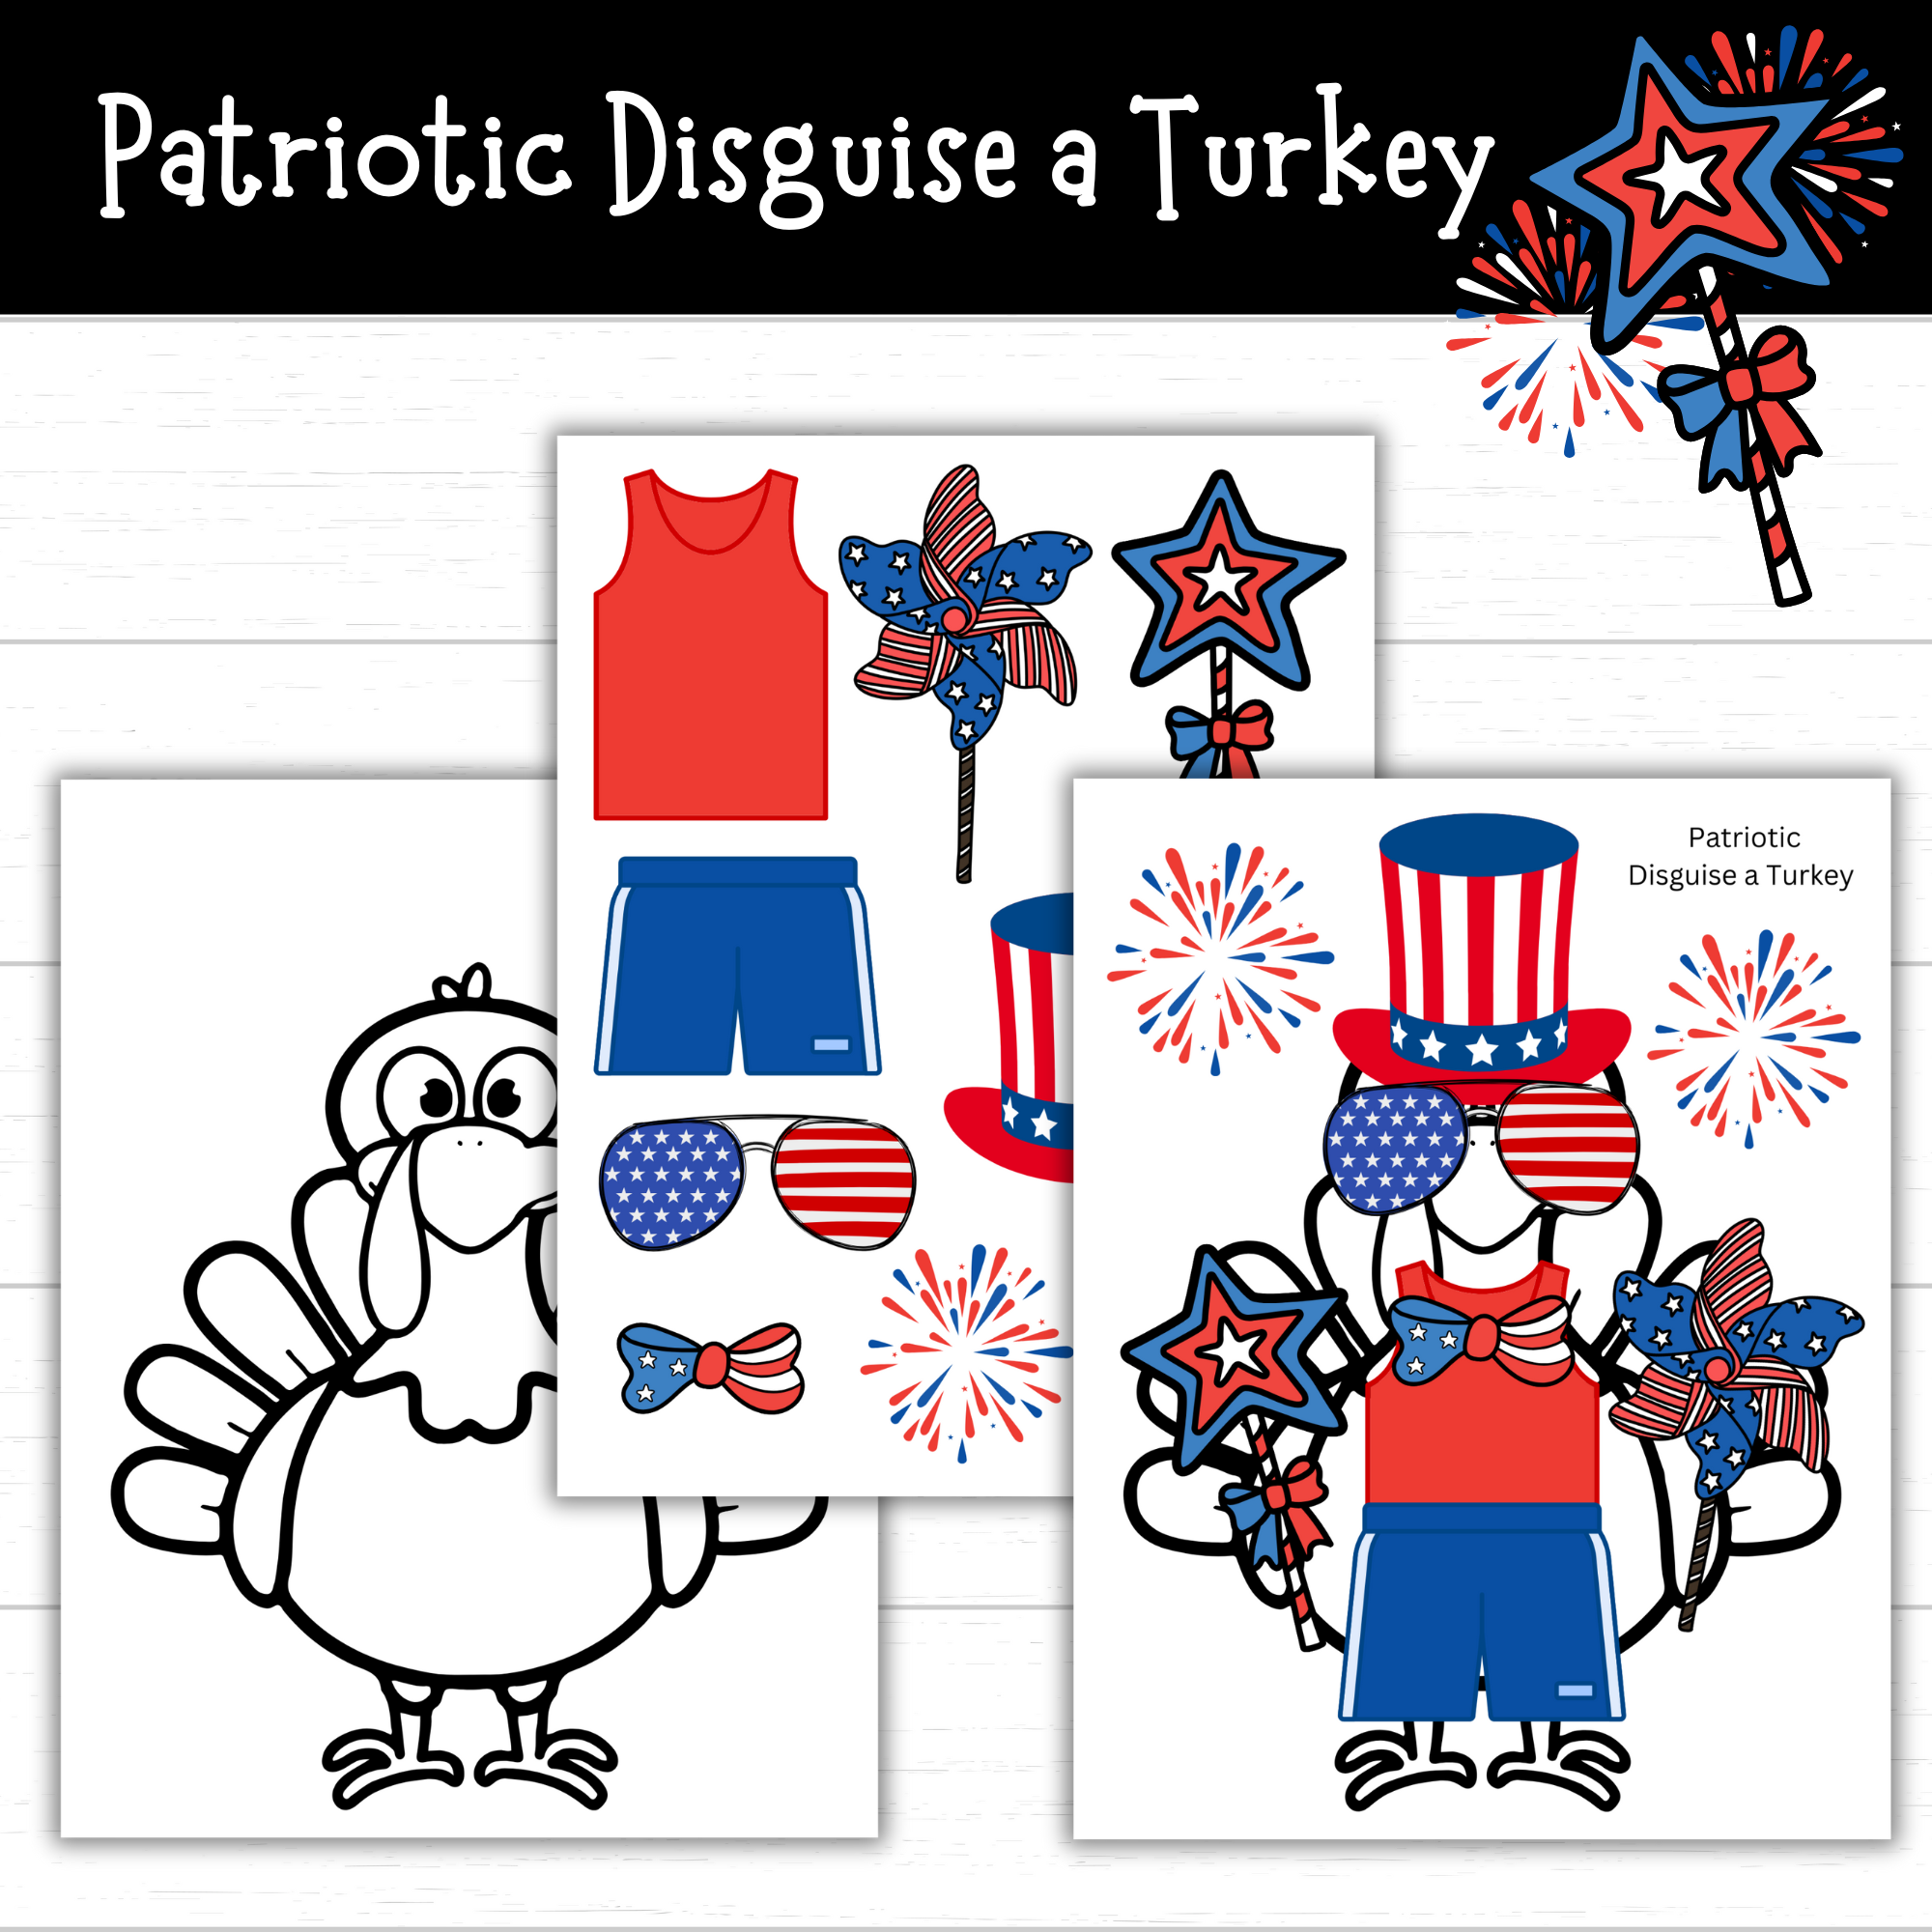
Printable Patriotic Disguise a Turkey
Printable Patriotic Disguise a Turkey Buy now on Etsy | Teachers Pay Teachers Looking for a fun and easy Disguise a Turkey idea with a red, white, and blue twist? This Patriotic Disguise a Turkey Printable Set is just the thing to keep little hands busy while helping your child stand out for their Thanksgiving…
-
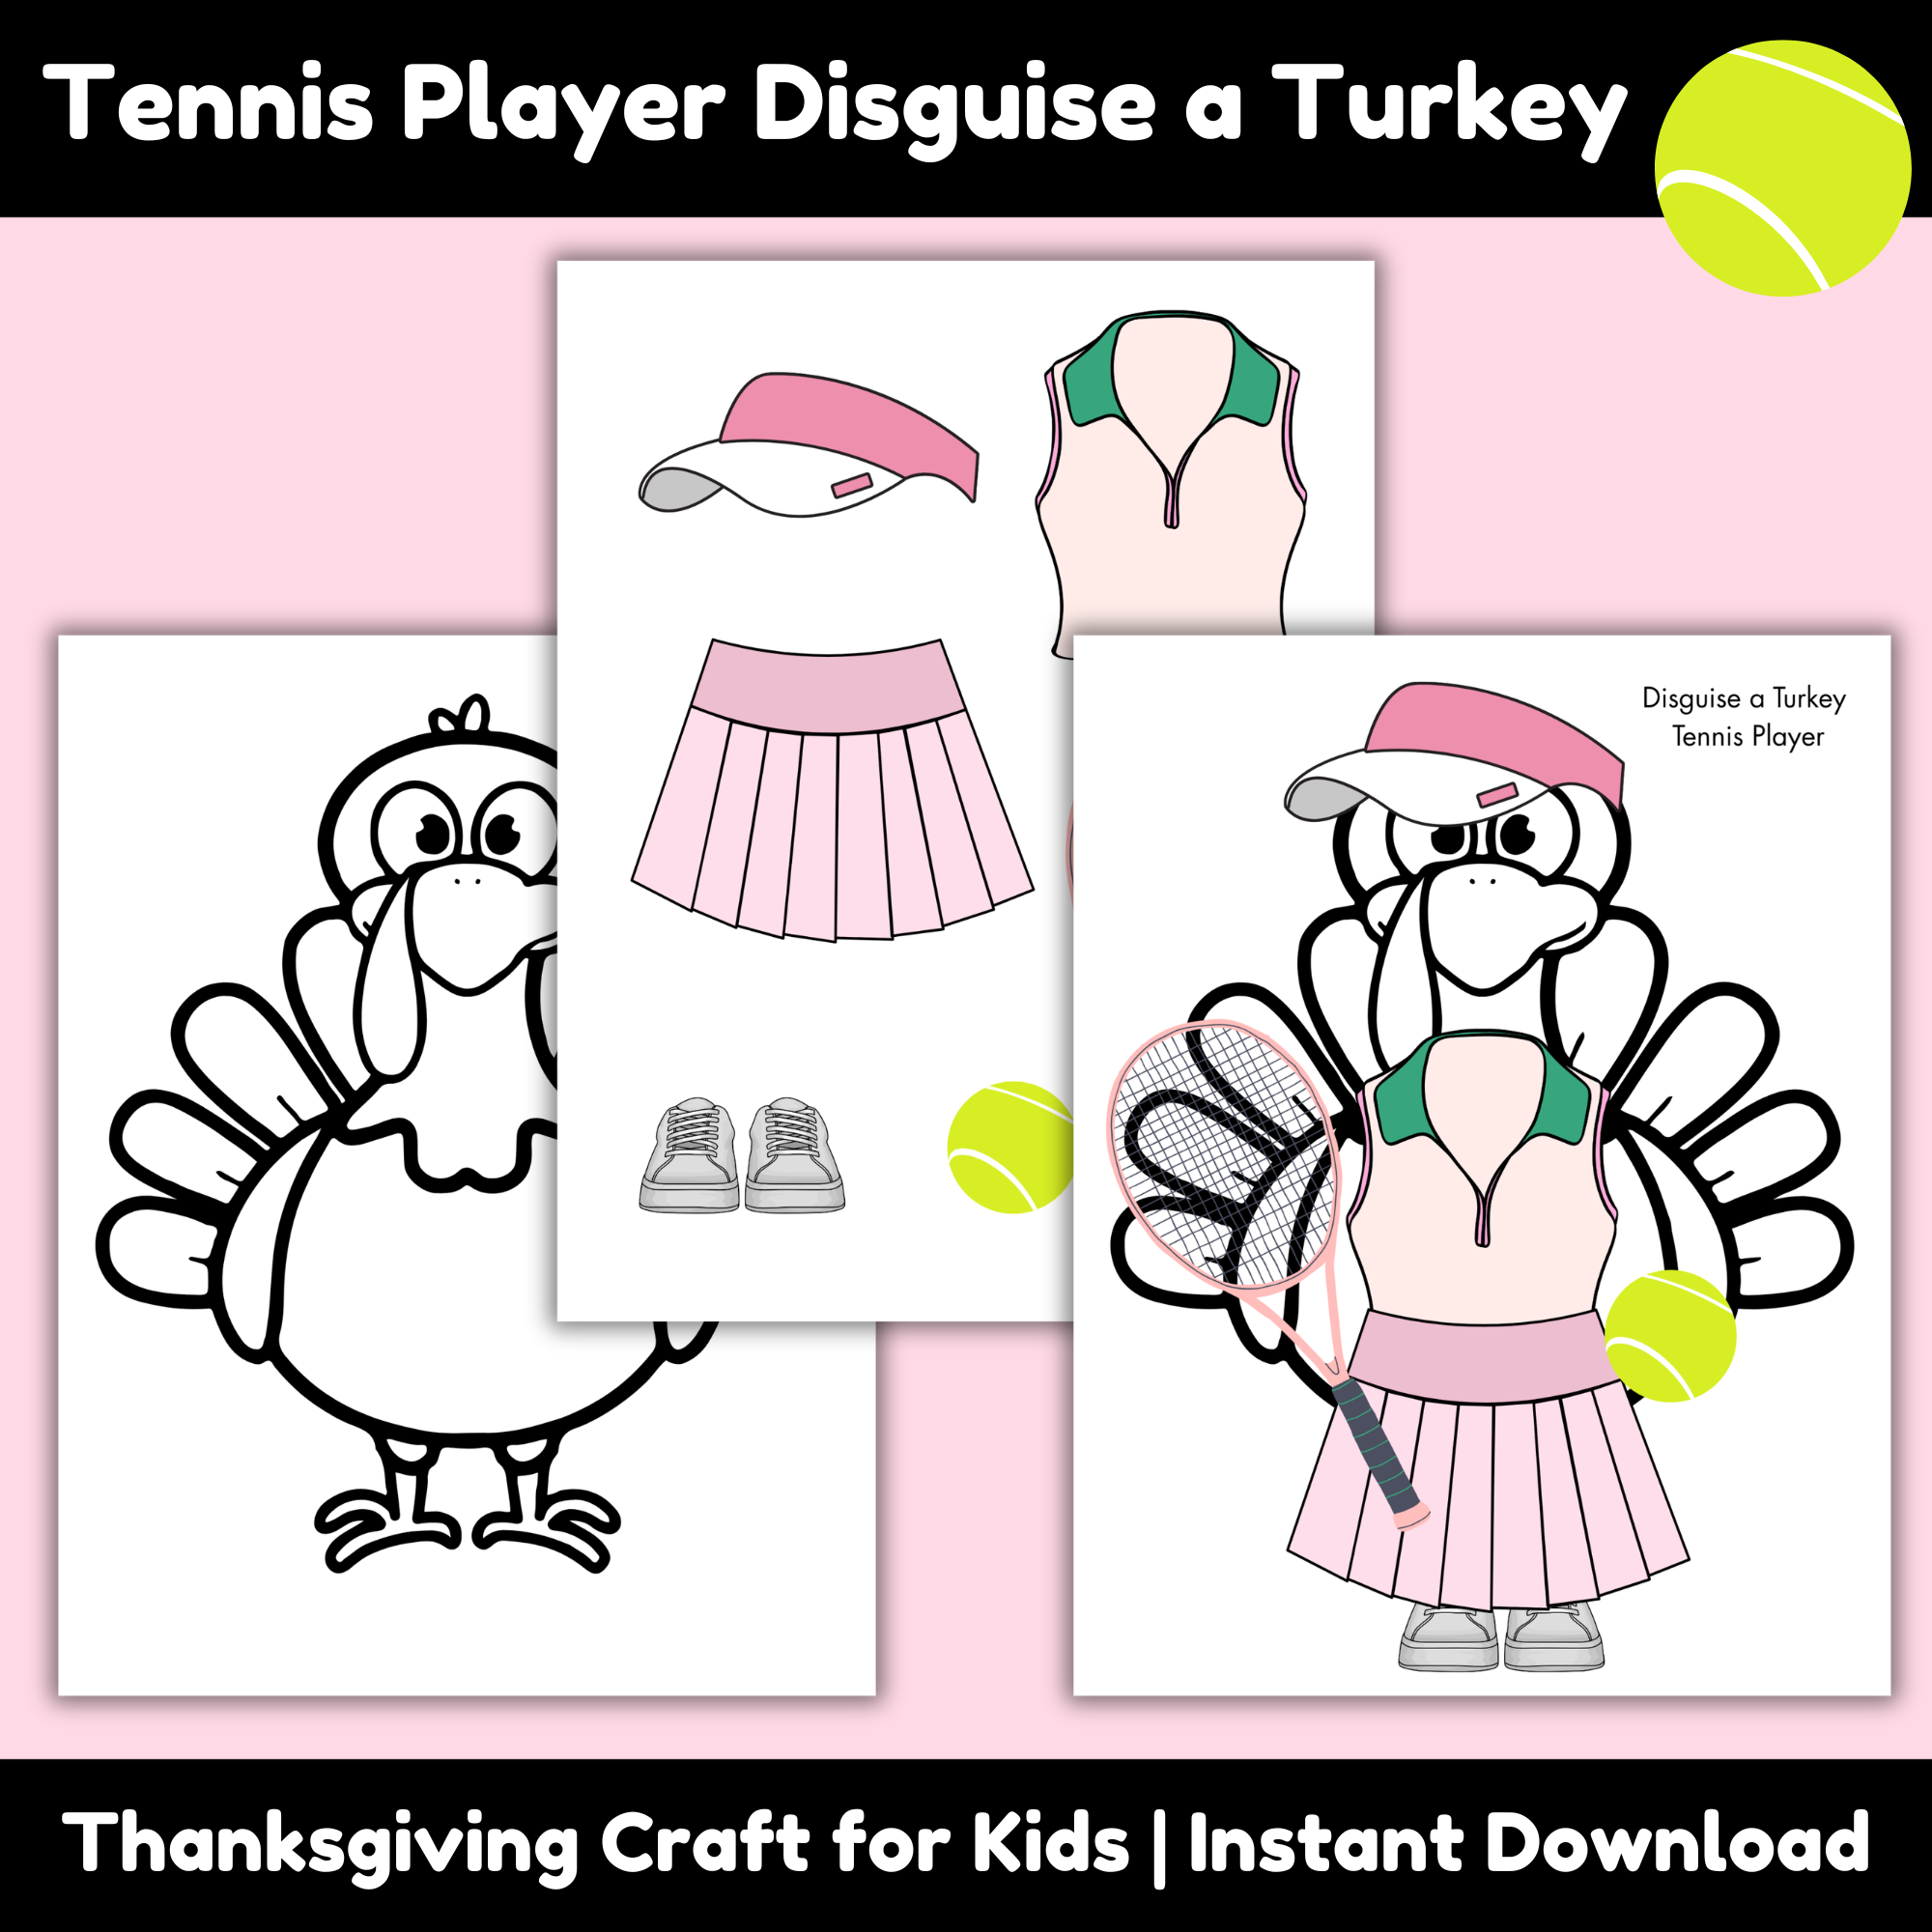
Tennis Player Disguise a Turkey Printable Set – Fun and Creative Thanksgiving Craft for Kids
Thanksgiving is around the corner, and if your child has been given the classic “Disguise a Turkey” project at school or you’re looking for a unique Thanksgiving craft to do at home, this Tennis Player Disguise a Turkey Printable Set is just what you need! This printable is perfect for busy moms, teachers, caregivers, and…
-
Apple Painting in a Bag Craft
Kids love to paint! This mess-free Apple Painting in a Bag Craft for kids is a great way to finger paint without all of the mess. This is a great back to school activity or a fall activity! This hands-on apple sensory painting activity for kids is a fun way to keep kids engaged and…
-
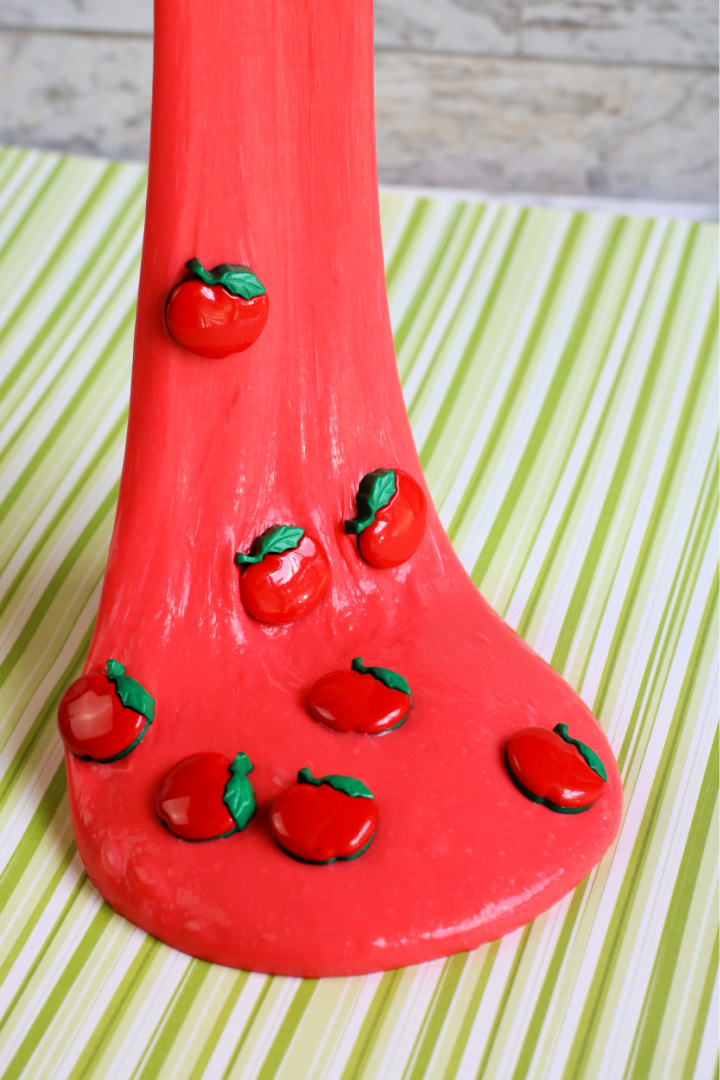
Back to School Apple Scented Slime
Create this yummy smelling Back to School Apple Scented Slime this fall season! This stretchy apple slime will keep kids entertained during the cooler months. My kids love to create slime on a regular basis! The cool thing about slime is that you can get as creative as you’d like with it! You can experiment…
-
Printable Apple Templates for Crafts and Activities
Printable Apple Templates for Crafts and Activities Buy now on Etsy | Teachers Pay Teachers
