

I’m a thrift store shopper. I love finding great deals in thrift stores. Shopping at thrift stores is somewhat therapeutic for me and I love the “thrill of the hunt.” You never know what you will find when you go to a thrift store and the best part is that you typically pay way less for an item vs. a brand new item at a retail store.
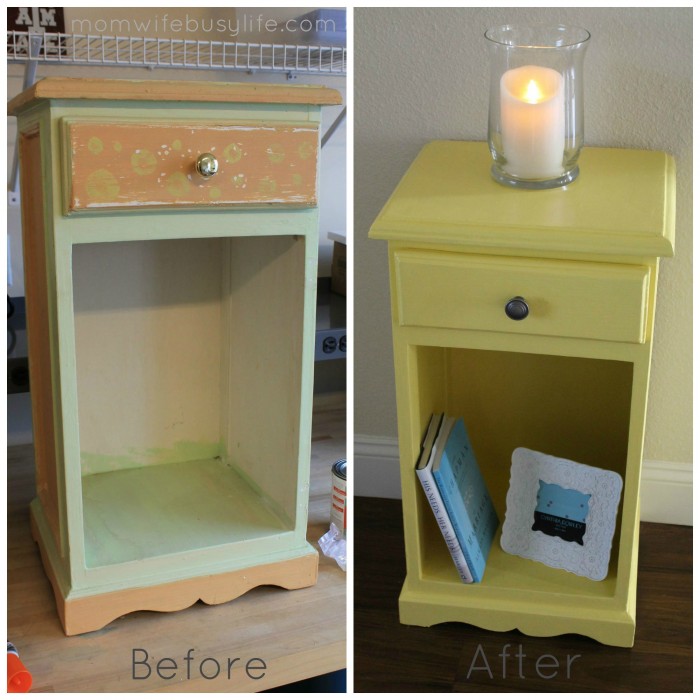
During my last few thrift store runs, I’ve had “ugly furniture” on my mind. I’ve been wanting to take a cheap, not-so-great-looking piece of furniture and completely refinish the piece and turn it into something beautiful and useful for my home. One day while shopping at a local thrift store, I found the following piece below for about $10. I could tell this piece had some character and I loved the drawer. I needed a small piece for my living room entry way area and needed the drawer for storage. I also needed a place to put a few books.
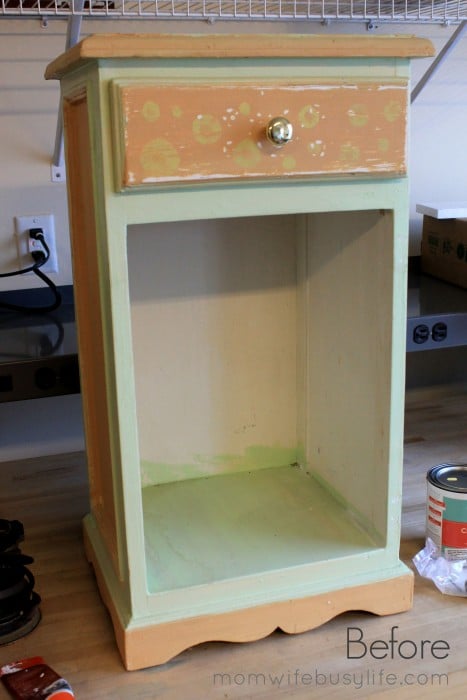

As you can see, the piece above needed some work. This piece of furniture was a bit dusty, dirty, old, and looked like it had a paint job from a child — which is fine. I’m sure whoever painted it had a blast and was able to get very creative with the piece. The gold knob was a bit outdated and didn’t match the furniture piece. I knew I wasn’t going to purchase this piece and use it in my home “as is.” I had another plan in mind. An updated piece of hardware on this piece and a nice paint job is what my new furniture needed!
I wiped this piece of furniture off with a damp cloth before sanding to remove the noticeable dust and dirt. Then, I used this sander

Before you start any painting project, it’s a good idea to invest in a few items before getting started. Safety first! Protect yourself when working on these projects! You’ll need:
- safety dust mask
- clear safety goggles
- ear protection (when sanding)
- fan (if painting in your garage for a well ventilated area – open the garage door, too!)
- plastic drop cloths – Here’s an example.
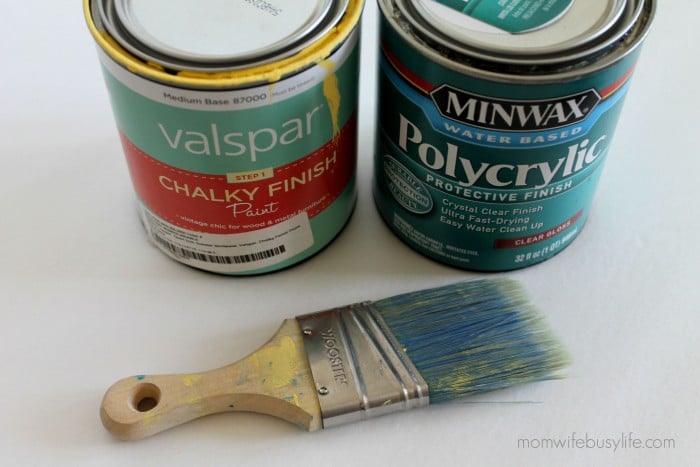
- high quality paint brushes – I love using these Wooster paintbrushes
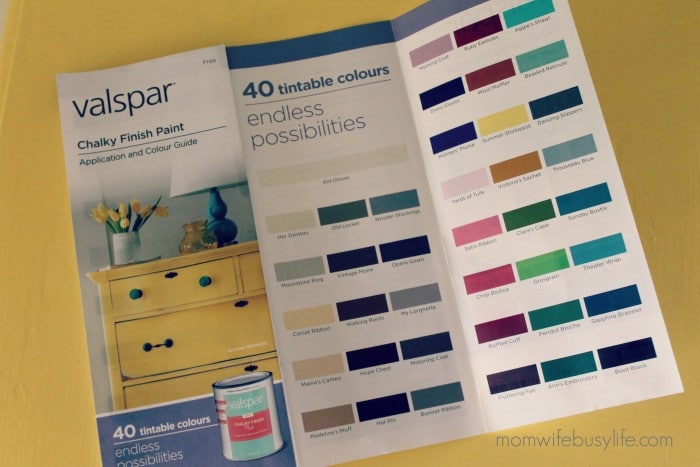
- Valspar Chalky Finish Paint – I found this paint at Lowe’s. I chose “Summer Shirtwaist” for this piece! One small can goes a long way and the leftover paint can be used for other small projects. I already have a project in mind for the rest of the paint!

- Clear sealant – I used Minwax Polycrylic Protective Finish
- hardware for furniture – I chose a gray knob to replace the gold knob.
I completed this entire refinishing project in my garage. I always had a fan blowing towards the driveway to blow out any paint fumes and made sure the area was well ventilated. I wore my dust mask, safety goggles, and ear protection to protect myself while sanding and always kept a plastic drop cloth under my piece of furniture to avoid spills onto my garage floor.
After cleaning and sanding my piece of furniture, I applied a few coats of the Valspar Chalky Finish Paint, allowing each coat to dry before adding another. Once the piece was dry, I added a few coats of the Minwax Water Based Polycrylic Protective Finish.
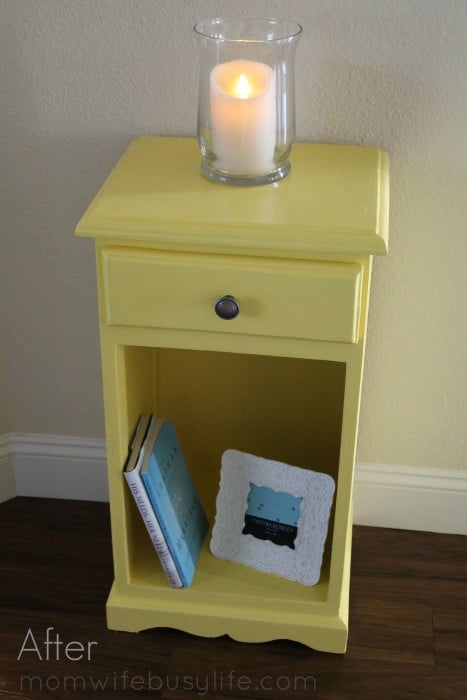
My final project was complete, and I was able to bring this fresh and updated piece into my home for a purpose. I was able to use it as a decorative piece near the walkway to my living room. I added an LED battery operated candle on top, a few books, and placed a nice picture frame inside. I’ll fill the frame soon once I find the right photo! I’m already using the drawer for a few odds and ends.
The hardest part about this project was staying patient! I’m the type of person that wants results fast. When refinishing a piece of furniture, a lot of patience is needed when prepping the furniture and adding the coats of paint. I did about three coats of paint and about three coats of clear protective finish. I knew that putting in the work then and doing it right the first time would keep my furniture protected longer.
One of the greatest parts about refinishing this piece was seeing how it looked in my house! There’s something about walking by a piece that YOU invested time in that makes every bit worth it! Plus, it was very relaxing for me to go out in the garage during the day and put time into something creative!
*This is not a sponsored post. Any of the above brands or retailers mentioned were not involved with the creation of this post and have no clue who I am! I wanted to share the products above because I personally used them and personally recommend them.
Have you worked on a DIY furniture piece before? What was your favorite DIY furniture project?