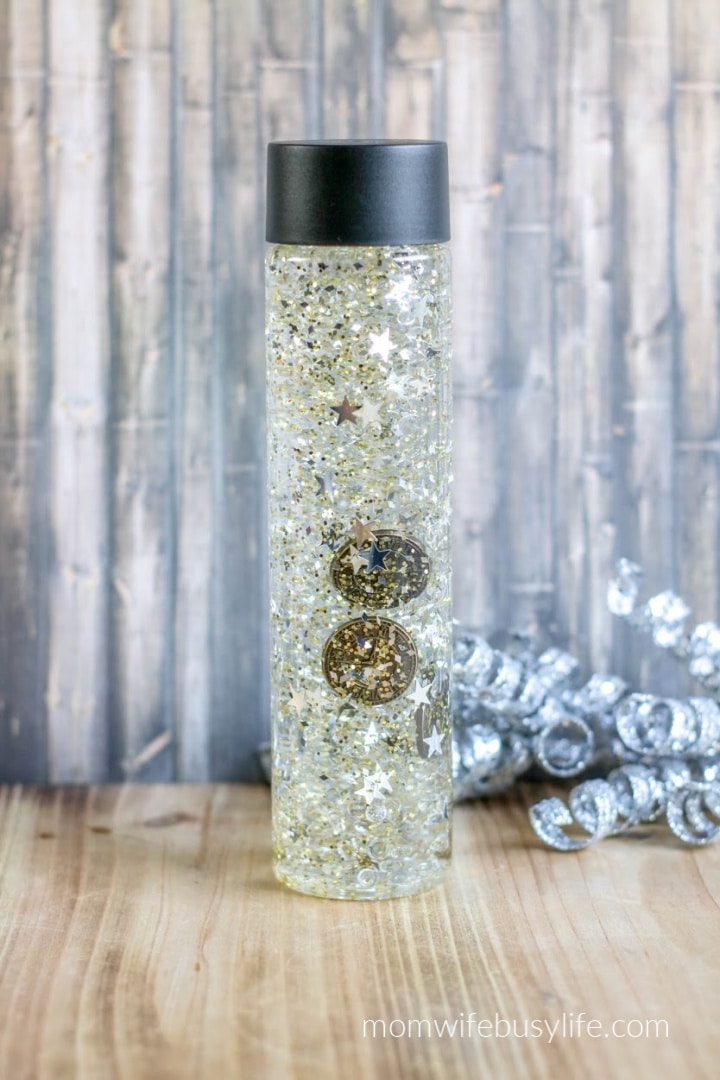
Keep your kids entertained and engaged this New Year’s Eve with a sparkling DIY New Year’s sensory bottle!
This simple, festive, and calming craft is perfect for kids of all ages. Plus, it doubles as a memorable keepsake to celebrate the countdown to the new year.
You may also like:
- New Year Coloring Page Printable
- New Year Candy Dice Game Printable
- New Year Placemat Pack Printable
Why a New Year’s Sensory Bottle is the Perfect Craft for Kids
Sensory bottles are a hit with kids because they’re:
- Visually engaging – glitter, confetti, and colorful decorations catch kids’ attention
- Calming – watching glitter settle can help kids unwind during overstimulating holiday moments
- Easy to personalize – you can customize with your child’s favorite colors or small toys
- Low mess – a win for busy parents juggling holiday preparations
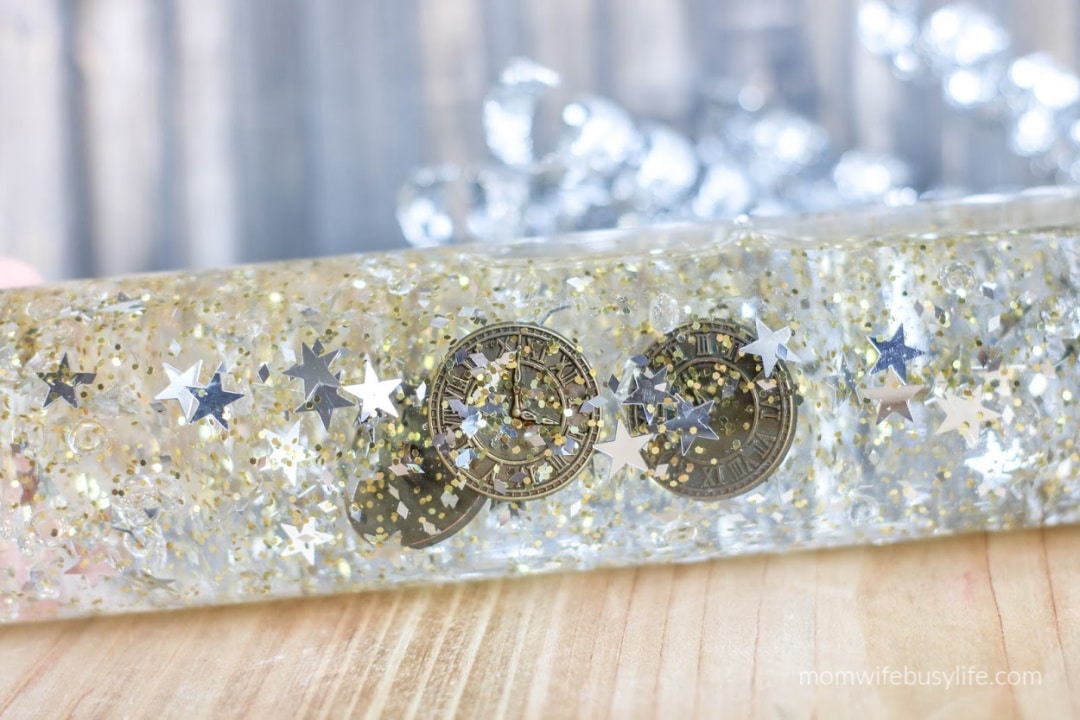
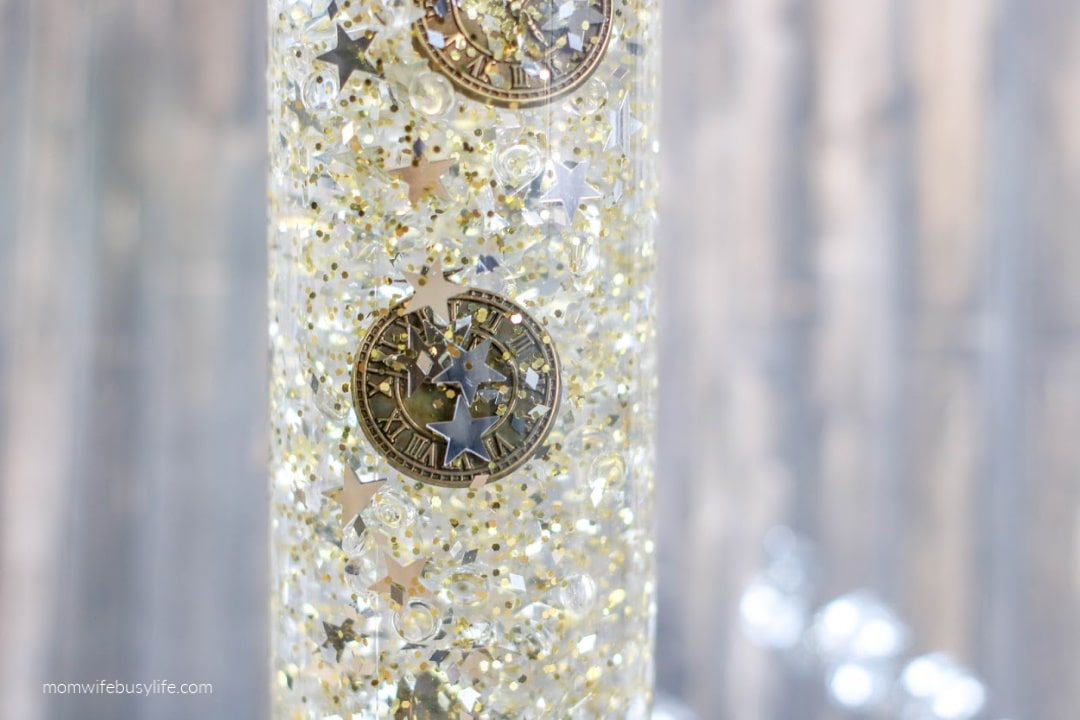
For New Year’s, a sensory bottle can mimic fireworks, shimmer like confetti, and even tie into countdown excitement with creative elements like clock buttons or sequins.
Creative Variations for Your Sensory Bottle
Sensory bottles are highly customizable. Here are a few ideas:
- Winter theme: Snowflake confetti and blue or silver glitter
- Glow in the dark: Glow-in-the-dark stars or glow-in-the-dark glue
- Kid’s favorites: Add tiny toys, beads, or buttons in fun shapes and colors
- No glitter? Use metallic sequins, foil confetti, or bits of aluminum foil for sparkle
Sensory bottles aren’t just for New Year’s—they can be adapted for birthdays, holidays, or anytime your kids need a fun, calming activity.
Long-Term Uses for Sensory Bottles
Even after the New Year’s celebration, these bottles can be used as:
- Calming tools: Perfect for bedtime or quiet moments
- Fidget toys: Great for long car rides, waiting rooms, or school breaks
- Learning aids: Teach counting, colors, or simple science concepts like the way glitter falls
FAQs About New Year’s Sensory Bottles for Kids
Q: What if I don’t have a sensory bottle?
A: Use a clean plastic water bottle or mason jar with a tight lid.
Q: How long does it take to make a sensory bottle?
A: Most bottles can be made in 10–15 minutes, depending on decorations.
Q: Are sensory bottles safe for kids?
A: Yes, as long as they are supervised and the bottle is securely sealed.
Q: Can I make this for a New Year’s party?
A: Absolutely! Set up a craft table and let kids make their own bottles as party favors.
Start the New Year with sparkle and fun! This DIY New Year’s sensory bottle is a simple, memorable craft that keeps kids entertained, creates lasting memories, and adds a touch of magic to your holiday celebration.
Materials Needed for a New Year’s Sensory Bottle
Supplies:
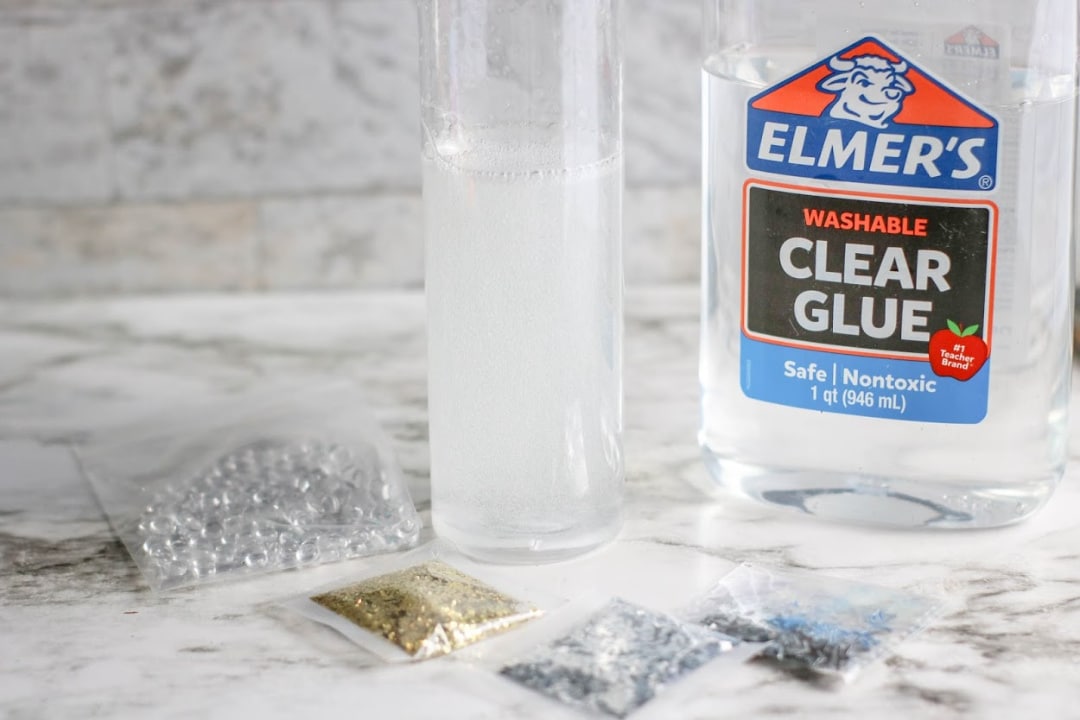
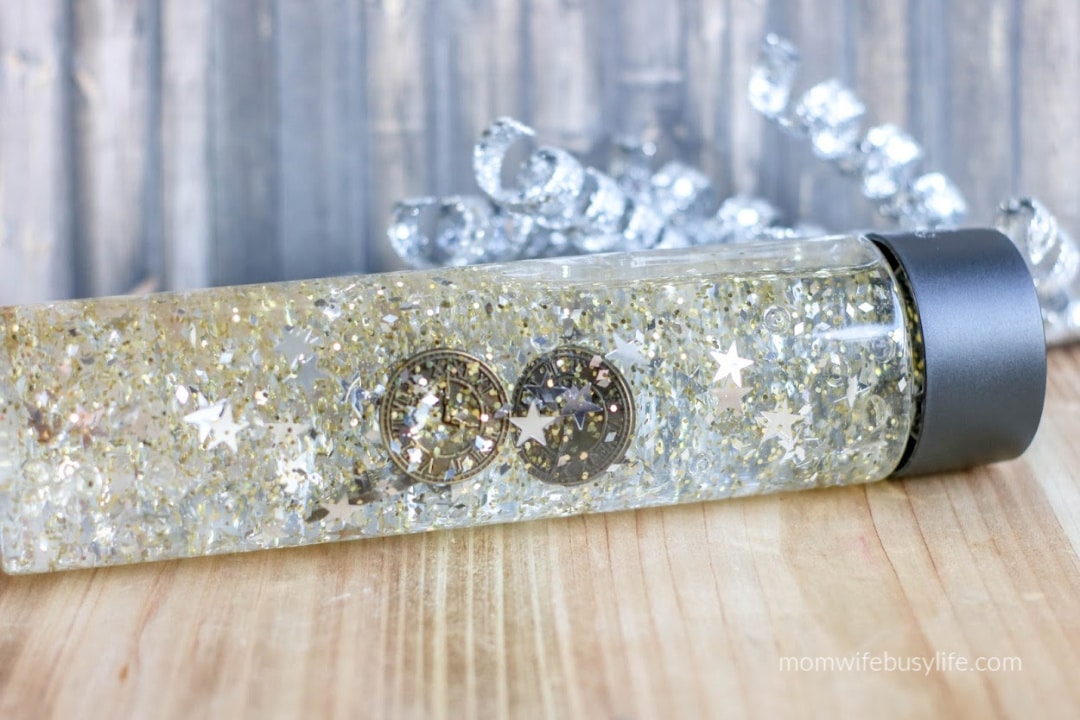
- 1 (16oz) clear sensory bottle
- 2 to 3 (6 ounce) bottles Elmer’s Clear Glue
- About 1 cup warm water
- About 1 tablespoon gold or silver glitter or confetti (if desired)
- Clock craft buttons
- Silver star confetti
- Silver glitter
- Gold glitter
Step-by-Step Instructions for Making a Sensory Bottle
Empty one bottle of glue into bottle.
Fill the empty glue bottle about half full with warm water (about ¼ cup) and seal with the lid. Shake well to combine the remaining glue with the water. Pour into jar with glue and shake or stir to combine.
If you are adding glitter or toys, add part of the glitter and toys into the glue mixture.

Seal the jar and shake well. If the glitter or confetti does not move easily, add more warm water.
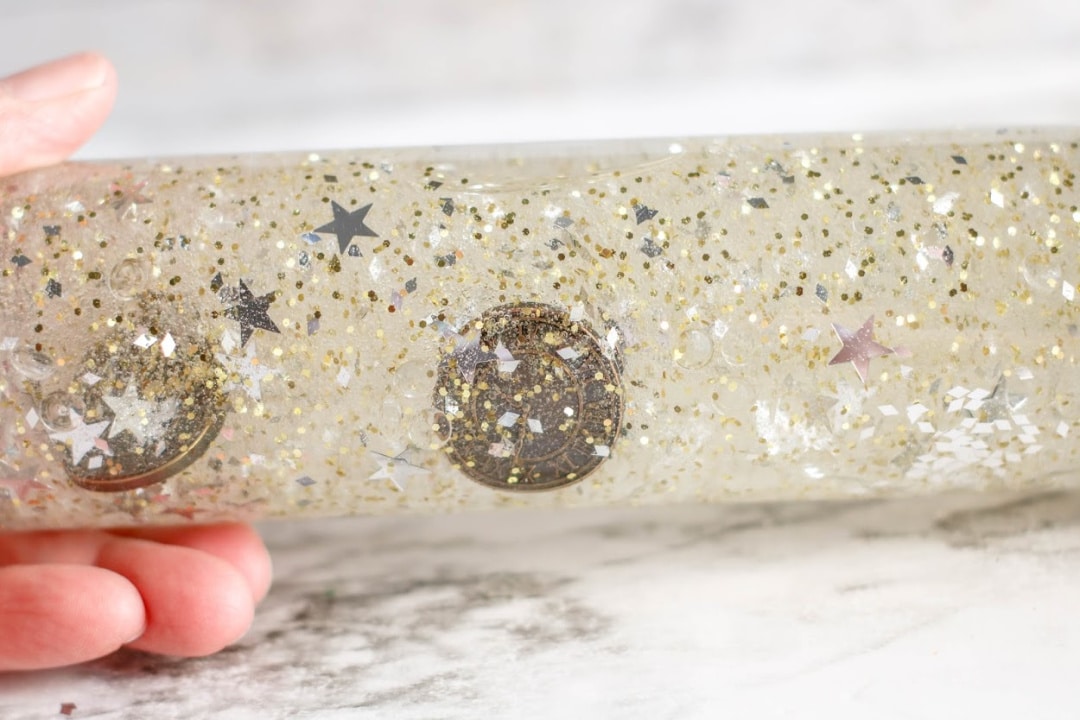
If the glitter or confetti moves too quickly, add additional glue. Continuing adding in layers with the glitter and toys until you achieve your desired effect.
When the contents of the bottle move according to your preference, seal the bottle and glue the lid closed to avoid spills.
If desired, cover the lid with duct tape or additional decorations.
New Year's Sensory Bottle

Materials
- 1 (16 ounce) plastic storage/sensory bottle
- 2 to 3 (6 ounce) bottles Elmer’s Glue in clear
- About 1 cup warm water
- About 1 tablespoon glitter or confetti (if desired)
- Toys (if desired)
- For this project, we used:
- Clock buttons
- Silver star confetti
- Silver glitter
- Gold glitter
Instructions
Empty one bottle of glue into bottle.
Fill the empty glue bottle about half full with warm water (about ¼ cup) and seal with the lid. Shake well to combine the remaining glue with the water. Pour into jar with glue and shake or stir to combine.
If you are adding glitter or toys, add part of the glitter and toys into the glue mixture.
Seal the jar and shake well. If the glitter or confetti does not move easily, add more warm water. If the glitter or confetti moves to quickly, add additional glue. Continuing adding in layers with the glitter and toys until you achieve your desired effect.
When the contents of the bottle move according to your preference, seal the bottle and glue the lid closed to avoid spills.
If desired, cover the lid with duct tape or additional decorations.