
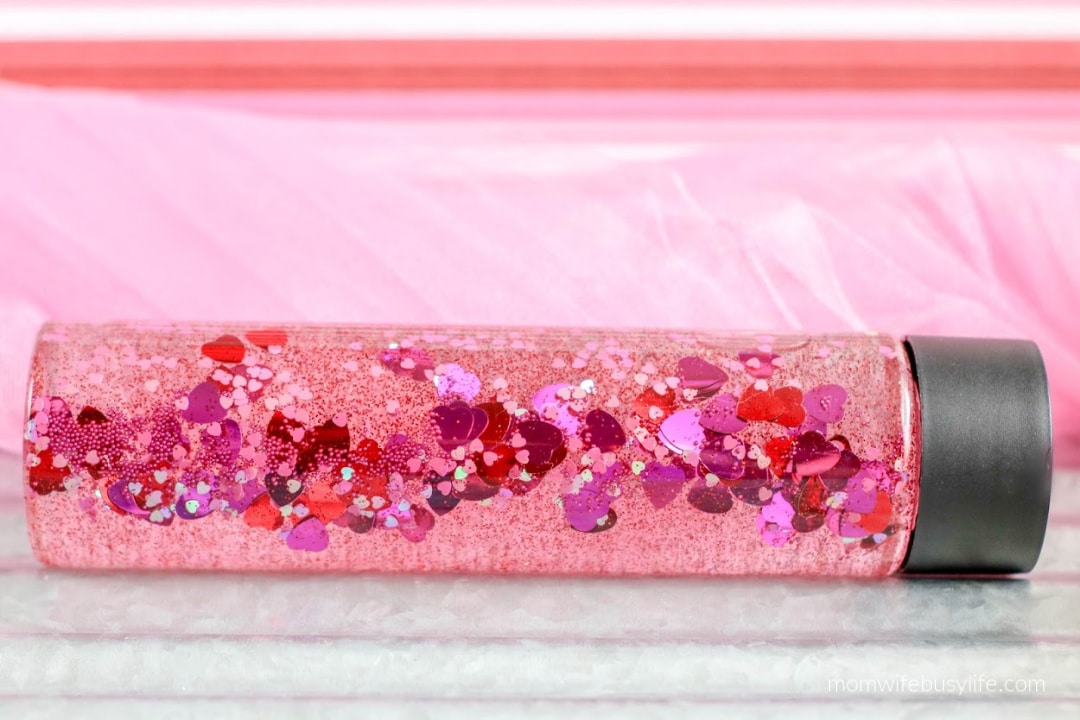
This beautiful Valentine’s Day Sensory Bottle for kids is a great way to celebrate the month of February!
The glitter and confetti brings this bottle together to create a fun way for kids to explore using their senses.


Valentine’s Day is just around the corner, and if you’re a busy mom looking for a fun, easy, and educational craft to do with your kids, look no further than the Valentine’s Sensory Bottle!
This craft is not only a great addition to your Valentine’s Day activities but also a fantastic way to engage your child’s senses.
Learn how to make this beautiful sensory bottle and why it’s a hit for kids of all ages!
- FREE Printable Valentine’s Day Math Activities
- FREE Printable Valentine’s Day Q Tip Painting Pack
- FREE Printable Tic Tac Toe Valentine’s Day Cards
Why Sensory Bottles?
Sensory bottles, also known as calm down jars, are fantastic tools for kids to explore their senses, particularly sight and touch.
They’re known for their soothing and calming effects and can be a great way for children to self-regulate.
Plus, creating them can be a bonding and learning experience for both you and your child.
Why Kids Love It
Kids adore making these sensory bottles for various reasons:
- It’s like a science experiment: They get to mix, measure, and observe changes.
- Sensory Play: The swirling glitter and confetti provide a mesmerizing visual experience.
- Customization: They can make it uniquely theirs by choosing how much glitter, confetti, or gems to add.
The Valentine’s Sensory Bottle is more than just a craft; it’s an experience. It’s an opportunity for your kids to learn, explore, and create something beautiful.
This Valentine’s Day, set aside some time to make these magical bottles. They are not just a fun activity but a memorable keepsake that your kids will cherish.
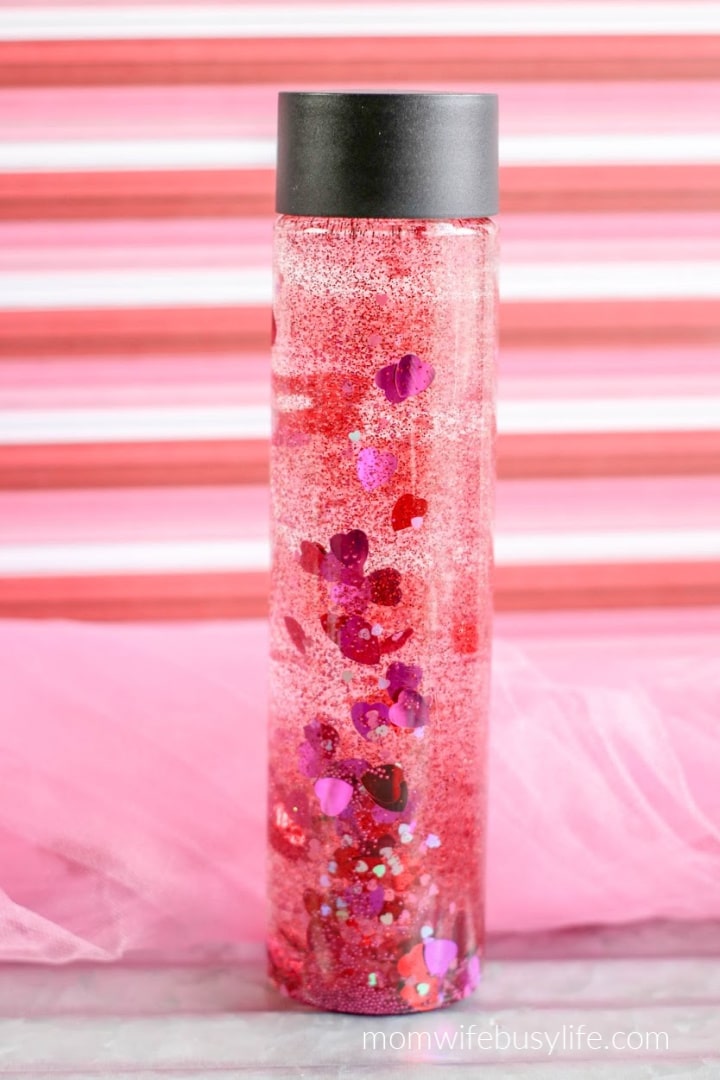
Valentine’s Day Sensory Bottle for Kids

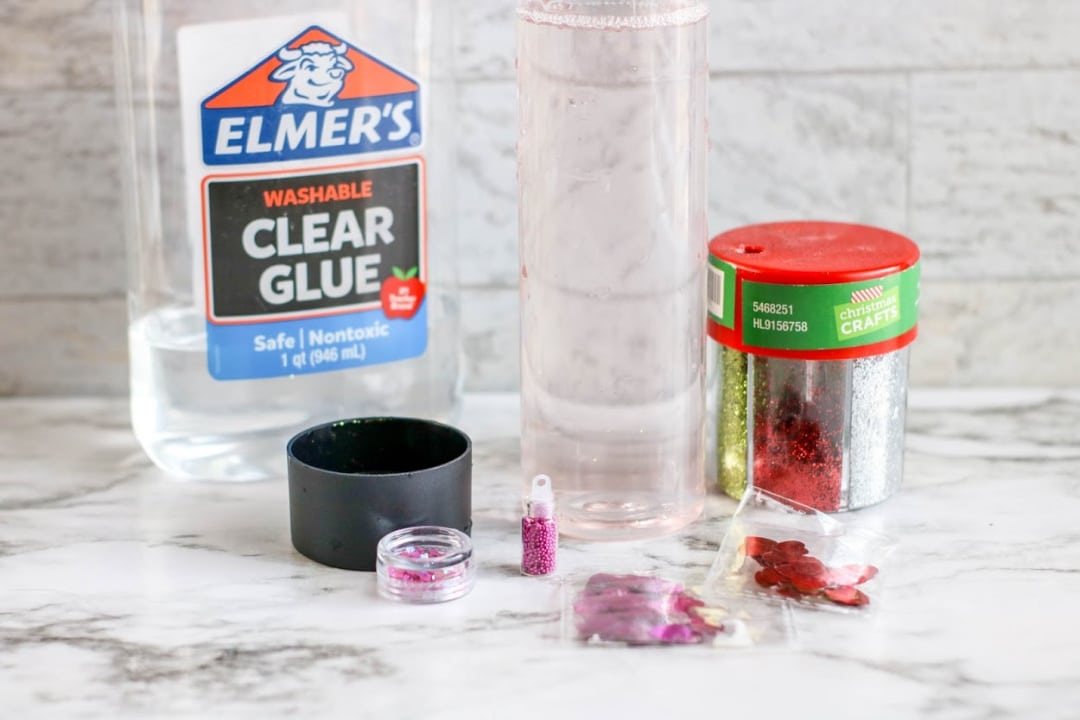
Supplies:
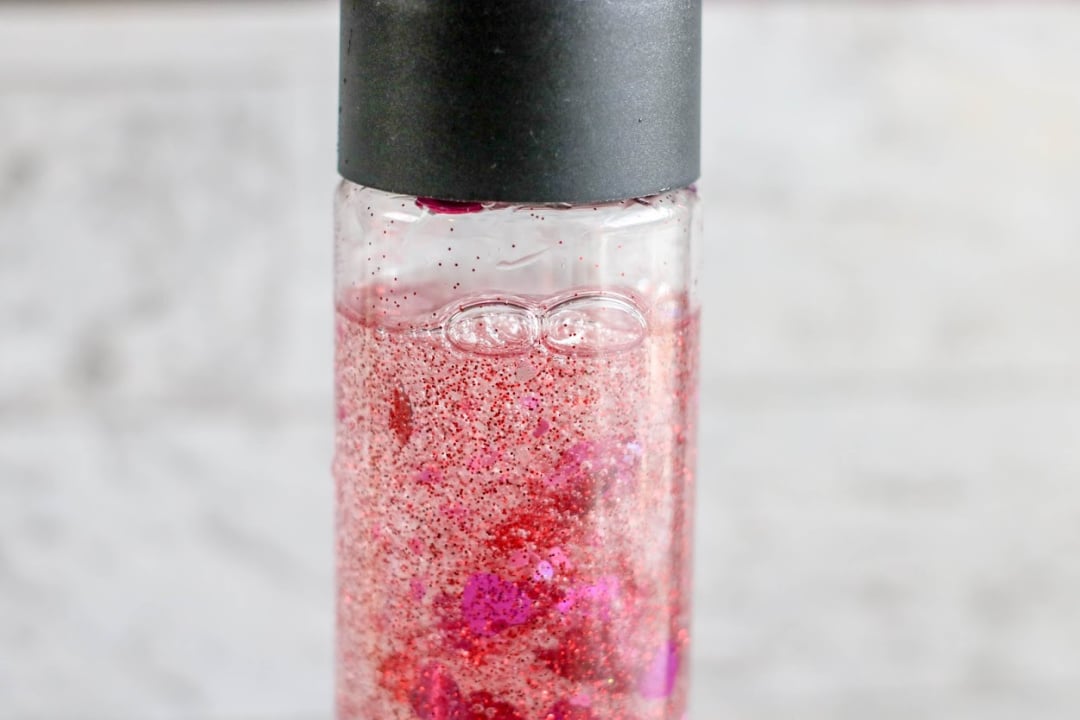
- 1 (13.6 to 16 ounce) clear sensory bottle
- 2 to 3 (6 ounce) bottles Elmer’s Glue in clear
- About 1 cup warm water
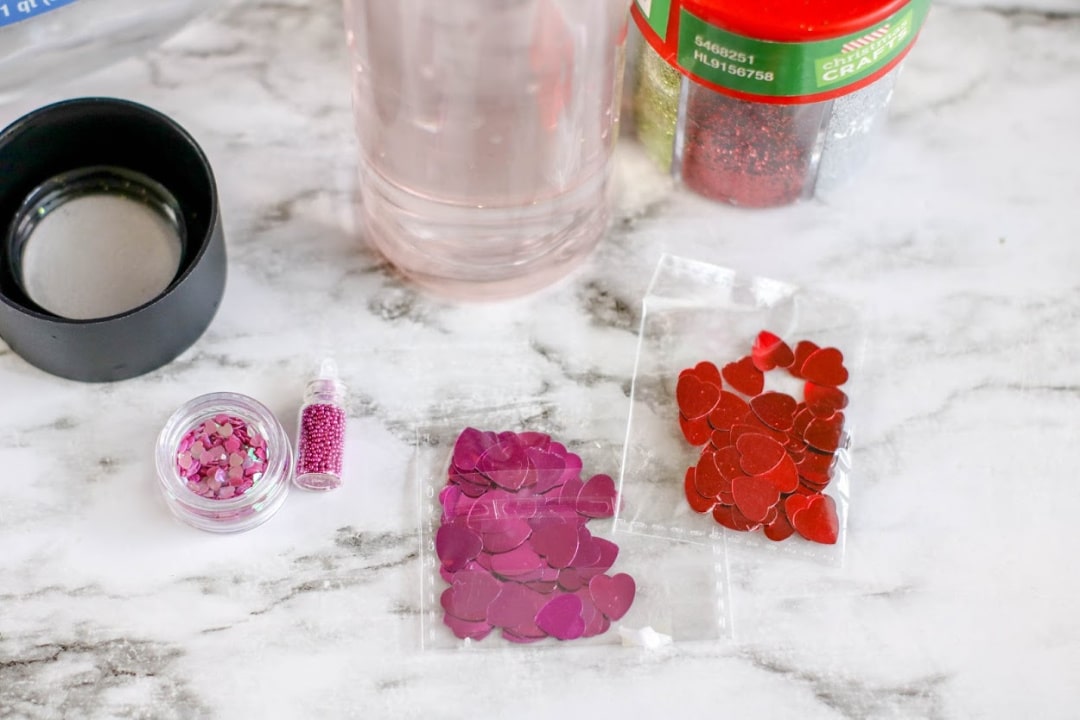
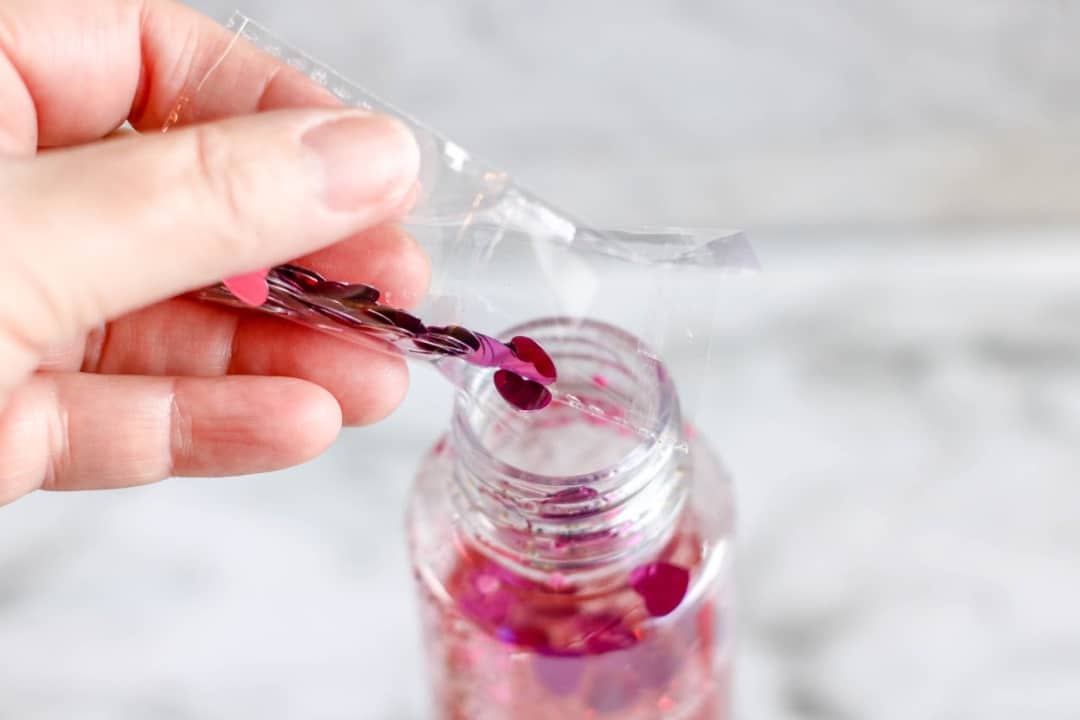
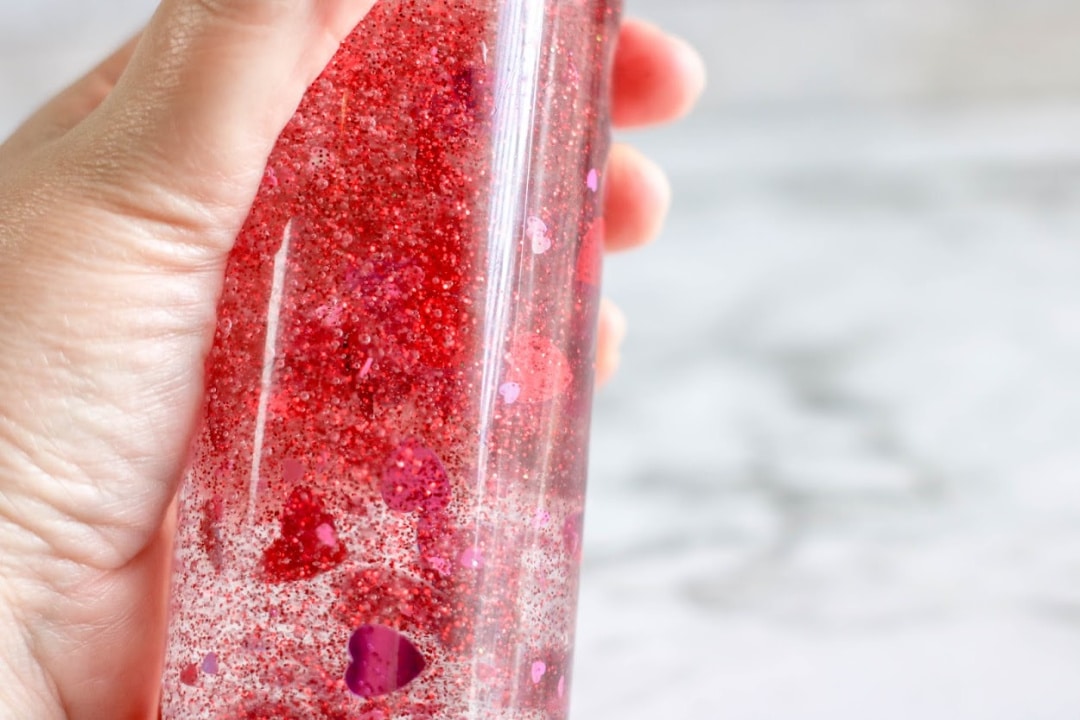
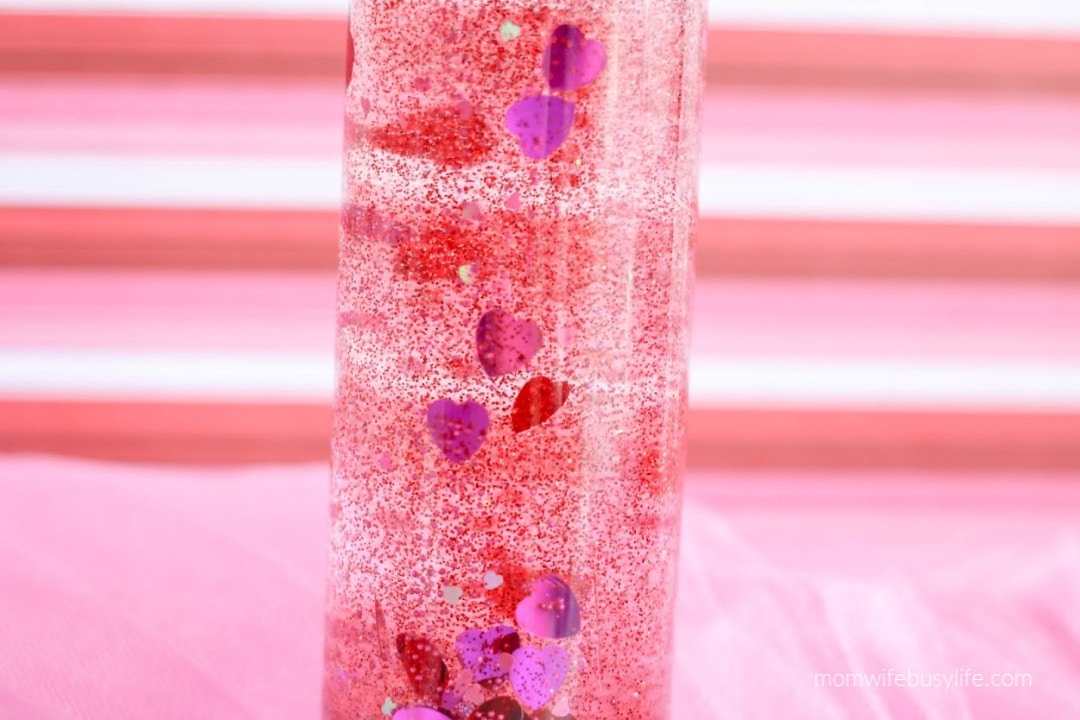
- 1 tbsp. heart confetti
- 1 tbsp. red glitter
- heart gems (if desired)
Directions:
Empty one bottle of glue into bottle.
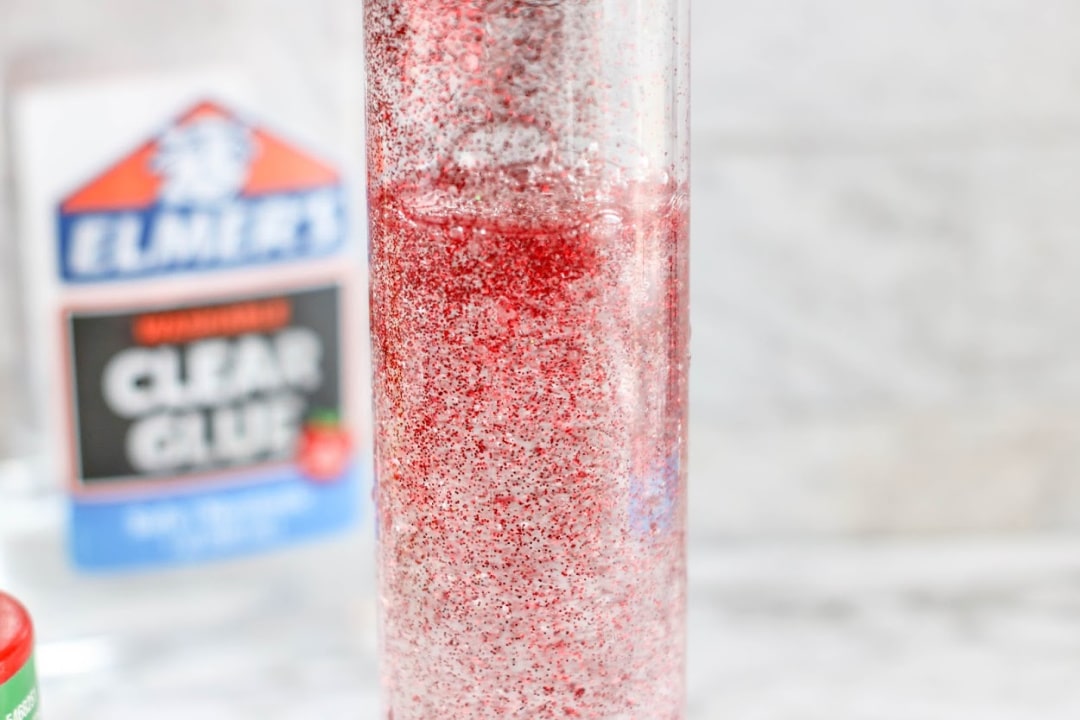
Fill the empty glue bottle about half full with warm water (about ¼ cup) and seal with the lid. Shake well to combine the remaining glue with the water. Pour into jar with glue and shake or stir to combine.
If you are adding glitter or toys, add part of the glitter and toys into the glue mixture.
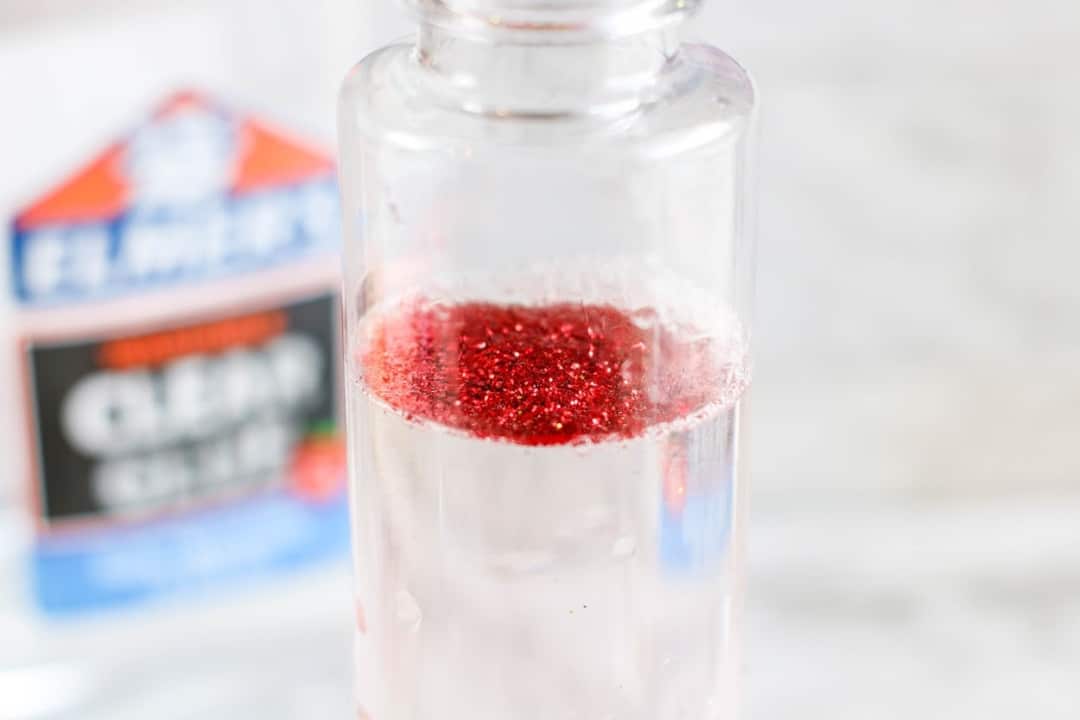
Seal the jar and shake well.
Note: If the glitter or confetti does not move easily, add more warm water. If the glitter or confetti moves too quickly, add additional glue. Continuing adding in layers with the glitter and toys until you achieve your desired effect.
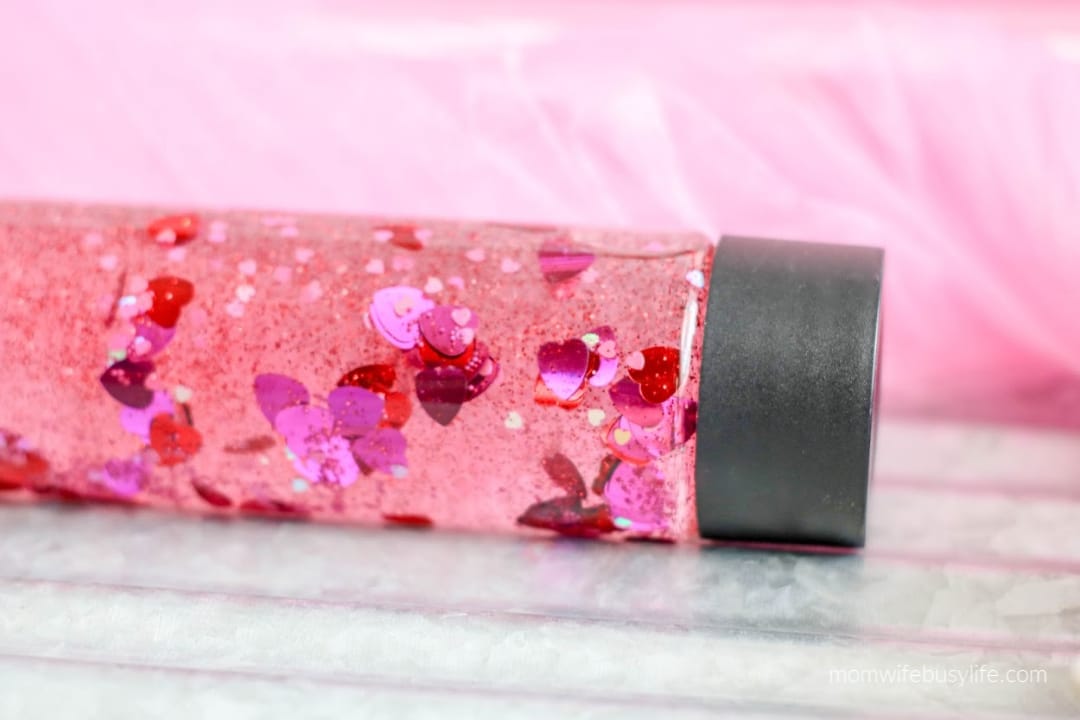
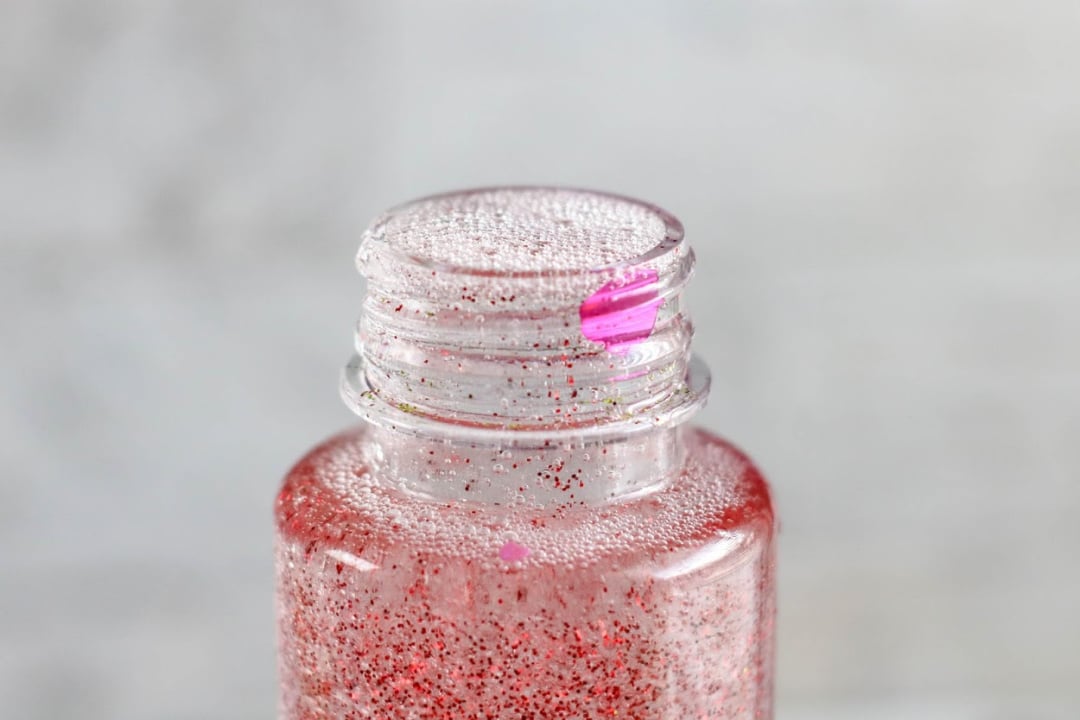
When the contents of the bottle move according to your preference, seal the bottle and glue the lid closed to avoid spills.
If desired, cover the lid with duct tape or additional decorations.
Valentine's Day Sensory Bottle
Materials
- 1 (13.6 to 16 ounce) clear sensory bottle
- 2 to 3 (6 ounce) bottles Elmer's Glue in clear
- About 1 cup warm water
- 1 tbsp. heart confetti
- 1 tbsp. red glitter
- heart gems (if desired)
Instructions
Empty one bottle of glue into bottle.
Fill the empty glue bottle about half full with warm water (about ¼ cup) and seal with the lid. Shake well to combine the remaining glue with the water. Pour into jar with glue and shake or stir to combine.
If you are adding glitter or toys, add part of the glitter and toys into the glue mixture.
Seal the jar and shake well. If the glitter or confetti does not move easily, add more warm water. If the glitter or confetti moves to quickly, add additional glue. Continuing adding in layers with the glitter and toys until you achieve your desired effect.
When the contents of the bottle move according to your preference, seal the bottle and glue the lid closed to avoid spills.
If desired, cover the lid with duct tape or additional decorations.
Frequently Asked Questions
Can I use a different type of glue for this craft?
While you can experiment with other types of glue, clear Elmer’s Glue is recommended for its consistency and clear color, which gives the best visual effect for the sensory bottle.
Is this activity suitable for very young children?
Absolutely! However, it’s important to supervise young children, especially when working with small objects like heart gems. For toddlers, you might skip the small gems to avoid any choking hazards.
How long does the sensory bottle last?
The sensory bottle can last for several months. However, over time, the contents might settle or change consistency. You can always open it up, adjust the contents, and reseal it for extended use.
Can I use food coloring in my sensory bottle?
Yes, you can add a few drops of food coloring to the water for a tinted effect. Just be mindful that adding too much can make the contents less visible.
What if I don’t have heart confetti or red glitter?
Feel free to get creative! You can use any type of glitter or confetti. The idea is to have items that will move around in the liquid and create a visually appealing effect.
How can I make this craft educational?
Discuss the science behind the sensory bottle with your kids. Talk about the density of the materials, why some things float while others sink, and how mixing water and glue creates a unique viscosity.
Is it necessary to glue the lid shut?
It is advisable, especially if young children will be playing with the bottle. This prevents spills and ensures the contents stay inside the bottle.
Can the sensory bottle be used as a calming tool?
Yes, sensory bottles are often used as calm down tools for children. Watching the glitter and confetti slowly settle can be very soothing and help children self-regulate their emotions.
What other occasions can I make a sensory bottle for?
Sensory bottles can be made for any occasion! Just change the colors and types of items you put inside to match themes like Halloween, Christmas, summer, or even a favorite color.
Can this craft be made in a group setting like a classroom or party?
Definitely! It’s a great group activity. Just make sure you have enough supplies for everyone. You can even turn it into a learning session about sensory play and self-regulation strategies.