-
Elf Printable Props
Elf Popcorn Props Elf Basketball Props Elf Brown E’s Props Elf Camping Props Elf I’m Back Letter Elf Surveillance Camera Elf Surveillance Pack Easy Elf Printable Props for Simple December Setups When the holiday season gets busy, keeping up with daily Christmas Elf ideas can start to feel like another task on your already full…
-
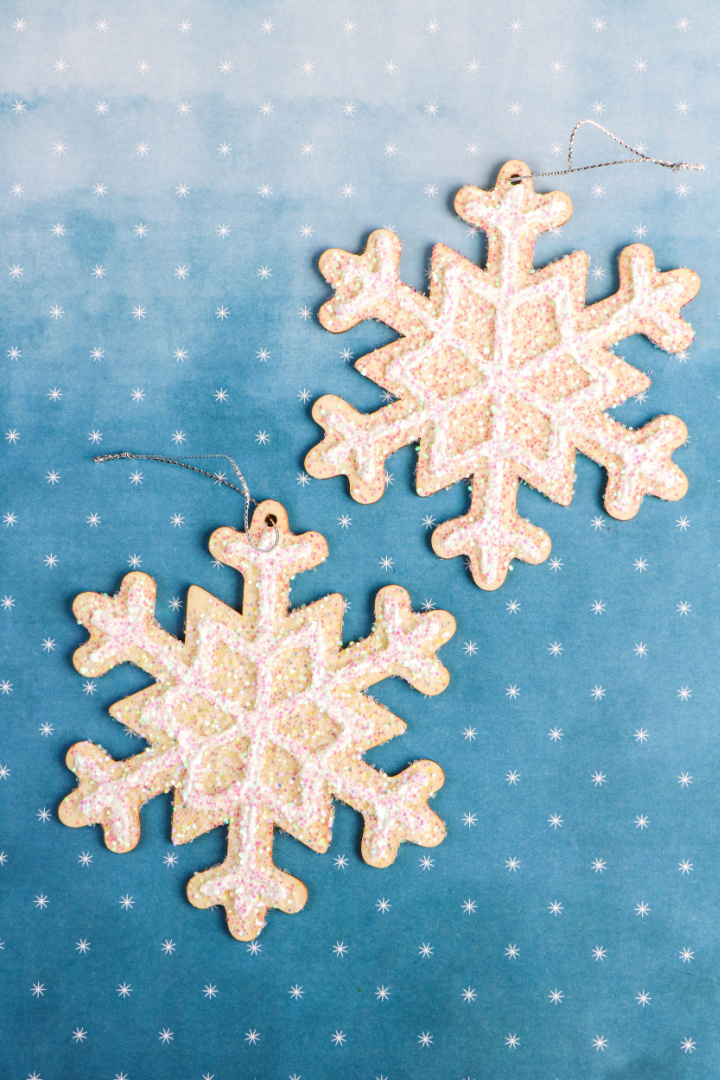
Wooden Snowflake Ornament
If you’re looking for a fun and festive DIY project to do with the kids this winter, look no further than this sparkly Wooden Snowflake Ornament! It’s easy to make and only requires a few simple materials. Plus, it’s a great way to get the kids into the holiday spirit! Snowflake Wind Chime Snowflake Popsicle…
-
FREE Elf Arrival and Departure Letter Printable
Get excited for the holidays with this FREE Elf Arrival and Departure Letter printable! This is a 3 page printable! Order Now: Elf Kits for 2023 This fun tradition is a great way to get your family into the holiday spirit, and it’s sure to bring some laughs along the way. Elf I’m Back Letters (More…
-
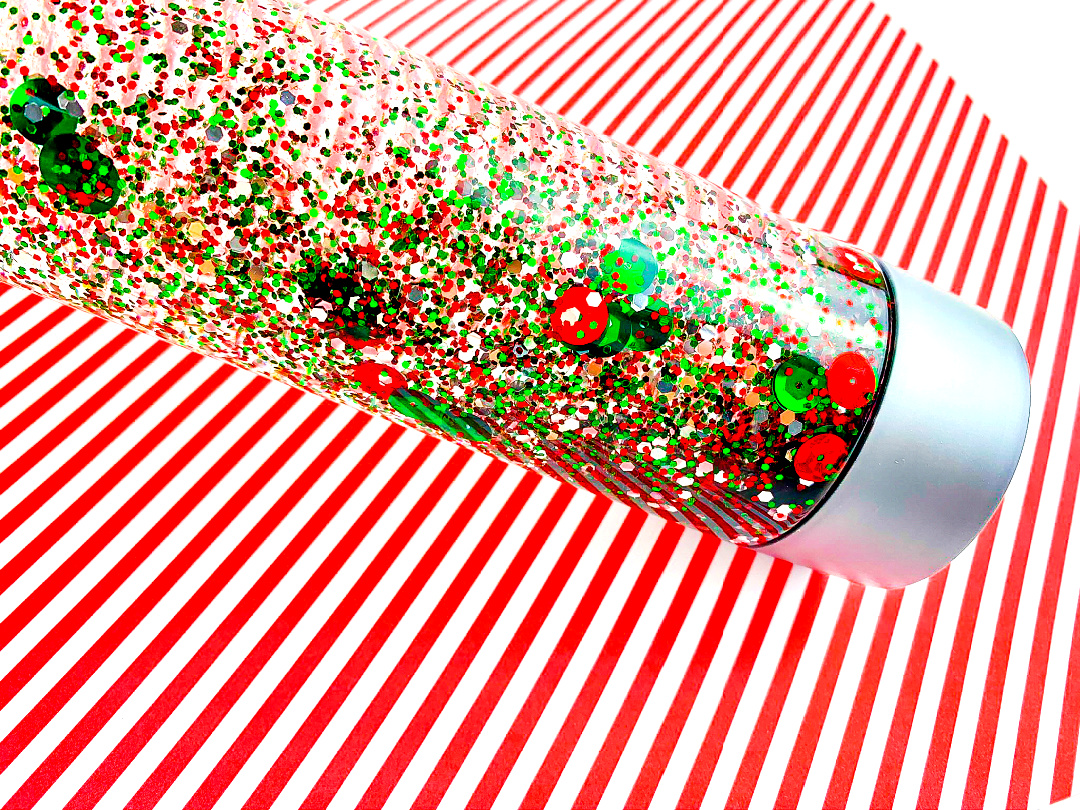
Christmas Sensory Bottle
Create this fun and festive red and green Christmas Sensory Bottle to keep the kids entertained this holiday season! Sensory bottles are a great way to keep kids engaged! Using their senses of sight and touch, kids can observe what happens with the contents of each sensory bottle. For this Christmas sensory bottle, I used…
-
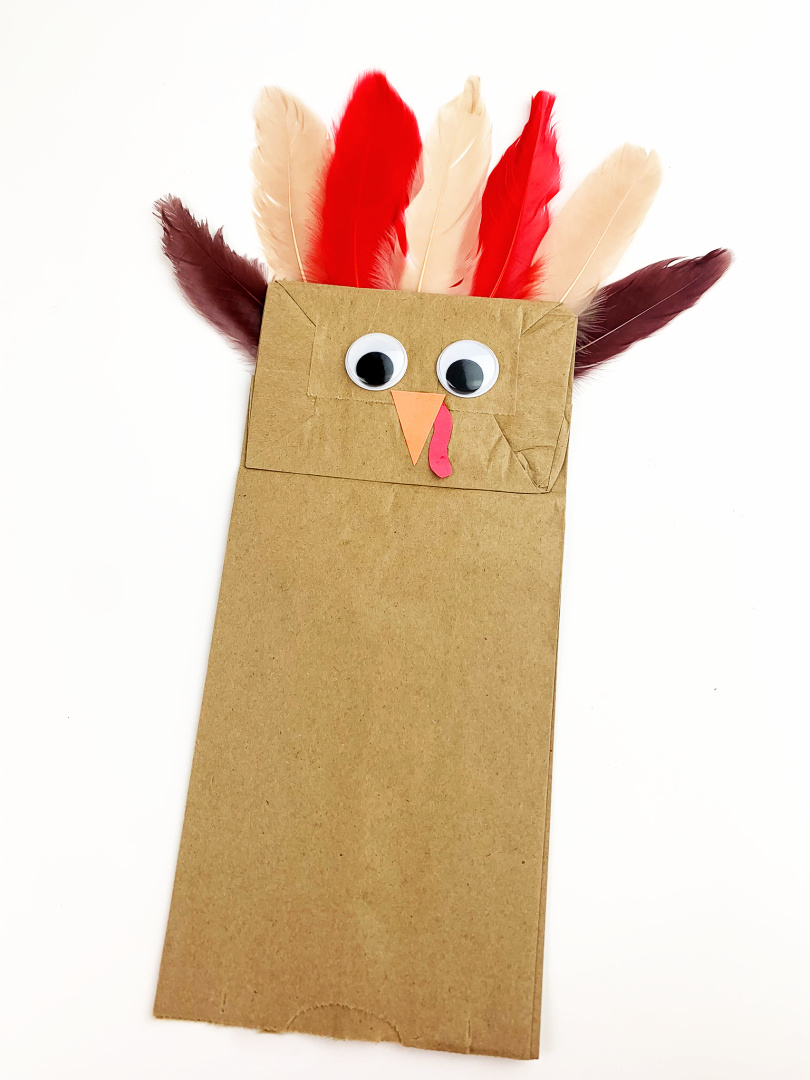
Paper Bag Turkey Craft
Is your Thanksgiving Day planned yet? If you are still looking for ideas, we’ve got one that is easy and fun for the kids – a Paper Bag Turkey Craft! With just a few supplies, you can have this project ready in no time. The best part is that the kids can get creative and…
-
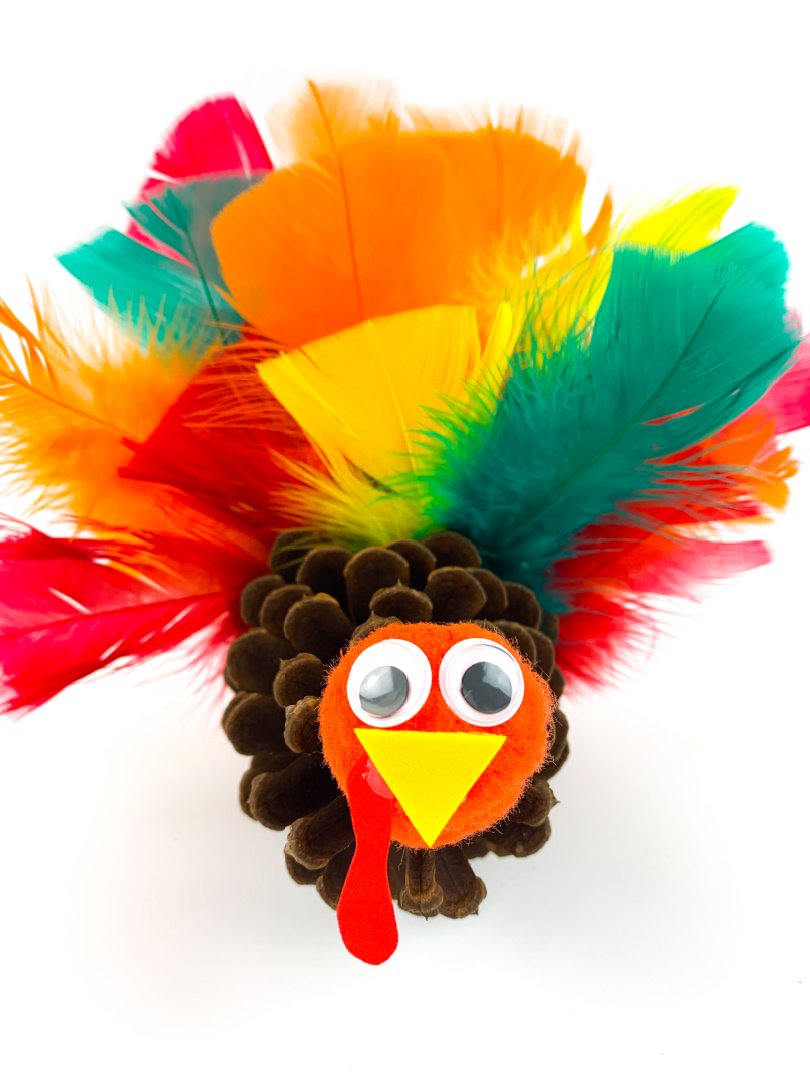
Pine Cone Turkey Craft
Pine cone crafts are fun to make! Get creative this fall with pine cones and create this adorable Pine Cone Turkey Craft! Did you know that you can create a variety of pine cone crafts with the pine cones you find laying around in your own neighborhood? Follow along as I plan to create a…
-
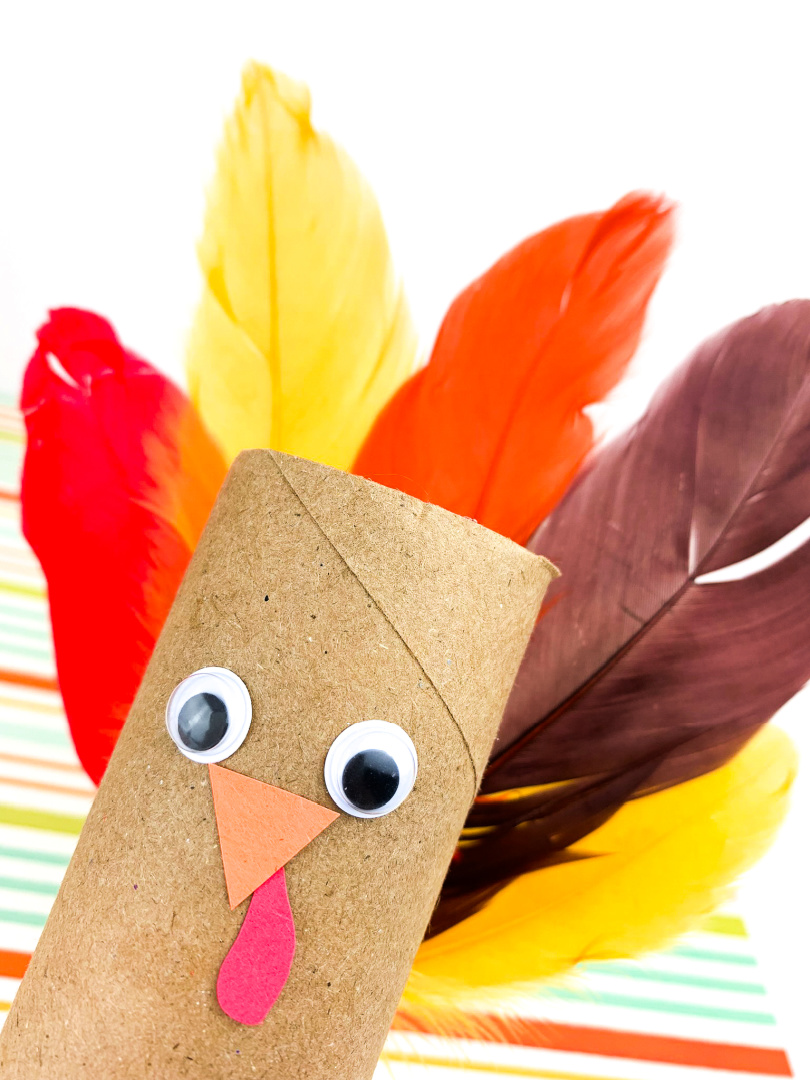
Toilet Paper Roll Turkey Craft
Looking for a fun and easy Thanksgiving craft project that kids can help with? Try making a Toilet Paper Roll Turkey Craft! This is a great way to use up leftover rolls of toilet paper, and the finished project is adorable. Kids will love putting on the finishing touches, like feathers and googly eyes. Gather…