-
Christmas Q Tip Painting
Enjoy these Christmas Q Tip Painting templates this winter season! Includes a gingerbread man, gift, set of bells, Christmas tree, and a candy cane. 100 Pages Q-tip Painting Mega Bundle Christmas Q Tip Painting >> CLICK HERE TO SIGN UP FOR MY EMAIL LIST AND GET ACCESS TO THIS FREE PRINTABLE! Supplies needed: >> CLICK HERE…

-
Pine Cone Christmas Tree
Create this festive and colorful Pine Cone Christmas Tree and display this fun craft in your home or classroom this holiday season! Pine cone Christmas trees are a cute, natural way to decorate your home for the holidays. This tutorial will show you how to make one using just a few materials. Plus, it’s easy…
-
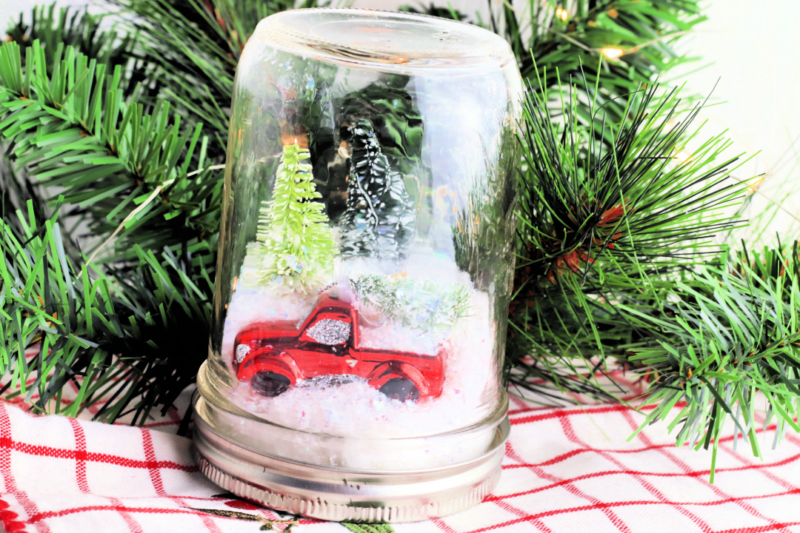
Red Truck Snow Globe Christmas Decoration
Create this Red Truck Snow Globe Christmas Decoration to display in your home this holiday season! Are you wanting to decorate your home for the holidays? Consider making your own easy Christmas decor! Snow globes are easy to make! You can create a variety of snow globes to display in your home. This year, I’m…
-
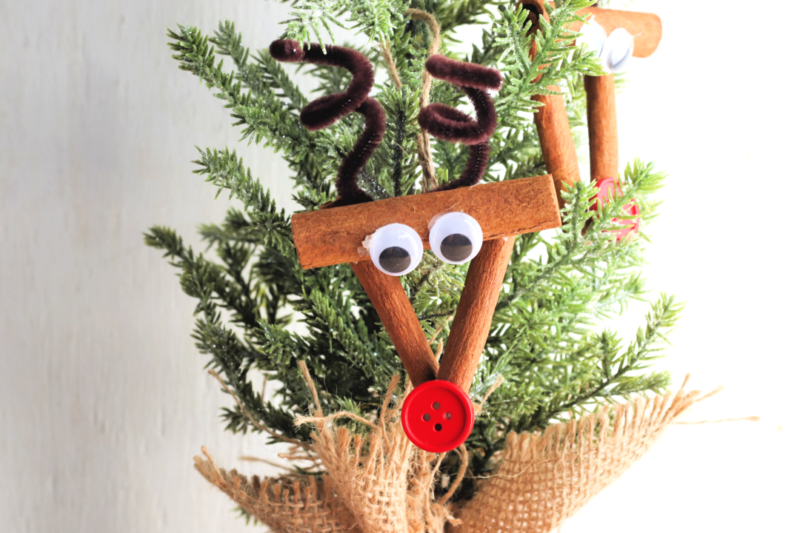
Reindeer Christmas Ornament
Create this adorable Reindeer Christmas Ornament to display on your Christmas tree this year! The countdown to Christmas is here! Christmas will be here before we know it! Do you have plans to decorate the Christmas tree this year? There’s always a great debate on what time everyone decides to put a Christmas tree up.…
-
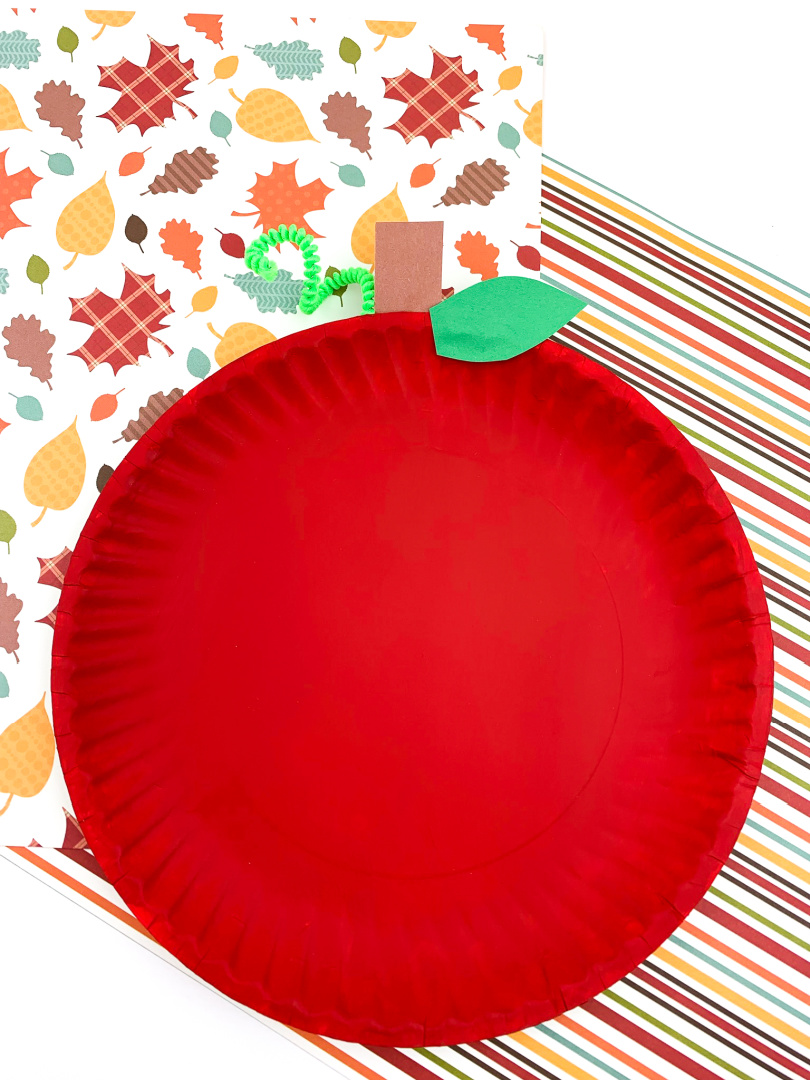
Fall Paper Plate Apple Craft
Paper plate crafts are fun to make! Create this Fall Paper Plate Apple Craft for the fall season! It doesn’t matter how old you are, there’s always an opportunity to make crafts with paper plates! Paper plate crafts can be simple and quick or more complicated. Whether you’re looking for a craft to do with…
-
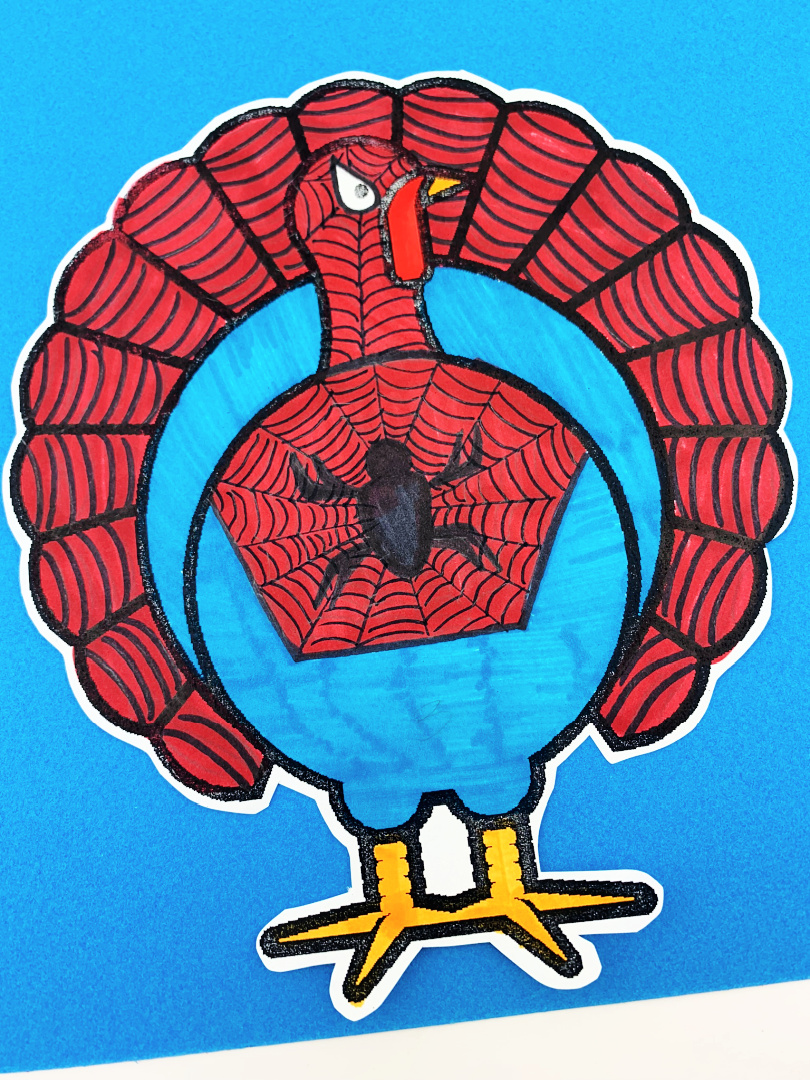
Disguise a Turkey Spiderman
Calling all Marvel fans! If your child loves Spiderman, consider making this Disguise a Turkey Spiderman this season! Are you disguising a turkey this year for a homeschool project, school project, or just for fun? My son loves Spiderman currently, so we wanted to make our own Disguise a Turkey Spiderman this year! You may…
-
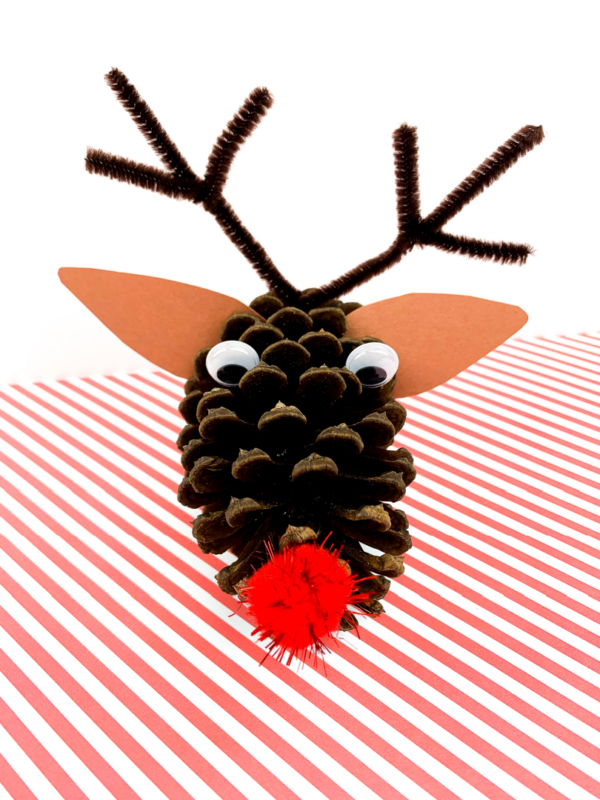
Pine Cone Reindeer
Create this adorable Pine Cone Reindeer craft with the kids this holiday season! Display in your home for Christmas. Pine cone crafts are fun to make! You can turn a pine cone into so many cute crafts this year. When you are out on your next walk with the kids, find a few pine cones…