-
Valentine’s Day Ribbon Tree Decoration
Create this beautiful Valentine’s Day Ribbon Tree Decoration to display in your home or classroom this year! If you are looking for a fun Valentine’s Day craft to do with you tween or teenager, this craft is perfect! Kids will love creating this Valentine’s Day Ribbon Tree using a variety of different ribbon choices! Valentine’s…
-
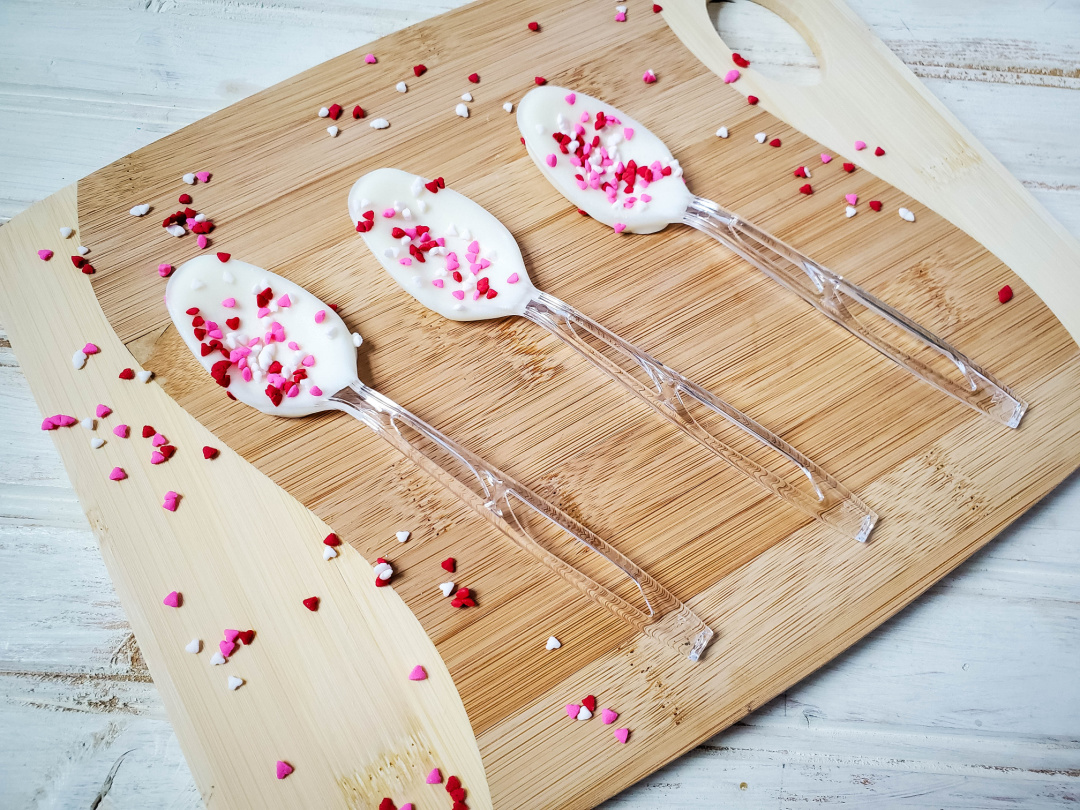
Valentine’s Day Chocolate Covered Spoons
Valentine’s Day Chocolate-Covered Spoons: A Sweet and Simple Treat for Moms Valentine’s Day is a special occasion that calls for a little extra love and sweetness. As a busy mom, finding the time to create elaborate treats might be challenging, but don’t worry! Making chocolate-covered spoons is not only easy but also a fun activity…
-
Printable Valentine’s Day Math Activities
Enjoy these FREE Printable Valentine’s Day Math Activities during the month of February! These Valentine Day themed math printables are a great way to practice basic math skills for kids! Printables are great for moms that homeschool, teachers that need supplemental activities at school, or use these printables at home for extra math practice with…
-
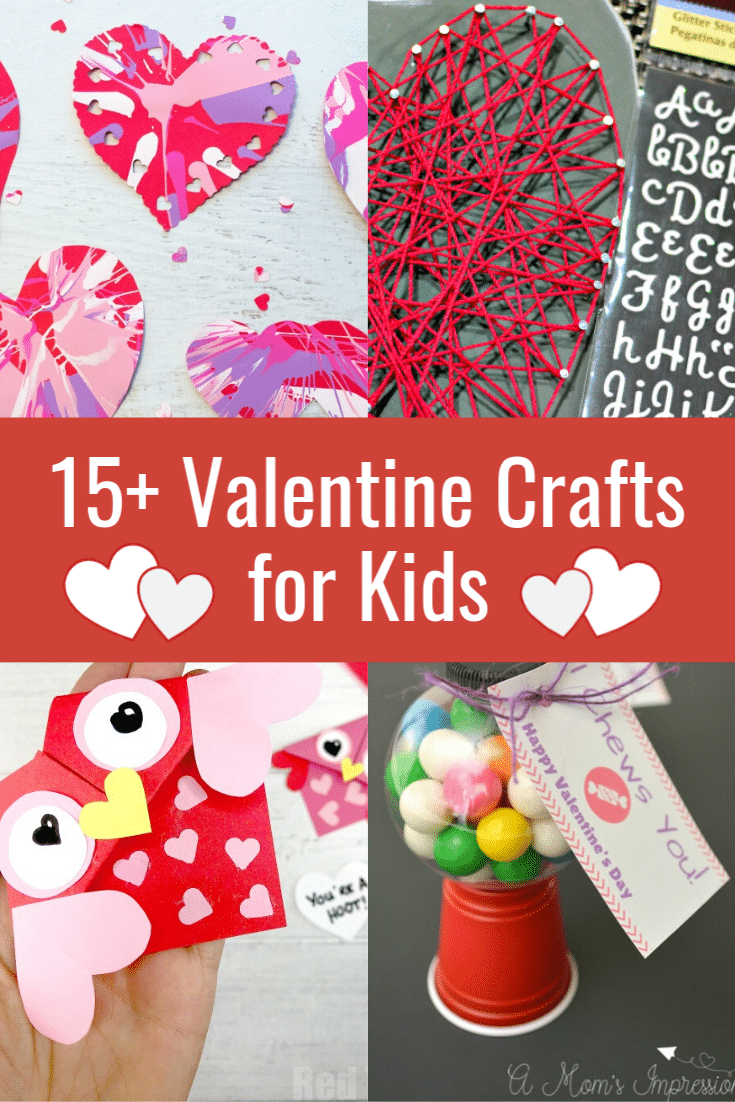
15+ Valentine Crafts for Kids
Are you looking for Valentine Crafts for Kids? You are in the right place! With Valentine’s Day approaching, it’s a great time to plan ahead and start gathering the supplies you’ll need to create the Valentine’s Day crafts that you see below. Kids love creating crafts. As a mom, I always encourage spending quality time…
-
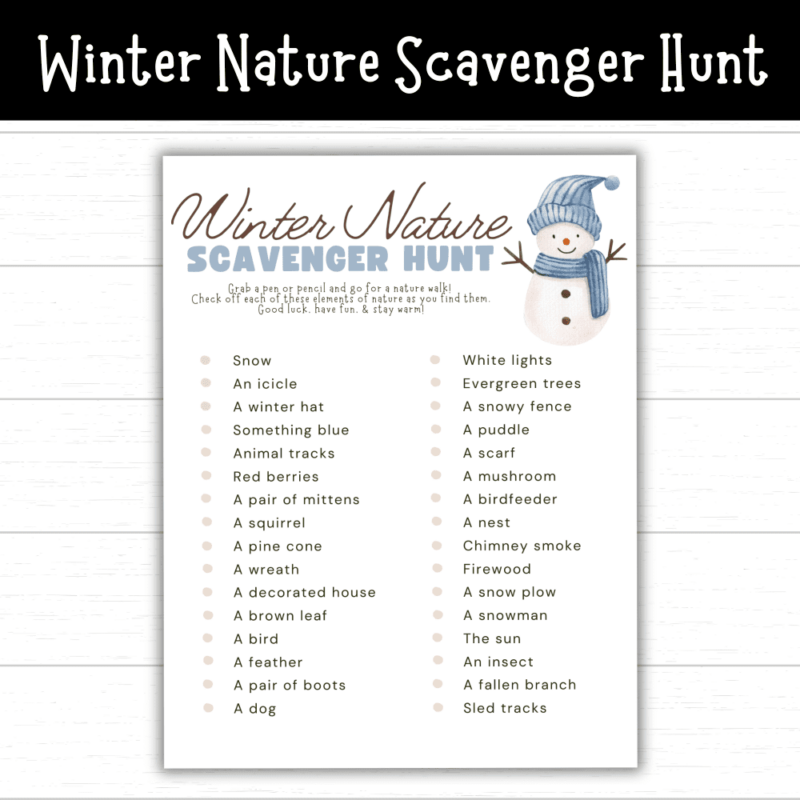
Winter Nature Scavenger Hunt Printable
Unlock Winter Fun with the Ultimate Winter Wonderland Scavenger Hunt for Your Kids! Are you looking for a fresh, engaging way to entertain your kids this winter? Look no further! I have the perfect solution – a Winter Nature Scavenger Hunt printable that provides endless outdoor fun and learning for your little ones. Winter Nature…
-
Design a Pair of Mittens
Keeping Little Hands Busy: The “Design a Pair of Mittens” Printable Activity for Kids Winter can be a magical time for our little ones, but let’s be honest, keeping them entertained indoors can sometimes be a challenge. That’s where the “Design a Pair of Mittens” printable activity comes into play – a perfect, fuss-free solution…
-
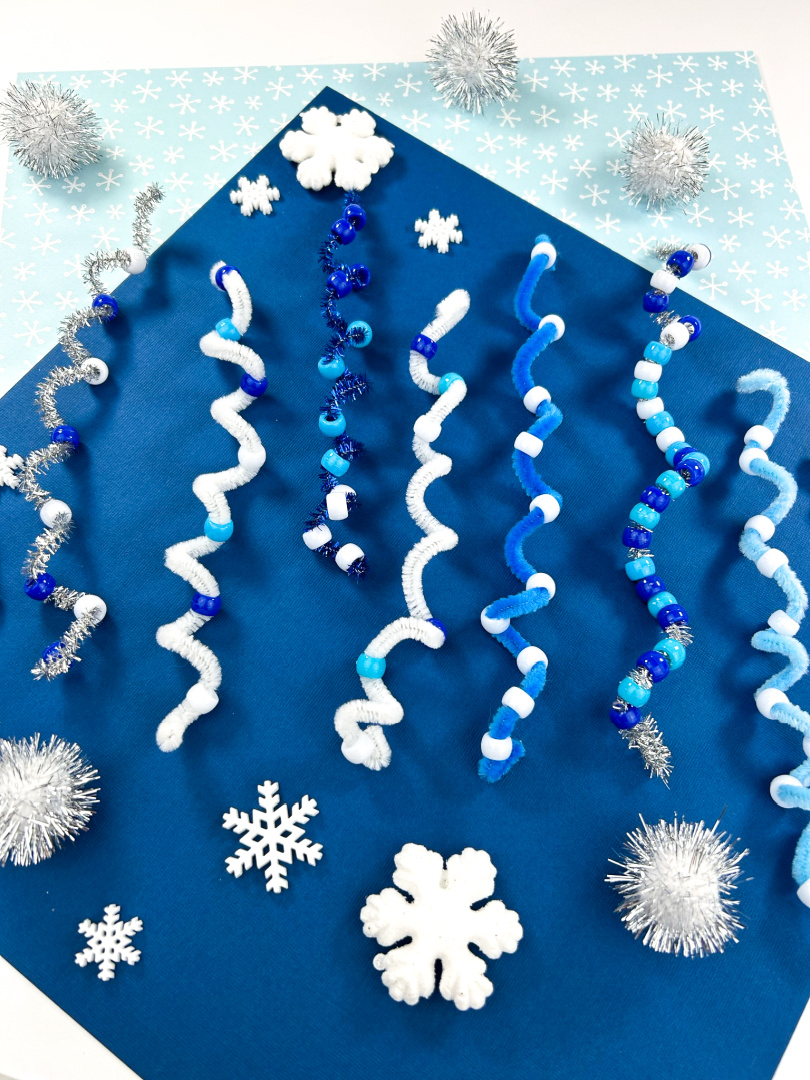
Pipe Cleaner Icicles
Now that the weather is cooling down, it’s the perfect time to enjoy some winter crafts with your little ones. This Pipe Cleaner Icicles craft made with pipe cleaners and pony beads is a great way to get your preschoolers involved in some creative fun. Add an ornament hook to make ornaments! As the winter…