-
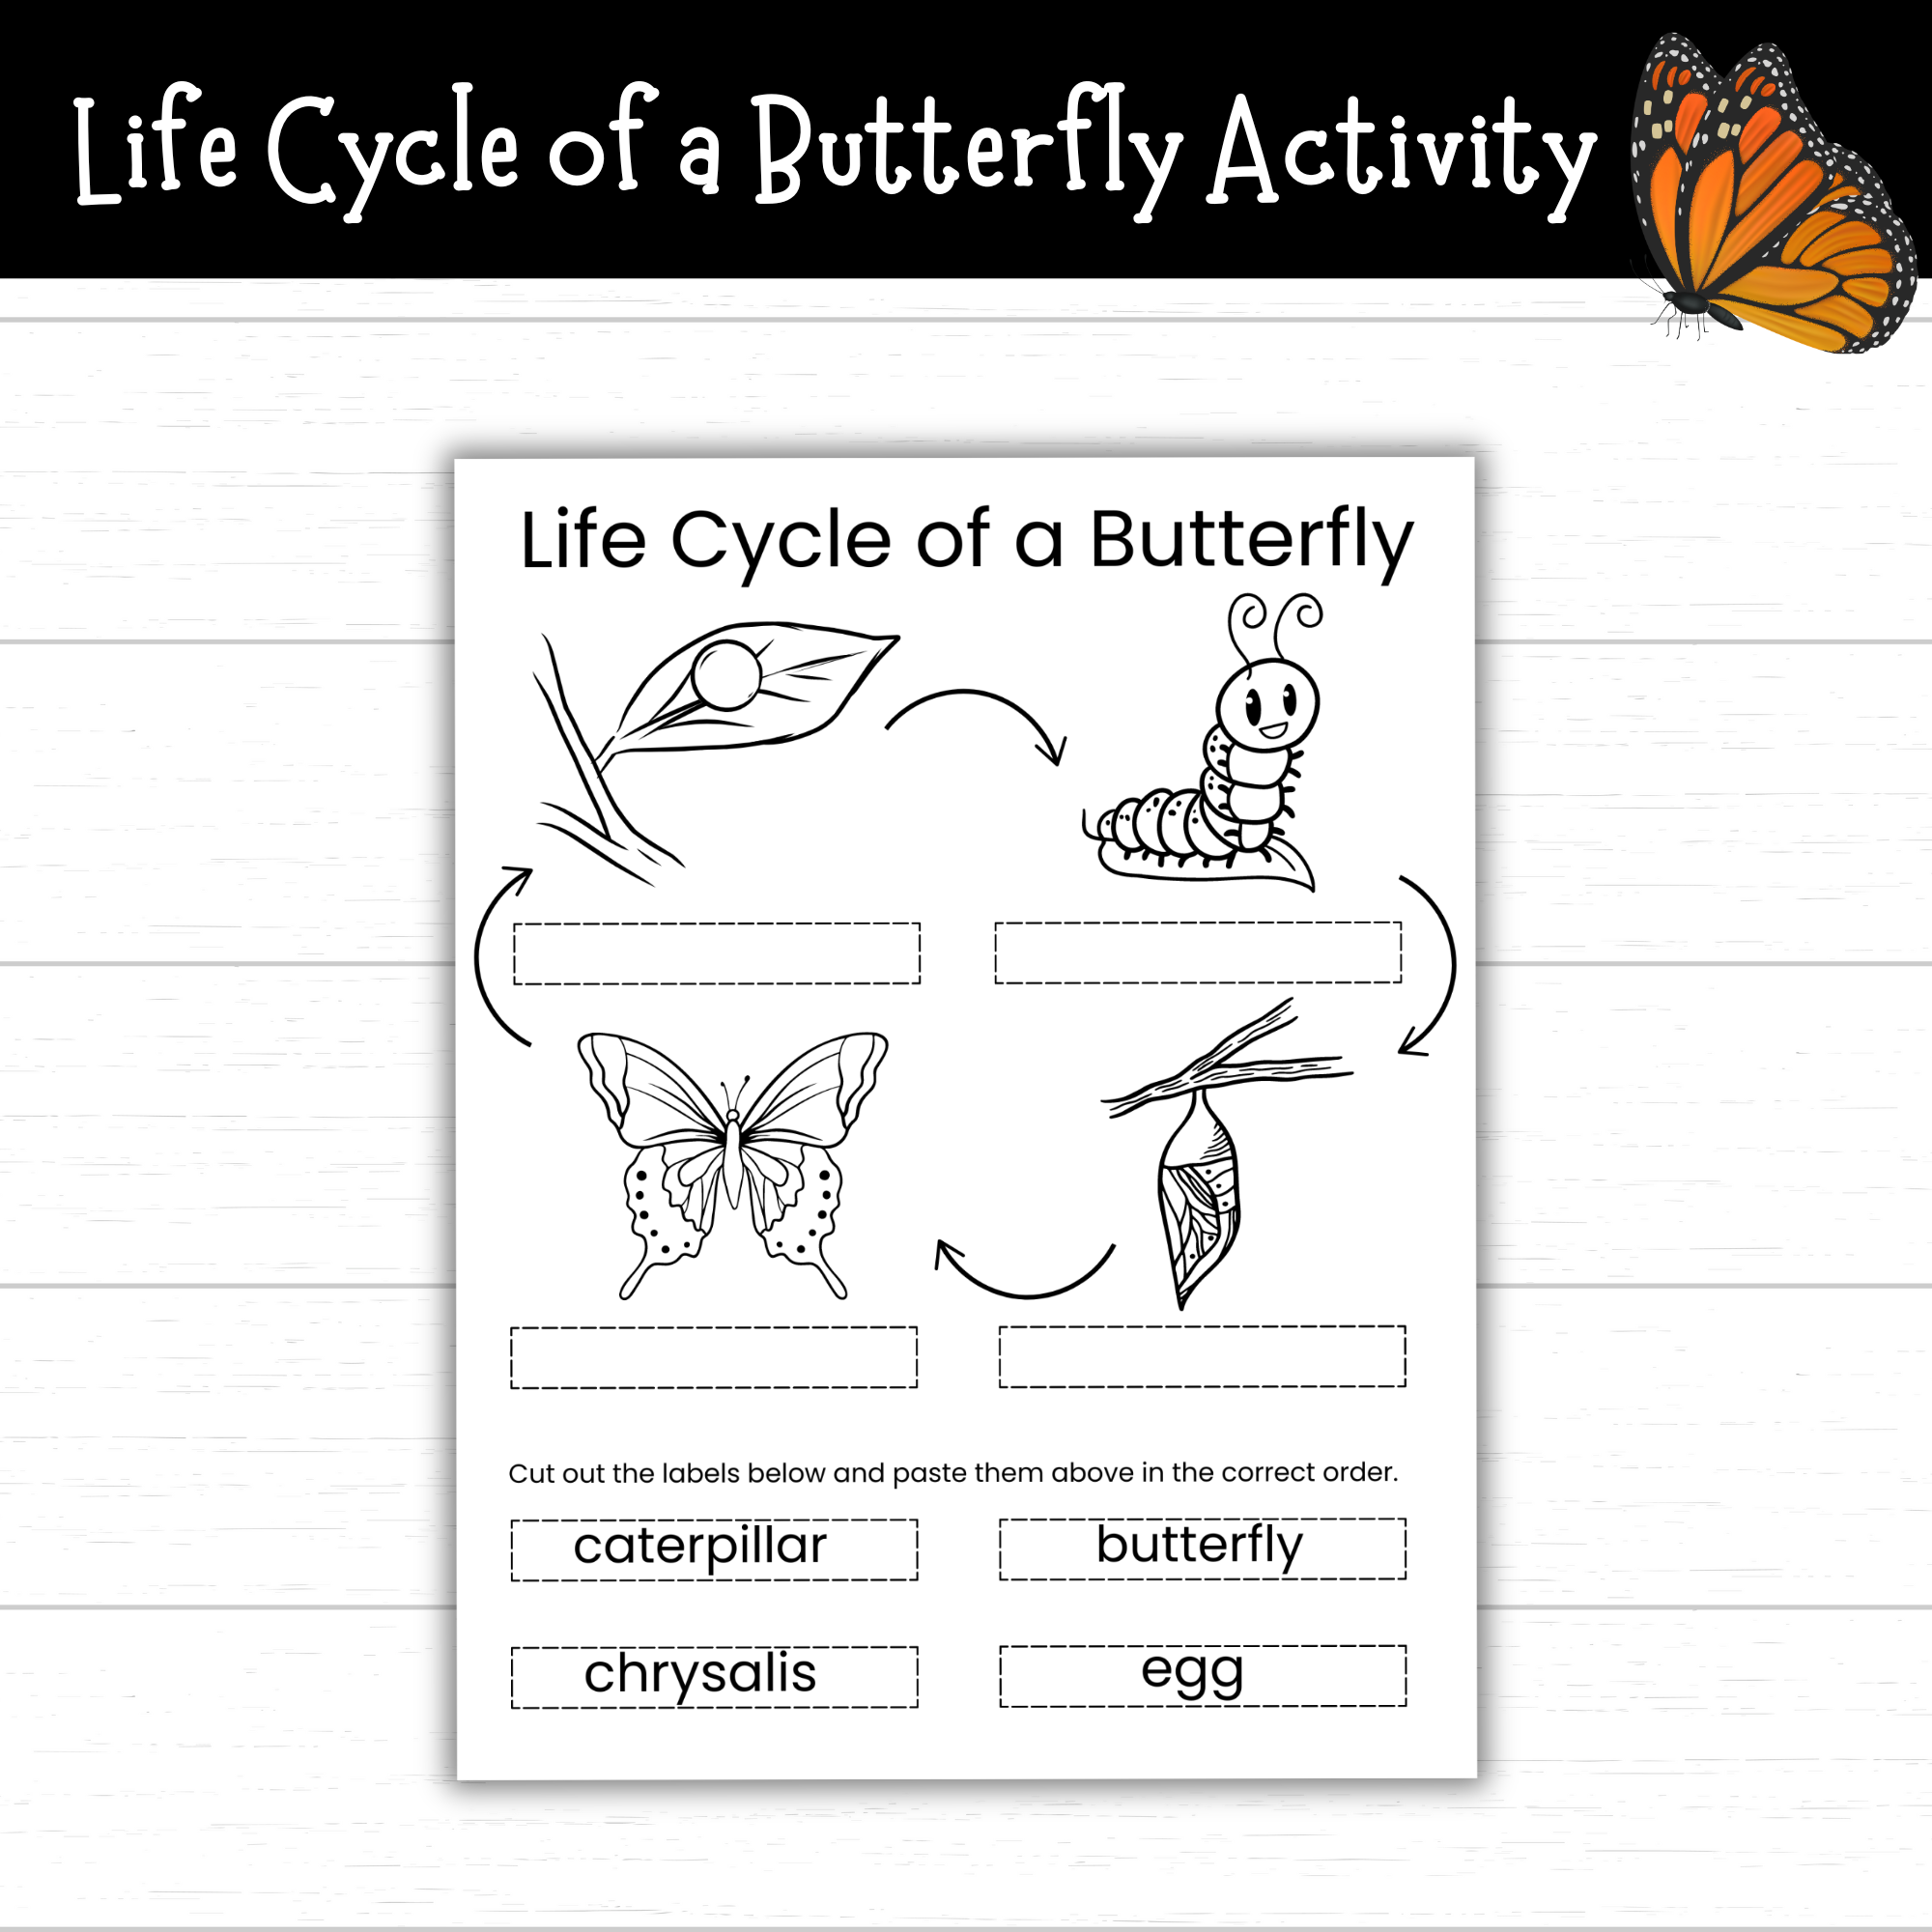
Printable Life Cycle of a Butterfly Cut and Paste Activity
Are you constantly on the lookout for educational activities that are not only engaging but also convenient for your bustling lifestyle? Look no further! Today I’m sharing the Butterfly Life Cycle Printable – a science resource designed to spark curiosity and learning in your little ones while fitting seamlessly into your busy schedule. Life Cycle…
-
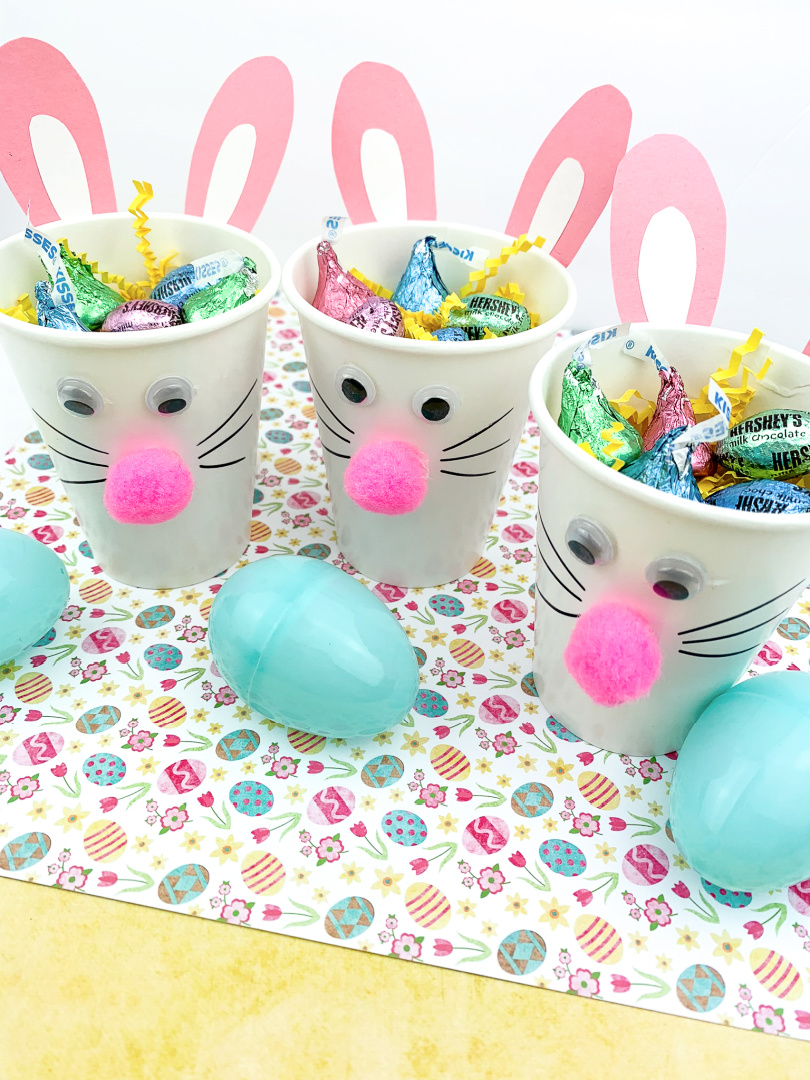
Easter Bunny Treat Cups
What could be more fun than getting together with your friends to make Easter bunny treat cups? Are you on the hunt for a hassle-free Easter activity to enjoy with your kids? Dive into the joy of crafting with these simple Bunny Treat Cups, perfect for busy moms like you. These Bunny Treat Cups are…
-
Coffee Container Bird Feeder House
Learn how to create this adorable Coffee Container Bird Feeder House for your backyard birds this spring season! Creating our own bird feeders is a family activity that we enjoy working on together. We currently feed a variety of backyard birds! Due to the amount of birds that we have visiting our yard on daily…

-
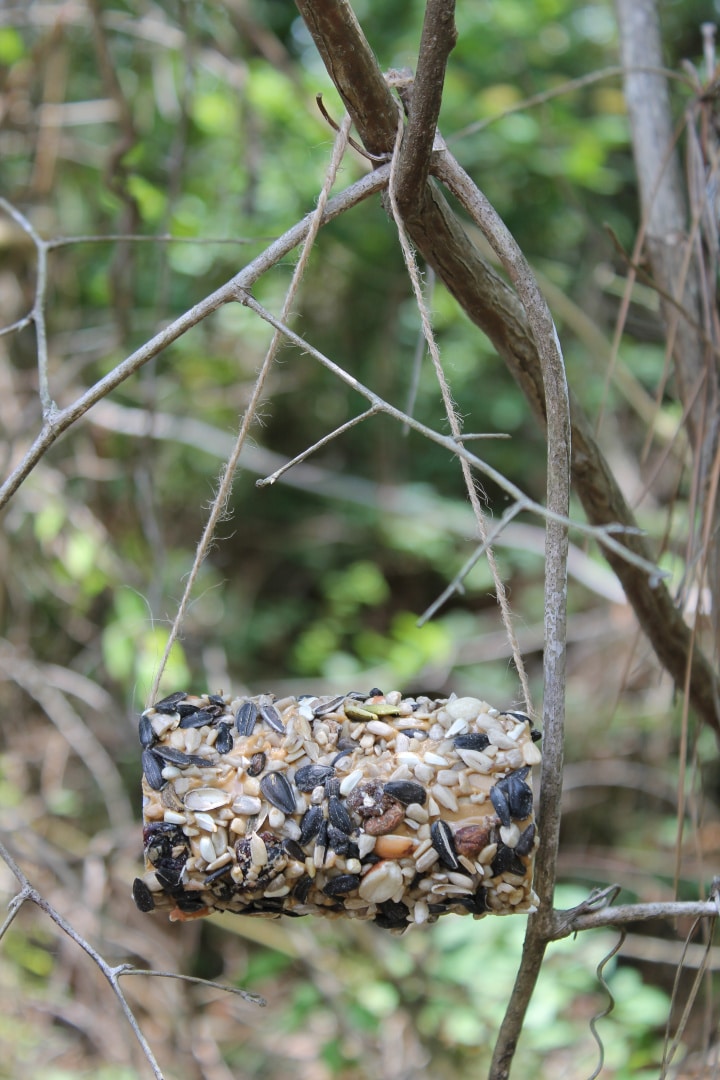
Toilet Paper Roll Bird Feeder
Save your empty toilet paper rolls to create this Toilet Paper Roll Bird Feeder craft for your backyard! Bird watching has become a hobby of ours since we recently moved back home to the South! We recently invested in a bird feeder, bird bath, and quality bird seed to create a pretty amazing little sanctuary…
-
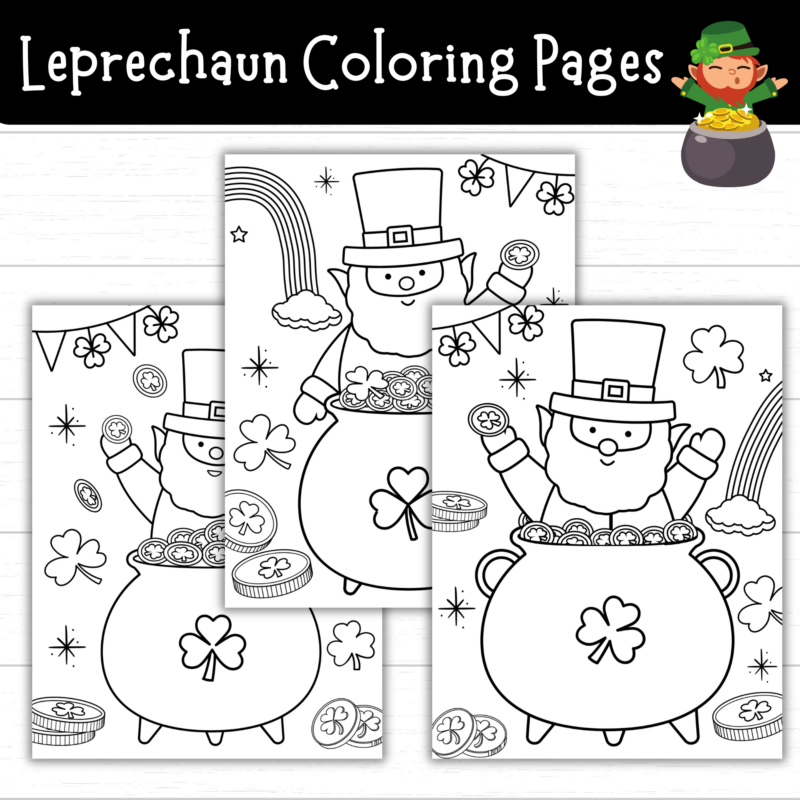
Printable Leprechaun Coloring Pages
As March approaches, the excitement for St. Patrick’s Day fills the air! It’s the perfect time to infuse your home with the charm and magic of this festive occasion. And what better way to do that than with a printable pack of 3 Leprechaun Coloring Pages? Printable Leprechaun Coloring Pages Buy now on Etsy |…
-
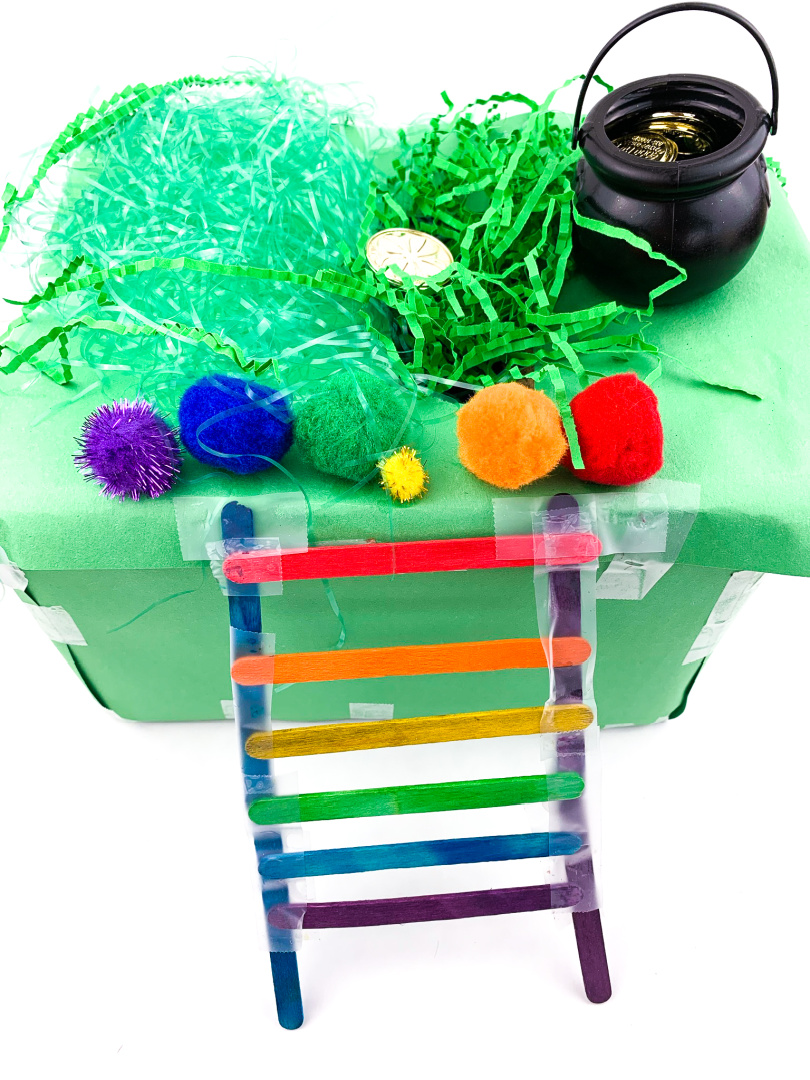
How to Make a Leprechaun Trap
Learn how to catch a Leprechaun! In this post I share with you a tutorial on how to make a Lephrechaun Trap! What child hasn’t tried to catch a leprechaun at least once in their life? It seems like every year around St. Patrick’s Day, the little green men start popping up everywhere. While some…
-
Leprechaun Hat Popsicle Stick Craft
Create this fun and festive Leprechaun Hat Popsicle Stick Craft for St. Patrick’s Day this year! Celebrate St. Patrick’s Day with a few fun crafts for the kids! Today, I’m sharing my Leprechaun Hat Popsicle Stick Craft tutorial with you! Get out your craft supplies and enjoy creating this hat to display this year in…