

Valentine’s Day Chocolate-Covered Spoons: A Sweet and Simple Treat for Moms
Valentine’s Day is a special occasion that calls for a little extra love and sweetness. As a busy mom, finding the time to create elaborate treats might be challenging, but don’t worry!
Making chocolate-covered spoons is not only easy but also a fun activity to involve your kids in the kitchen.
Chocolate Covered Strawberries
Valentine’s Day Marshmallow Pops
Here’s how, when, where, and why these adorable Valentine’s Day gifts are perfect for you.
Why Make Chocolate-Covered Spoons?
Perfect for Hot Drinks
These spoons, dipped in melted chocolate, transform a simple cup of coffee or hot cocoa mix into a delightful experience.
Imagine stirring your morning coffee with a spoon that slowly melts, releasing a rich chocolate flavor.
Fun and Easy
Using items like a plastic spoon, parchment paper, and your choice of chocolate (white chocolate chips or milk chocolate), this simple food craft doesn’t require professional skills.
It’s a great way to introduce your kids to cooking and enjoy quality time together.
Versatile for Gifting
Wrapped in little cellophane bags or placed in mason jars, these spoons make adorable Valentine’s Day gifts or DIY gifts.
They add a thoughtful touch to a homemade gift basket or can be a standalone present for teachers, friends, or family.
How to Make Them
You don’t need a fancy spoon mold; any kind of spoons, like plastic or wooden spoons, will do.
Melt your choice of chocolate – white chocolate candy melts, dark chocolate, or even peanut butter chips – in a heat-safe bowl.
You can use a double boiler or a microwave-safe bowl, heating in 30-second intervals.
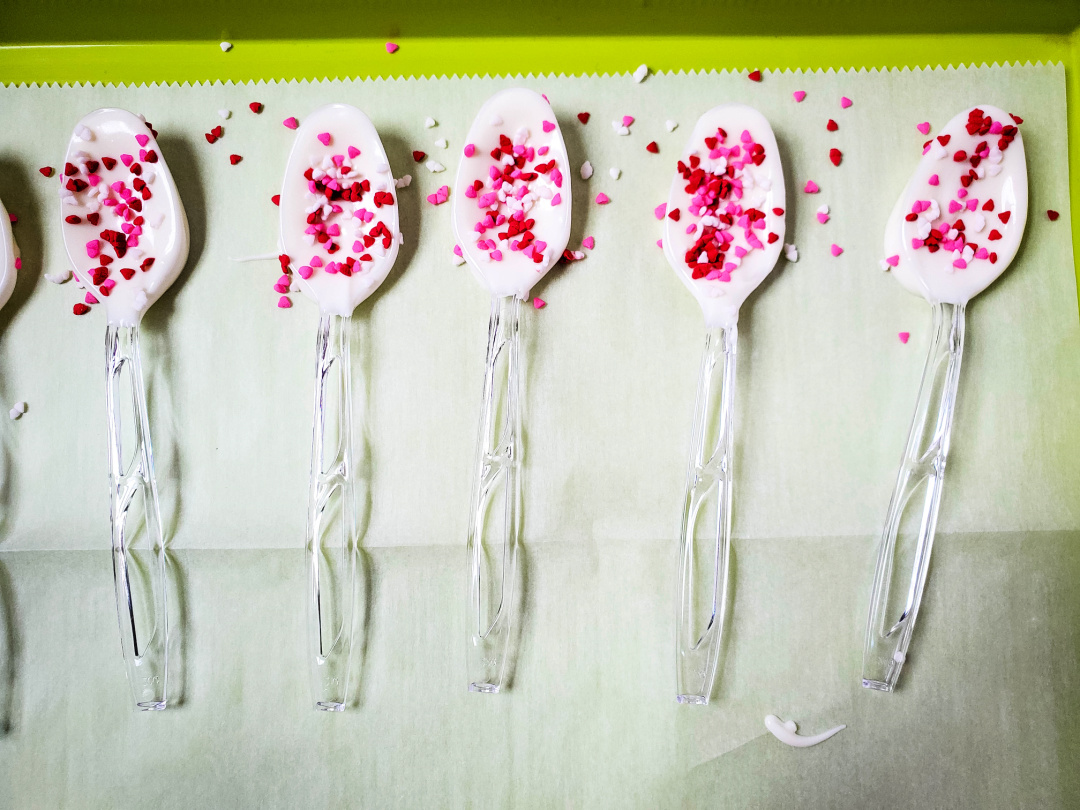
Once the chocolate is melted to a smooth consistency, dip the spoon in, ensuring the well of the spoon is fully coated.
Here’s where you can get creative: sprinkle some Valentine sprinkles, crushed candy cane, or mini marshmallows on top of the chocolate.
Let them set on a cookie sheet lined with parchment or wax paper in a cool dry place.
When to Make Them
Prepare these a few days in advance of Valentine’s Day to ensure they’re ready for gifting or enjoying.
They store well in an airtight container in a cool place, away from moisture.
Where to Make Them
Your kitchen is the perfect spot for this activity.
Lay out all your ingredients and decorations on the kitchen table for easy access. This way, kids can join in the fun of dipping and decorating.
Additional Tips
- Flavor Variations: Experiment with various flavors like adding coffee beans for a coffee spoon or using different types of chocolate melts for a variety of tastes.
- Decoration Ideas: Get creative with fun toppings or dip the front of the spoons in different types of chocolate for a layered effect.
- Packaging: For an extra special touch, pack them in pretty Valentine’s Day bags or tie them with a ribbon for a perfect gift presentation.
In conclusion, creating these chocolate-covered spoons is not just about making a delicious treat; it’s about spending time with your loved ones and creating memories.
They’re a perfect example of a thoughtful gift that’s easy, fun, and heartwarming – everything Valentine’s Day should be about.
Happy Valentine’s Day, and enjoy the sweet moments!
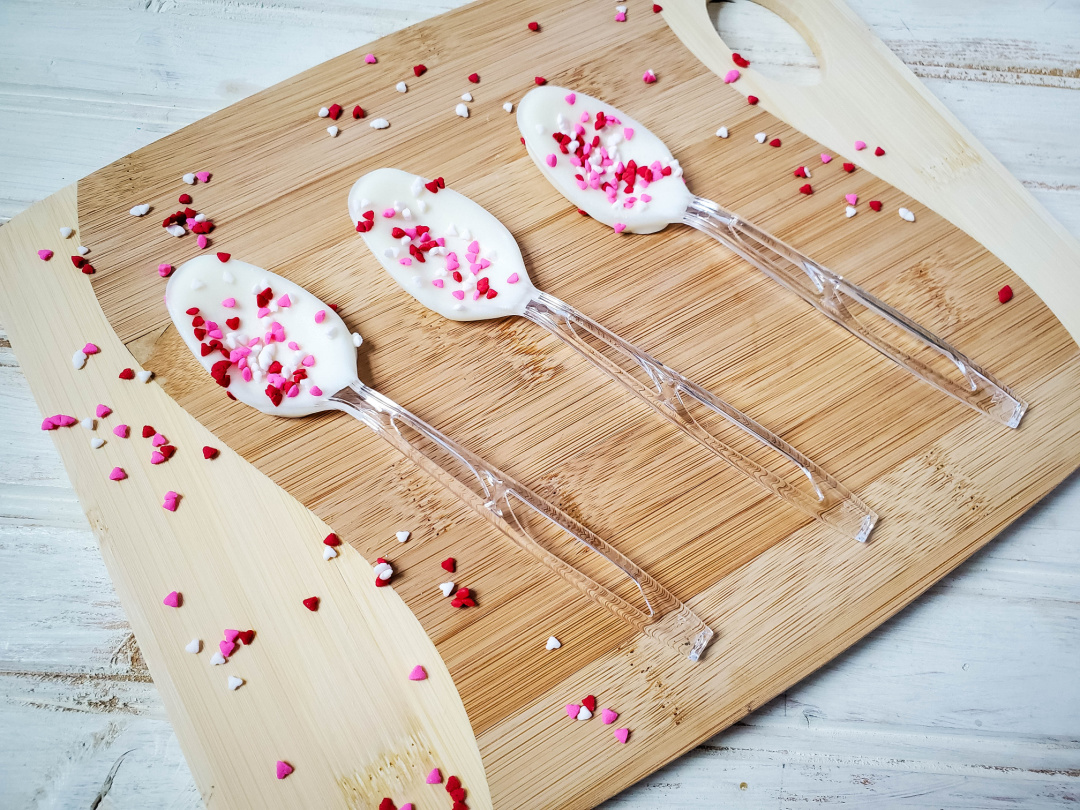
Valentine’s Day Chocolate Covered Spoons
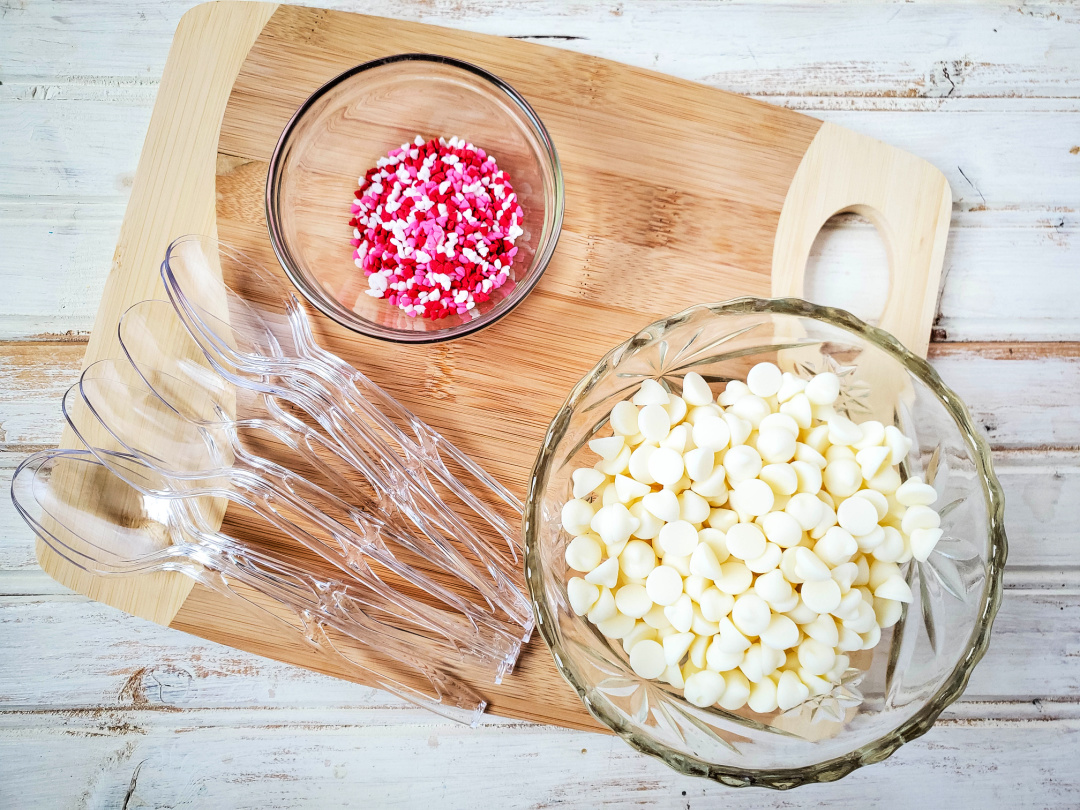
Supplies:
- white chocolate baking chips (or substitute milk chocolate chips)
- plastic spoons
- Valentine’s sprinkles
- parchment paper
Directions:
Line a baking sheet or tray with parchment paper.
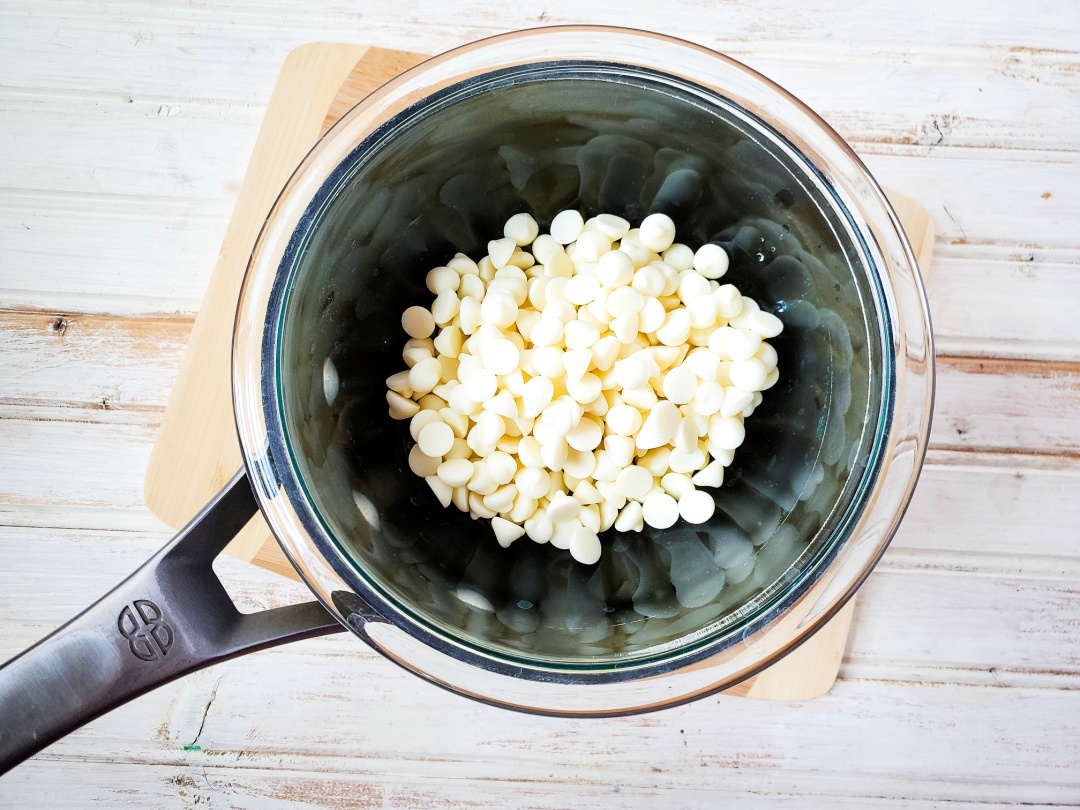
Melt your white chocolate in a double boiler. Place the chocolate in a Pyrex heat safe bowl and place over a saucepan with 2 inches of water in it.
Heat over low-medium heat stirring the sides often, until chocolate is fully melted.
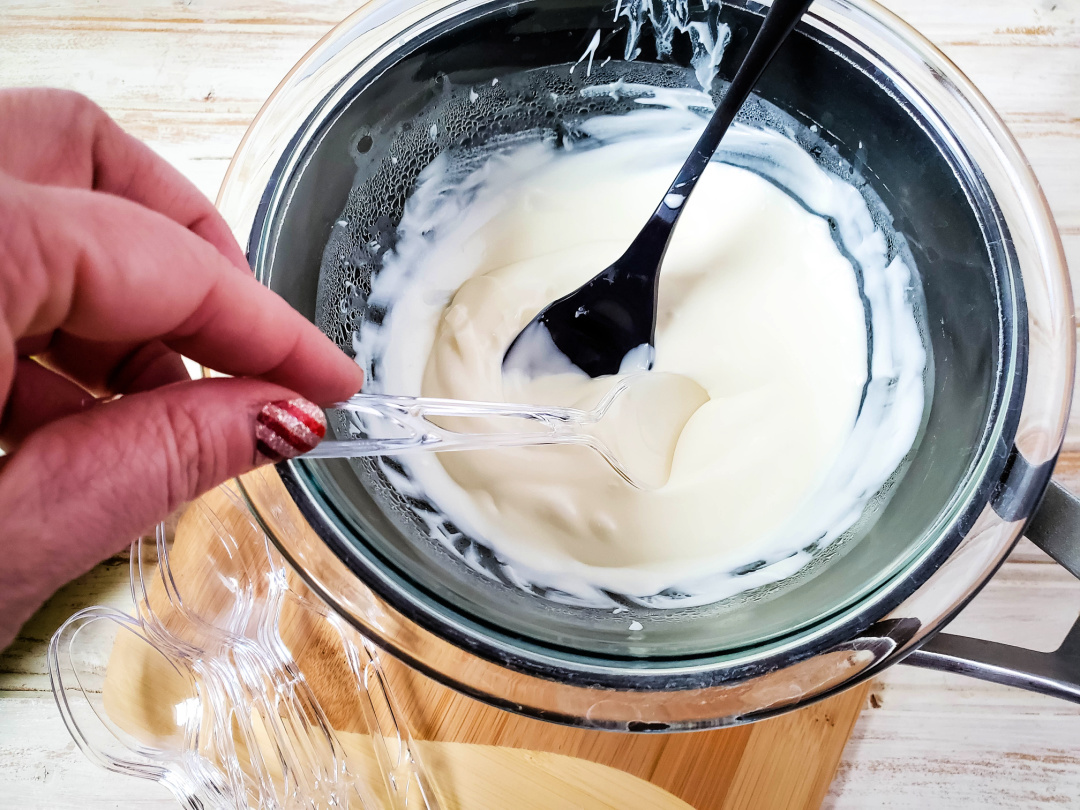
Dip a spoon into the chocolate, using another spoon to get chocolate all around, if needed.
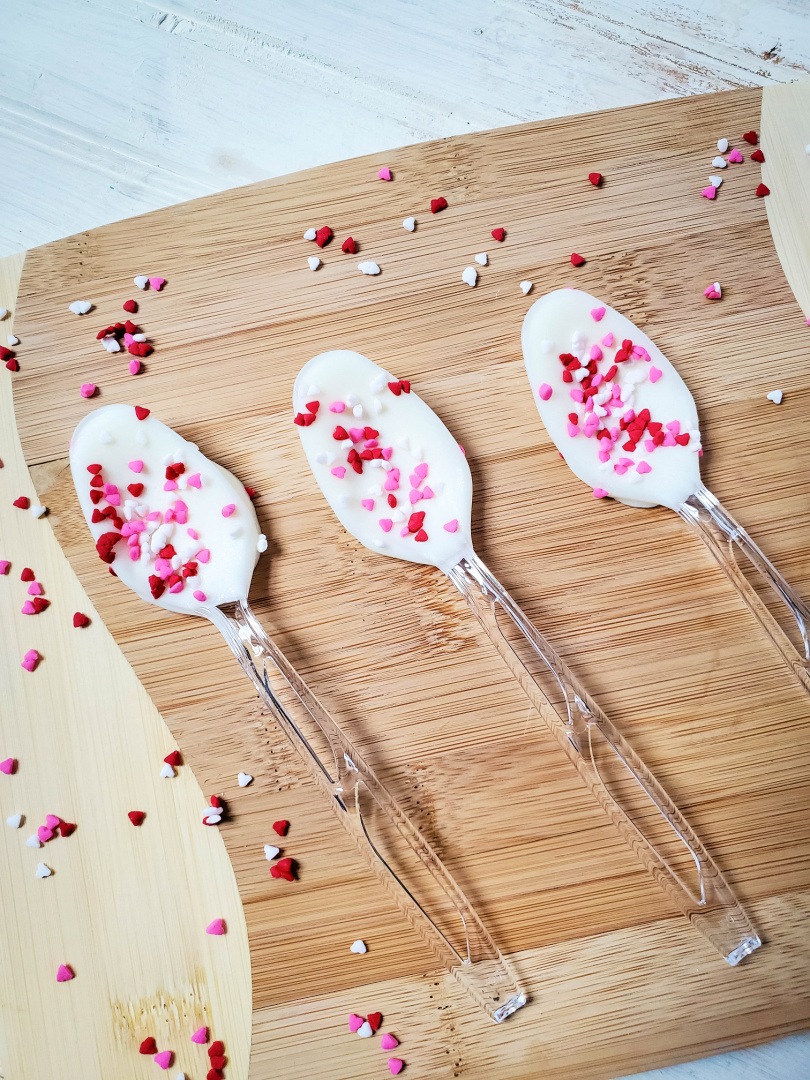
Place chocolate dipped spoon on parchment paper, and add sprinkles.
Repeat steps 3 and 4 until all of your spoons are dipped.
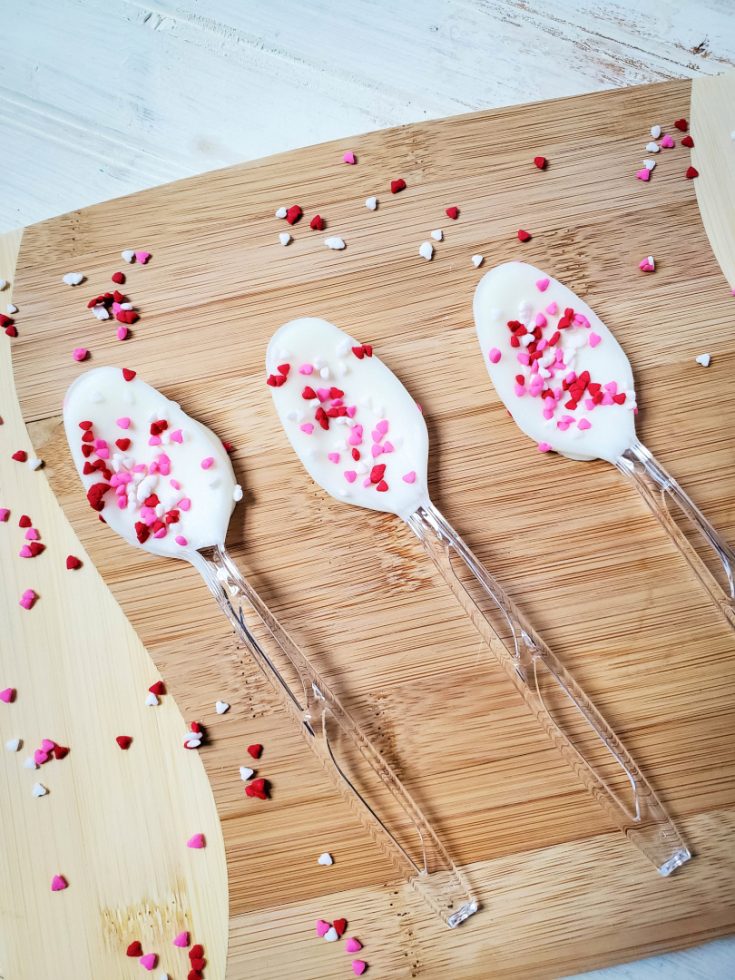
Refrigerate for 30-60 minutes to allow chocolate to set.

White Chocolate Spoons

Ingredients
- White chocolate baking chips
- plastic spoons
- Valentine’s sprinkles
- Parchment paper
Instructions
Line a baking sheet or tray with parchment paper.
Melt your white chocolate in a double boiler. Place the chocolate in a heatsafe bowl and place over a saucepan with 2 inches of water in it. Heat over low-medium heat stirring the sides often, until chocolate is fully melted.
Dip a spoon into the chocolate, using another spoon to get chocolate all around, if needed.
Place chocolate dipped spoon on parchment paper, and add sprinkles.
Repeat steps 3 and 4 until all of your spoons are dipped.
Refrigerate for 30-60 minutes to allow chocolate to set.
Frequently Asked Questions about Chocolate Covered Spoons
Can I use dark chocolate instead of white or milk chocolate?
Dark chocolate can be a delicious alternative. Just make sure to adjust the melting time as different chocolates have varying melting points.
How long do these chocolate-covered spoons last?
If stored in an airtight container in a cool, dry place, they can last up to two weeks. Refrigeration is not necessary but can be used if your kitchen is particularly warm.
Are these spoons only for hot chocolate?
While they are perfect for stirring into hot chocolate or coffee, they’re also delightful on their own as a treat!
Can I use real silverware instead of plastic spoons?
Yes, you can use real spoons. They add an elegant touch, especially if you’re gifting them. Just ensure they are thoroughly cleaned and dried before use.
How can I prevent the chocolate from clumping while melting?
The key is to melt the chocolate slowly and stir it frequently. Using a double boiler helps maintain a consistent temperature, preventing the chocolate from burning or clumping.
Can I add other toppings besides sprinkles?
Feel free to get creative. Crushed nuts, mini marshmallows, or even a drizzle of a different type of chocolate can add an extra special touch.
What’s the best way to package these spoons for gifts?
You can place them in cellophane bags and tie them with a festive ribbon, or arrange them in a decorative box with some tissue paper for a more elaborate presentation.
How do I make these allergen-friendly?
Look for allergen-free chocolate chips, and ensure all your utensils and surfaces are clean to avoid cross-contamination. There are many allergy-friendly sprinkle options available as well.
Remember, the most important part of this activity is the fun and love shared while making these delightful treats. Happy Valentine’s Day crafting!