
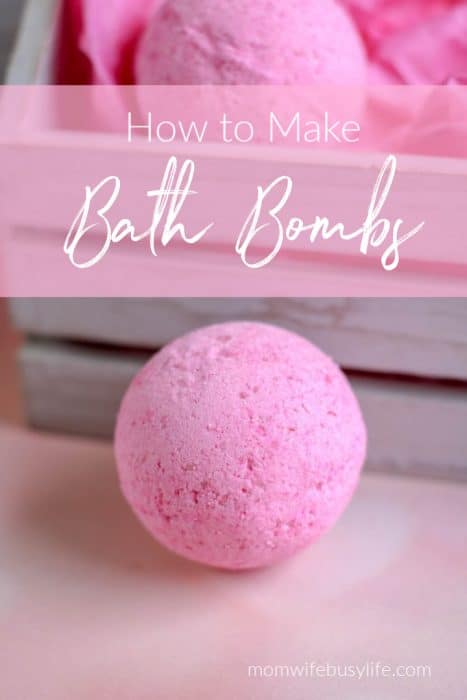
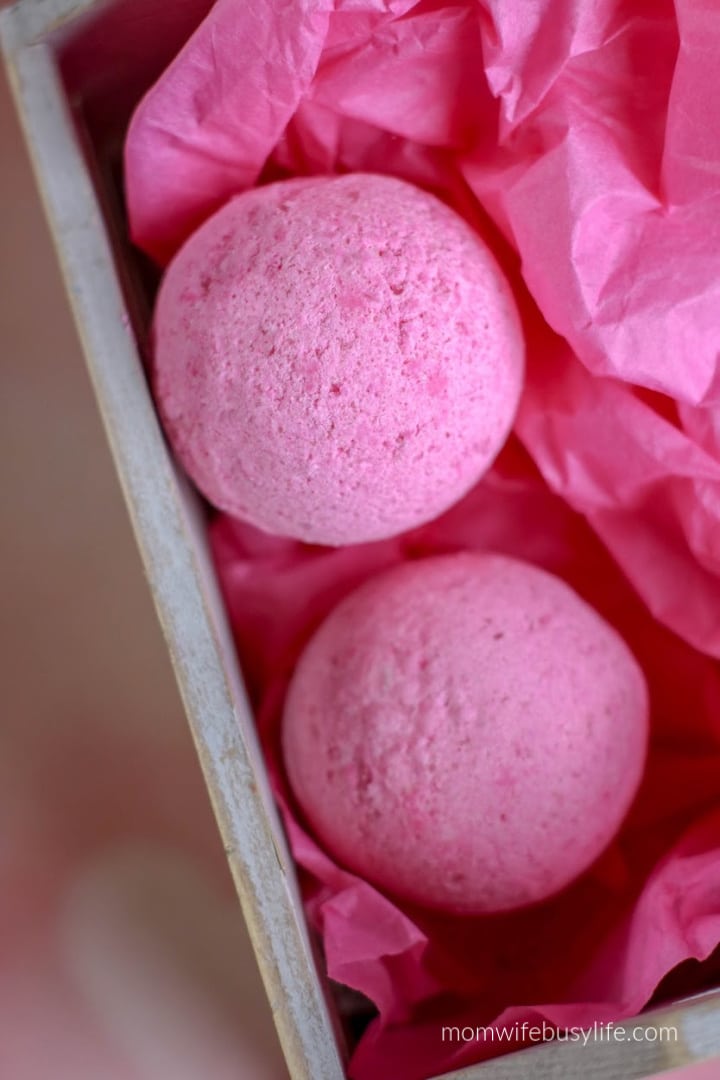
Do you want to learn how to make homemade bath bombs? They are a fun addition to your bath time routine!

For busy moms, finding moments of tranquility and relaxation can feel like a rare luxury.
However, self-care is vital to maintaining a healthy balance between family, work, and personal well-being.
Introducing DIY homemade bath bombs—a delightful and rejuvenating addition to your self-care routine.
With just a handful of natural ingredients, you can create these fizzy wonders, transforming your bath into a spa-like oasis.
Let’s dive into the world of bath bomb crafting, where self-care meets creativity!
Why DIY Bath Bombs for Self-Care?
Self-care isn’t just a trend; it’s a necessity, especially for busy moms who juggle multiple responsibilities.
A warm, fragrant bath infused with essential oils and Epsom salt can work wonders for your body and mind.
Crafting your own bath bombs adds an extra layer of fulfillment and joy, knowing you’re indulging in a homemade creation tailored to your preferences.

How to Make Bath Bombs
Supplies:
- ½ cup cornstarch
- ½ cup citric acid
- ½ cup Epsom salt
- 1 cup baking soda
- 1 teaspoon Mica powdered soap dye, if desired
- 10 drops essential oil
- 2 ½ tablespoons coconut oil, melted
- 1 tablespoon water
- 8 to 10 bath bomb molds

Directions:
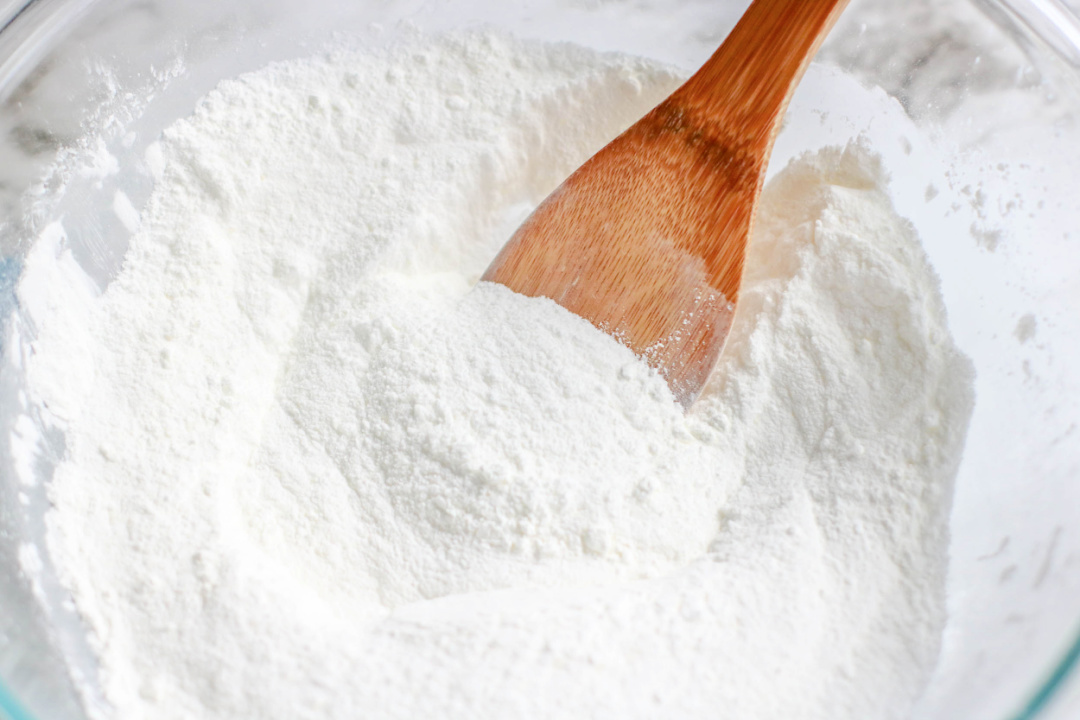
In a large bowl, whisk together cornstarch, citric acid, salt, baking soda, and mica powder. If making more than one color, divide the mixture into separate bowls.

In a small measuring cup, whisk together essential oil, coconut oil, and water. Note: If making more than one color, divide the mixture into separate bowls.
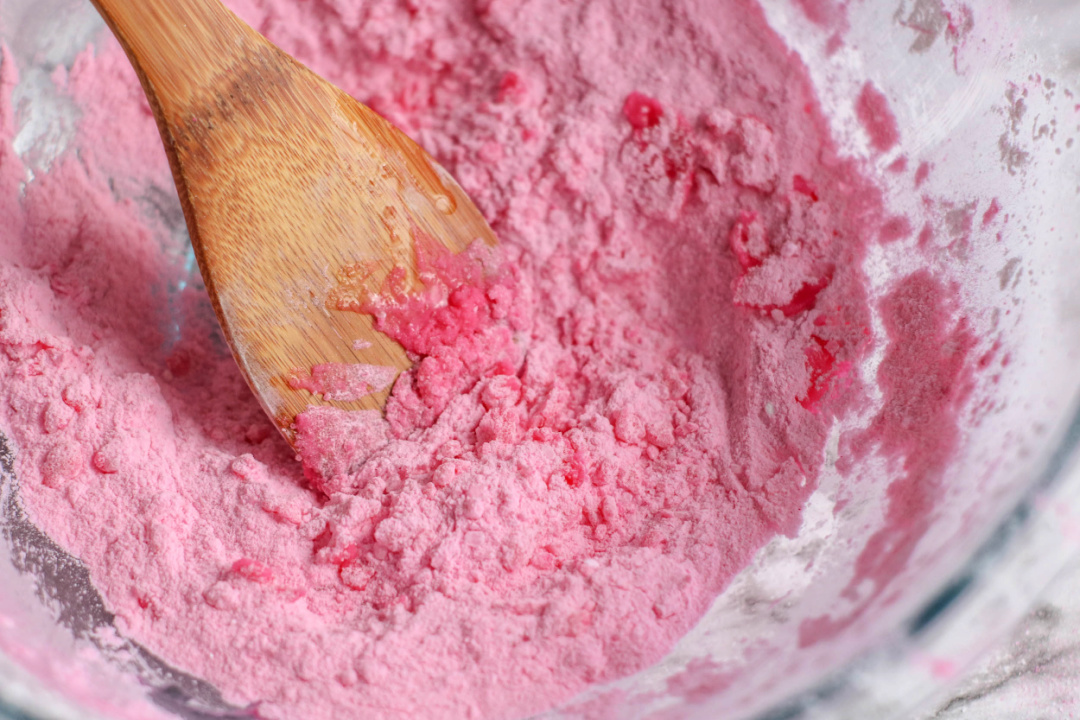
Very slowly (to avoid as much fizzing as possible) add the water solution to the dry ingredients. Stir and mash together until it resembles sand.
Immediately transfer bath bomb mixture into bath bomb molds, pressing mixture tightly into each side and adding a little to overflow each side of the mold.
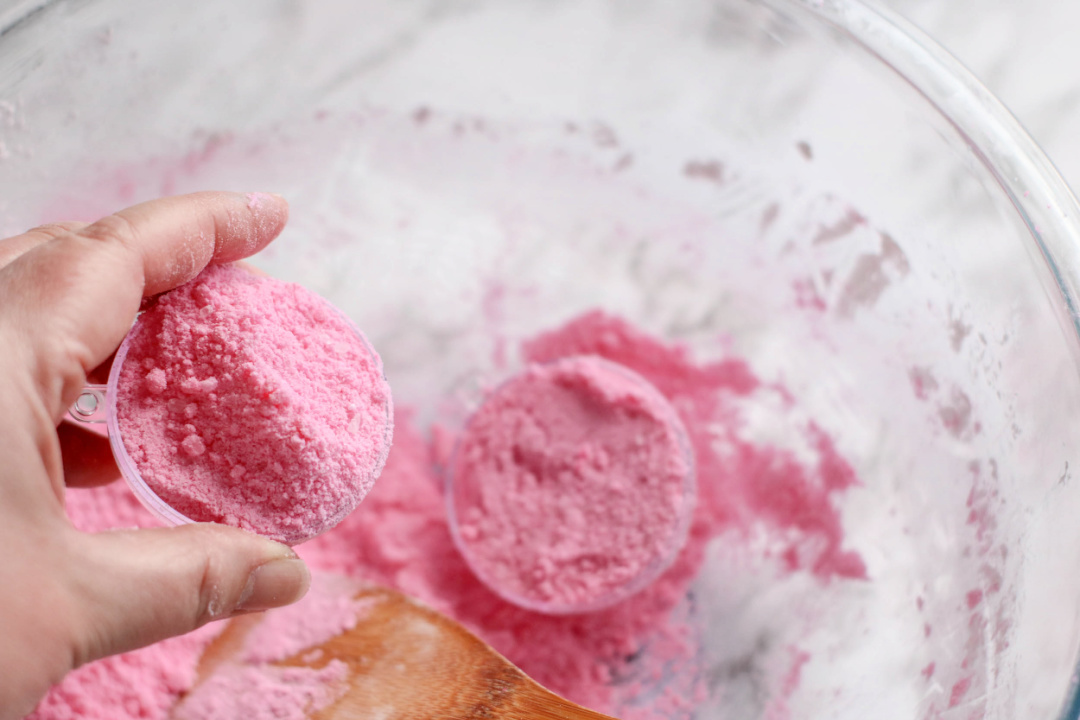
Press the mold together, twisting until closed.
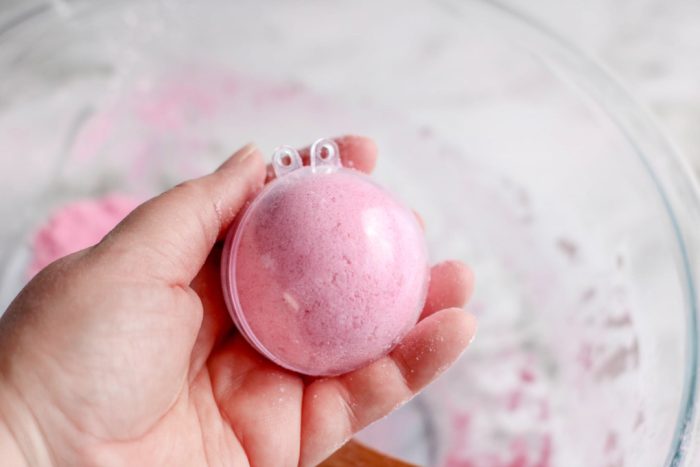
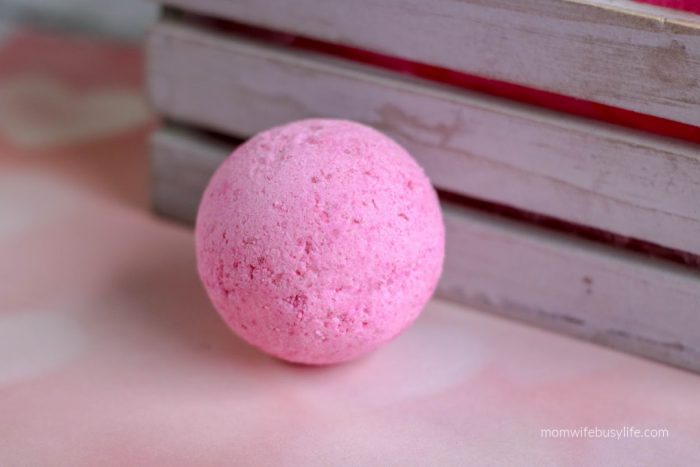
Allow bath bombs to rest (and dry) for at least 24 hours.
To remove the bath bombs from the molds, tap the outside of the mold gently. Then, twist each side of the mold and pull to remove the bath bomb.
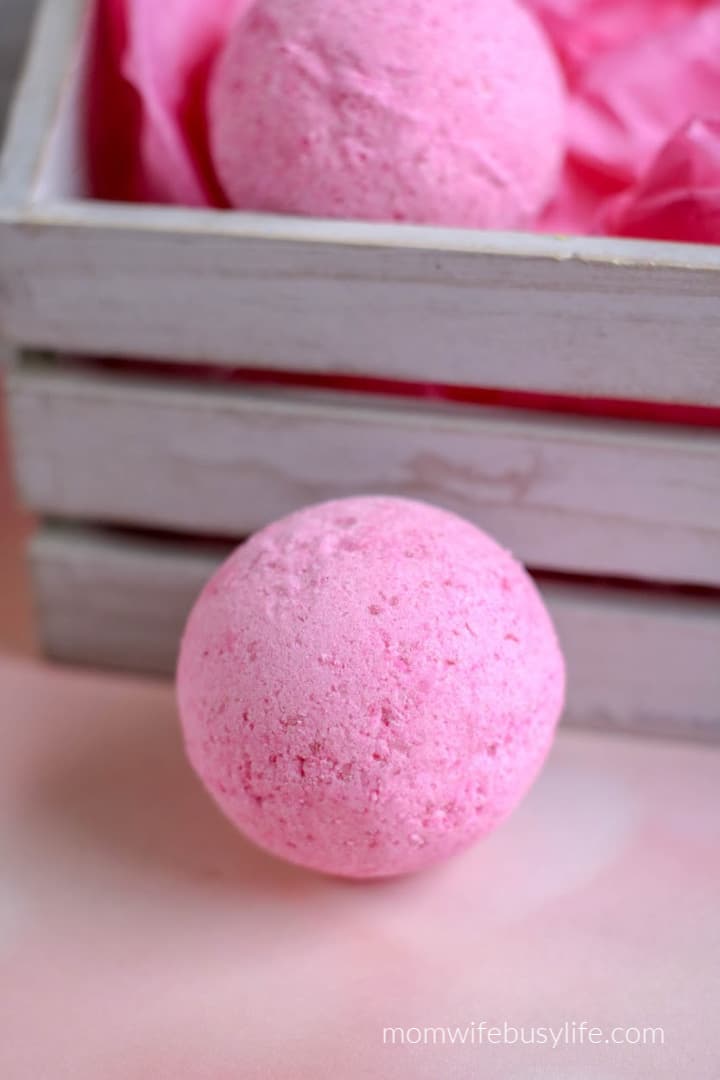
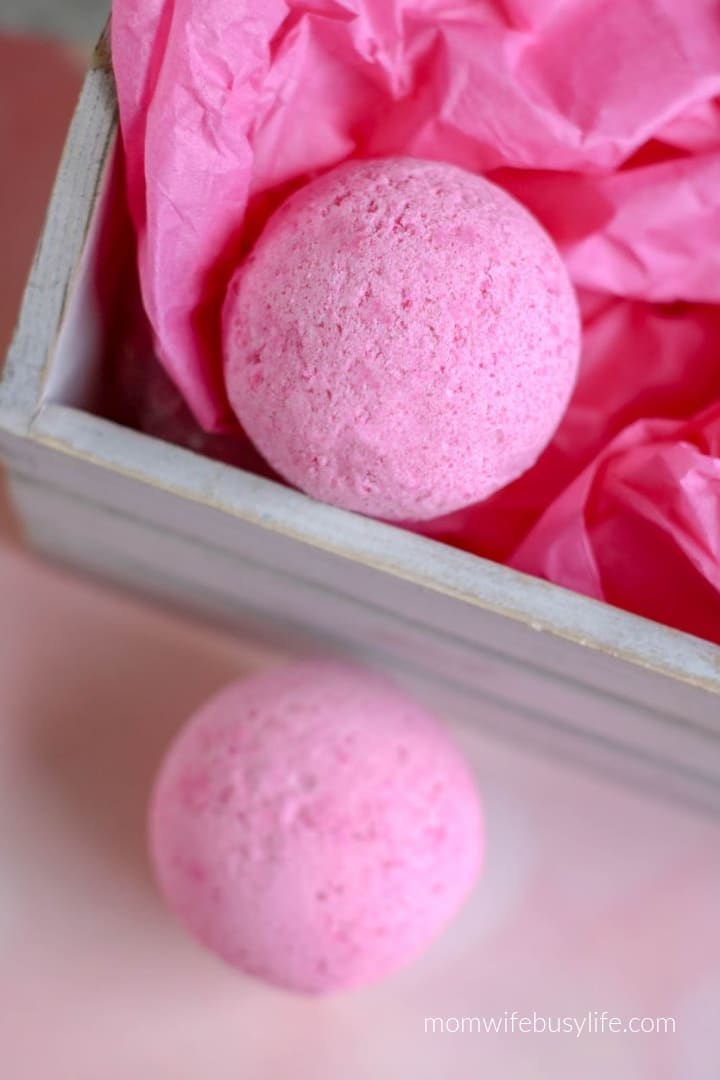
To give as a gift, wrap tightly in plastic wrap or place in an airtight jar.
Time to Recharge:
Now comes the most rewarding part—taking time for yourself. Draw a warm bath, dim the lights, light some candles, and drop one of your DIY bath bombs into the water.
Watch it fizz and release its enchanting scent. Allow the Epsom salt to soothe your muscles and the essential oils to calm your mind. This is your well-deserved moment of relaxation and rejuvenation.
Frequently Asked Questions:
What are bath bombs, and how do they work?
Bath bombs are fizzy, scented balls that dissolve in water when added to your bath. They contain citric acid and baking soda, which react when they come into contact with water, creating carbon dioxide bubbles that make the bomb fizz and disperse essential oils and other ingredients.
Are homemade bath bombs safe for the skin?
When made with the right ingredients and in proper proportions, homemade bath bombs are generally safe for the skin. However, some people with sensitive skin may experience irritation due to the essential oils or other additives. It’s essential to do a patch test before using a bath bomb to ensure you don’t have any adverse reactions.
Can I use food coloring to dye my bath bombs?
You can use food coloring to dye your bath bombs. However, make sure to use gel or powdered food coloring to avoid adding too much liquid, which could activate the fizzing prematurely.
How can I prevent my bath bombs from losing their fizz?
To prevent bath bombs from losing their fizz, store them in an airtight container in a dry place, away from moisture and humidity. Adding a moisture-absorbing packet or silica gel can help preserve their freshness.
What is the best mold for making bath bombs?
Silicone molds work best for making bath bombs because they are flexible and easy to remove the finished product from. You can find various shapes and sizes, including spheres, hearts, flowers, and more.
Can I add other ingredients like dried flowers or glitter to my bath bombs?
You can add dried flowers or glitter to your bath bombs to enhance their appearance and experience. Always use skin-safe, biodegradable glitter that’s designed for use in soap and bath products.
How long do homemade bath bombs last?
Homemade bath bombs typically have a shelf life of 3 to 6 months if stored properly. After this period, their effectiveness and scent might start to diminish.
Can I customize the scent of my bath bombs?
One of the best things about making your own bath bombs is the ability to customize the scent. You can use different essential oils or fragrance oils to create your preferred fragrance combinations.
How do I avoid bath bombs from crumbling when removing them from the mold?
If your bath bombs are crumbling, the mixture might be too dry. To fix this, try adding a few spritzes of witch hazel or water to the mixture and mix thoroughly until it holds together when squeezed.
Can I sell homemade bath bombs?
You can sell homemade bath bombs, but it’s essential to comply with local regulations, including proper labeling, ingredient listing, and safety assessments. Make sure to do thorough research and follow all necessary guidelines.
Remember that while making DIY bath bombs can be a fun and rewarding activity, it’s essential to use safe and high-quality ingredients and be cautious with any allergens or irritants.
Always test your bath bombs on a small patch of skin and consider consulting a dermatologist if you have any concerns.
Homemade Bath Bombs
Materials
- ½ cup cornstarch
- ½ cup citric acid
- ½ cup Epsom salt
- 1 cup baking soda
- 1 teaspoon Mica powdered soap dye, if desired
- 10 drops essential oil
- 2 ½ tablespoons coconut oil, melted
- 1 tablespoon water
- 8 to 10 bath bomb molds