-
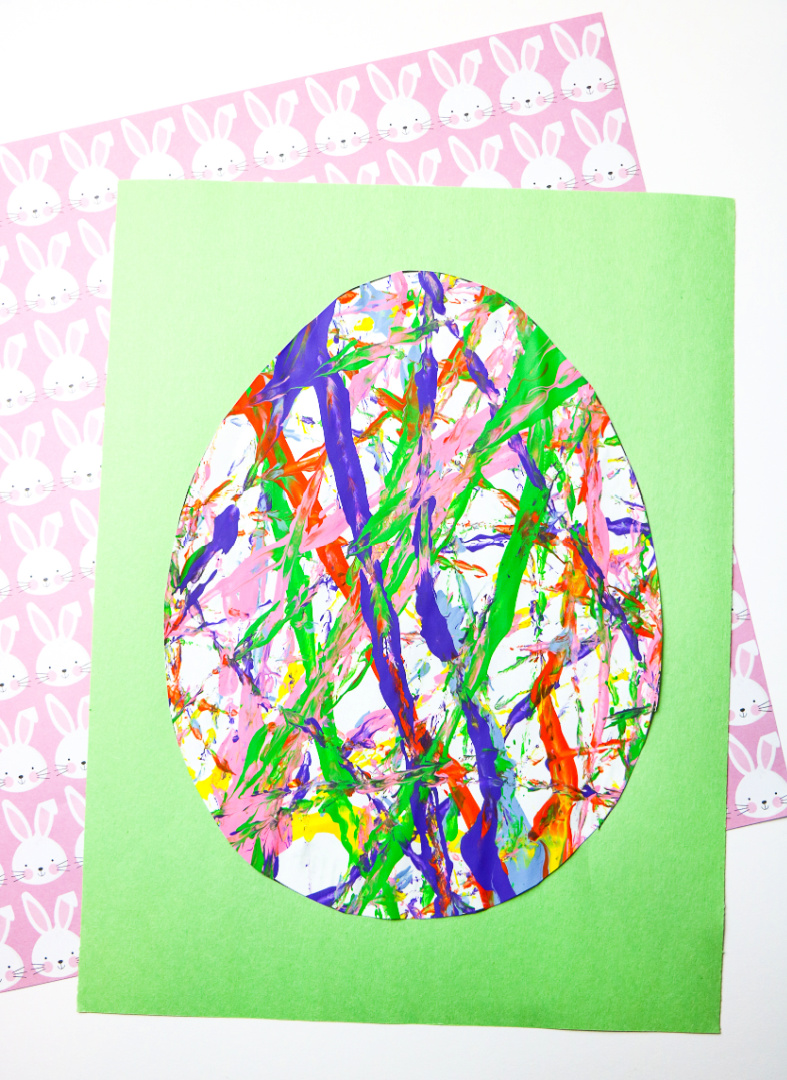
Marble Painted Easter Eggs
If you are looking for a fun Easter painting activity for kids this year, try this Marbled Painted Easter Eggs activity! This painting activity is uses a unique marble painting technique that’s sure to dazzle family and friends. All you need are a few marbles, a printable egg template, and your favorite paint colors. Rolling…
-
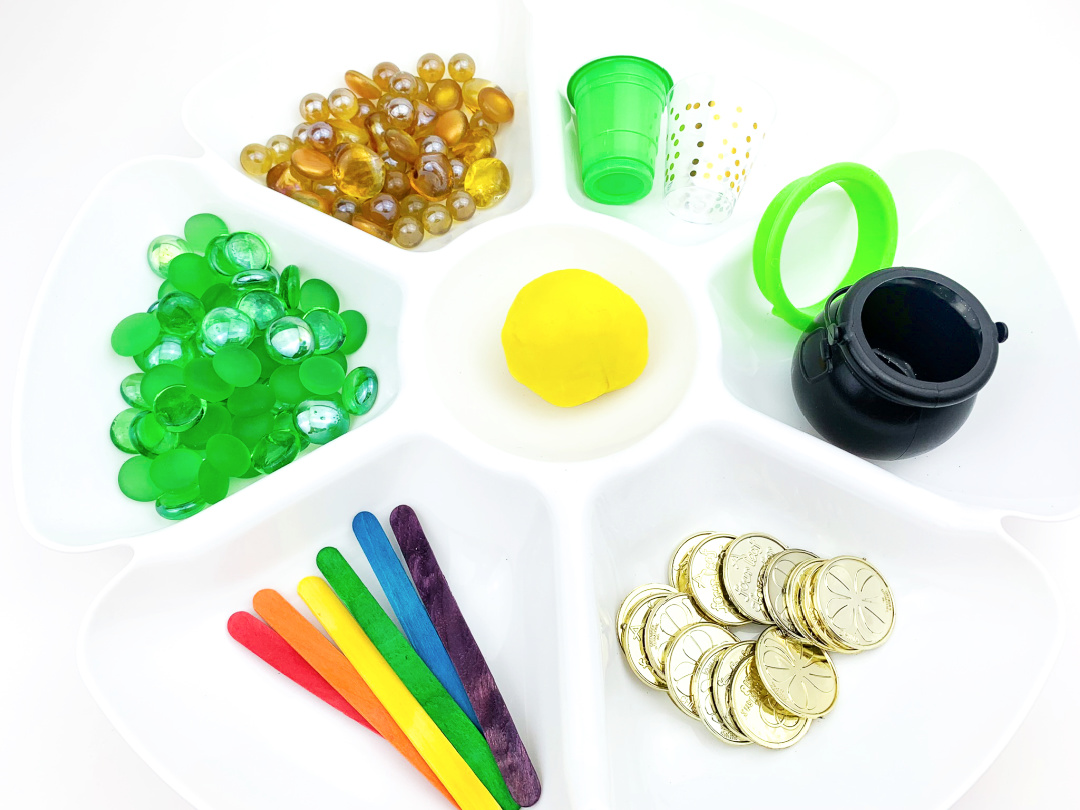
St. Patrick’s Day Play Dough Kit
Do your kids love playing with play dough? Mine sure do. I always like to find new and fun ways to make play dough, and this St. Patrick’s Day Play Dough Kit is perfect! Making a St. Patrick’s Day play dough kit is a fun and creative way to celebrate the holiday! This activity helps…
-
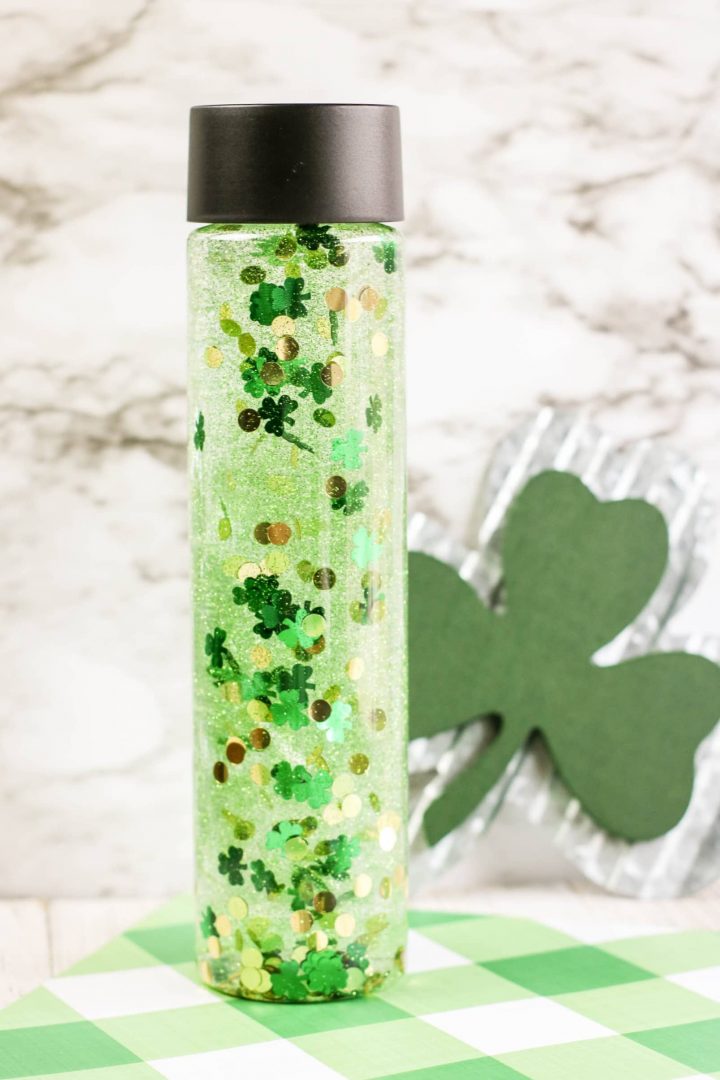
St. Patrick’s Day Shamrock Sensory Bottle
This super cool St. Patrick’s Day Shamrock Sensory Bottle is entertaining for children! The glitter and confetti gives this bottle a fun effect. Create your bottle today! St. Patrick’s Day is March 17! To celebrate, create a fun sensory bottle! This St. Patrick’s Day sensory bottle for kids is a fun, easy way to celebrate…
-
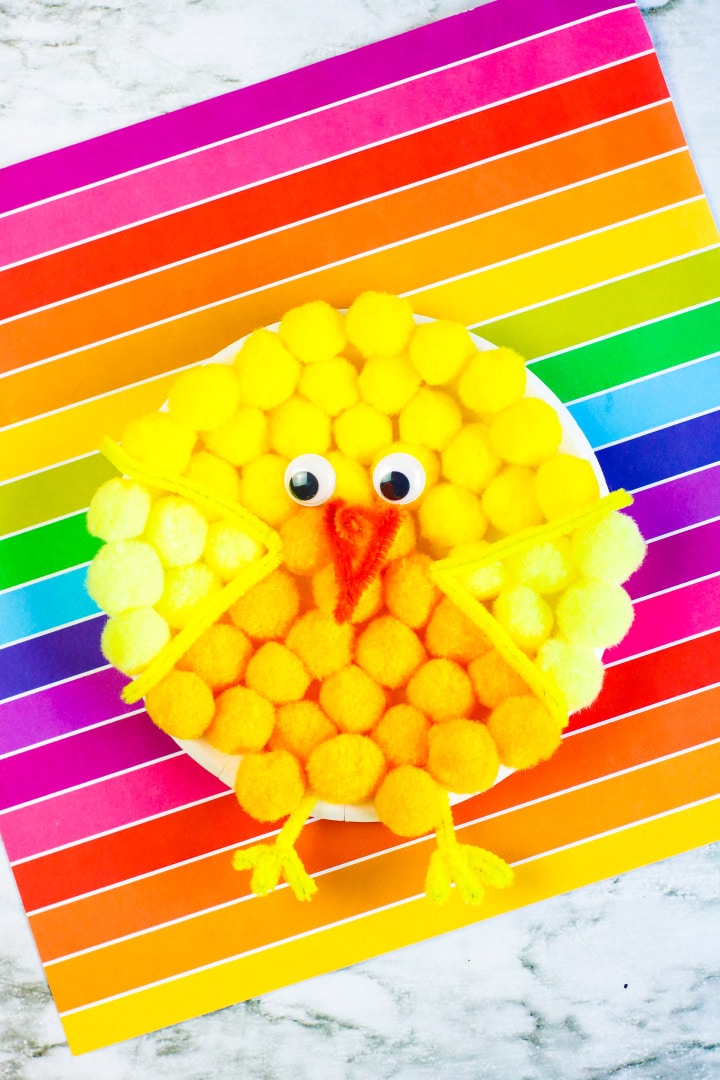
Yellow Chick Paper Plate Craft
This adorable Yellow Chick Paper Plate Craft is the perfect craft to make this spring season! I LOVE the spring season! It’s my favorite season (right there next to fall!) The spring season is a time to start over. Trees and flowers are in bloom and baby animals are being born or hatched! This yellow…
-
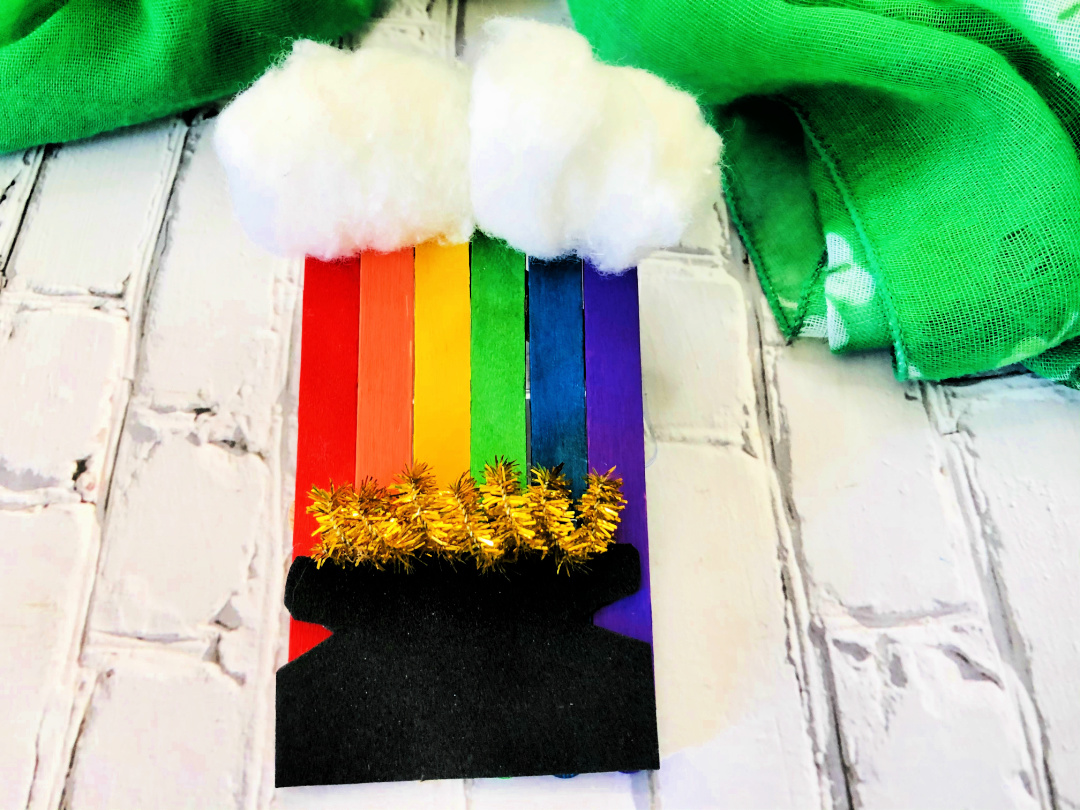
Pot of Gold Rainbow Popsicle Stick Craft
Create this fun and festive Pot of Gold Rainbow Popsicle Stick Craft for St. Patrick’s Day this year! St. Patrick’s Day is approaching! St. Patrick’s Day 2023 falls on a Friday this year. Get out your craft supplies and plan to make a variety of fun crafts to celebrate! Here’s a list of fun St.…
-
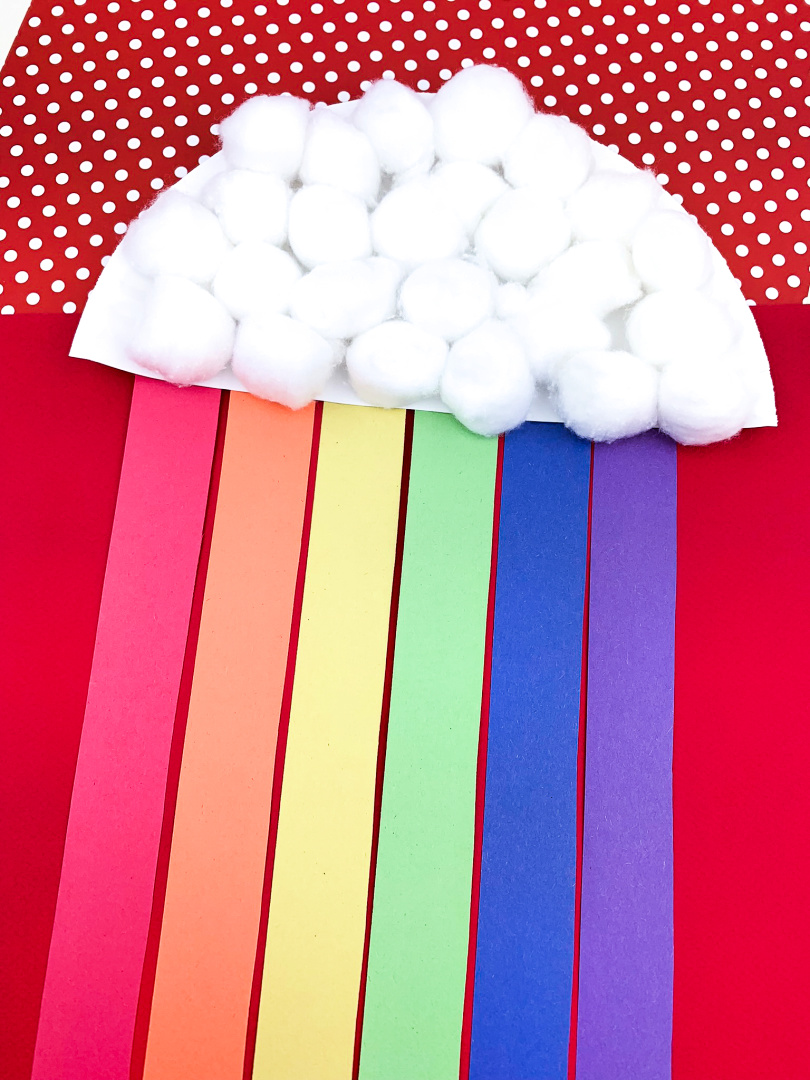
Paper Plate Rainbow Craft
Are you looking for a fun rainbow craft to make with the kids this spring? Here’s a quick and easy Paper Plate Rainbow Craft to make! Are you looking for a fun and easy craft to do with your kids? Look no further than this rainbow paper plate craft! This is a great project for…
-
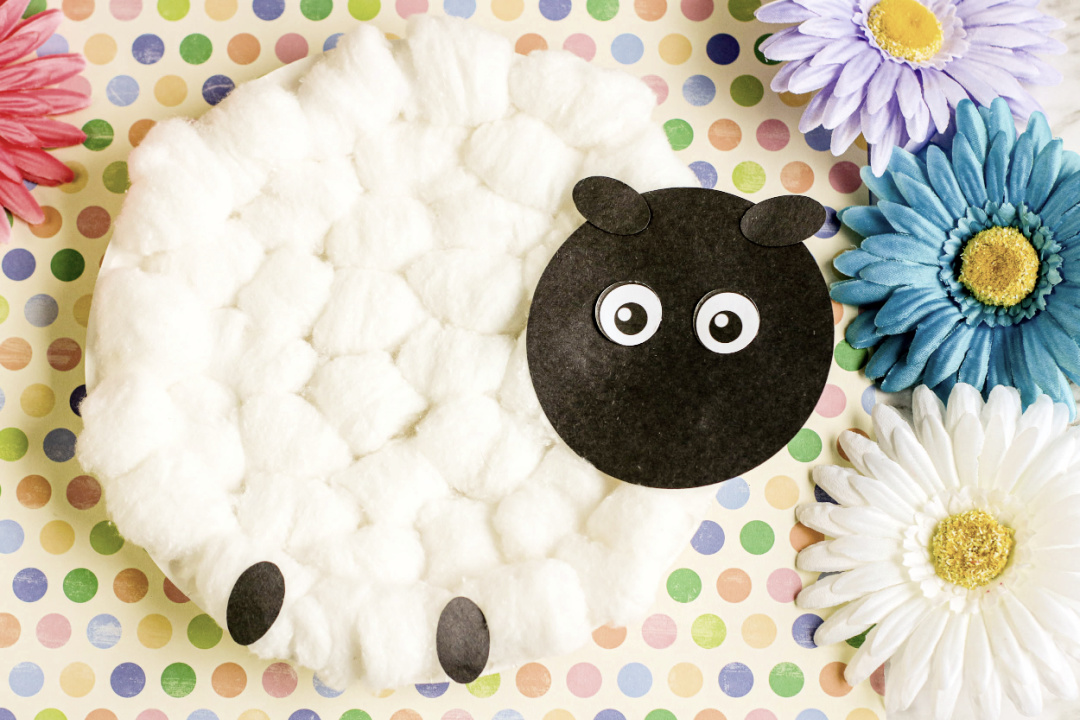
Sheep Paper Plate Craft
Create this Sheep Paper Plate Craft with cotton balls and a paper plate! Enjoy a free printable template, too! Paper plate crafts are fun and simple to make! With a little creativity and a few art supplies, you can turn a paper plate into just about anything! Animal Paper Plate Crafts Today, I’m sharing a…