-
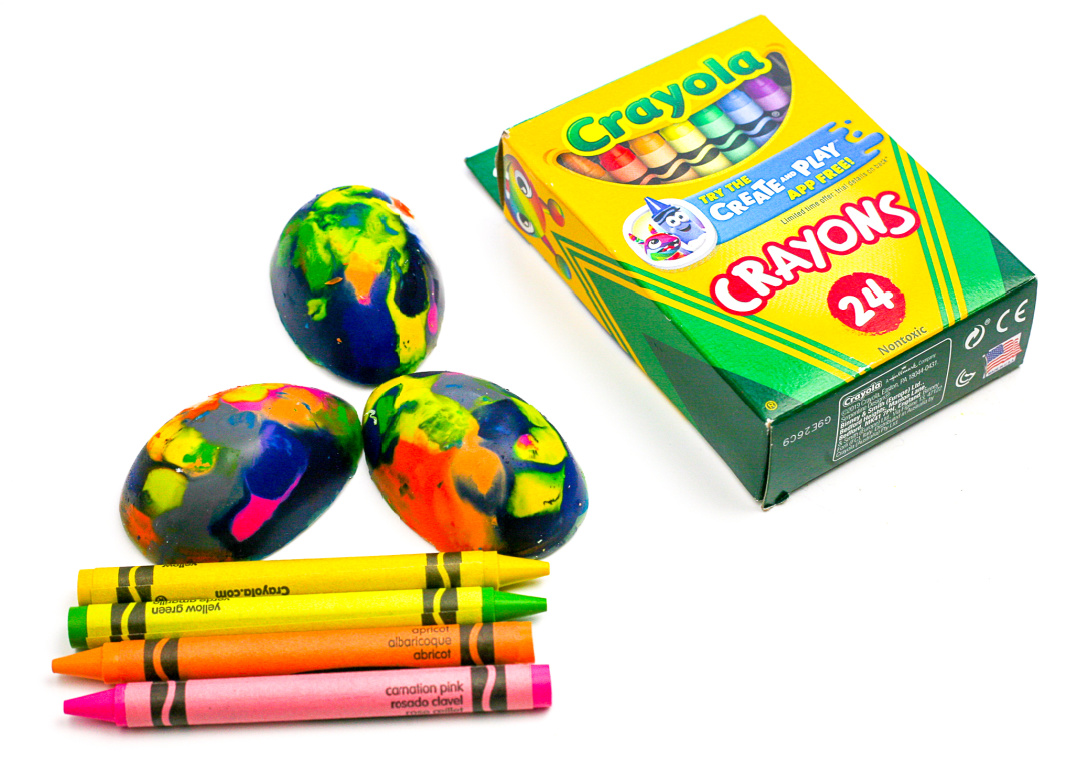
Melted Crayon Easter Eggs
Easter eggs are a fun and creative way to get into the Easter spirit! But why not take it a step further and create something unique? One of our favorite activities is making Melted Crayon Easter Eggs! All you need are some regular crayons, an Easter egg mold, and your oven! Simply place the Crayons…
-
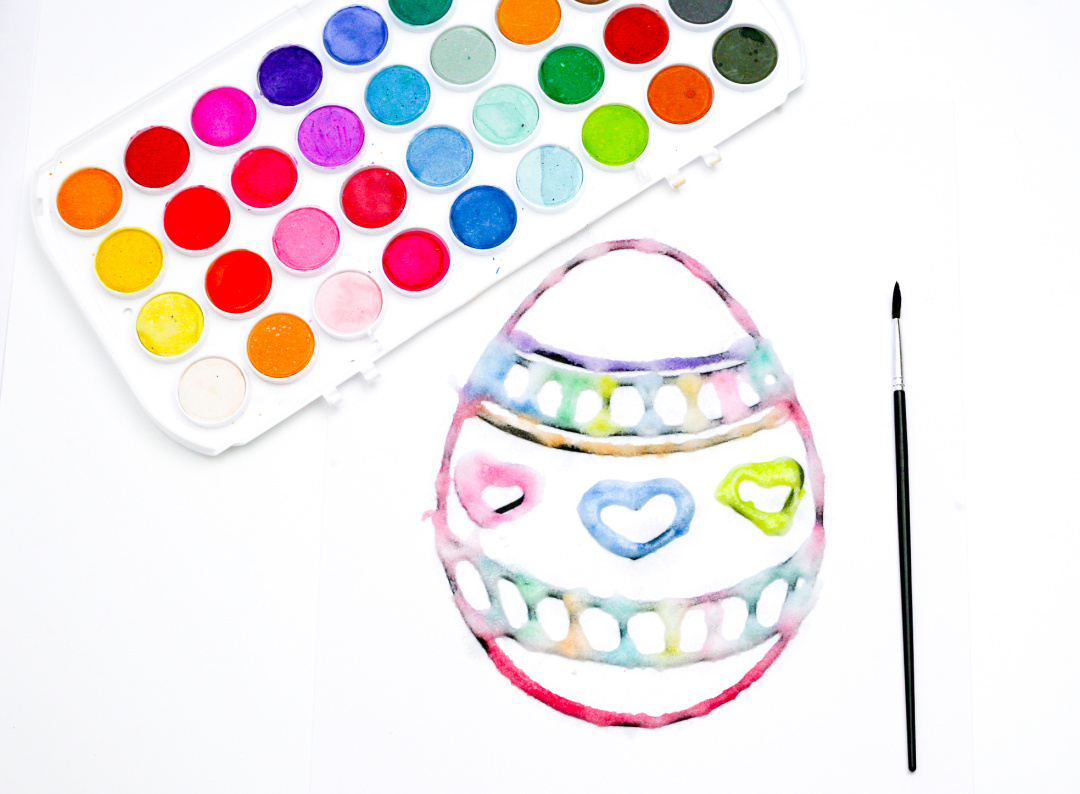
Salt Painted Easter Eggs
These Salt Painted Easter Eggs are a fun and creative way to celebrate the Easter season! This unique craft allows you to create beautiful designs on Easter egg templates using salt and watercolor paints. Use your imagination to add details and color; it’s easy to make intricate patterns with just table salt! When you’re done…
-
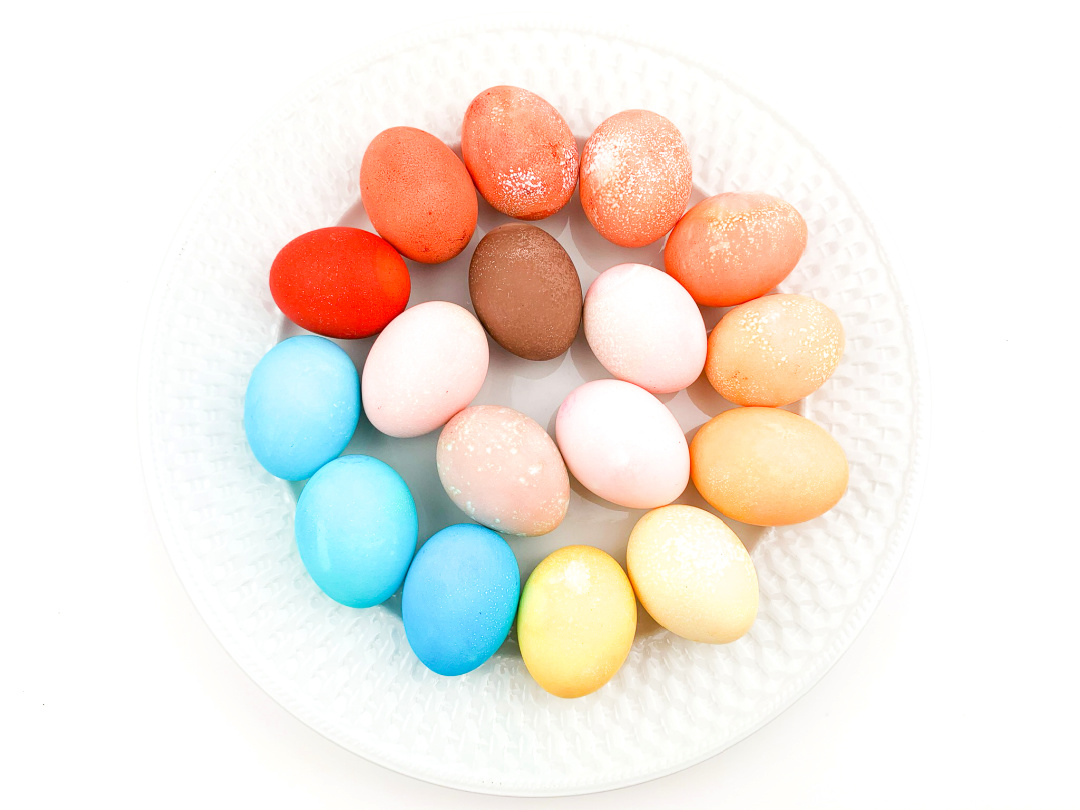
How to Dye Eggs with Kool-Aid
There are so many fun ways to dye eggs! Learn How to Dye Eggs with Kool-Aid this Easter. I think you’ll love this method! Easter is around the corner! There are a variety of fun ways to dye eggs these days. Here are just a few of our favorite ways as a family to dye…
-
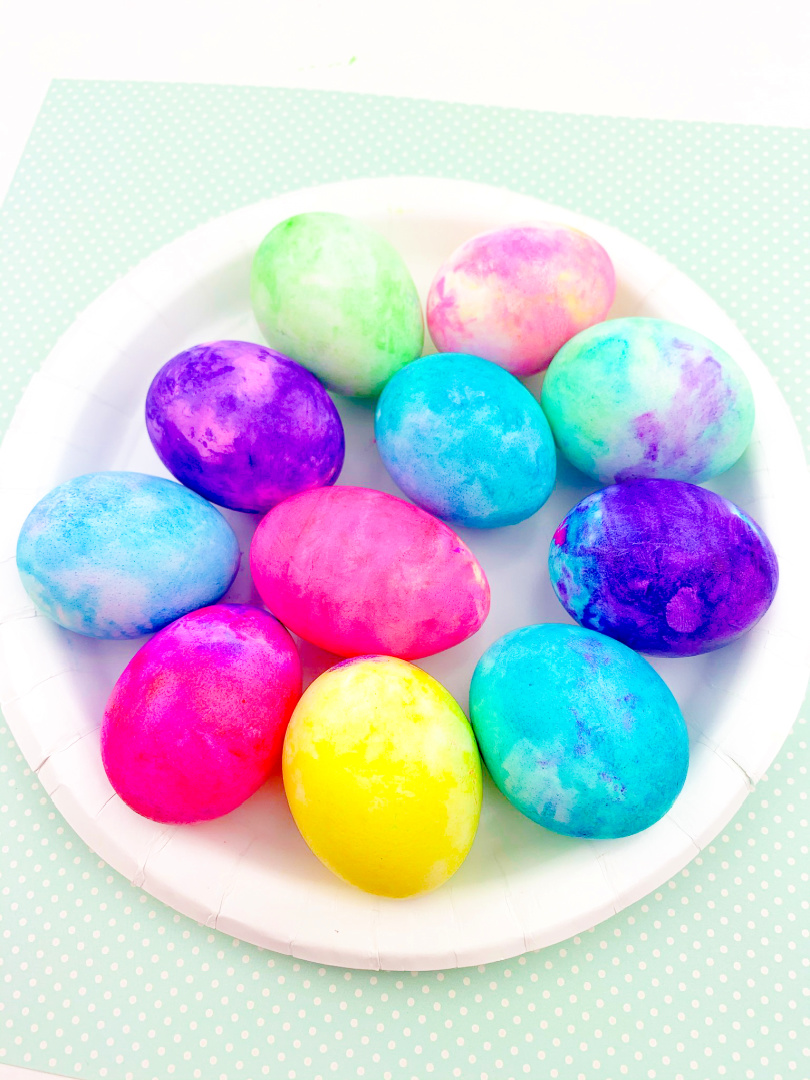
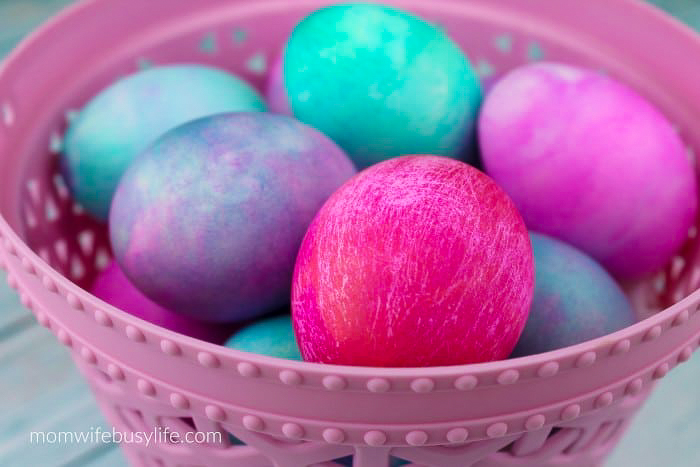
How to Dye Eggs with Shaving Cream
Learn How to Dye Eggs with Shaving Cream this Easter season! I’ve been dyeing Easter eggs with my kids now for over 10 years! We love finding ways to mix it up and try new ways to dye eggs. How to Dye Eggs with Rice (one of our favorite ways!) How to Dye Eggs with…
-
How to Dye Easter Eggs with Whipped Cream
Learn how to dye Easter Eggs with Whipped Cream! This is a fun way to dye eggs this year. Easter is coming up! My girls are at the age where they love to experiment with different ways of doing things, especially with food coloring. More fun ways to dye Easter Eggs: During the month leading…
-
Chicken Toilet Paper Roll Craft
Create this cute yellow Chicken Toilet Paper Roll Craft this spring season with the kids! Are you doing a unit on farm animals? Learning about the life cycle of a chicken? Maybe you just want to create animal crafts! If so, this craft is for you! Yellow Chick Paper Plate Craft Toilet paper roll crafts…
-
Easter Bunny Toilet Paper Roll Craft
Are you looking for simple Easter crafts to do with the kids? Celebrate Easter this year with this easy to make Easter Bunny Toilet Paper Roll Craft for kids. Easter is around the corner! Before you know it, the Easter bunny will be hopping around the neighborhood leaving treats for the boys and girls! This…