-
Printable Easter Egg Hole Punch Activity
Enjoy this Printable Easter Egg Hole Punch Activity this spring! If you are looking for a fun fine motor activity for kids this Easter season, print this FREE Easter Egg Hole Punch Activity! This activity set includes two printable sheets with six colorful eggs on each sheet (12 total eggs.) You may also like: Printable…
-
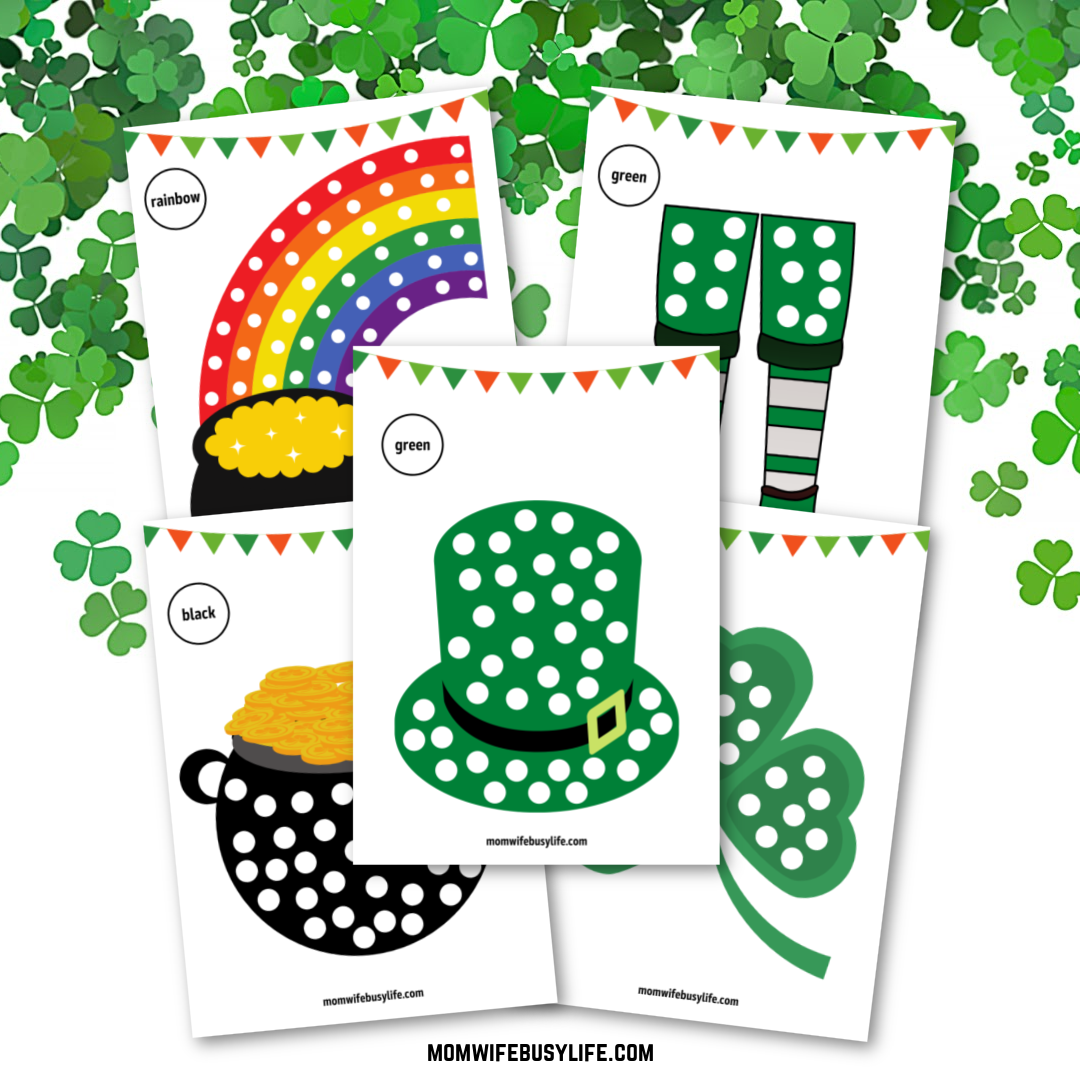
St. Patrick’s Day Q Tip Painting
You’ll love this FREE 6-page Printable St. Patrick’s Day Q-Tip Painting Activity for kids to work on during the month of March this year! With St. Patrick’s Day approaching, crafts and activities are a fun way to celebrate the month of the color green, shamrocks, leprechauns, rainbows, pots of gold, and more! Get out your paint…
-
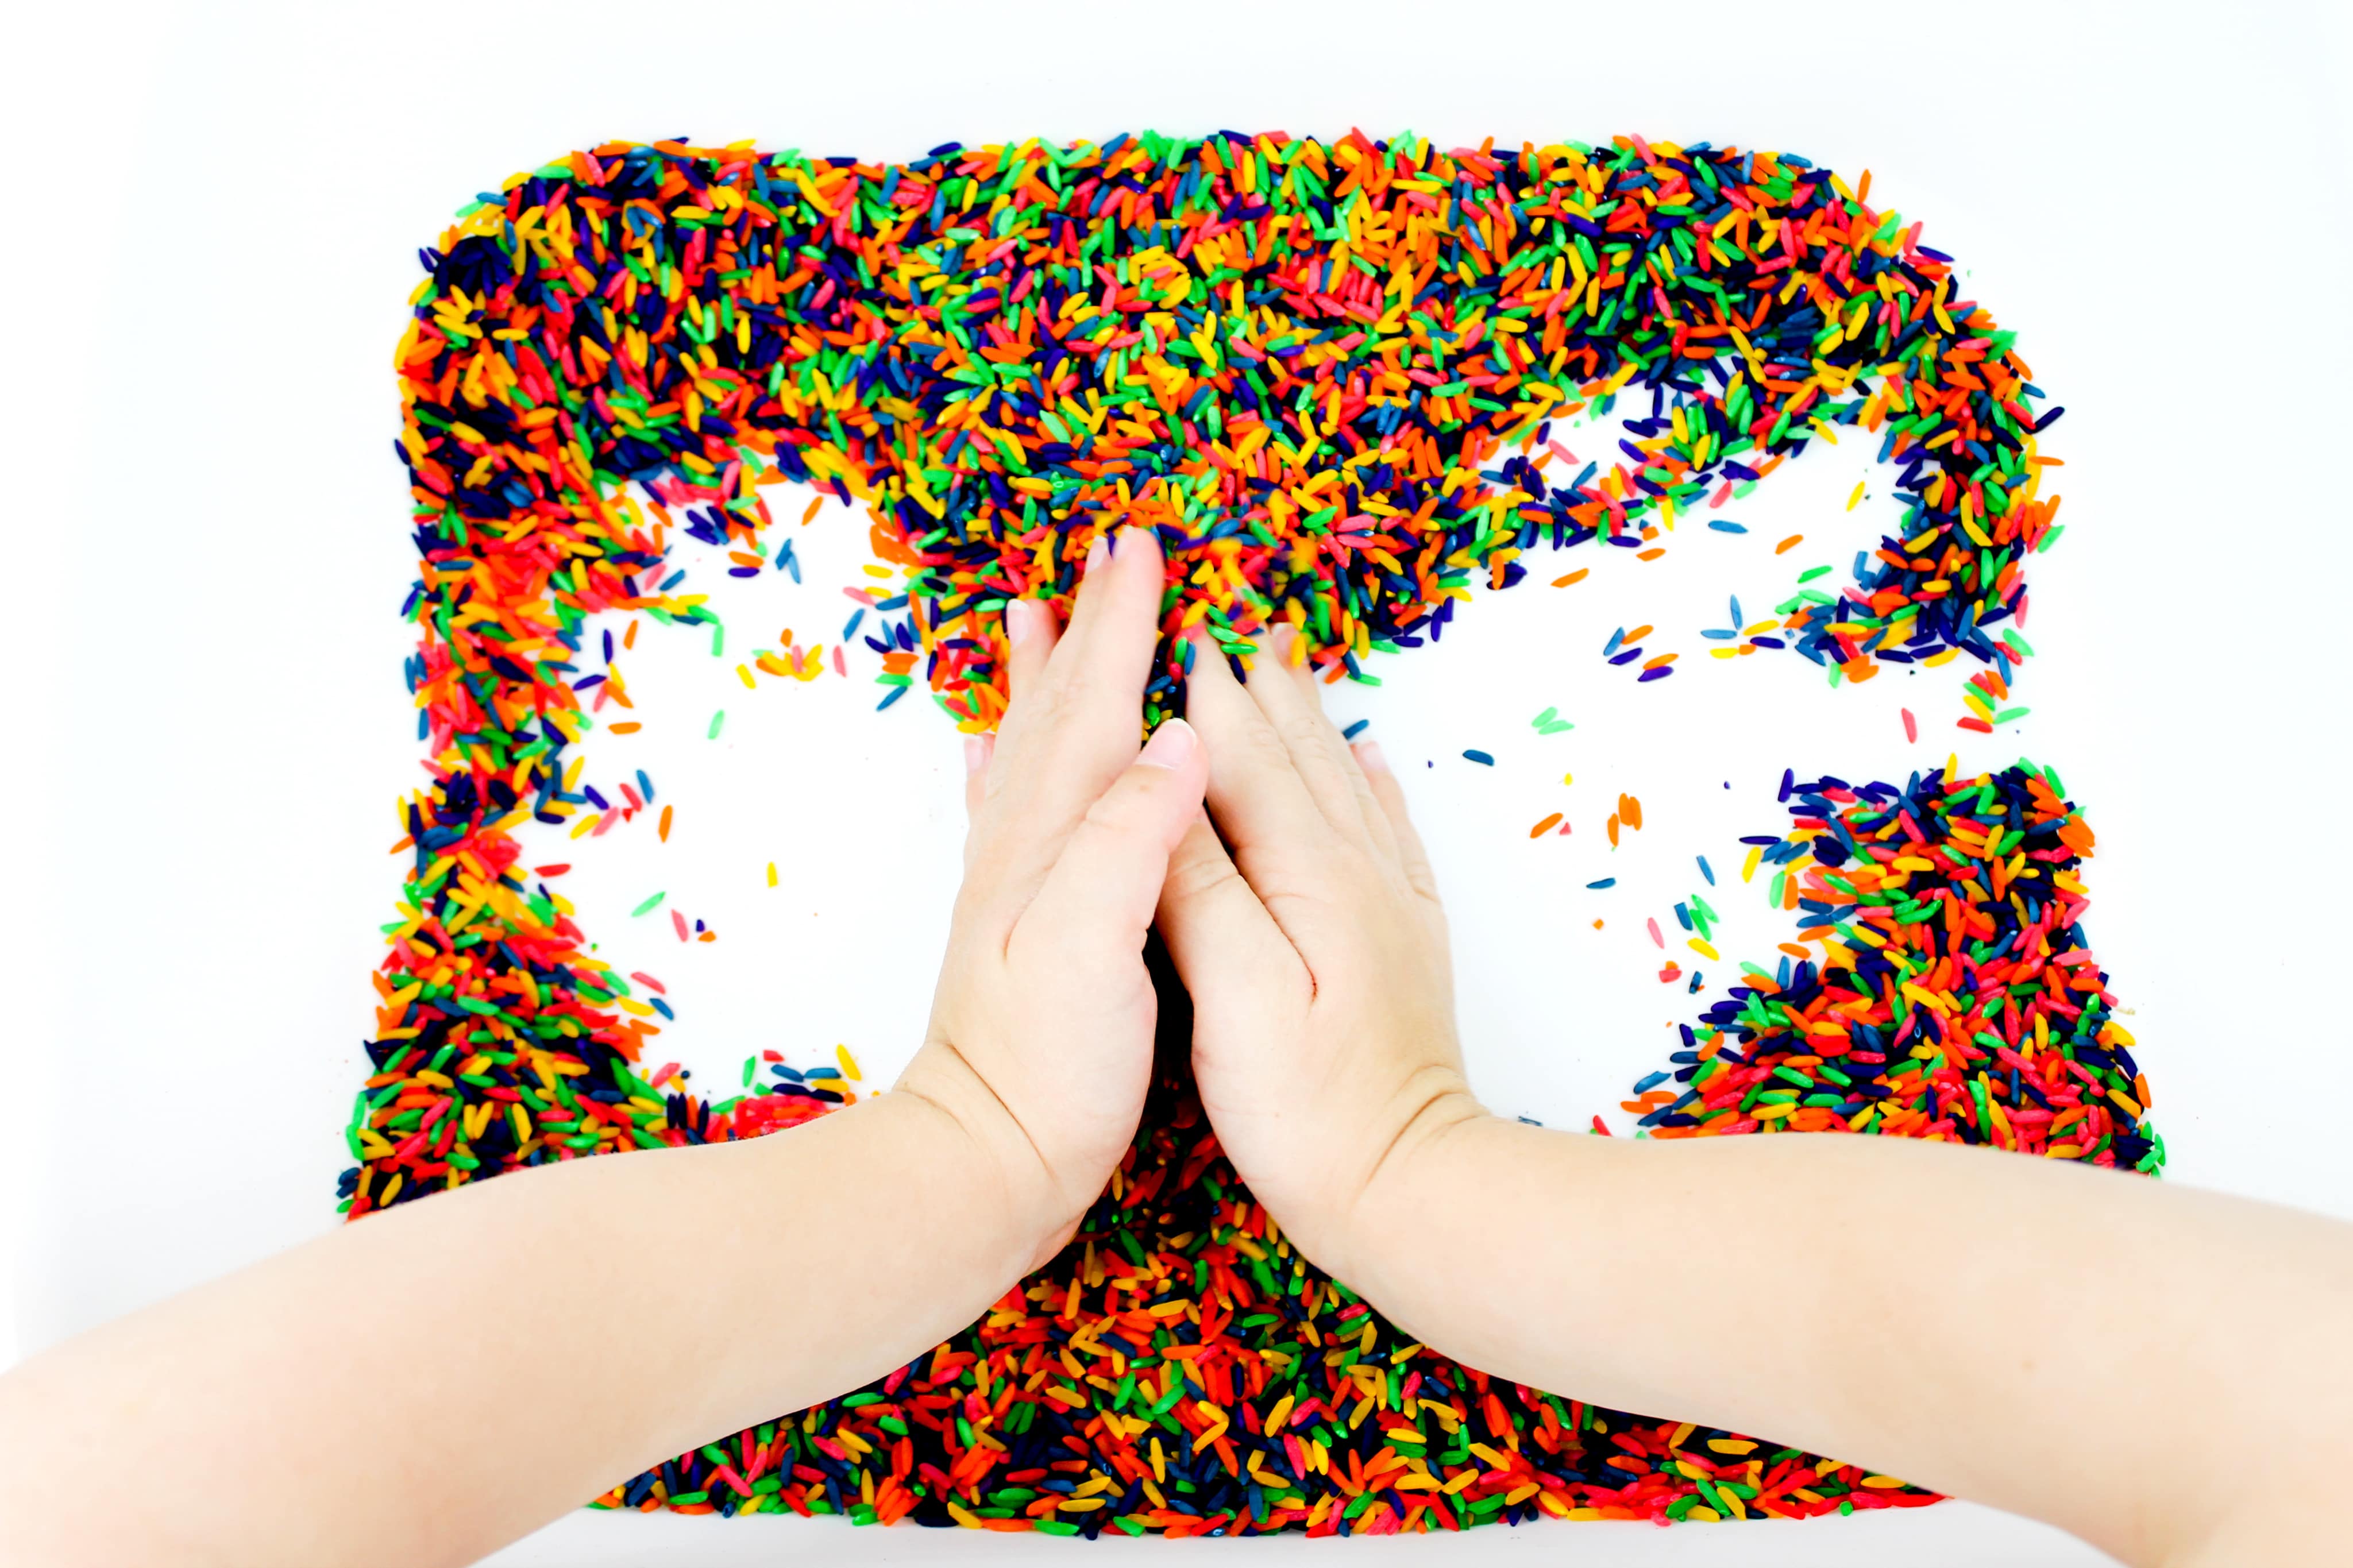
How to Make Rainbow Rice
Learn how to make rainbow rice with just a few simple ingredients! Rainbow rice is great for sensory play. With a toddler at home, I’m always on the hunt for new ideas for sensory play. My son loves to play with a variety of materials and items that we add to his sensory bins. One…
-
15+ Educational Websites for Kids
If you’re like me, you’re always on the lookout for new and innovative ways to help your kids learn. Well, look no further! Check out these top educational websites for kids. With games, activities, and lessons on a variety of subjects, your little ones will be learning without even realizing it. So ditch the flashcards…
-
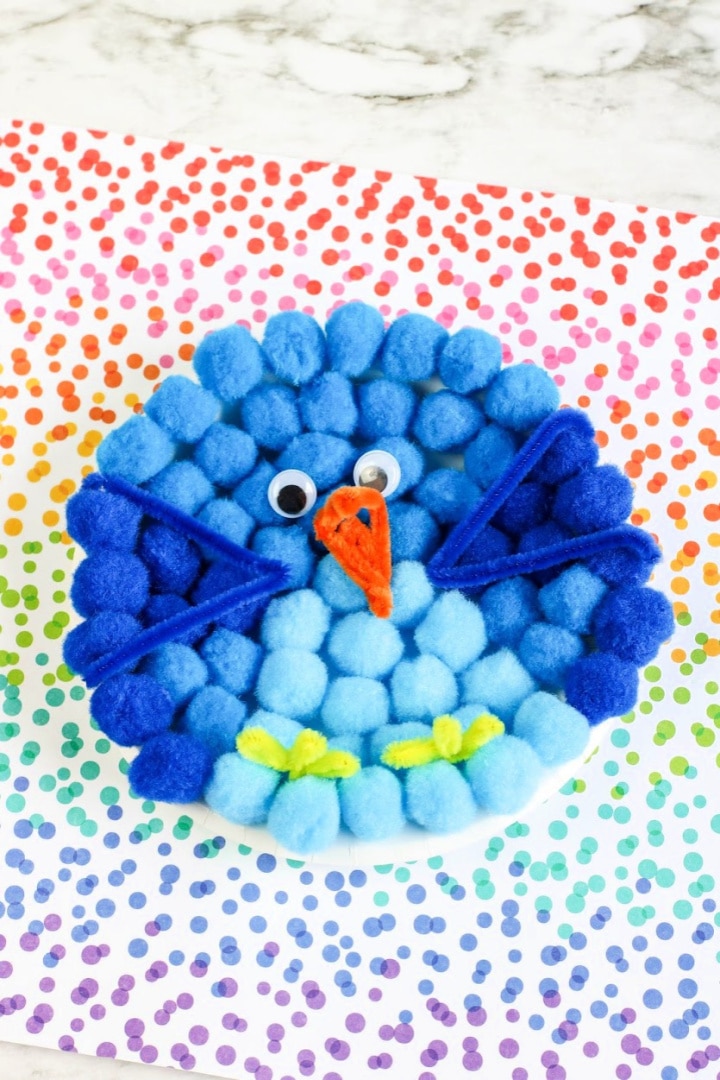
Blue Bird Paper Plate Craft
Create this adorable Blue Bird Paper Plate Craft with the kids! This easy to follow photo tutorial will show you how to make this cute bird craft. The spring season is here! We have already been taking advantage of the spring months by spending plenty of time outdoors! We have also started a new hobby…
-
St. Patrick’s Day Sensory Bin
Looking for fun sensory content this month for kids? Create this colorful and festive St. Patrick’s Day Sensory Bin! Creating a St. Patrick’s Day sensory bin is a great way to get your kids in the holiday spirit! Sensory bins are fun, interactive activities that can help children develop their senses and stimulate learning. They…
-
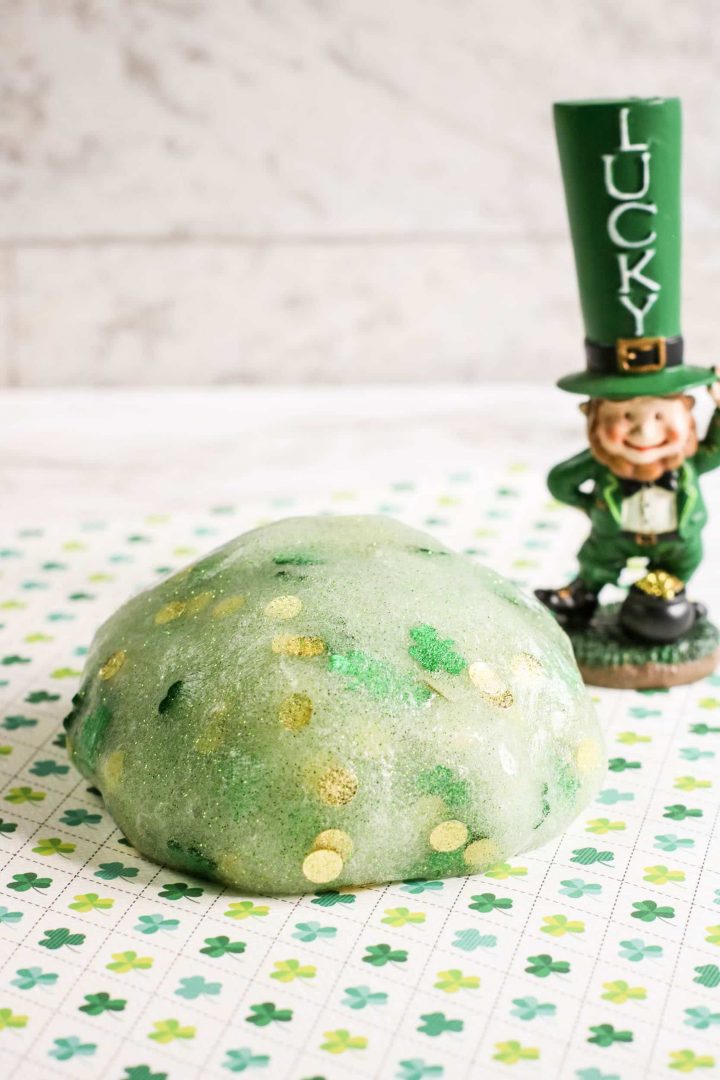
St. Patrick’s Day Shamrock Slime
Create this stretchy St. Patrick’s Day Shamrock Slime to enjoy during the month of March! Do your kids love slime as much as my kids do? My girls love to make slime. I’ve seen them make just about every kind of slime you can think of – from regular slime to textured or fluffy slime!…