-
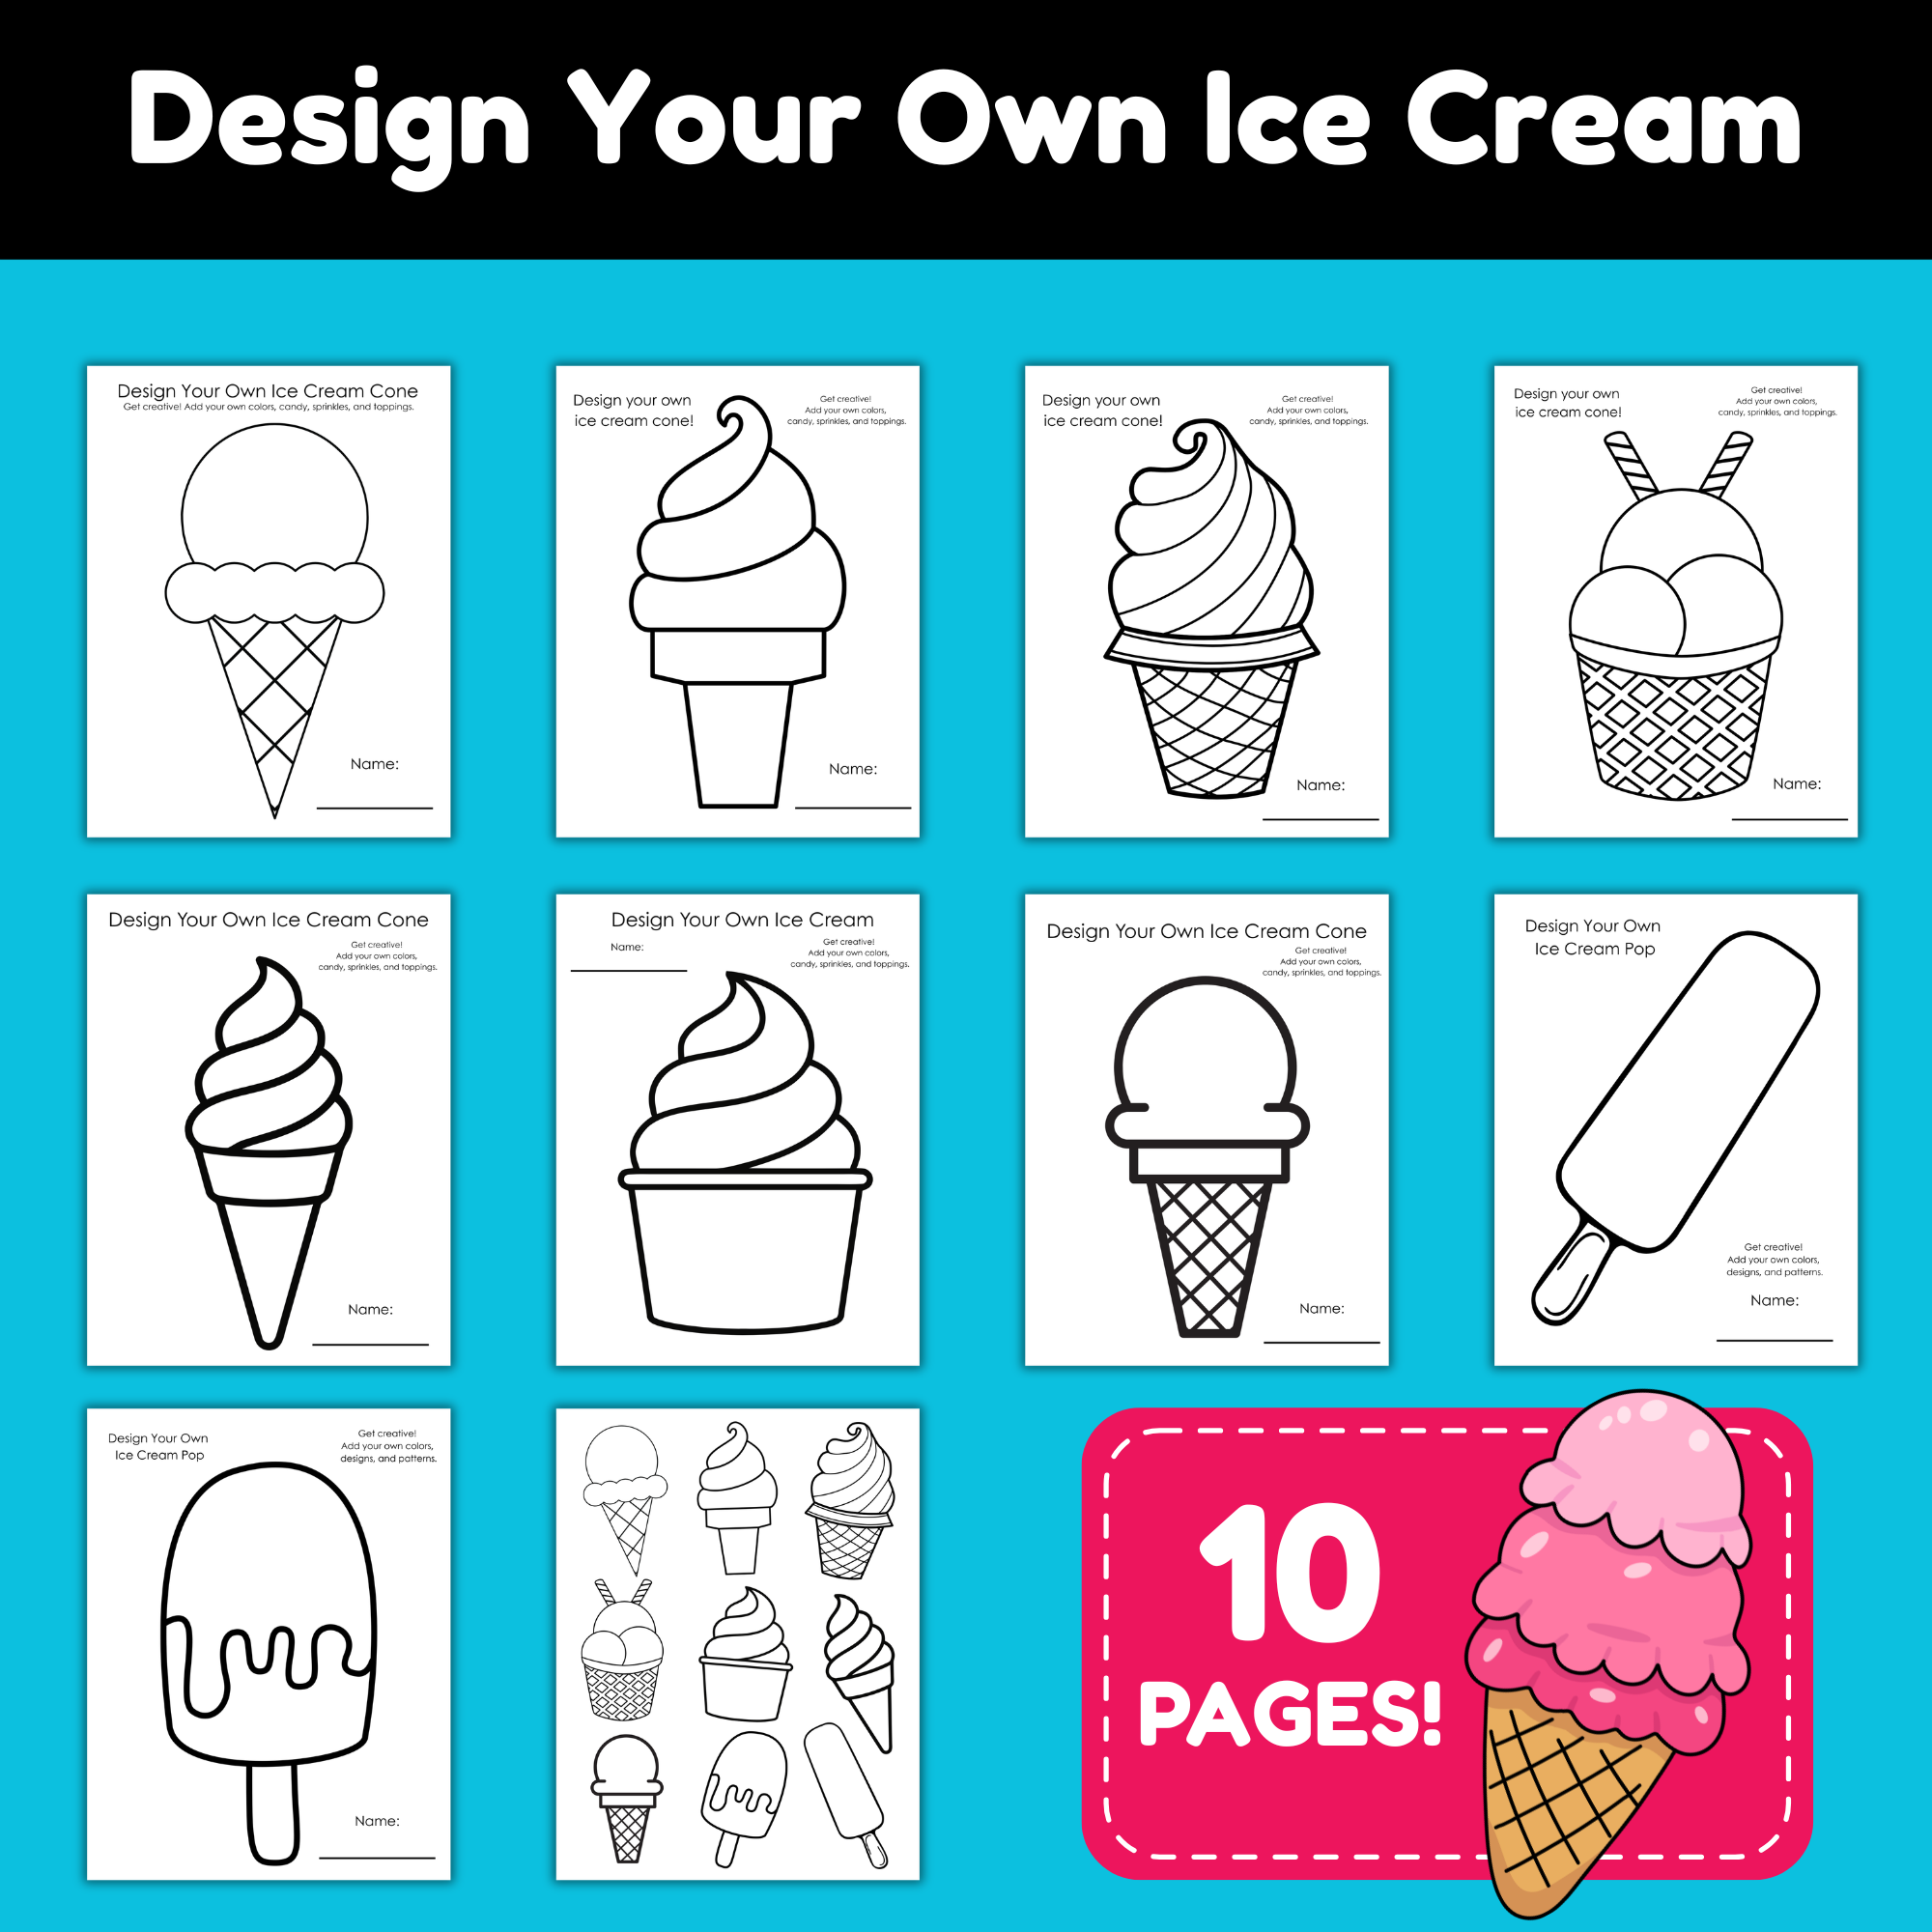
Design Your Own Ice Cream Printable Pack for Kids
Looking for an easy summer activity for kids that encourages creativity without needing a ton of supplies? This Design Your Own Ice Cream Printable Pack is a fun screen-free activity kids can use at home, during summer break, at birthday parties, or even in the classroom. This printable pack gives kids the chance to create…
-
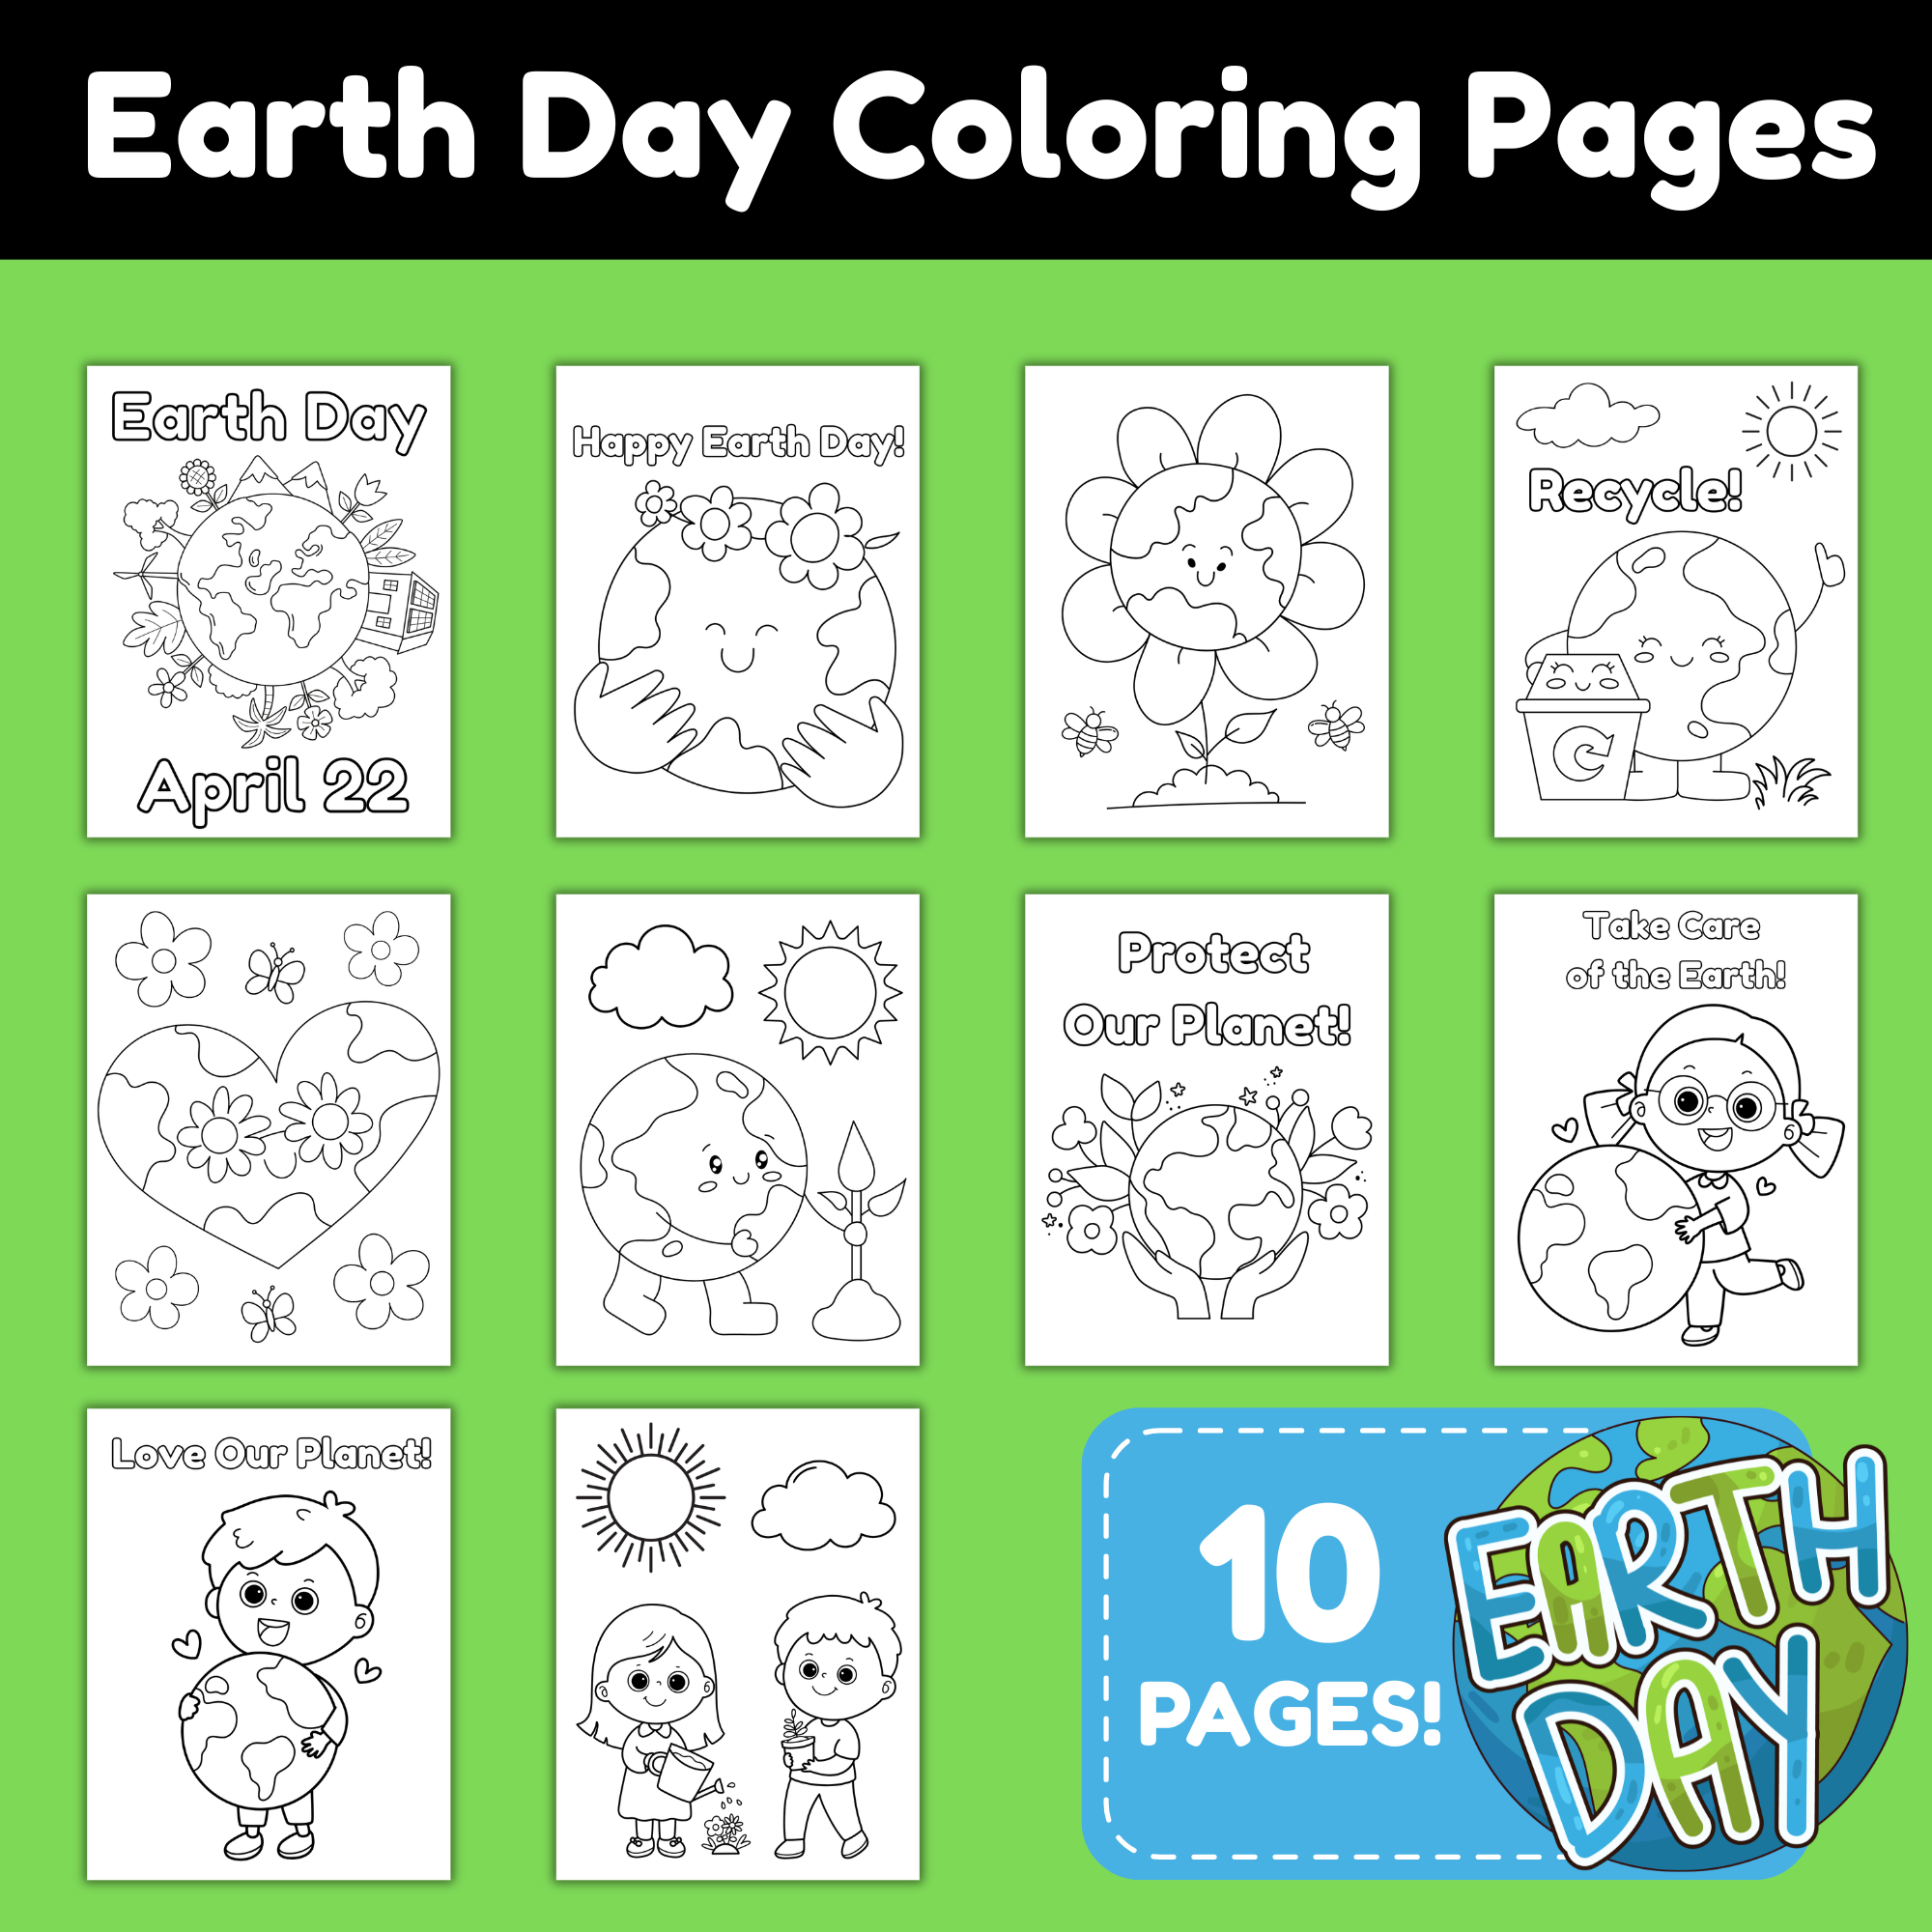
Earth Day Coloring Pages for Kids (Printable 10-Page Activity Pack)
If you’re looking for a simple, screen-free way to celebrate Earth Day with kids, this Earth Day coloring pages for kids printable pack is an easy go-to. Instead of scrambling for a last-minute activity, this 10-page set gives you everything you need to keep kids engaged while still tying in an important seasonal topic—caring for…
-
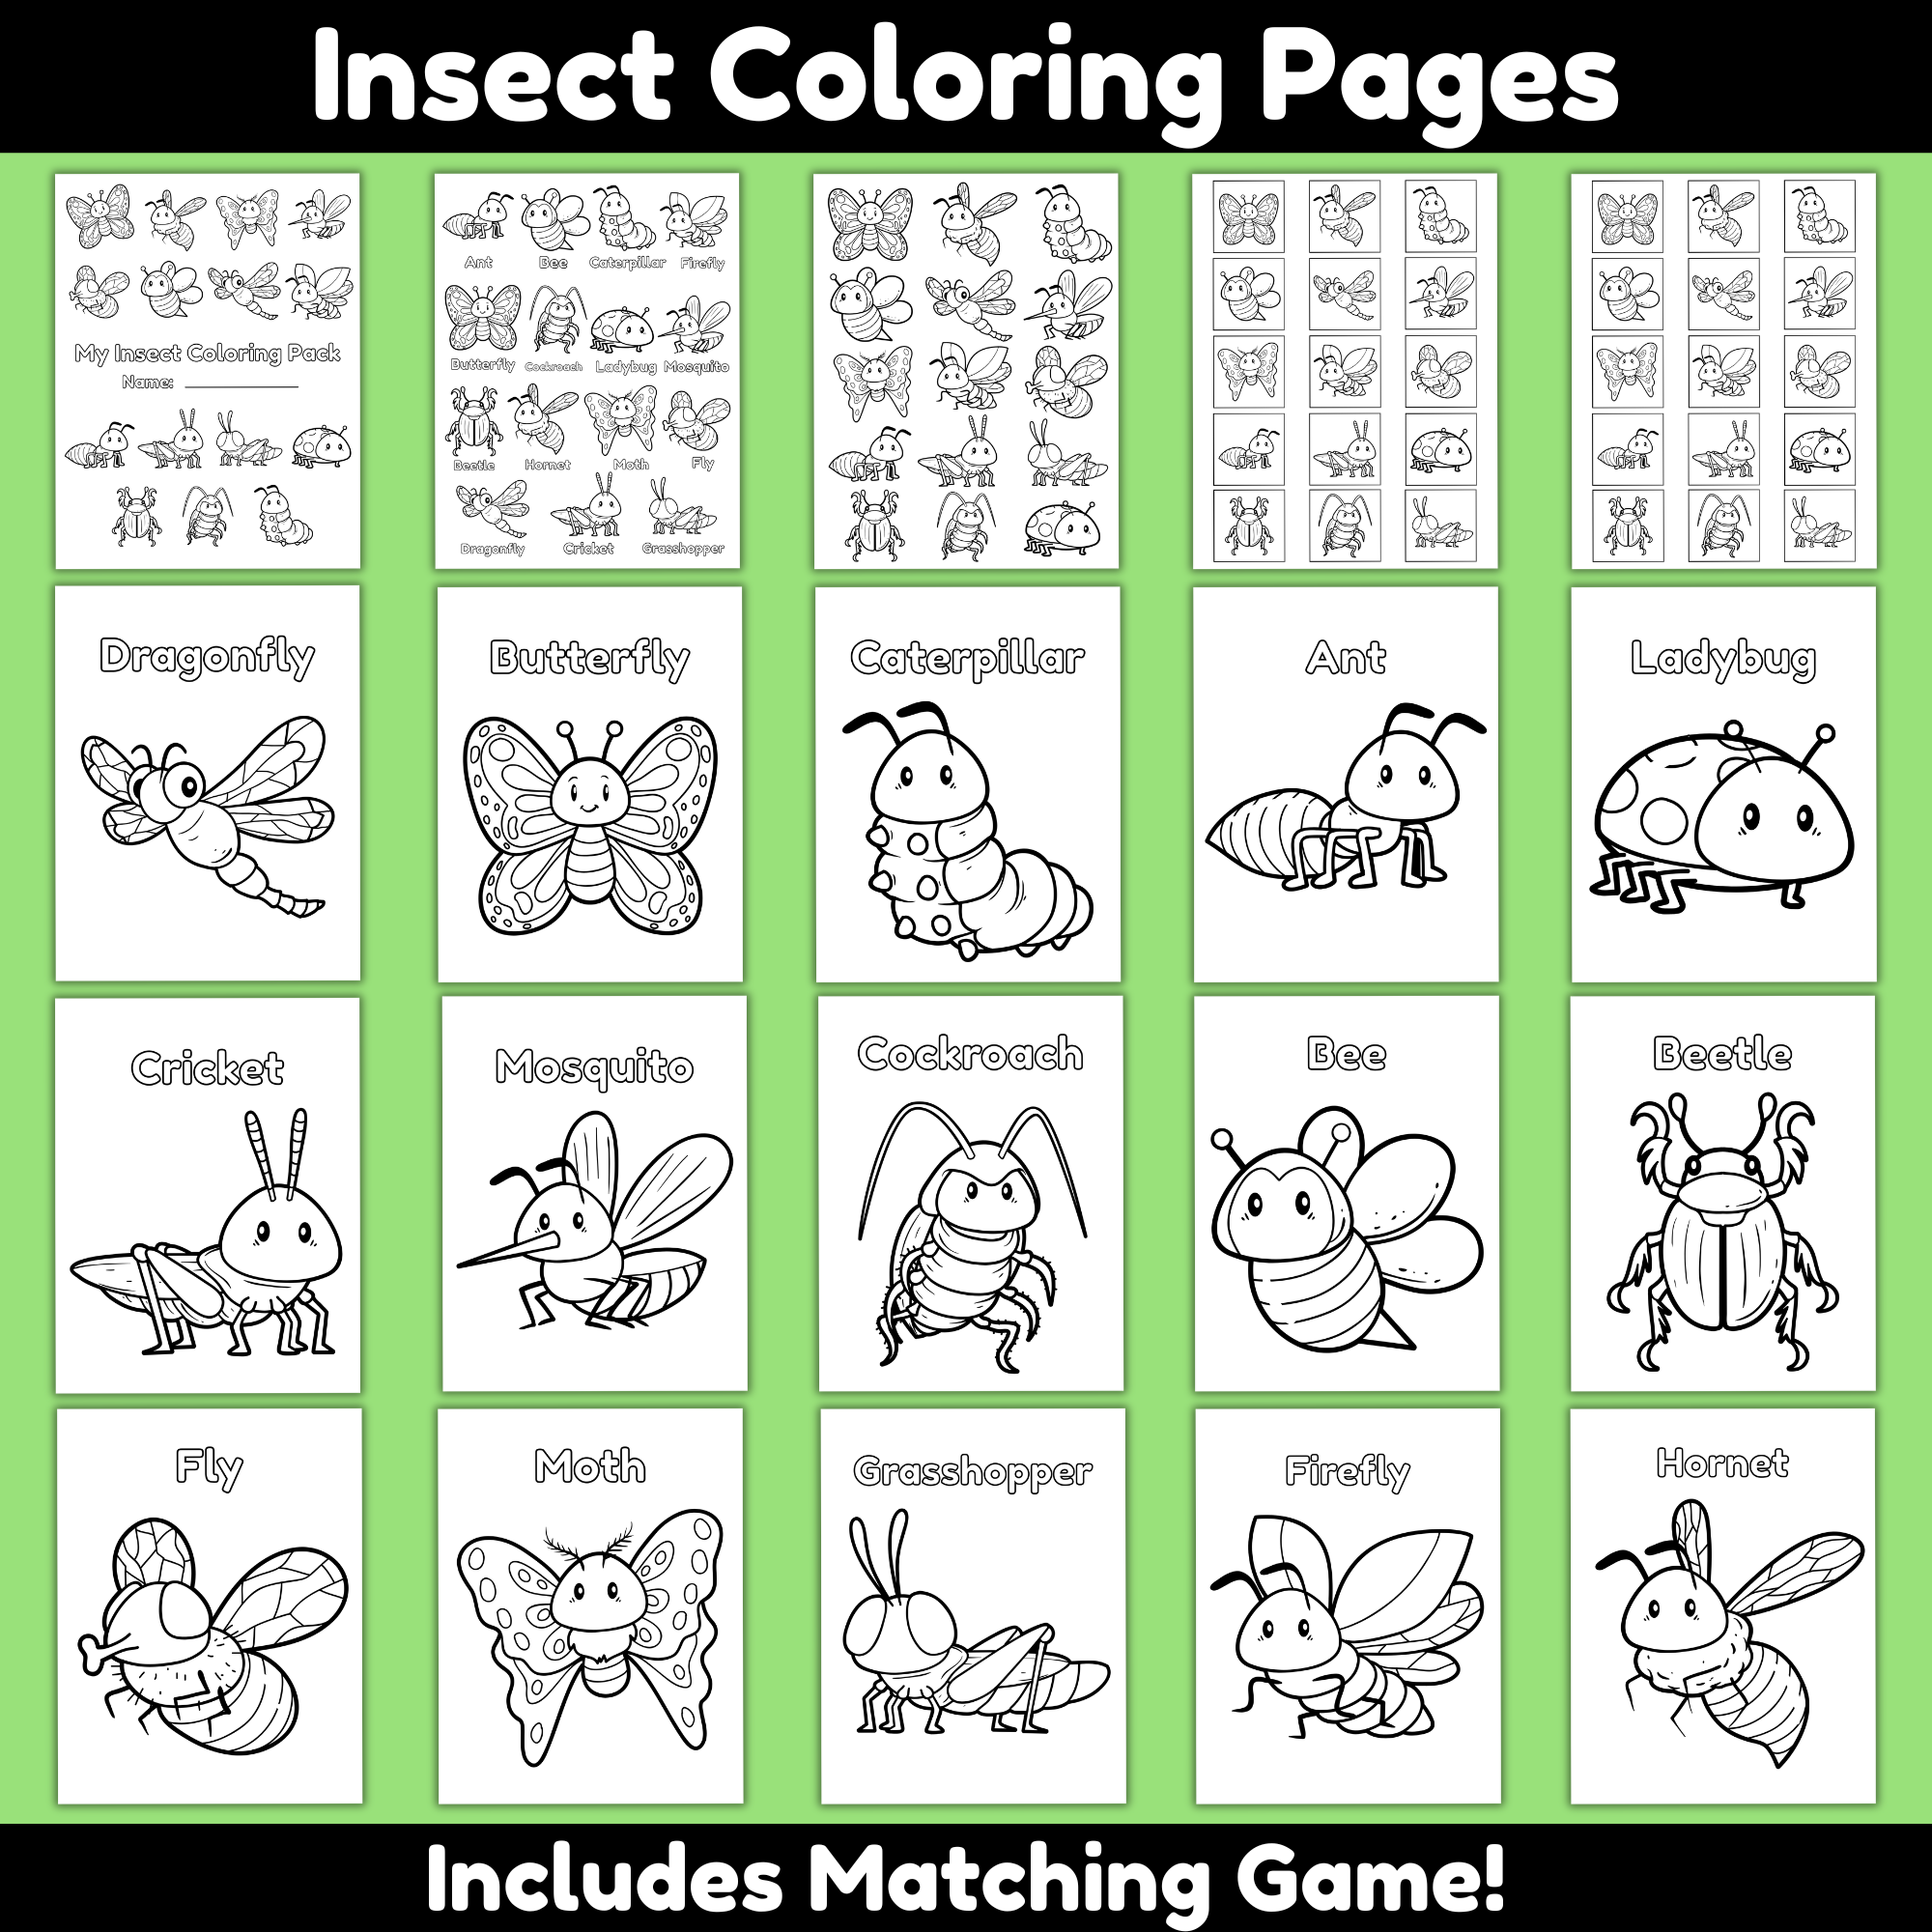
Insect Coloring Pack for Kids Printable: Spring Bug Unit
As a busy mom, finding fun educational activities that keep kids engaged can be tough. That’s why I created this 20-page insect coloring pack—it’s perfect for preschool, kindergarten, and early elementary kids who love bugs. With coloring, matching games, and hands-on activities, this printable pack is a screen-free way to learn about insects while having…
-
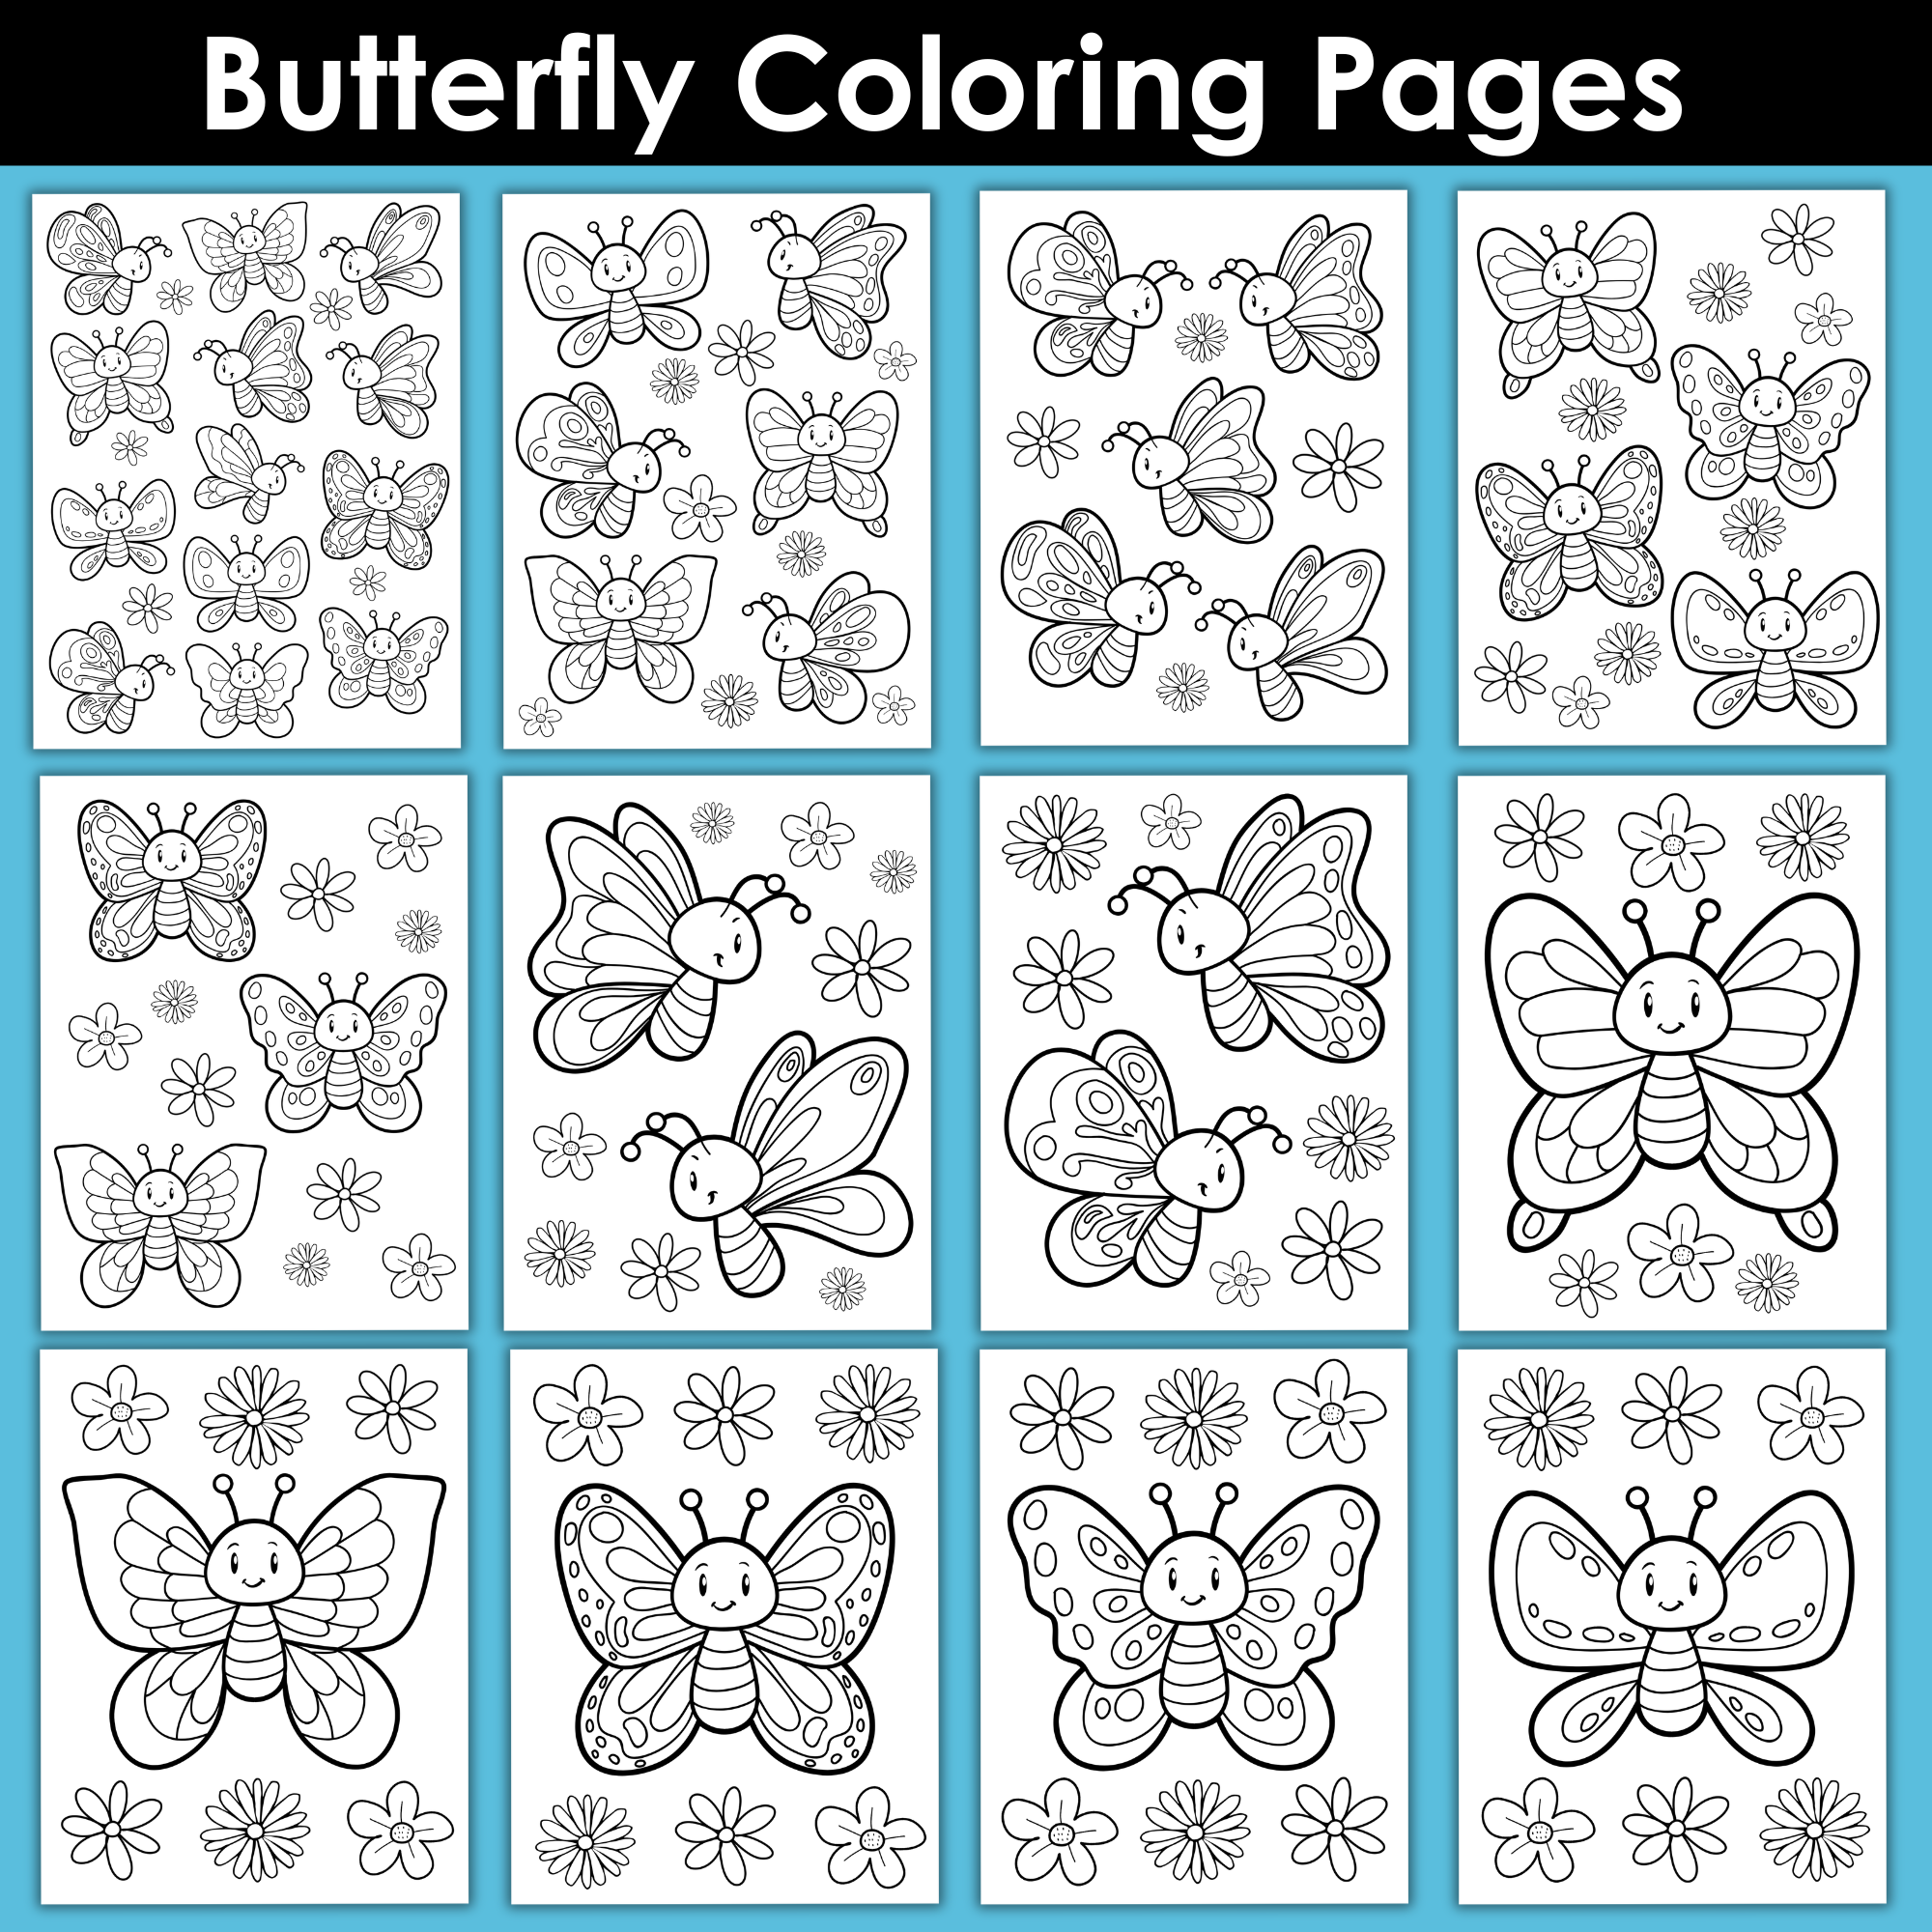
Butterfly Coloring Pages for Kids – Printable Spring Activity Pack
Looking for a fun, easy activity to keep kids entertained? This 12-page butterfly coloring pack is perfect for preschoolers, kindergarteners, and elementary-aged kids. Each page features cute butterflies and flowers in a cohesive style, so kids can enjoy a variety of coloring fun without feeling repetitive. Whether it’s a rainy day activity, a classroom center,…
-
Printable Leprechaun Trap Craft Sets for St. Patrick’s Day Fun
Printable Leprechaun Trap Kit Set #1 Buy now on: Etsy | Teachers Pay Teachers Printable Leprechaun Trap Kit #2 Buy now on Etsy | Teachers Pay Teachers St. Patrick’s Day is a favorite holiday for creating memorable moments with kids, and holiday crafts are one of the easiest ways to make the season more exciting.…

-
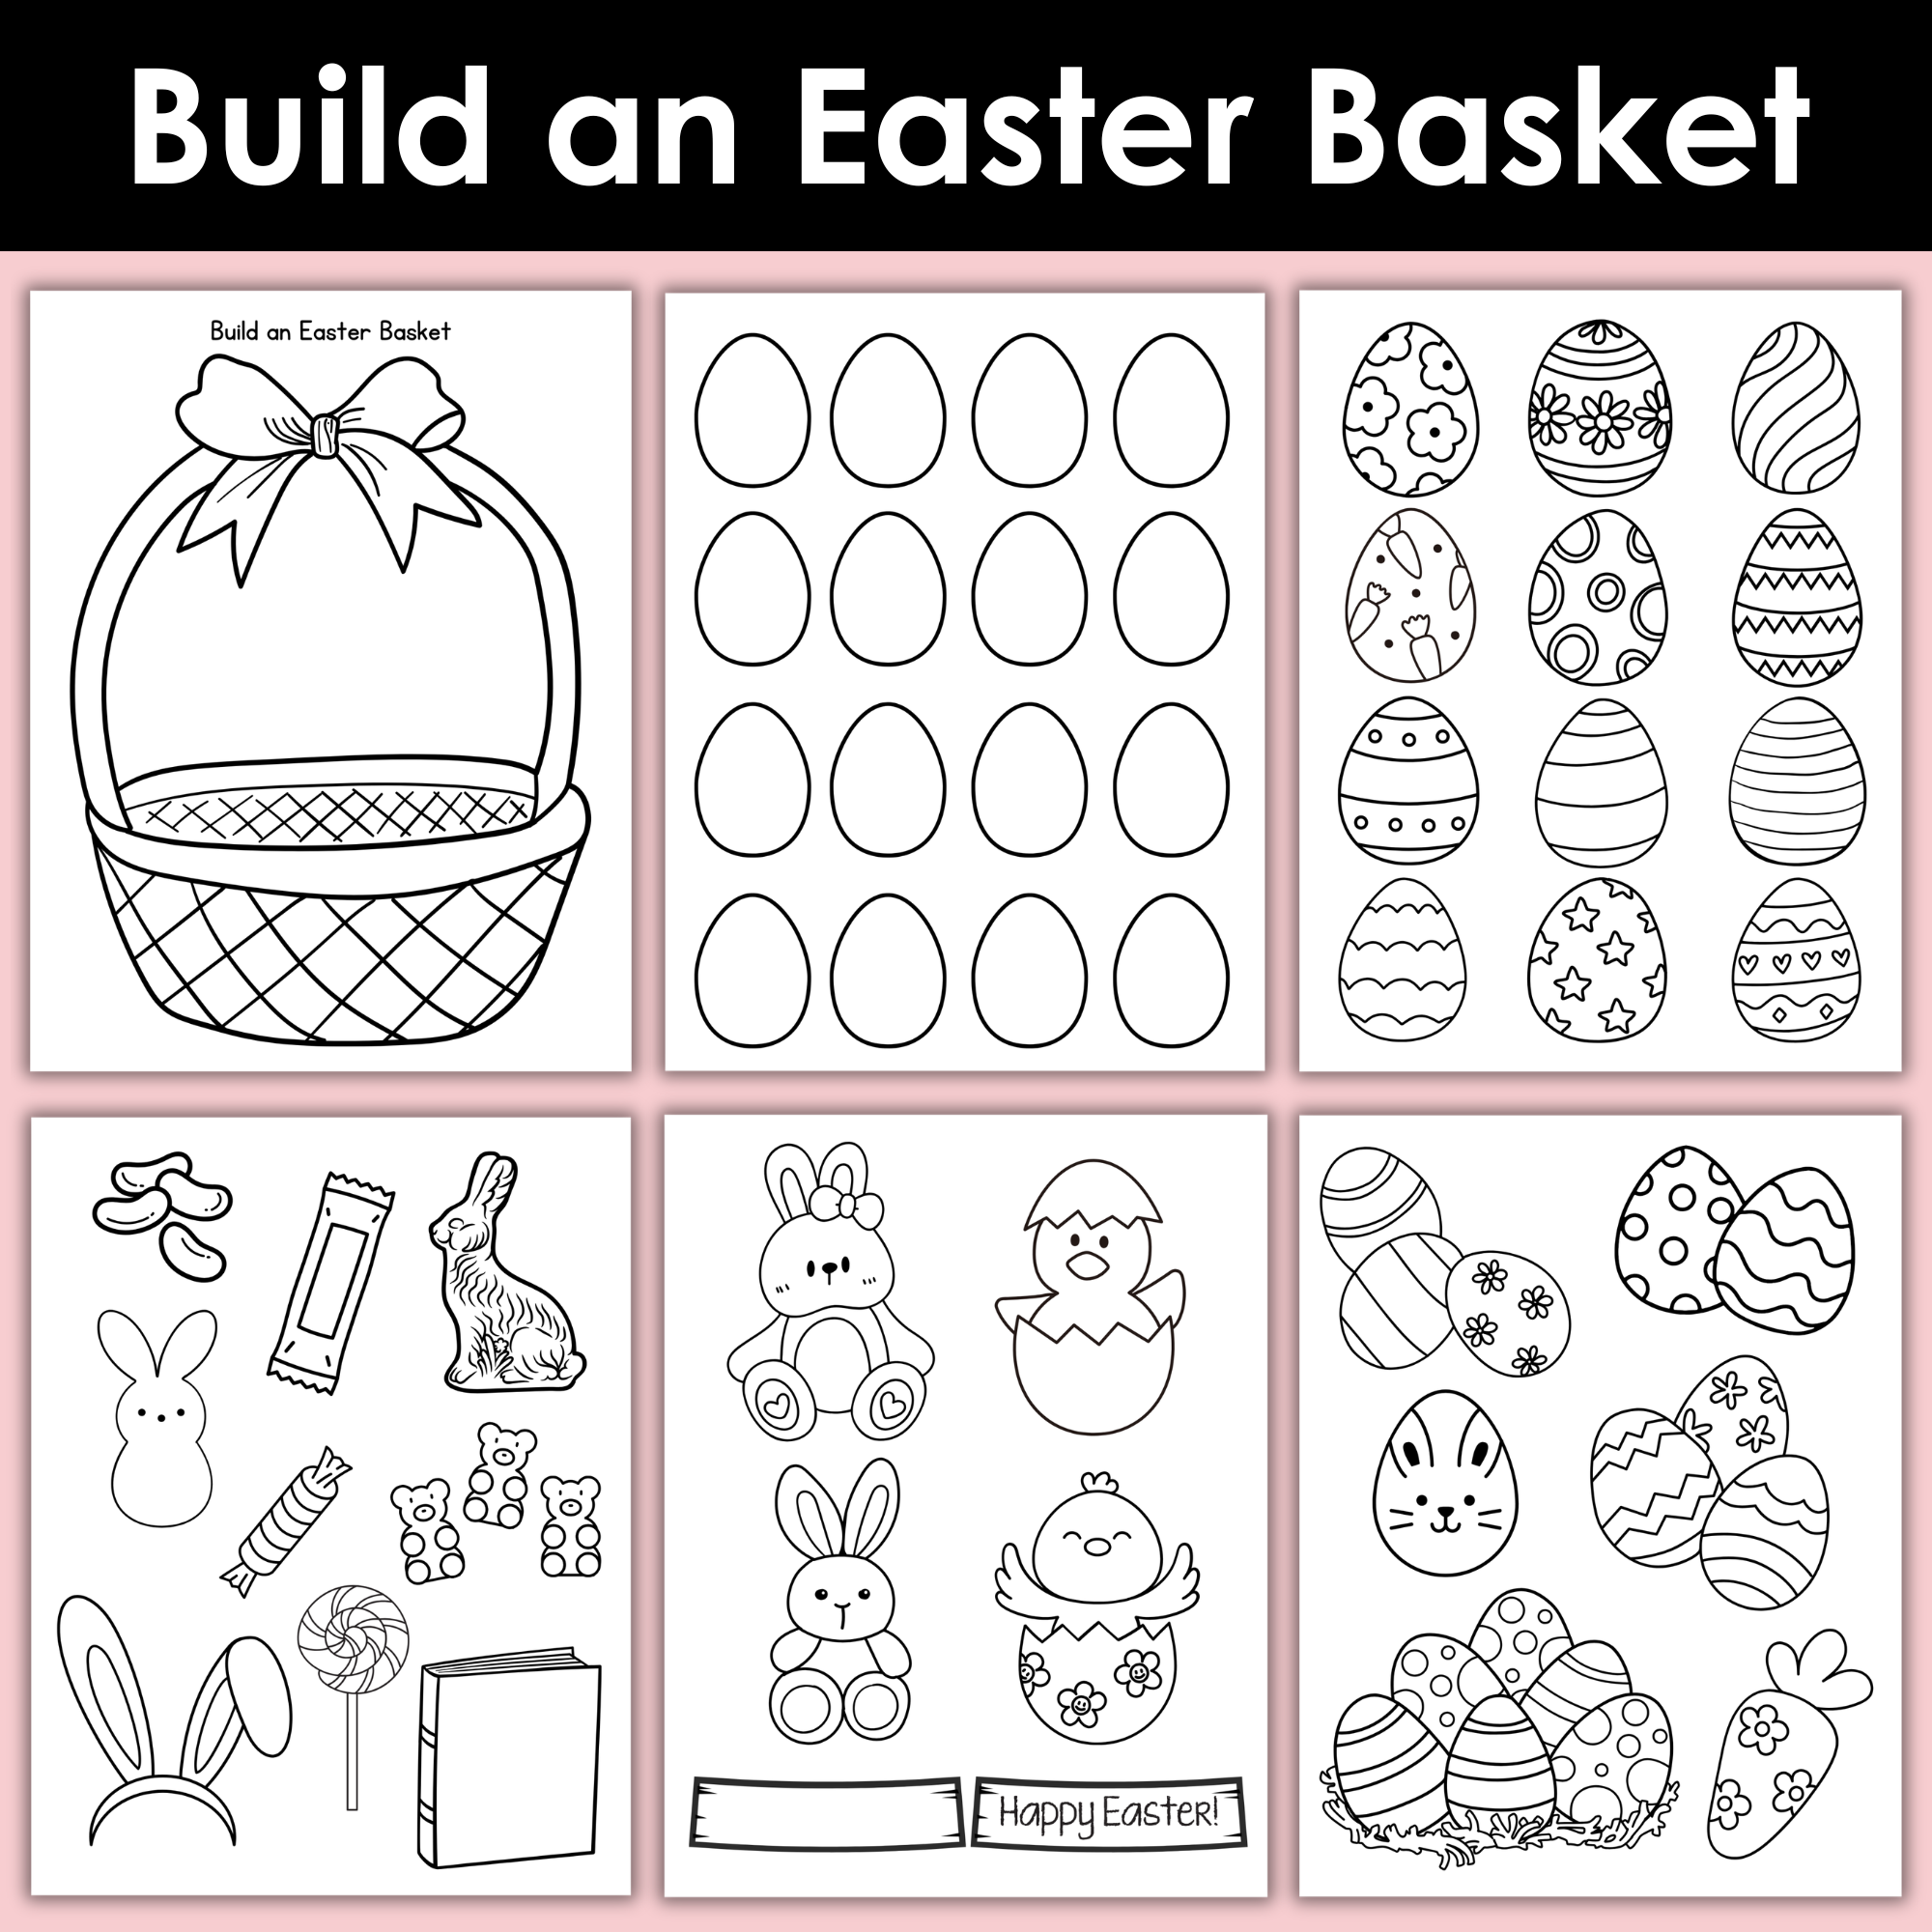
Build an Easter Basket Printable Craft – Fun Easter Activity for Kids (Color, Cut & Paste)
Looking for an easy, low-prep Easter activity that keeps kids busy and creative? This Printable Build an Easter Basket Craft Set is a great way to celebrate the spring holiday while helping children practice important early learning skills. This black and white Easter craft printable is perfect for coloring, cutting, and pasting. Kids will love…
-
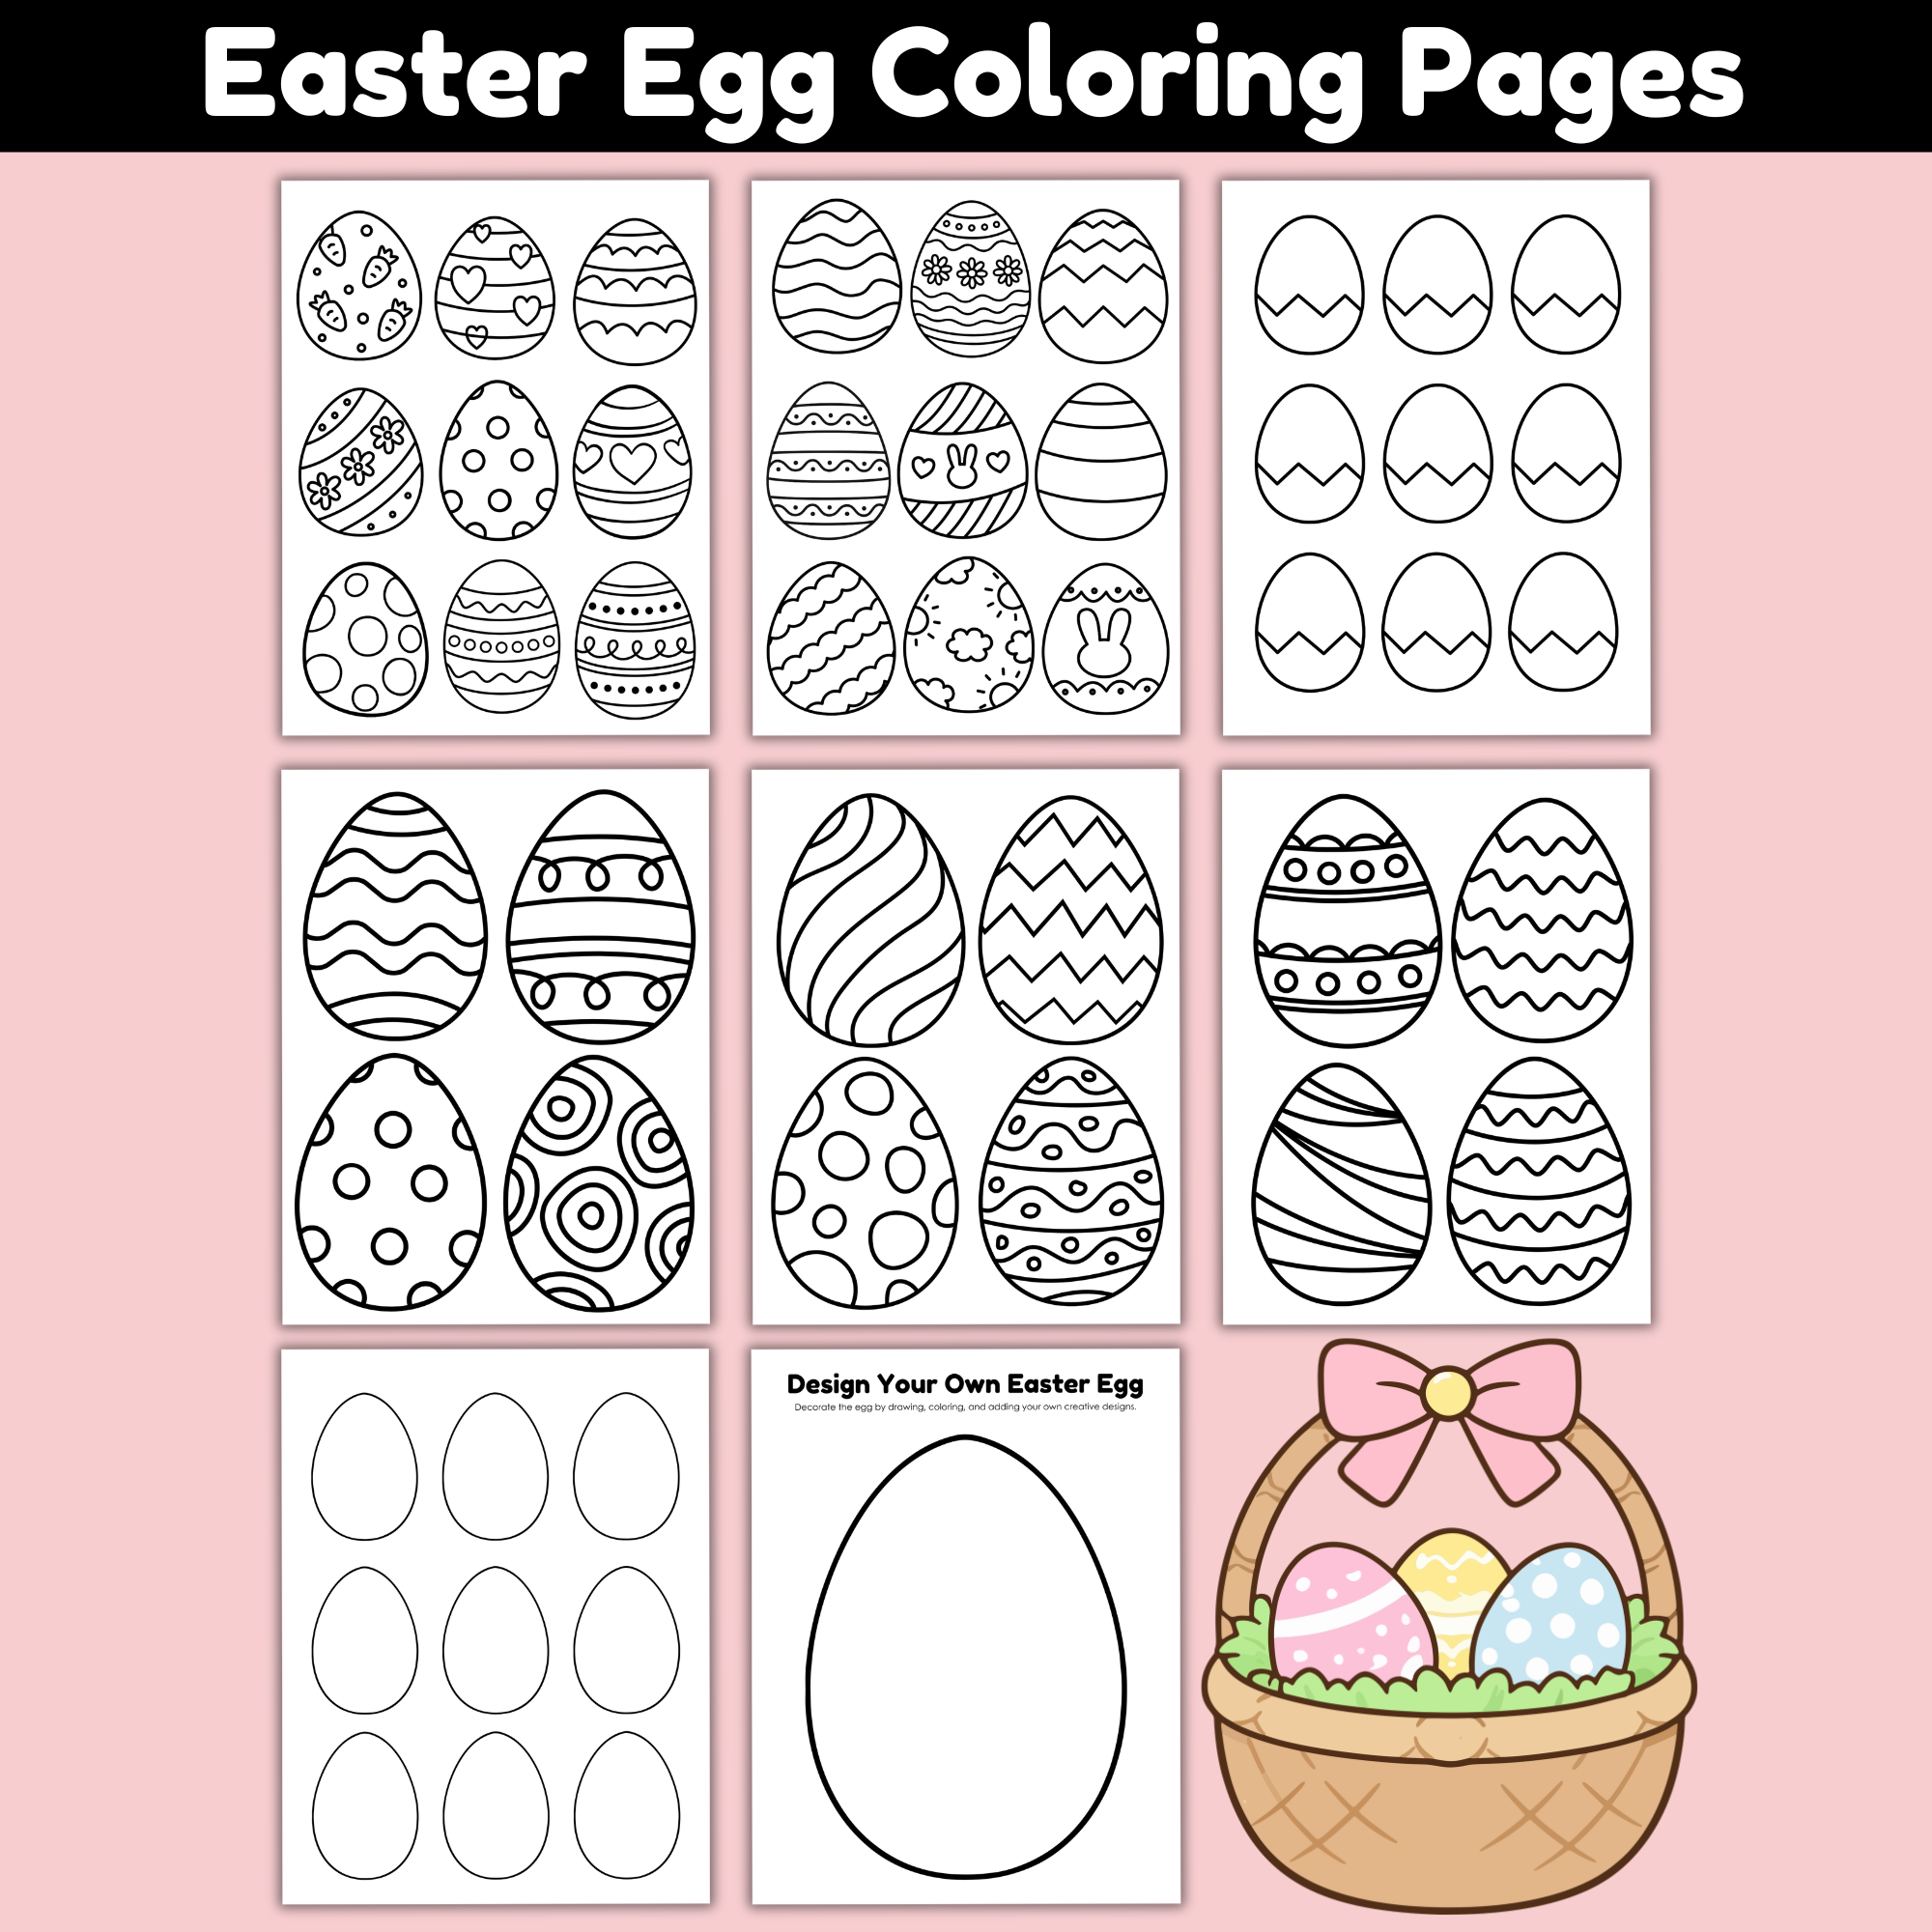
Easter Egg Coloring Pages Printable – Easy Easter Activity for Kids
Looking for a simple, affordable way to keep the kids busy this spring? This Easter Egg Coloring Pages Printable pack is an easy, no-prep solution that works for busy moms, homeschool families, and classroom teachers alike. If you need a screen-free Easter activity that requires minimal supplies and zero planning, this 8-page printable Easter egg…