-
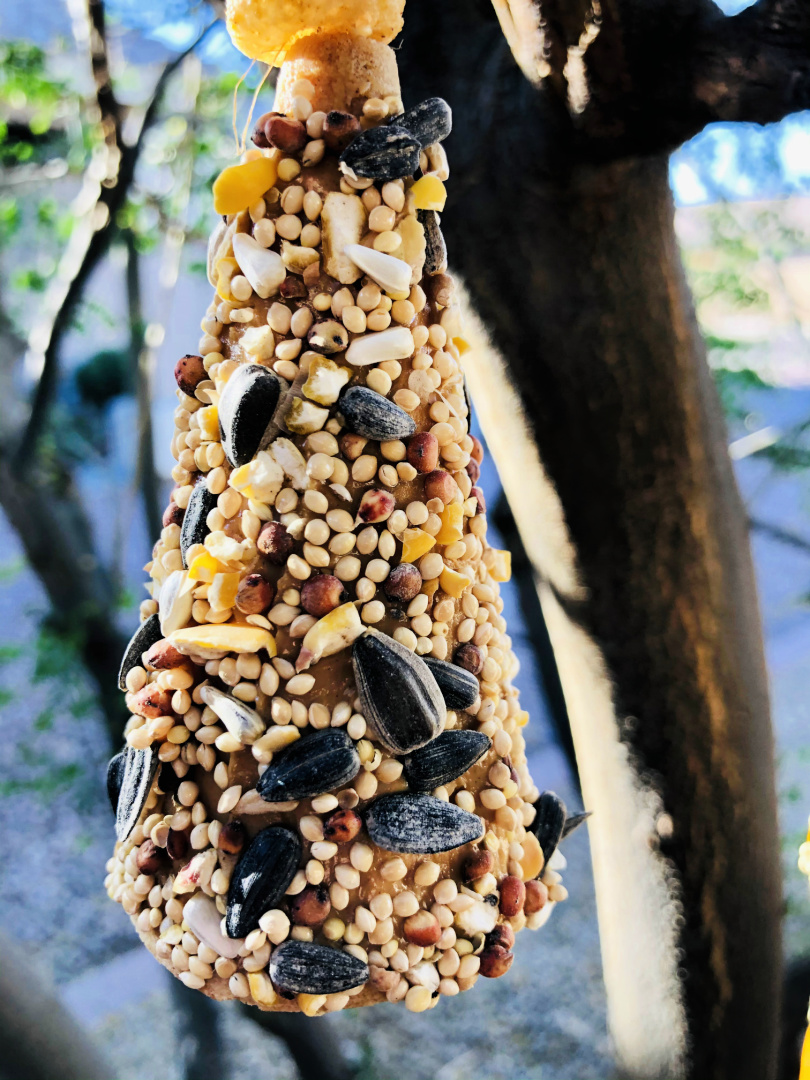
Sugar Cone Bird Feeder
Learn how to make this simple Sugar Cone Bird Feeder to hang in your backyard this season! If you enjoy birdwatching, consider making homemade birdfeeders for your backyard! There are several varieties of bird feeders that you can make to hang in your backyard this season. Today, I’m sharing how to make a Sugar Cone…
-
Best DIY Bird Feeder Kits for Kids
Bird watching is a fun activity for the whole family! We recently moved to a new location this spring. About a week after we moved, we purchased a few bird feeders to place around our home. Within days, we observed several different types of birds enjoying tasty snacks from our feeders! How to Make a…
-
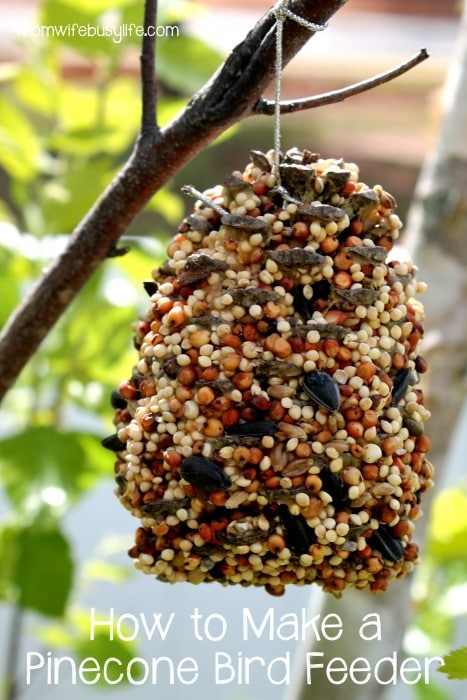
How to Make a Pine Cone Bird Feeder
Are you a busy mom looking for a fun activity that’s both enjoyable and educational for your kids? Look no further! Making homemade pine cone bird feeders is a great way to spend quality time with your little ones while helping your feathered friends. Bird Feeders for Children to Make: Includes Apple Feeder, Orange Feeder,…
-
Animal Paper Plate Crafts
Get creative with paper plates! Here’s a list of Animal paper plate crafts for kids to make this year. No matter what animal is their favorite, kids will love creating, painting, and decorating their new animal friends they have made. Paper plate crafts are also a way to help kids work on their fine motor…
-
Egg Carton Animal Crafts
Save your egg cartons! You can make a variety of adorable egg carton animal crafts with your empty egg cartons. Egg Carton Hungry Caterpillar by Crafty Morning Egg Carton Bugs by Easy Peasy Fun Egg Carton Owls by Glued to My Crafts Egg Carton Sea Life by Fantastic Fun and Learning Egg Carton Butterflies by Crafty…
-
Indoor Activities for Kids
Are you trying to keep the kids entertained during the hot summer months? Here’s a list of fun indoor activities for kids to take advantage of! We all hate being cooped up on those rainy days, and throughout the cold winter months. Here are ten tips and tricks that I do to keep my little…
-
Toothbrush Painting for Toddlers
Toothbrush painting for toddlers is a wonderfully open-ended art activity for toddlers and uses basic items that are found in your home. Toddlers do not need expensive art supplies to express their creativity. The simplest household items can be used to create a fun and unique art experience that toddlers will love. Old toothbrushes are…