
Easy Halloween Oreo Treats for Busy Moms
With Halloween right around the corner, finding the perfect treat that’s quick, fun, and festive can be a lifesaver for busy moms.
These Chocolate Covered Halloween Oreos tick all the boxes: they’re easy to make, visually appealing, and delicious.
Here’s why you should consider adding this simple recipe to your Halloween traditions.
You may also like:
Perfect for Last-Minute Prep
Between school runs, work, and keeping up with daily chores, finding time to whip up elaborate Halloween treats can be a challenge.
These Halloween Oreos require minimal prep time—just 15 minutes!
With a total time of only 45 minutes, including cooling, they’re a quick yet impressive addition to any Halloween gathering.
Kid-Friendly Fun
Halloween is all about creating memorable experiences for your kids.
This recipe provides a fantastic opportunity to get your little ones involved in the kitchen.
From dipping the Oreos in vibrant candy melts to sprinkling spooky decorations, this activity is sure to keep them entertained and excited about Halloween.
Plus, it’s a great way to bond and make cherished memories together.
Versatile and Convenient
These Halloween Oreos are perfect for various occasions.
They’re an excellent choice for school Halloween parties, neighborhood gatherings, or even a fun dessert for a family movie night.
The colorful candy melts and festive sprinkles make them a hit at any event.
Additionally, they’re easy to transport and can be stored in an airtight container, making them a convenient option for busy moms on the go.
Budget-Friendly Treats
You don’t need a long list of expensive ingredients to create something special.
With just a few simple items—Oreos, candy melts, and Halloween sprinkles—you can make a batch of 12 festive treats.
This makes them not only time-efficient but also budget-friendly, which is perfect for moms looking to save during the holiday season.
Enhance Your Halloween Spread
Whether you’re hosting a Halloween party or looking to add a fun element to your family’s celebration, these Chocolate Covered Halloween Oreos fit right in.
Serve them on a festive plate alongside other treats like candy corn and caramel apples for a spook-tacular dessert spread.
Their eye-catching colors and playful decorations will be a standout feature at any Halloween table.
Tips for Success
- Use a Silicone Baking Mat: It helps prevent the Oreos from sticking and makes cleanup a breeze.
- Customize with Your Favorite Sprinkles: Let your kids pick out their favorite Halloween sprinkles to personalize each treat.
- Speed Up Cooling: If you’re in a rush, pop the dipped Oreos in the fridge for about 15 minutes to set the candy coating quickly.
By incorporating these simple and fun Halloween Oreo treats into your holiday festivities, you can easily create a memorable experience for your family and friends.
Grab your candy melts and sprinkles, and get ready to make some spooky and scrumptious Halloween memories!
For more quick and easy Halloween recipes and craft ideas, check out our blog.
Happy Halloween!
Chocolate Covered Halloween Oreos
Ingredients:
- 12 Oreo cookies
- ¼ cup Purple candy melts
- ¼ cup Green candy melts
- ¼ cup Orange candy melts
- Halloween sprinkles (e.g., bats, pumpkins, ghosts, and other spooky shapes)

Directions:
Line a baking sheet with parchment paper or a silicone baking mat.
Separate the Halloween sprinkles into small bowls for easy access.
In three separate microwave-safe bowls, place the purple, green, and orange candy melts.
Microwave each bowl one at a time, in 30-second intervals, stirring after each interval until the candy melts are fully melted and smooth.
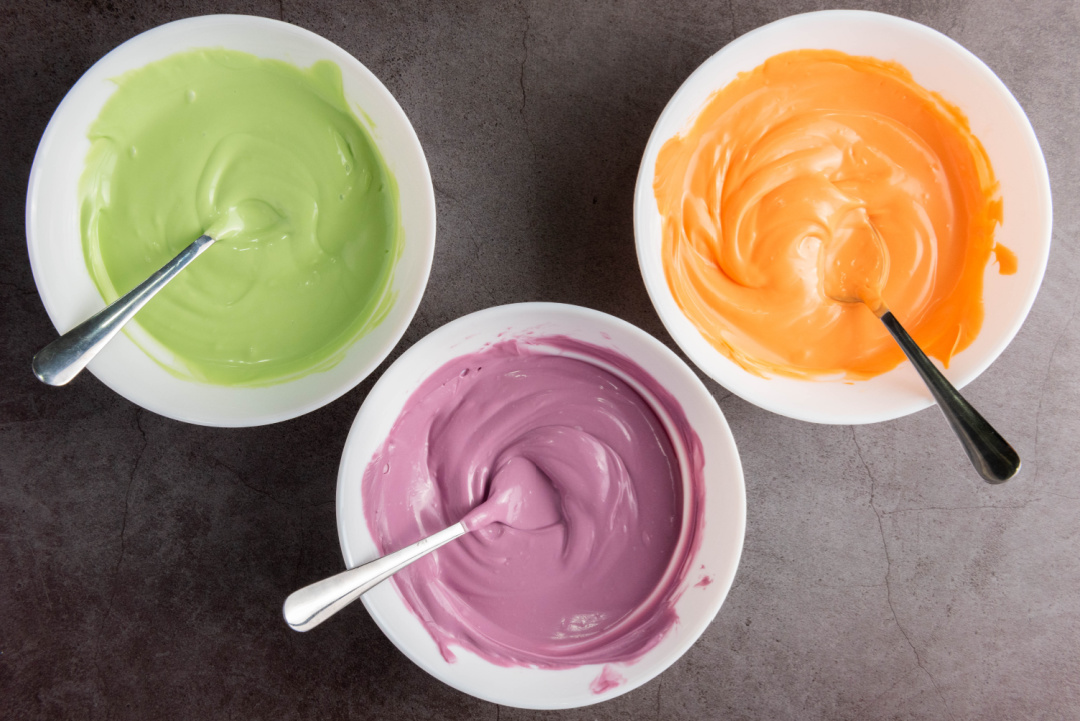
Using a fork or dipping tool, dip each Oreo cookie into the melted candy until fully coated. Allow the excess candy to drip off before placing the cookie onto the prepared baking sheet.
Dip 4 Oreos in purple, 4 in green, and 4 in orange candy melts for a colorful variety.
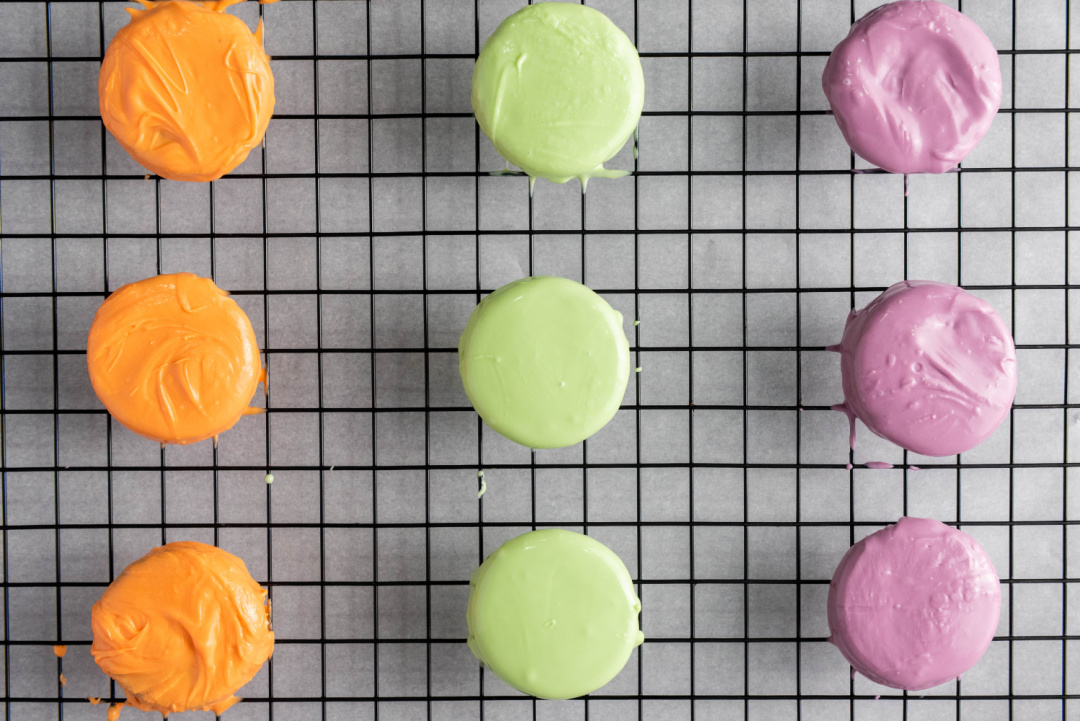
While the candy coating is still wet, generously sprinkle the Halloween sprinkles over the top of each Oreo.
Get creative with your sprinkles to make each Oreo unique and festive.

Allow the decorated Oreos to sit at room temperature until the candy coating has completely hardened.
This can take about 30 minutes to an hour. If you’re in a hurry, you can place the baking sheet in the refrigerator for about 15 minutes to speed up the process.
Once the candy coating has set, arrange the Halloween Oreos on a festive plate or store them in an airtight container until ready to serve.


Chocolate Covered Halloween Oreos

Ingredients
- 12 Oreo cookies
- ¼ cup Purple candy melts
- ¼ cup Green candy melts
- ¼ cup Orange candy melts
- Halloween sprinkles
Instructions
Line a baking sheet with parchment paper or a silicone baking mat.
Separate the Halloween sprinkles into small bowls for easy access.
In three separate microwave-safe bowls, place the purple, green, and orange candy melts.
Microwave each bowl one at a time, in 30-second intervals, stirring after each interval until the candy melts are fully melted and smooth.
Using a fork or dipping tool, dip each Oreo cookie into the melted candy until fully coated. Allow the excess candy to drip off before placing the cookie onto the prepared baking sheet.
Dip 4 Oreos in purple, 4 in green, and 4 in orange candy melts for a colorful variety.
While the candy coating is still wet, generously sprinkle the Halloween sprinkles over the top of each Oreo.
Get creative with your sprinkles to make each Oreo unique and festive.
Allow the decorated Oreos to sit at room temperature until the candy coating has completely hardened. This can take about 30 minutes to an hour. If you're in a hurry, you can place the baking sheet in the refrigerator for about 15 minutes to speed up the process.
Once the candy coating has set, arrange the Halloween Oreos on a festive plate or store them in an airtight container until ready to serve.
Frequently Asked Questions
How long do these Halloween Oreos take to make?
These Halloween Oreos take about 15 minutes to prepare and 30 minutes to cool, totaling 45 minutes.
Can my kids help make these treats?
Kids can help with dipping the Oreos in candy melts and decorating them with sprinkles.
Where can I serve these Halloween Oreos?
They’re perfect for school parties, neighborhood gatherings, or family movie nights. They make a festive addition to any Halloween event.
How should I store the finished Oreos?
Store them in an airtight container at room temperature or in the refrigerator if you prefer them chilled.
Can I use different types of candy melts?
Yes, you can use any colors you like to match your Halloween theme or your kids’ preferences.
What if I don’t have a silicone baking mat?
You can use parchment paper instead to prevent the Oreos from sticking.
How can I speed up the cooling process?
Place the dipped Oreos in the refrigerator for about 15 minutes to set the candy coating more quickly.
Are these treats budget-friendly?
Yes, with just a few ingredients—Oreos, candy melts, and sprinkles—these treats are cost-effective and perfect for a budget-conscious celebration.
Do I need any special tools to make these?
No special tools are needed. A fork or dipping tool for coating the Oreos and a baking sheet lined with parchment paper or a silicone mat will work just fine.
Can I make these ahead of time?
Yes, you can make these a day or two in advance and store them in an airtight container until ready to serve.
How can I customize these treats?
You can use different colors of candy melts and various types of Halloween sprinkles to create unique and festive designs.