-
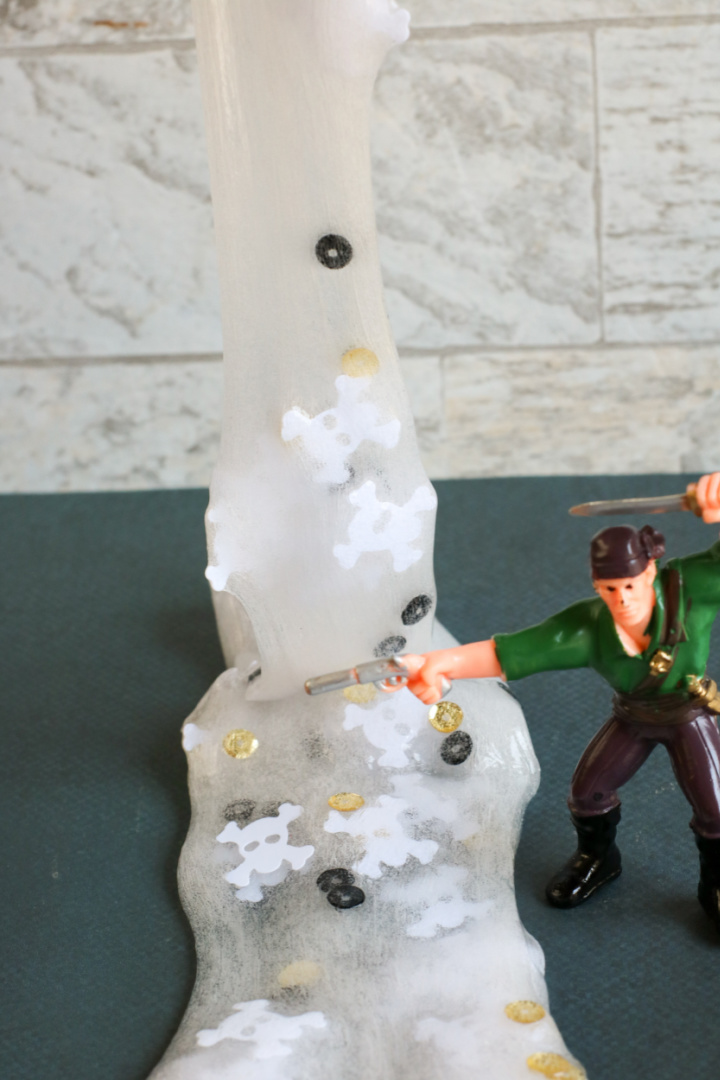
Pirate Slime
Arghhh! Do you have a pirate fan in the family? Create this easy to make and fun Pirate Slime recipe! Ahoy, mateys! Fall is in the air, and for many kids that means one thing: time to make some pirate slime! Pirate Flag Puffy Paint When Is Talk Like a Pirate Day 2021 Talk like…
-
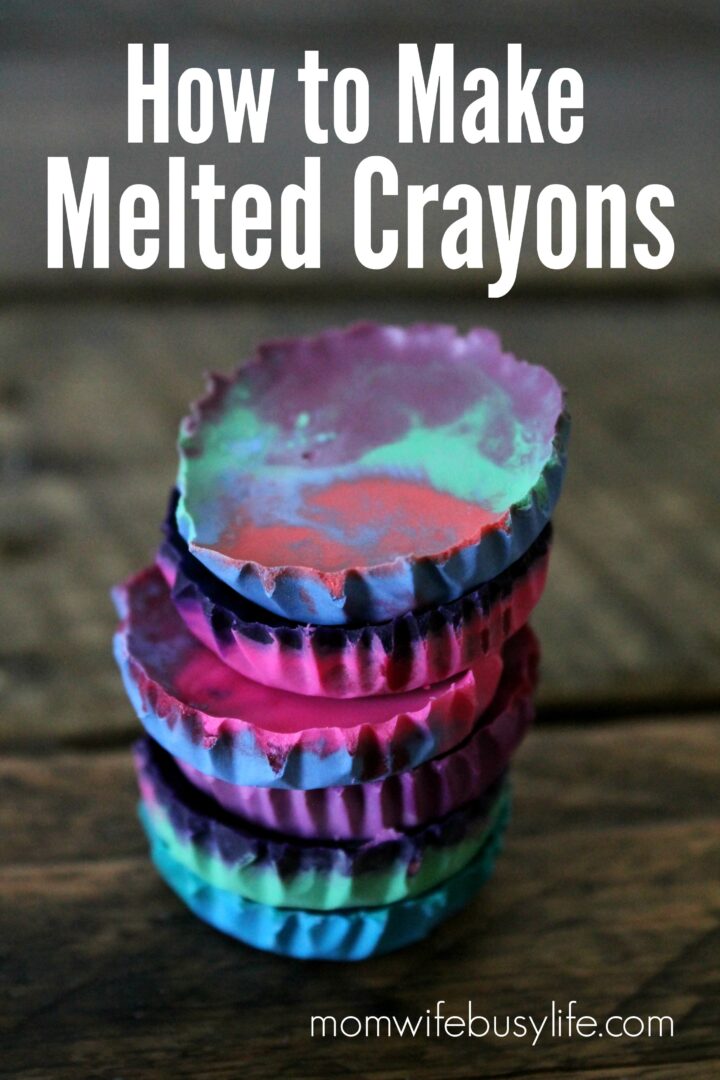
How to Make Melted Crayons
Save your old and broken crayons! Learn How to Make Melted Crayons. Do you have a bunch of broken or old crayons around the house? Instead of tossing them, consider making melted crayons with the crayons! My girls saw a video about making melted crayons on YouTube Kids and we went to our art shelf…
-
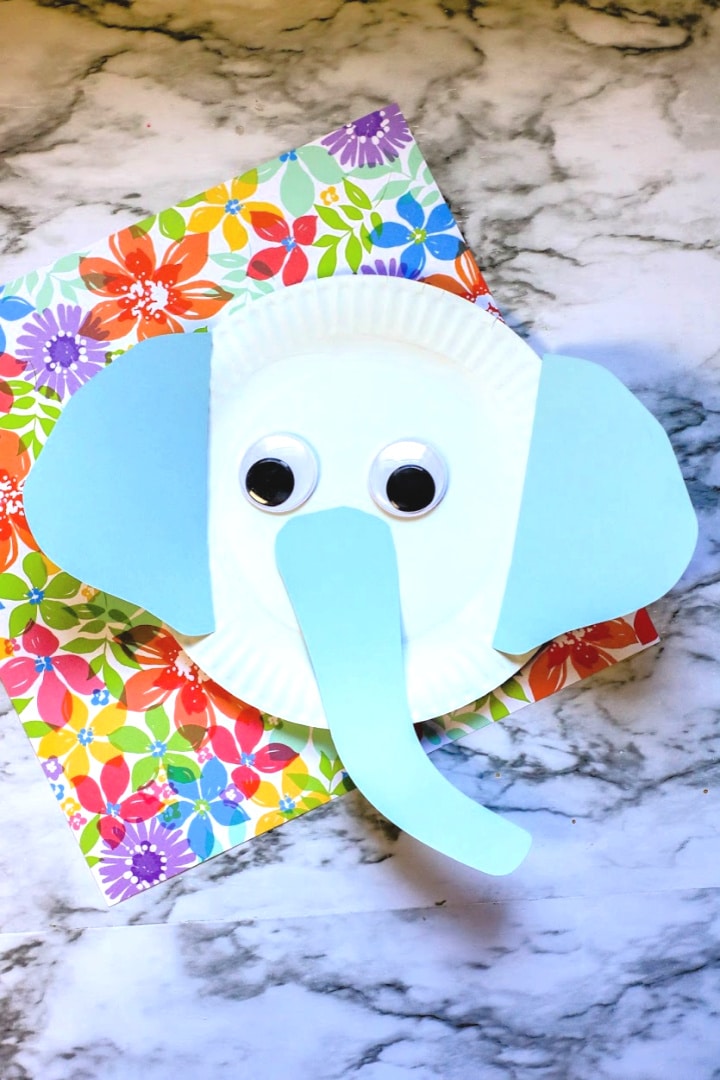
Elephant Paper Plate Craft
Turn a paper plate into a cute Elephant! Learn how to make this Elephant Paper Plate Craft with the kids – template included! Are you doing a study or lesson on elephants? Maybe you are teaching about the jungle or safari, or doing a study on animals that live in Africa. Or, you’re going to…
-
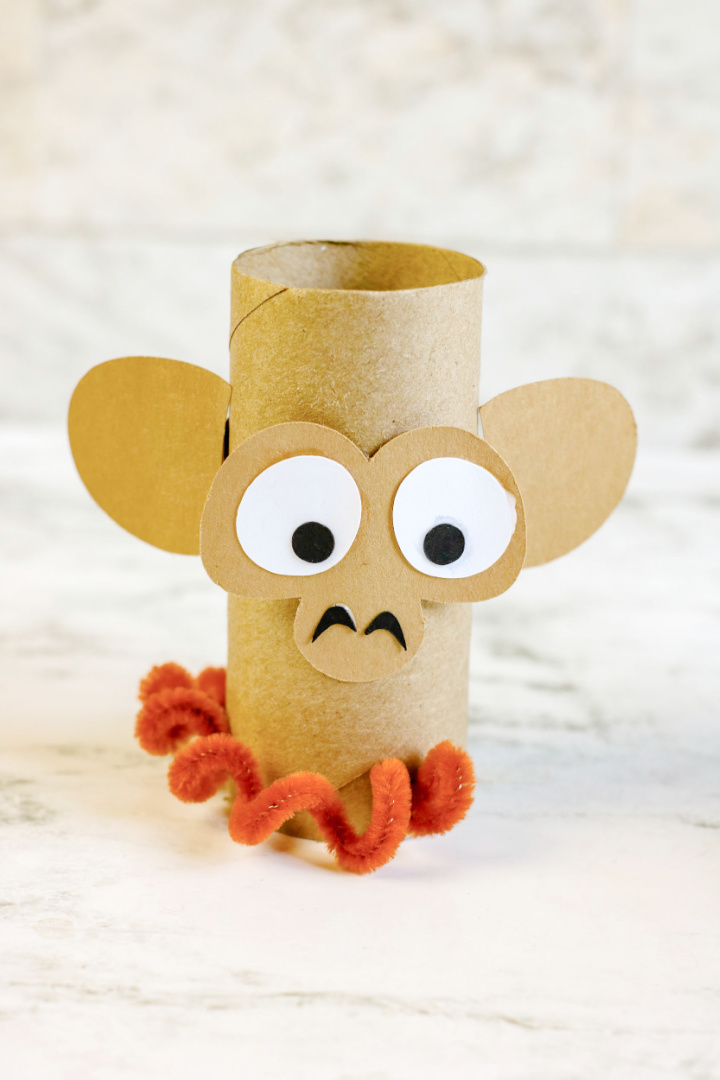
Monkey Toilet Paper Roll Craft
This adorable Monkey Toilet Paper Roll Craft is fun for kids to make! You’ll get access to a free template, too! If you are taking a trip to the zoo soon or teaching a unit on zoo animals, consider adding this fun monkey craft to supplement the trip or unit! Kids love learning about animals…
-
Bird Nesting Material and Food Holder
Learn how to create a Bird Nesting Material and Food Holder using an egg carton for your backyard birds this spring season! The spring season is approaching! Spring is the season when most birds begin breeding in North America. Once a bird finds a mate, they start to build their nests for their eggs. Did…
-
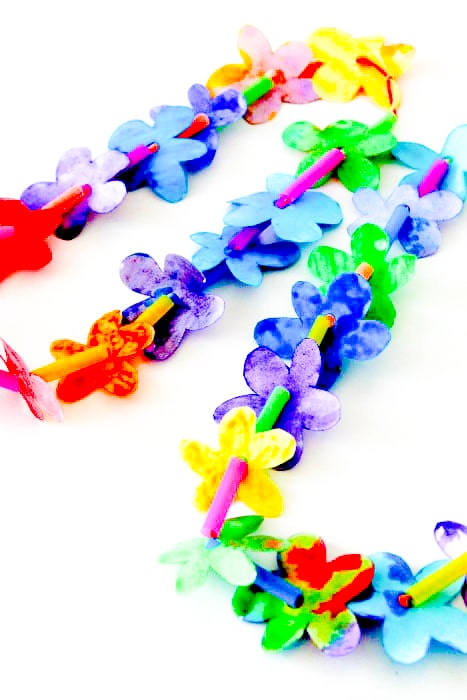
How to Make Watercolor Paper Hawaiian Leis
Learn How to Make Watercolor Paper Hawaiian Leis! This is a fun summer activity for kids. Kids will enjoy painting their own flowers and creating their own leis to wear around this summer! Summer is here, and with it comes the challenge of keeping kids entertained while managing a busy schedule. Why not combine creativity…
-
Salt Painting Calico Corn
Create this colorful Salt Painting Calico Corn this fall season with salt and watercolors! My kids love to paint. We paint regularly! I set the table up with a tablecloth and set out their water cups, paints, and paintbrushes. I did some quick research and found out that salt is an excellent substitute for paint…