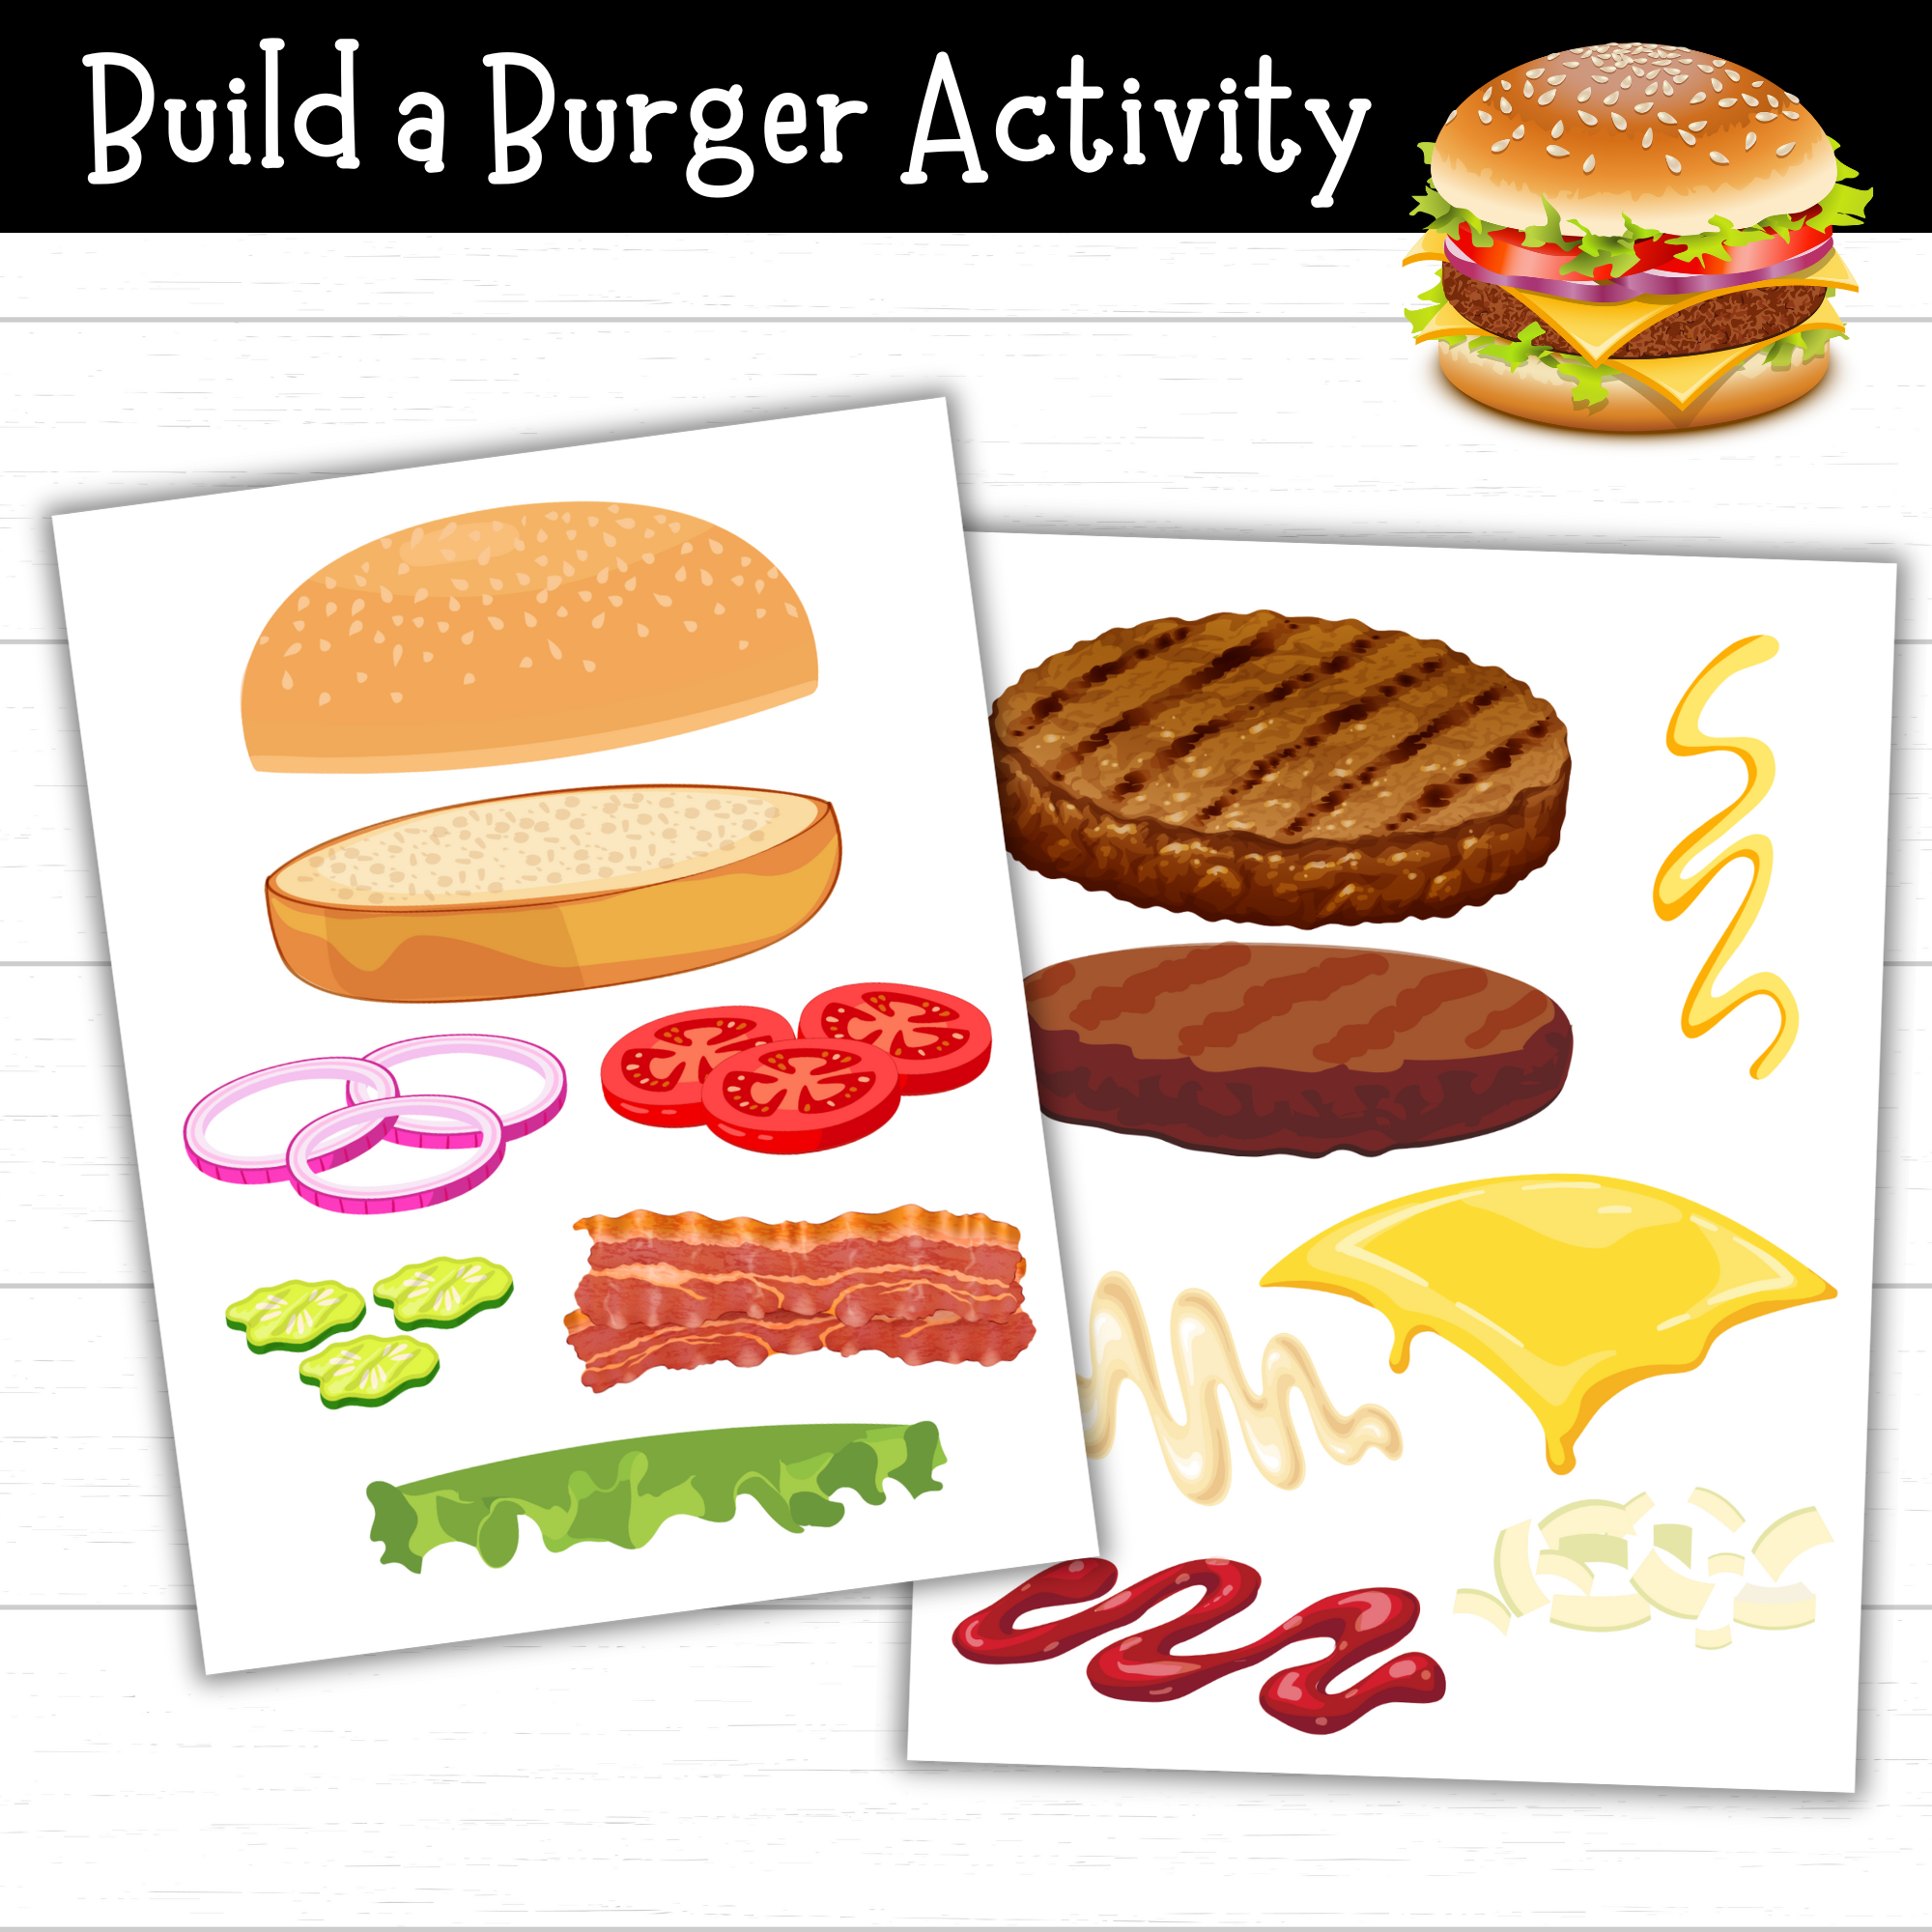
Printable Build a Burger Activity
Buy now on Etsy | Teachers Pay Teachers

Printable Disguise a Turkey Pizza Party
Buy now on Etsy | Teachers Pay Teachers
Pizza Party Disguise a Turkey Printable Activity – A Fun and Tasty Twist on the Classic Turkey Disguise Project!
Looking for a silly, creative, and memorable way to complete your child’s Disguise a Turkey project this year?
This Pizza Party Disguise a Turkey Printable Set is the perfect no-prep activity for busy moms, creative classrooms, and fun-loving homeschoolers.
Kids will love turning their turkey into the life of the party—complete with pizza slices, soda, party hats, confetti, and more.
It’s a laugh-out-loud disguise idea that stands out in the best way.
For more ideas:
What Is the Pizza Party Disguise a Turkey Printable?
This printable set gives kids everything they need to dress up their turkey for a pizza party! Instead of a traditional costume, this turkey is hiding in plain sight by blending in with the food and fun.
Here’s what’s included:
Just print, cut, and paste—it’s an easy and mess-free way to let your child get creative while finishing their school assignment or enjoying a Thanksgiving-themed craft.
Who Is This Turkey Disguise Activity For?
This printable is great for:
When and Where to Use It
Why Moms and Teachers Love It
The Pizza Party Disguise a Turkey Printable makes Thanksgiving crafting a breeze.
How to Use the Printable
Creative Ideas to Make It Even Better
Great if you’re looking for:
Bonus Tips & Tricks for Busy Moms
This Pizza Party Disguise a Turkey Printable is a fun and lighthearted twist on the classic Thanksgiving project.
With easy-to-cut elements, a colorful theme, and a whole lot of creativity, your child will have a blast—and their turkey might just escape dinner thanks to pizza!
Download your set today and let the pizza party begin!
Printable Disguise a Turkey Pizza Party
Buy now on Etsy | Teachers Pay Teachers

Bring the beach indoors this summer with this easy and fun Sand Slime recipe! This slime has the texture of sand but stays together for less mess!

The summer season is here! If you don’t live close to a beach or can’t make it to the beach this summer to enjoy the sand, create your own sand slime at home!
This is a fun way to bring the beach indoors at home this season and provide entertainment for the kids.
Sand slime can be used as is, or you can add fun sand toys to this activity to make it even more fun. If you want to add more sensory items to this slime, consider adding seashells.
You may also like:


Printable Summer Activity Pack
Supplies:

Directions:
Empty the glue into a large bowl.
Fill the empty glue bottle about ⅓ full with warm water (about ¼ cup) and seal with the lid. Shake well to combine the remaining glue with the water. Pour into bowl with glue and stir to combine.
Add the baking soda to the glue and stir to mix thoroughly.

Stir the sand into the glue mixture a little at a time until you reach your desired consistency.

Add contact lens solution to the glue mixture and stir well. (Note: regular glue will require less contact lens solution than glitter glue. Add the contact lens solution slowly, mixing between additions, and add only enough to bring the glue together into a soft ball.)


Remove the slime from the bowl. The slime will be sticky. Begin to play with the slime, stretching or kneading it as you would bread dough, to bring the slime together. The slime is ready when no longer sticky.


Best if stored in an airtight container in the refrigerator when not in use.
Empty the glue into a large bowl.
Fill the empty glue bottle about ⅓ full with warm water (about ¼ cup) and seal with the lid. Shake well to combine the remaining glue with the water. Pour into bowl with glue and stir to combine.
Add the baking soda to the glue and stir to mix thoroughly.
Stir the sand into the glue mixture a little at a time until you reach your desired consistency.
Add contact lens solution to the glue mixture and stir well. (Note: regular glue will require less contact lens solution than glitter glue. Add the contact lens solution slowly, mixing between additions, and add only enough to bring the glue together into a soft ball.)
Remove the slime from the bowl. The slime will be sticky. Begin to play with the slime, stretching or kneading it as you would bread dough, to bring the slime together. The slime is ready when no longer sticky.
Best if stored in an airtight container in the refrigerator when not in use.