Category: DIY

  • Printable Ice Cream Shop Dramatic Play Kit

    Printable Ice Cream Shop Dramatic Play Kit

    Printable Ice Cream Dramatic Play Kit

    Buy now on: Etsy

    Turn Summer Days into Sweet Adventures with Our Printable Ice Cream Shop Play Set

    Summer is here, and if you’re a busy mom like me, you’re probably looking for creative ways to keep the kids entertained without spending a fortune or leaving the house.

    Enter our Printable Ice Cream Shop Dramatic Pretend Play Set – a fantastic solution that blends fun, learning, and imagination all in one!

    Why You’ll Love This Ice Cream Shop Play Set

    This play set is more than just a fun activity; it’s an opportunity for your kids to dive into a world of creativity and pretend play. Here’s why you should give it a try:

    • Sparks Imagination: Watch your children light up as they role-play running their very own ice cream shop. From taking orders to serving scoops, they’ll be engaged for hours.
    • Educational Benefits: Beyond the fun, this play set helps your kids practice counting, money management, and social interaction skills in a playful setting.
    • Perfect for Hot Summer Days: When it’s too warm to play outside, this indoor activity offers a refreshing alternative to screen time.

    When and Where to Use It

    This play set is incredibly versatile and can be enjoyed at various times and places:

    • Anytime: Whether it’s a lazy summer afternoon, a rainy day, or a spontaneous playdate, this set is perfect for keeping kids occupied.
    • Anywhere: Set it up in the living room, the backyard, or even take it along to the park for some imaginative fun on the go.

    How to Set Up Your Ice Cream Shop

    Getting started is easy and fun. Here’s a step-by-step guide:

    1. Print and Prepare:
      • Print all the materials, including menus, order forms, loyalty cards, posters, and decorations.
      • Cut out the ice cream images, money, and shop signs.
    2. Set Up the Shop:
      • Choose a spot like a table or a corner of the room.
      • Arrange the printed ice cream cones, scoops, and toppings.
      • Set up a cash register (you can use a toy one or create one from a box) and have play money ready.
      • Place the menus where customers can see them.
      • Decorate with shop signs and posters to create an inviting atmosphere.
    3. Role Play Fun:
      • Assign roles such as shop owner, cashier, scooper, and customers.
      • Encourage your kids to welcome customers and take their orders using the order forms.
      • Let them process payments with play money and serve ice cream using the cut-out pieces.
    4. Cleanup:
      • Collect and store the printables for future play sessions.
      • Tidy up the play area to keep everything organized.

    Extra Tips for an Enhanced Experience

    • Add real or toy ice cream scoops to make the play more realistic.
    • Encourage your kids to invent their own unique ice cream flavors and toppings.
    • Host an ice cream shop party with friends and family to share the fun!

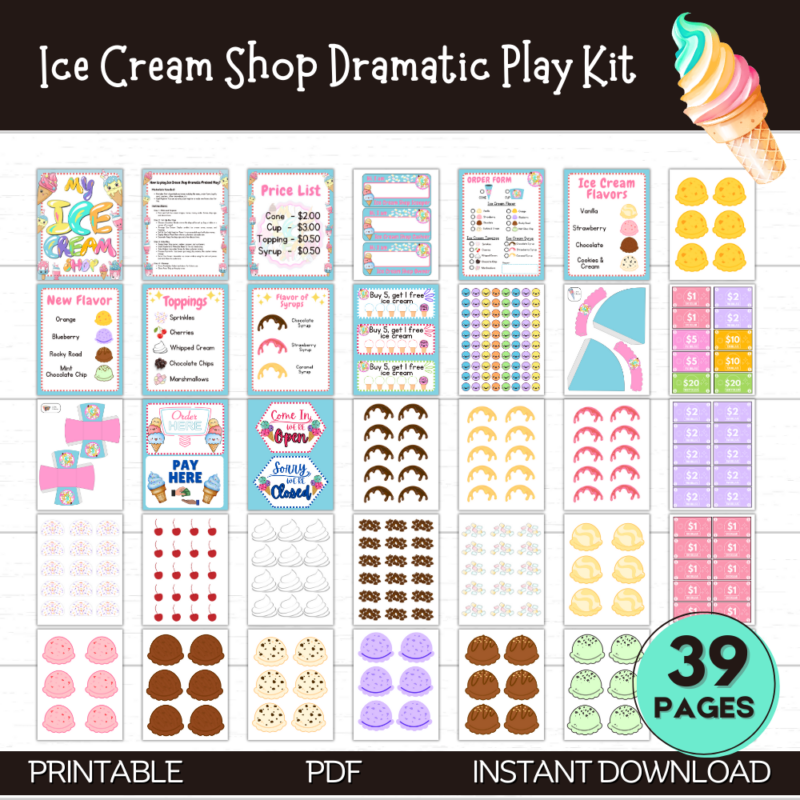
    What’s Included in the 39-Page Printable Set

    Our set comes with everything you need for an immersive play experience:

    • Menus
    • Order Forms
    • Loyalty Cards
    • Posters
    • Shop Signs
    • Ice Cream Images (cones, scoops, toppings)
    • Play Money
    • Decorative Elements

    This Printable Ice Cream Shop Dramatic Pretend Play Set is a great way to keep your kids entertained, engaged, and learning this summer.

    It’s easy to set up, packed with educational benefits, and most importantly, fun for the whole family.

    Get your printable set today and watch your children’s creativity blossom!

    Happy summer, and happy playing!

    Buy now on: Etsy

  • Printable Lemonade Stand Dramatic Play Kit

    Printable Lemonade Stand Dramatic Play Kit

    Printable Lemonade Stand Dramatic Play Kit

    Buy now on: Etsy

    As busy moms, we’re always on the lookout for engaging, educational activities to keep our kids entertained, especially during the long summer months.

    Enter the Printable Lemonade Stand Dramatic Pretend Play Set – a fantastic solution for hours of creative, interactive fun that your kids will love!

    Here’s why this printable set is a must-have for every busy mom.

    Why You’ll Love This Play Set:

    • Boosts Creativity and Social Skills: Kids thrive on imaginative play, and this lemonade stand set lets them role-play as shop owners, cashiers, and customers. It’s a perfect way to nurture their creativity and enhance their social skills.
    • Educational Benefits: Handling play money and making change isn’t just fun – it’s a practical way for children to practice math skills and develop their understanding of money management.
    • Quality Family Time: Whether it’s siblings playing together or friends joining in, this play set is a great way to foster teamwork and create cherished family moments.

    Perfect for Any Occasion:

    • Summer Days: Keep your kids entertained during those long summer days with a delightful lemonade stand adventure.
    • Playdates and Parties: Add a special touch to playdates and birthday parties by setting up this interactive lemonade stand.
    • Rainy Day Fun: When the weather keeps everyone inside, this play set offers a perfect indoor activity that keeps boredom at bay.

    How to Get Started:

    1. Print and Prepare:
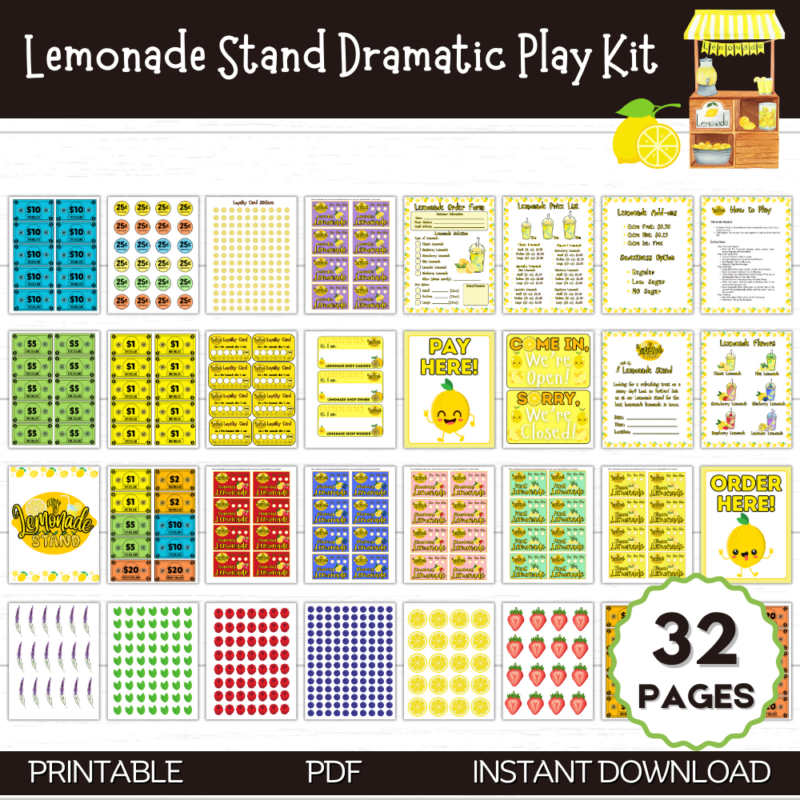
      • Simply print out all the materials, including menus, order forms, loyalty cards, toppings, play money, shop signs, and decorations.
      • Cut out the printables to have everything ready for playtime.
    2. Set Up the Lemonade Stand:
      • Choose a spot in your home or yard – a table or a cozy corner works perfectly.
      • Display the price list and lemonade flavors for an authentic shop feel.
      • Set up a toy cash register or create one from a box, and fill it with play money.
      • Decorate the area with the included shop signs to make it inviting.
    3. Time to Role Play:
      • Assign roles such as shop owner, cashier, worker, and customers to get everyone involved.
      • Greet each “customer” warmly as they arrive at the stand.
      • Use the order forms to take orders, making sure to check the cup size and lemonade flavor.
      • Process payments with the play money, teaching kids how to make change.
      • Offer a loyalty card and add a small lemon slice sticker for each visit.
      • Serve the lemonade by placing a check mark on the correct size and flavor sticker, then handing it to the customer.
    4. Cleanup Made Easy:
      • Collect and store the printables for future use.
      • Tidy up the play area, ensuring everything is ready for the next lemonade stand adventure.

    Versatile for Any Location:

    • Indoors or Outdoors: Whether you’re in the living room, backyard, or even at the park, this play set is easy to set up and enjoy anywhere.
    • Classroom Fun: Teachers will love incorporating this into classroom activities for interactive learning and play.

    Extra Tips for Busy Moms:

    • Durability: Consider laminating the printables for long-lasting use.
    • Personal Touches: Let your kids add their own decorations to the lemonade stand for a unique touch.
    • Real Refreshments: For an added twist, serve real lemonade to enhance the play experience.

    This summer, let your kids dive into the joy of running their very own lemonade stand with a Printable Lemonade Stand Dramatic Pretend Play Set.

    Not only will it keep them entertained, but it will also help them learn valuable skills in a fun, imaginative way.

    Grab your printable set today and watch their creativity soar!

    Buy now on: Etsy

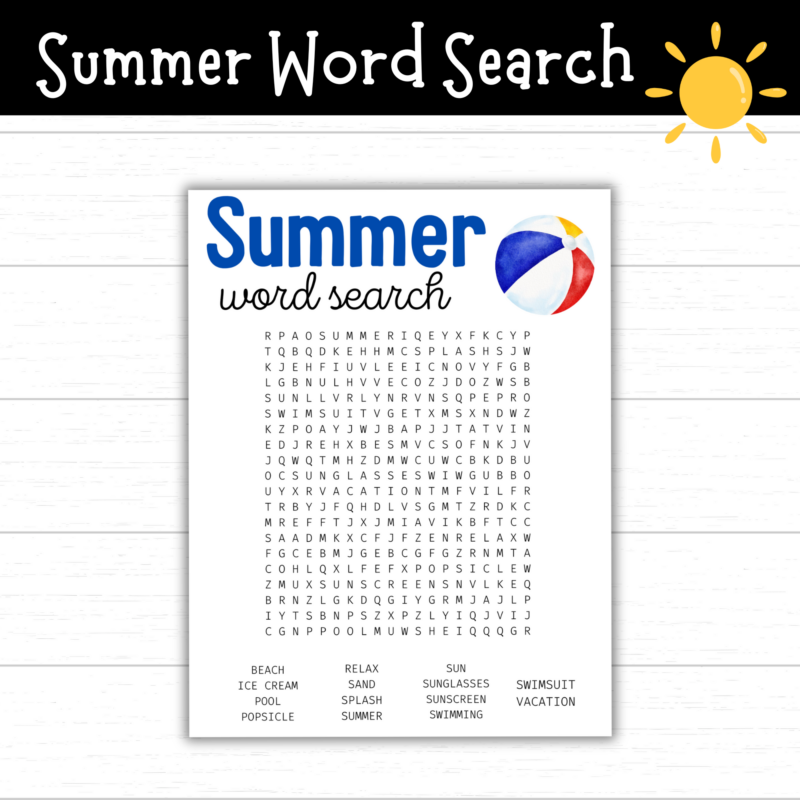
  • Summer Word Search Printable

    Summer Word Search Printable

    Summer Word Search Printable

    Buy now on: Teachers Pay Teachers
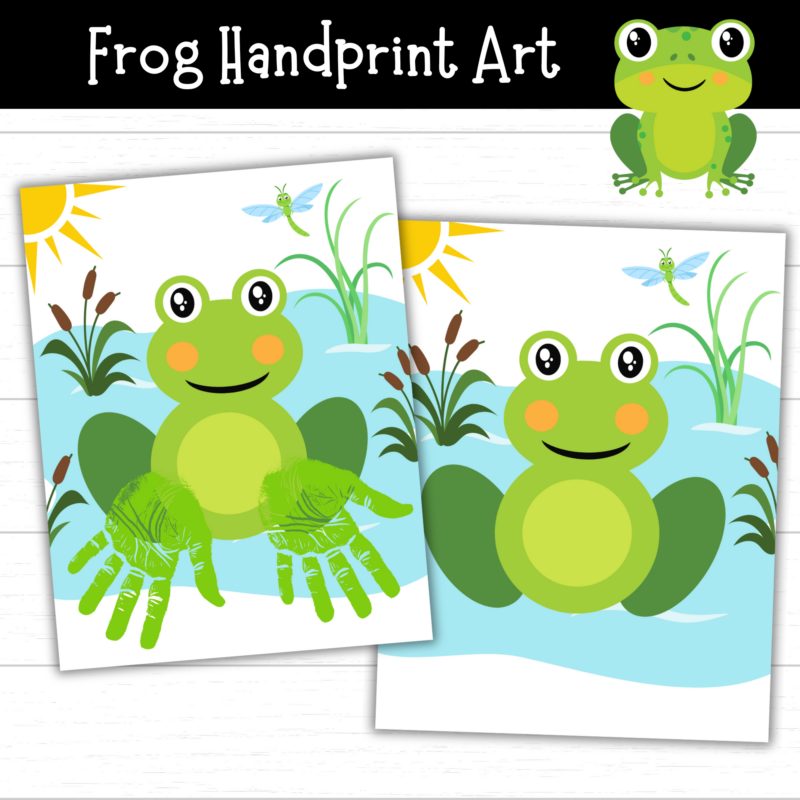
  • Frog Handprint Art Printable

    Frog Handprint Art Printable

    Frog Handprint Art Printable

    Buy now on: Etsy | Teachers Pay Teachers
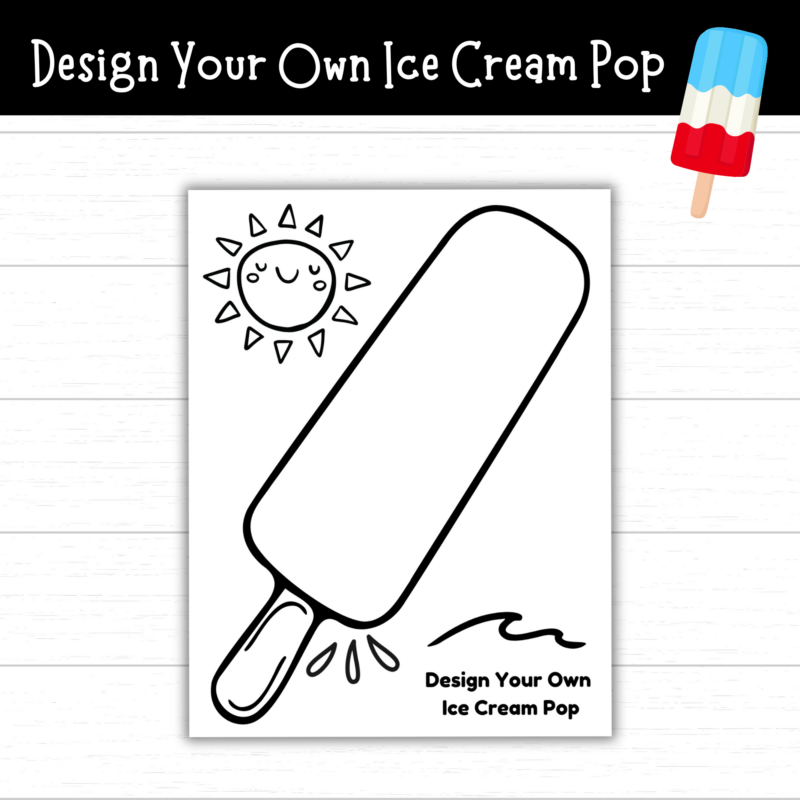
  • Design Your Own Ice Cream Pop

    Design Your Own Ice Cream Pop

    Printable Design Your Own Ice Cream Pop

    Buy Now on: Etsy | Teachers Pay Teachers
  • Gelatin Bird Feeder

    Learn how to make a Gelatin Bird Feeder for your backyard birds this winter and spring season!

    Gelatin Bird Feeder

    Bird watching is a fun family activity to enjoy together! In fact, just this spring, my family moved back to the South and we discovered a variety of backyard birds coming around when we set out a bird feeder for them!

    Making homemade bird feeders for your backyard birds can be super fun and simple for the whole family to get involved with. Kids will love helping you make a variety of different bird feeders to experiment with!

    Today, I’m sharing a recipe for making a gelatin bird feeder for your backyard birds. Gelatin bird feeders work best during the cold/cooler months. If you set a gelatin feeder out in the hot summer months, the gelatin may melt!

    While you are here, I hope you enjoy these other homemade bird feeders to make, too!

    Gelatin Bird Feeder

    Supplies:

    • birdseed
    • 1 envelope of unflavored gelatin
    • 1 straw
    • jute cord or colored ribbon
    • muffin tin
    • vegetable oil
    • scissors
    • scotch tape

    Directions:

    Using the scissors, cut the straw into 6 equal pieces.

    Very lightly coat the muffin tin with vegetable oil.

    Mix ½ cup of boiling hot water with 1 envelope of unflavored gelatin and stir until fully dissolved.

    Add 1 cup of birdseed to the gelatin mixture and stir well. 

    Fill each muffin tin section, at equal levels, with the gelatin and birdseed mixture and place in the refrigerator until firmly set – about an hour.

    After the mixture has been chilling for about 10/15 minutes, place a piece of cut straw in the center of each section, touching the bottom of the tin.

    Once set, carefully remove each round from the muffin tin mold. 

    Push the straw through the round to form a hole for the ribbon/cord.

    Cut the jute cord or ribbon to the desired hanging length, wrap one end tightly with scotch tape, and push through the hole in the round, tying the ends together with a knot. 

    Hang outside and watch the birds enjoy!

    Gelatin Bird Feeder

    Gelatin Bird Feeder

    Materials

    • Birdseed
    • 1 envelope of unflavored gelatin
    • 1 straw
    • Jute Cord or
    • Colored Ribbon
    • Muffin Tin
    • Vegetable Oil
    • Scissors
    • Scotch Tape

    Instructions

    Using the scissors, cut the straw into 6 equal pieces.

    Very lightly coat the muffin tin with vegetable oil.

    Mix ½ cup of boiling hot water with 1 envelope of unflavored gelatin and stir until fully dissolved.

    Add 1 cup of birdseed to the gelatin mixture and stir well. 

    Fill each muffin tin section, at equal levels, with the gelatin and birdseed mixture and place in the refrigerator until firmly set – about an hour.

    After the mixture has been chilling for about 10/15 minutes, place a piece of cut straw in the center of each section, touching the bottom of the tin.

    Once set, carefully remove each round from the muffin tin mold. 

    Push the straw through the round to form a hole for the ribbon/cord.

    Cut the jute cord or ribbon to the desired hanging length, wrap one end tightly with scotch tape, and push through the hole in the round, tying the ends together with a knot. 

    Hang outside and watch the birds enjoy!

  • How to Dye Eggs with Kool-Aid

    How to Dye Eggs with Kool-Aid

    There are so many fun ways to dye eggs! Learn How to Dye Eggs with Kool-Aid this Easter. I think you’ll love this method!

    how to dye eggs with kool-aid

    Easter is around the corner!

    There are a variety of fun ways to dye eggs these days. Here are just a few of our favorite ways as a family to dye Easter eggs:

    Today I’m adding a new way to dye eggs to the list – dyeing eggs with Kool-Aid!

    Dyeing eggs using the Kool-Aid method is a fun option for kids and provides an alternative way to dye eggs other than just using the vinegar method. No vinegar is needed in this recipe!

    Plus, It smells great in the room when preparing the containers with the Kool-Aid mix!

    How to Dye Eggs with Kool-Aid

    Supplies:

    • Kool-Aid Packets
    • Small Containers
    • Water 
    • Paper towel lined tray
    • Spoon
    kool aid dyed eggs ingredients

    Directions:

    Pour water into each container and fill about ¾ full. 

    Add a full packet of Kool-Aid mix to each container of water.

    kool aid in container

    Stir well with the spoon. Try not to mix the darker colors with the lighter colors when stirring other colors (use a paper towel to wipe off the spoon between mixing!) 

    stirring kool-aid

    Place an egg into each cup of Kool-Aid mix. (Note: Some eggs may float towards the surface. Just move them around during the dyeing process with a spoon to get an even color.) 

    dyeing eggs in kool-aid

    If you want your eggs to be lighter and not as speckled, leave the egg in for about a minute or less, checking the egg until desired color is achieved. 

    Place the egg on the paper towel lined tray. Move the egg around occasionally to avoid the paper towel leaving a print on the egg on one side. 

    kool-aid dyed easter eggs
    kool-aid dyed easter eggs

    Important note: For a speckled look, leave the egg in longer. When you take the egg out, you may notice a film around the egg. This is ok! Gently place the egg onto the paper towel and allow the egg to dry. Do not rub the egg, or the film will smear! If this happens, wash the egg off (the film will wash off) and re-dye the egg. Place the egg onto the paper towel carefully. Once dried, the egg will have a nice speckled look that does not smear.

    kool-aid dyed eggs
    How to Dye Eggs with Kool-Aid

    How to Dye Eggs with Kool-Aid

    How to Dye Eggs with Kool-Aid

    Instructions

    Pour water into each container and fill about ¾ full. 

    Add a full packet of Kool-Aid mix to each container of water. Stir well with the spoon. Try not to mix the darker colors with the lighter colors when stirring other colors (use a paper towel to wipe off the spoon between mixing!) 

    Place an egg into each cup of Kool-Aid mix. (Note: some eggs may float towards the surface. Just move them around during the dyeing process with a spoon to get an even color.) 

    If you want your eggs to be lighter and not as speckled, leave the egg in for about a minute or less, checking the egg until desired color is achieved. 

    Place the egg on the paper towel lined tray. Move the egg around occasionally to avoid the paper towel leaving a print on the egg on one side. 

    Important note: For a speckled look, leave the egg in longer. When you take the egg out, you may notice a film around the egg. This is ok! Gently place the egg onto the paper towel and allow the egg to dry. Do not rub the egg, or the film will smear! If this happens, wash the egg off (the film will wash off) and re-dye the egg. Place the egg onto the paper towel carefully. Once dried, the egg will have a nice speckled look that does not smear.