-
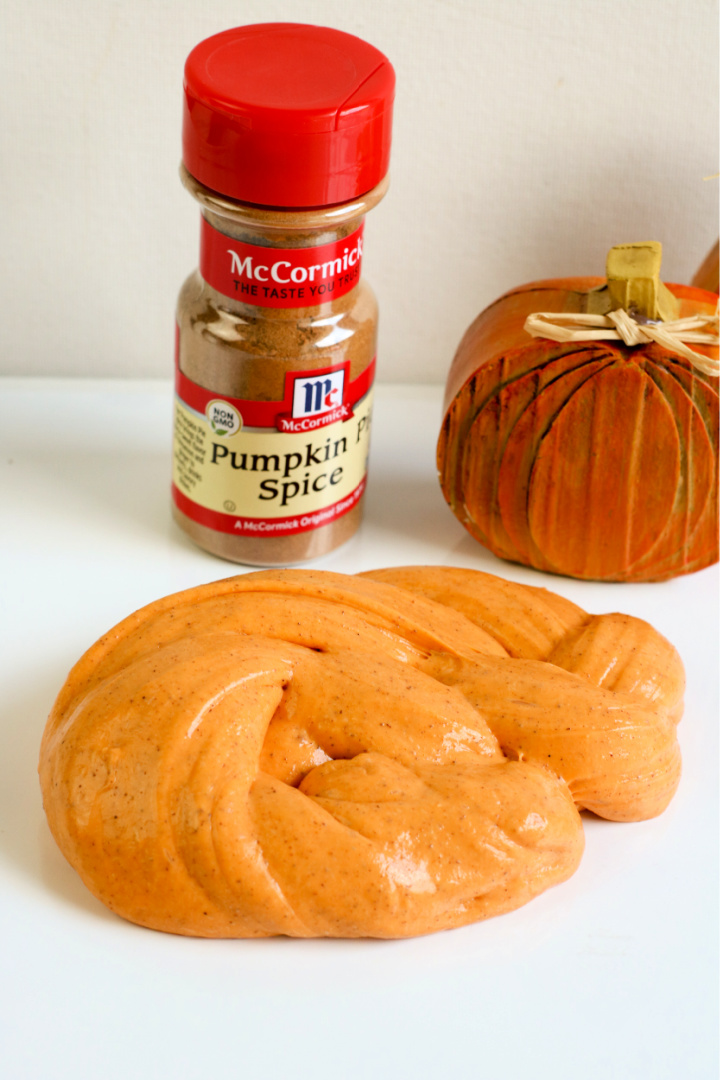
How to Make Pumpkin Pie Slime
Learn how to make pumpkin pie slime! This is a fun, non-edible recipe for the kids to enjoy this fall season. ***IMPORTANT NOTE: This is a non-edible recipe! The Perfect Holiday Craft: Pumpkin Pie Slime for Busy Moms and Little Hands As the holidays approach, we’re always on the lookout for fun, creative, and simple…
-
Ninja Turkey Disguise
Are you disguising a turkey this year? Consider a Ninja Turkey Disguise! Use this example below to get an idea on how you can create your very own Ninja turkey. You may also like: Printable Disguise a Turkey Ninja With the fall season in full swing, the days are getting shorter, and our to-do lists…
-
Reindeer Paper Bag Craft
With Christmas around the corner, it’s time to start thinking about fun holiday crafts! This Reindeer Paper Bag Craft is perfect for kids of all ages and is a great way to get into the holiday spirit. Plus, it’s a super cute decoration for your home or office! Why not add a reindeer paper bag…
-
7+ Turkey Crafts for Kids
Are you looking for ways to keep your little ones busy during Thanksgiving? Here are my favorite Turkey Crafts to enjoy! It’s that time of year when we start thinking about Thanksgiving and all the cooking and baking to do. Printable Turkey Coloring Pages I’m sure you’re looking for some fun activities with your kids…
-
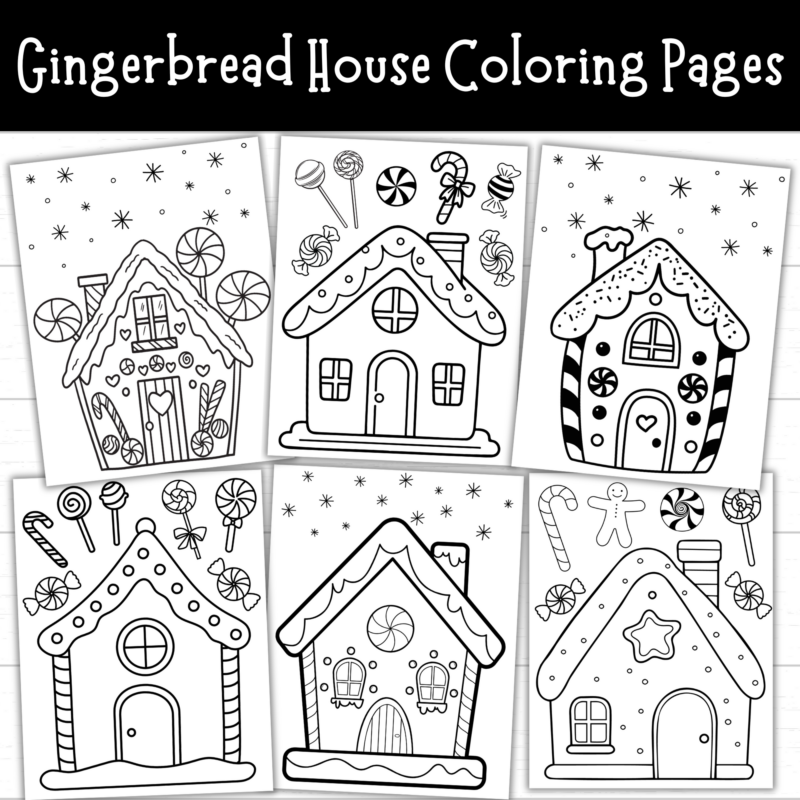
Gingerbread House Printable Templates
Printable Build a Gingerbread House Buy now on Etsy | Teachers Pay Teachers Gingerbread House Printable Templates Buy now on Etsy | Teachers Pay Teachers
-
Hulk Turkey Disguise
Are you disguising a turkey this year?Do you have a Hulk fan in the family? Try this Hulk Turkey Disguise this year! 100+ Disguise a Turkey Ideas The idea for disguising turkeys comes from this book, Turkey Trouble. Buy Turkey Trouble Now Watch the read aloud here: More Disguise a Turkey Ideas Disguise a Turkey Popcorn…
-
Disguise a Turkey Popcorn
Have fun with this Disguise a Turkey Popcorn craft for kids this Thanksgiving this year! Kids can enjoy eating the leftover popcorn as a snack. The festive season is upon us, and that means it’s time for one of the cutest school projects around – the Disguise-a-Turkey challenge! Disguise a Turkey Project Printable Pack #1…