-
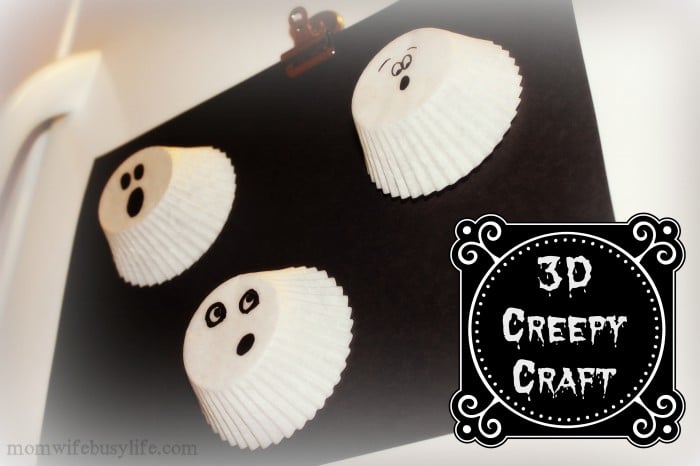
3D Creepy Cupcake Liner Halloween Ghost Craft
Create this fun and simple 3D Creepy Cupcake Liner Halloween Ghost Craft this year to display in your home. Halloween is just around the corner, and amidst the whirlwind of to-do lists, costume prep, and pumpkin patches, I’ve got a cute little craft to sprinkle in some ghostly giggles with your little ones. If you’re…
-
Pine Cone Spider Craft for Kids
Create this adorable Pine Cone Spider craft for kids using a pine cone, googly eyes, pipe cleaners, and craft paint! The next time you head out with the kids for a nature walk, consider searching for and gathering pine cones to make a variety of pine cone crafts this year! Pine cone crafts are super…

-
Pumpkin Painting in a Bag Craft
Kids love to paint! This mess-free Pumpkin Painting in a Bag Craft for kids is a great way to finger paint without all of the mess. This is a great fall activity! Pumpkin Painting in a Bag Craft Supplies: Tempera Paint Gallon zip top freezer bag Masking tape Cardstock Scissors Template Directions: Trace template of your choosing…
-
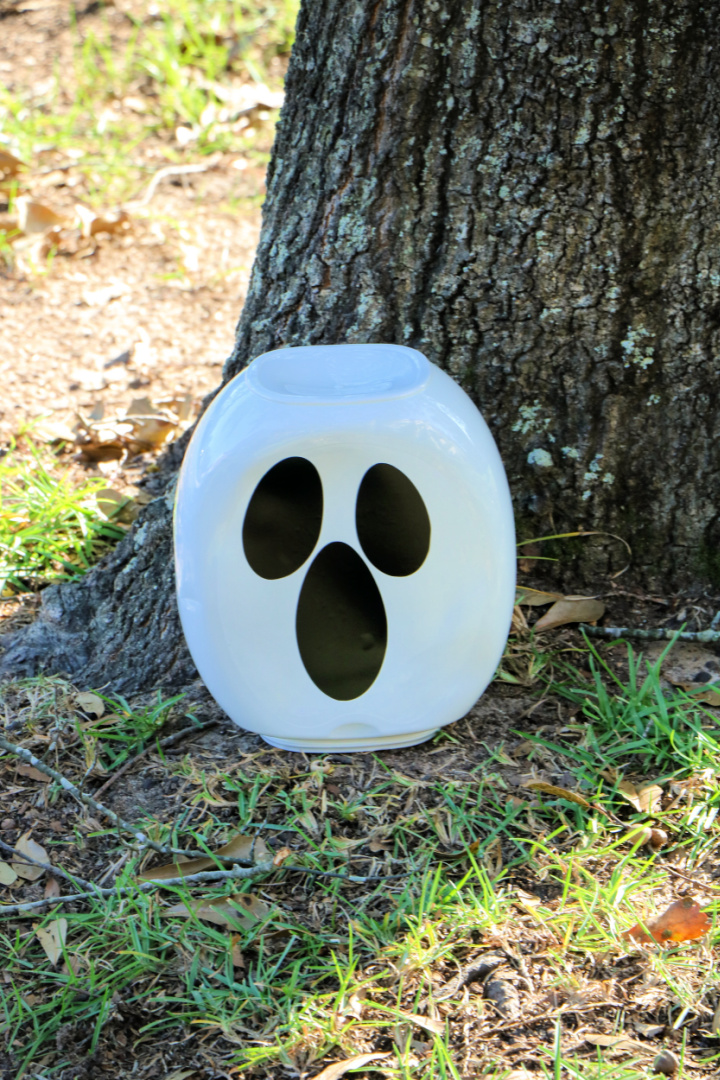
Ghost Crafts for Halloween
Boo! Do you want to make Ghost Crafts for Halloween this year? Here are several cute ideas to try and display this fall season. Ghost Crafts for Halloween Milk Jug Ghosts Save your clean and empty milk jugs! Create these cute light up Milk Jug Ghosts to decorate your home with this year. (Milk Jug…
-
Laundry Pod Container Ghost Craft
Recycle your laundry containers! Create this Laundry Pod Container Ghost Craft to display this fall season. FREE ghost face template included! Milk Jug Ghost Craft Laundry Pod Container Ghost Craft Supplies: Directions: Remove the label from the laundry pods container by soaking in hot water, scraping, and then using GooGone to remove completely. You can…
-
Melted Bead Suncatcher Pumpkin Craft
Create this Melted Bead Suncatcher Pumpkin Craft from melted beads and display it in your home or classroom for the fall season! There are a lot of fun ways to use pony beads! Many kids love to string them to make jewelry, friendship bracelets, or keychains. You can also use them to create pony bead animals with…
-
Halloween Handprint Art
Looking for a fun and easy Halloween craft to do with the kids? Look no further than this Halloween handprint art! Made with just a few simple supplies, this project is perfect for even the littlest ghosts and goblins. So gather up your little ones and get ready to make some spooky memories! Halloween Handprint…