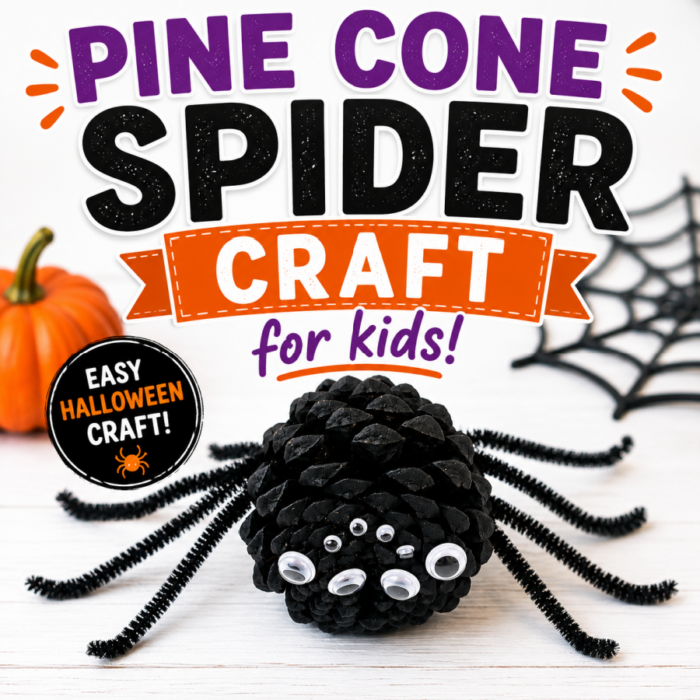
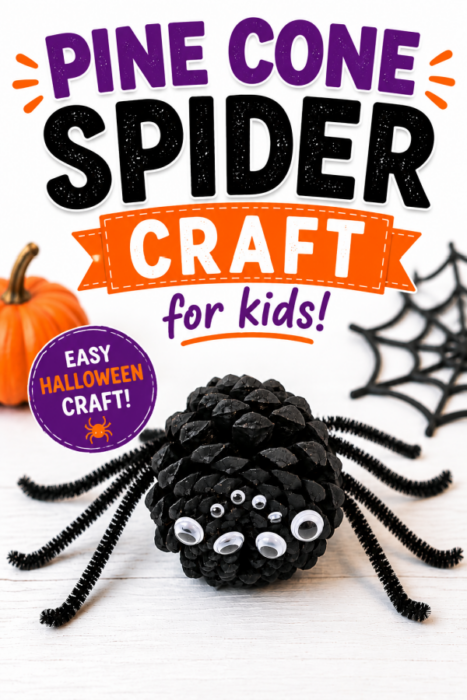
Looking for an easy spider craft to make with the kids this fall? This pine cone spider craft turns a simple pine cone into a cute eight-legged spider using black paint, pipe cleaners, and googly eyes.
This is a fun nature craft for fall and Halloween, especially if your kids enjoy collecting pine cones outside. After your nature walk, bring a few pine cones home and turn them into spiders that you can display with your Halloween decorations.
If you have extra pine cones, save a few to make this Pine Cone Bird Feeder another day!
Why You’ll Love This Pine Cone Spider Craft
This pine cone spider is simple to make and uses basic craft supplies that you may already have at home.
Kids can help paint the pine cone, shape the spider’s legs, and decide how they want to arrange the googly eyes.
It’s a fun activity for:
- Halloween crafting
- Fall afternoons at home
- Nature-themed activities
- Spider lessons
- Classroom craft time
- Halloween parties
More Spider Crafts and Activities for Kids
If you’re planning a spider theme, you don’t have to stop with your pine cone spider! I have several other spider crafts and activities that you can add to your fall or Halloween plans.
Spider Handprint Art
Create a fun spider keepsake with Spider Handprint Art. Kids can use their handprints to create a spider-themed art project that’s perfect for fall or Halloween.
Spider Paper Plate Craft
Grab a paper plate and turn it into a spider with this easy Spider Paper Plate Craft.
It’s another simple spider craft to try at home or in the classroom.
Pipe Cleaner Spider Craft
Have extra pipe cleaners after making your pine cone spider? Use them to create this Pipe Cleaner Spider Craft.
This is a great way to use some of the same supplies for two different spider activities.
Spider Pumpkin Stencils
If you’re getting ready to decorate pumpkins for Halloween, try my Spider Pumpkin Stencils for another way to add spiders to your Halloween activities.
Save this Pine Cone Spider craft for later:
Supplies for Your Pine Cone Spider
Amazon Affiliate Disclosure: As an Amazon Associate, I earn from qualifying purchases. This means I may earn a small commission when you purchase through Amazon links on this page, at no additional cost to you.
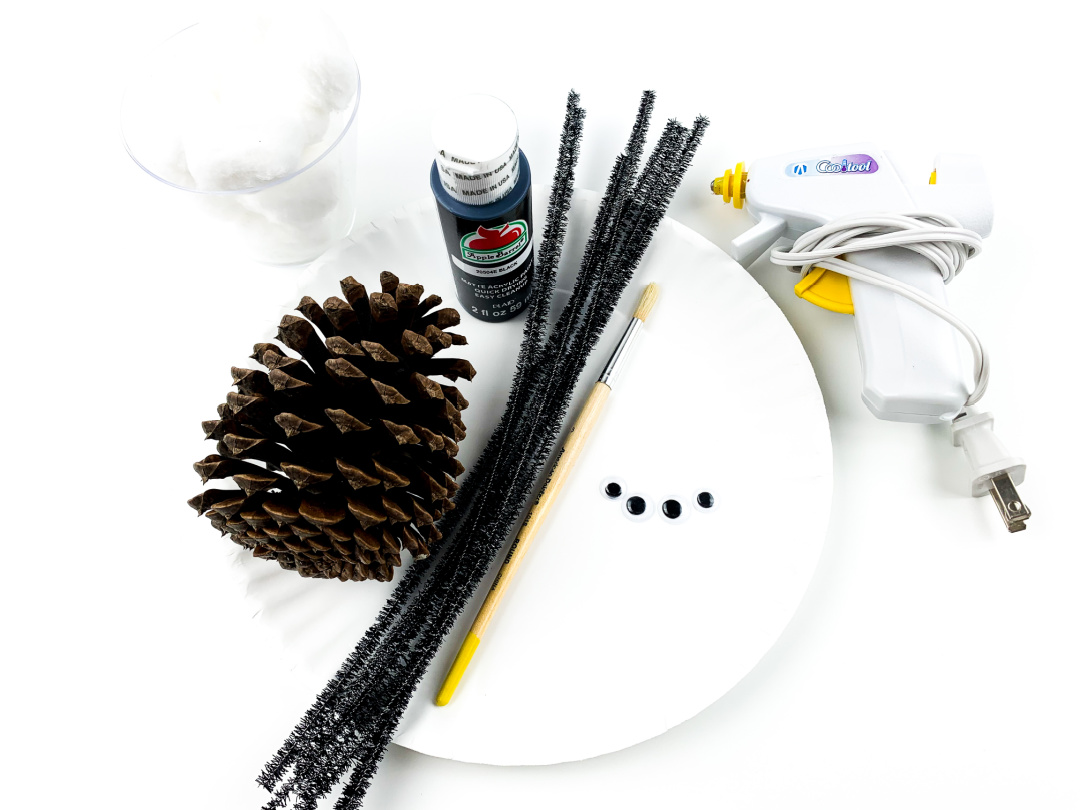
Here’s what you’ll need to make your spider:
- Pine cone
- Black craft paint
- Black pipe cleaners
- Googly eyes
- Paint brush
- Kid-friendly scissors
- Glue gun
- Paper plate or another surface for painting
- Small disposable bowl for paint
- Optional: cotton balls or decorative fake spider web for creating a web
How to Prepare Pine Cones for Crafts
If you’re using pine cones collected outside, take a little time to clean them before crafting.
Start by inspecting each pine cone and removing loose dirt, leaves, webbing, and other debris. You can gently clean them and allow them to dry completely before beginning the craft.
Some crafters also heat-treat natural pine cones before using them indoors. If you choose to do this, an adult should supervise the entire process. Pine cones contain sap and are flammable, so use a low oven temperature, place them on an appropriate lined baking sheet, watch them carefully, and never leave them unattended.
You can also purchase clean craft pine cones if you want to skip the preparation process.
How to Make a Pine Cone Spider
Step 1: Paint the Pine Cone
Place your pine cone on a paper plate or another protected surface.
Pour a small amount of black craft paint into a disposable bowl.
Use a paint brush to paint the entire pine cone black. Make sure you work the paint into the different sections of the pine cone so that the natural brown color doesn’t show through as much.
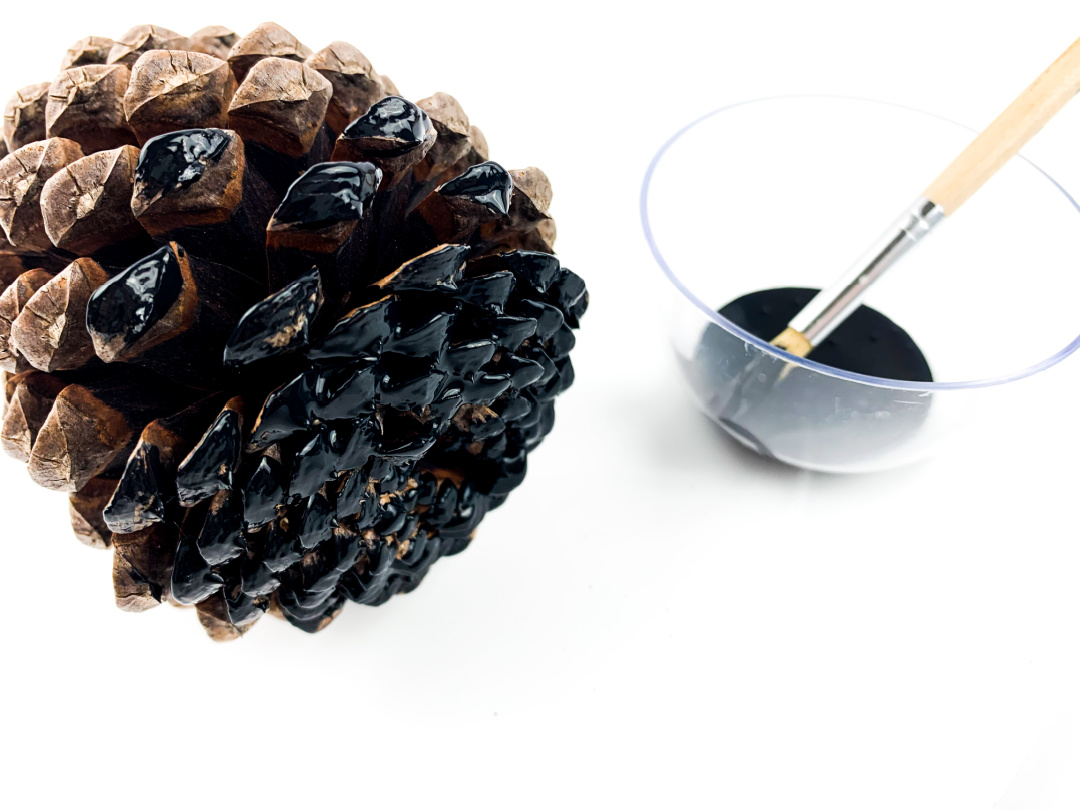
Set the pine cone aside and allow the paint to dry completely.
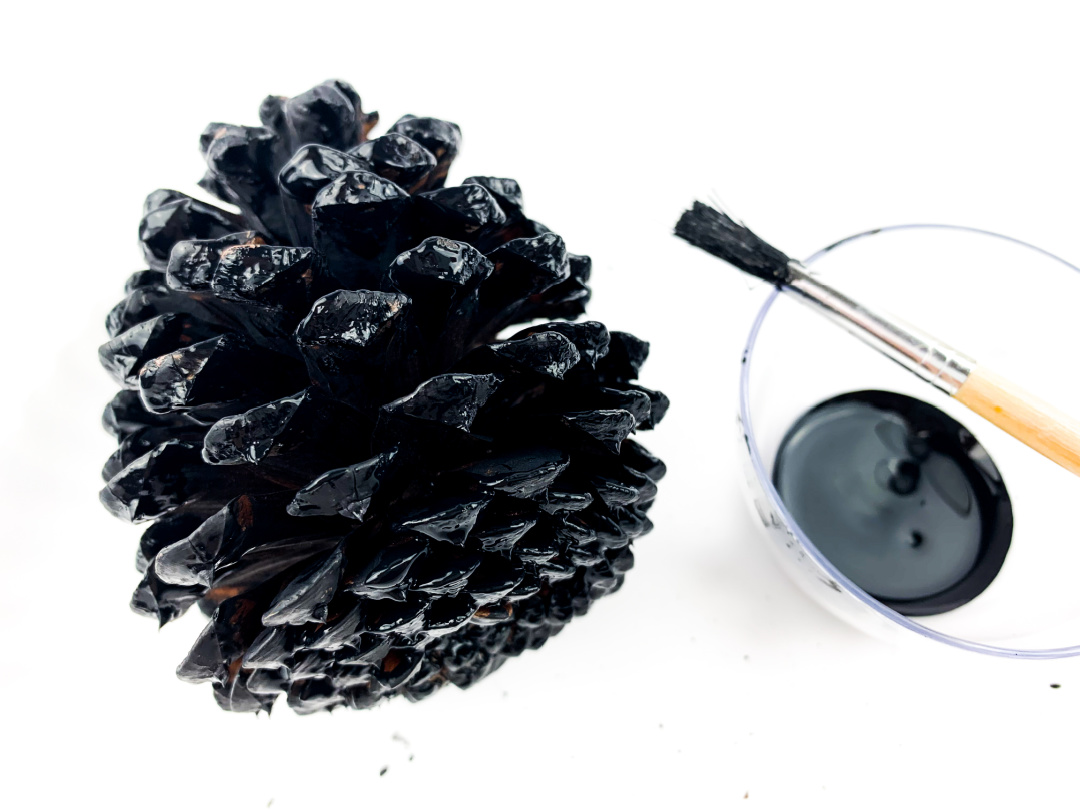
Step 2: Make Eight Spider Legs
Gather four black pipe cleaners together.
Twist the pipe cleaners together around the center so that they stay connected.
You should now have four pipe-cleaner ends extending from each side, giving your spider a total of eight legs.
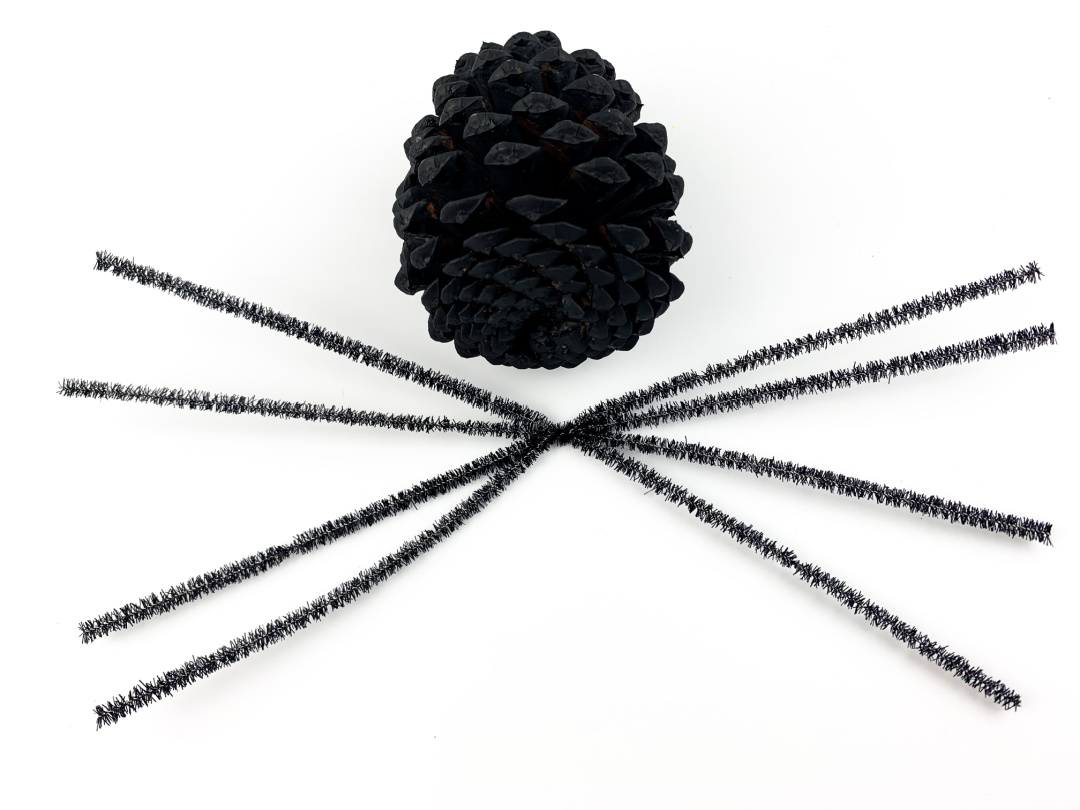
Insert the center of the pipe cleaners into the grooves of the pine cone.
Separate and bend the pipe cleaners until you have four legs on each side. Shape each leg so that the ends can touch the surface when the spider is sitting down.
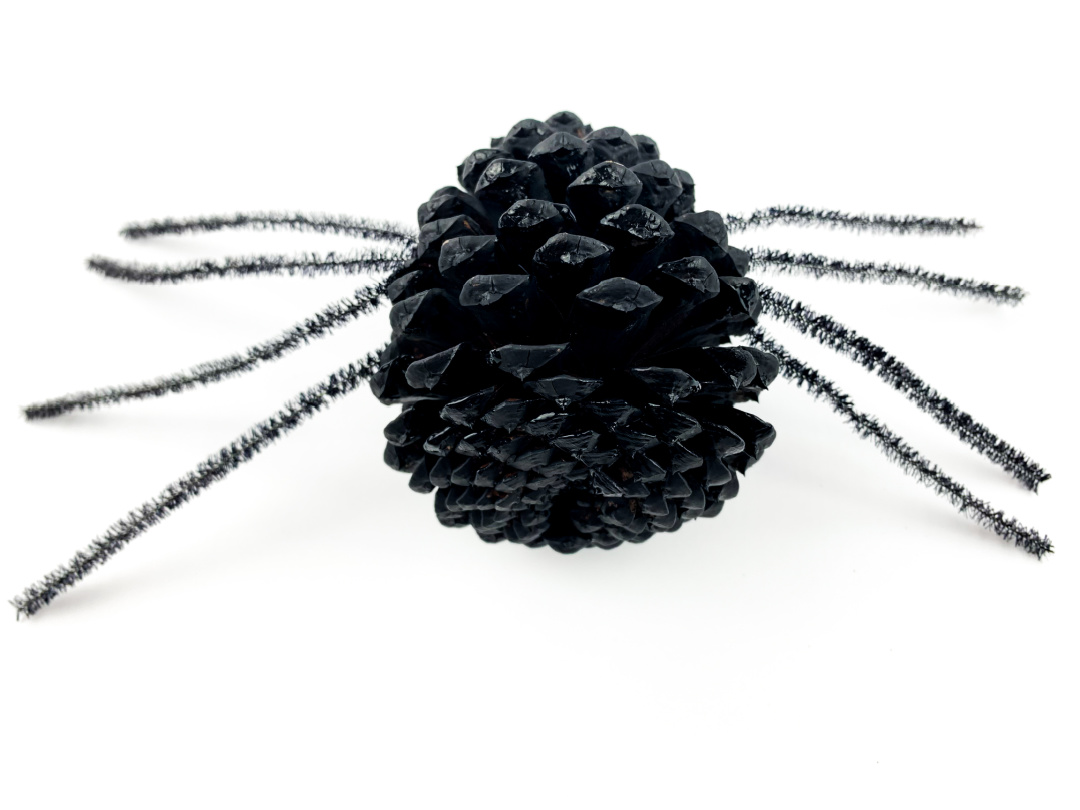
Step 3: Add the Spider’s Eyes
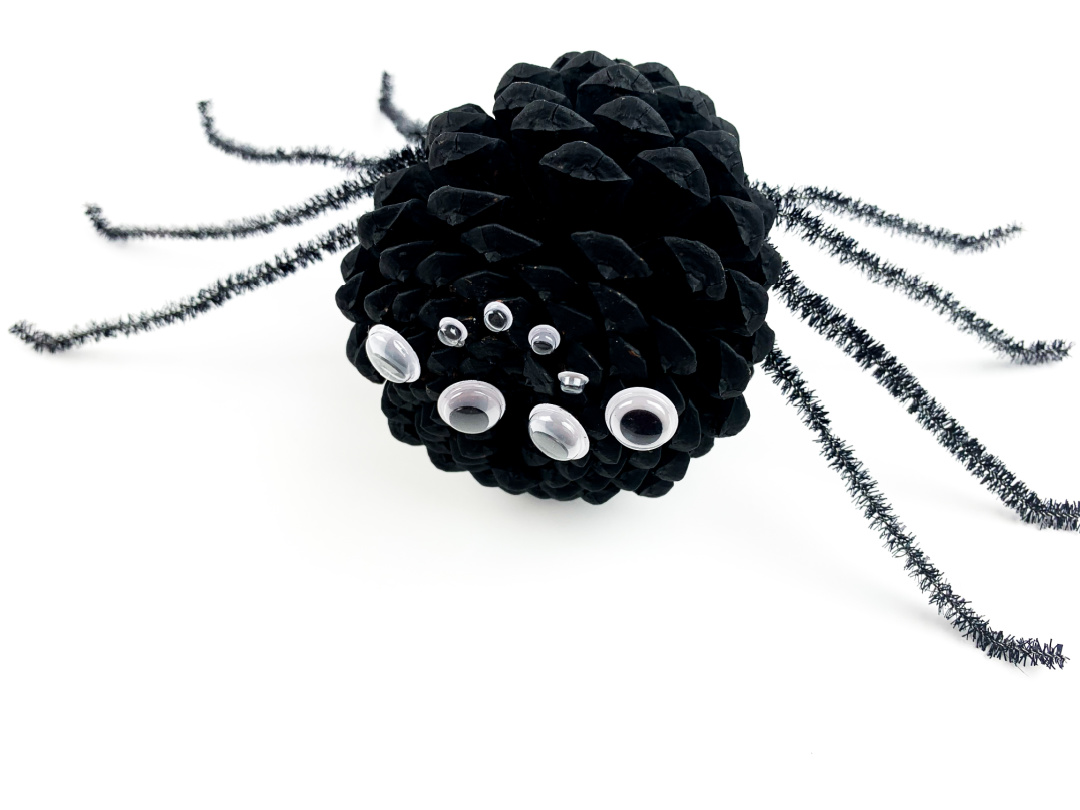
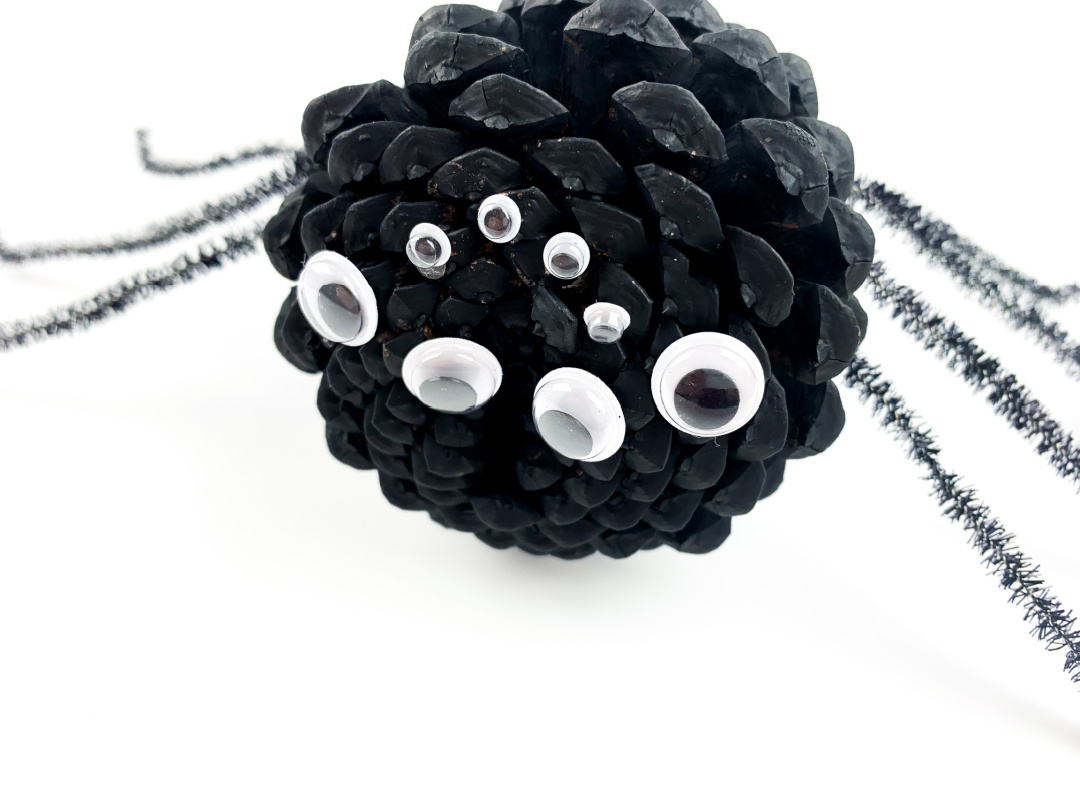
Use the bottom of the pine cone as the spider’s face. The wider surface gives you room to arrange several eyes.
For this craft, I used eight googly eyes.
Have an adult use the glue gun to place a small amount of glue behind each googly eye and attach it to the pine cone.
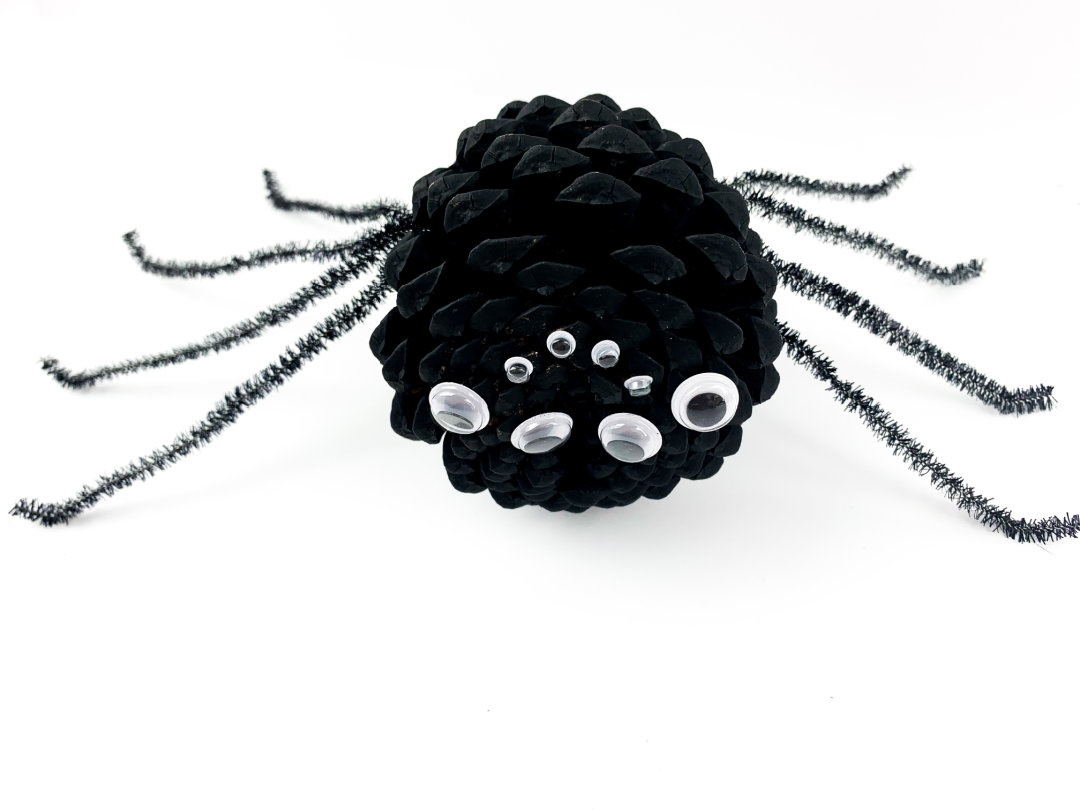
Arrange the eyes however you’d like!
Allow the glue to cool completely before children handle the finished spider.
Step 4: Create a Spider Web
This part is optional, but it can make your pine cone spider even more fun to display.
Stretch cotton balls into thin strands and arrange them around the spider to create a simple homemade spider web.
You can also place the spider on decorative fake spider web material as part of your Halloween decorations.
Fun Ways to Use Your Pine Cone Spider
Once you’ve finished your spider, there are several ways to use it.
Display your pine cone spider with your other Halloween decorations, make several spiders to create a little spider family, or use the craft as part of a spider-themed learning activity.
You could also pair the craft with a children’s book about spiders and talk about spider legs, eyes, webs, and habitats.
Spider Books for Kids
Turn this pine cone spider craft into a fun spider-themed activity by pairing it with a book about spiders! Reading a spider book before or after making the craft is a simple way to add a little learning to your fall or Halloween fun.
Here are a few popular spider books for kids to check out:
- The Very Busy Spider by Eric Carle – A classic picture book that follows a busy spider as she works to build her web.
- Diary of a Spider by Doreen Cronin – A funny story told from a spider’s point of view that gives kids a playful look at everyday spider life.
- The Itsy Bitsy Spider by Iza Trapani – A picture-book version of the familiar nursery rhyme that’s especially fun for younger children.
- I’m Trying to Love Spiders by Bethany Barton – A funny, educational book that can help kids learn interesting facts about spiders and why they’re important.
- National Geographic Readers: Spiders by Laura Marsh – A nonfiction choice for kids who want to learn more about real spiders, including their webs, bodies, and behaviors.
Choose a favorite to read together, make your pine cone spider, and talk about what you learned about spiders along the way!
For another hands-on spider activity, try my Spider Handprint Art or Spider Paper Plate Craft.
Make a Spider Craft Day
If your kids really enjoy spiders, turn this project into a whole afternoon of spider activities.
Start by taking a nature walk and collecting pine cones. Come home and make your pine cone spiders, then use leftover pipe cleaners to make my Pipe Cleaner Spider Craft.
You can also make the Spider Handprint Art or Spider Paper Plate Craft while the paint on your pine cone spiders is drying.
If you’re doing these activities closer to Halloween, finish your spider theme with my Spider Pumpkin Stencils when it’s time to decorate pumpkins.
This gives you several spider activities to enjoy throughout the fall season without having to come up with a completely new theme each time.
Tips for Making Pine Cone Spiders with Kids
Let the pine cone dry completely after painting before you add the legs and eyes. This will make the rest of the craft much easier.
For younger children, an adult can prepare the pipe-cleaner legs ahead of time and handle the hot glue while kids help with painting and arranging the spider’s eyes.
You can also make each spider look different. Try different sizes of googly eyes, arrange the eyes in different patterns, or change the shape of the legs.
If you’re making several spiders, let each child create their own version.
Pine Cone Spider Craft FAQs
How many pipe cleaners do you need for a pine cone spider?
You’ll need four pipe cleaners to create eight spider legs. Twist the four pipe cleaners together in the middle and separate the ends so that four legs extend from each side of the pine cone.
How many eyes should a pine cone spider have?
Spiders typically have eight eyes, so I used eight googly eyes for this craft. Kids can arrange their spider’s eyes in whatever pattern they like.
Do I need to clean pine cones before using them for crafts?
If you collect pine cones outdoors, it’s a good idea to remove dirt, loose debris, insects, and webbing before bringing them inside for crafts. Allow them to dry completely before painting.
You can also use clean craft pine cones if you don’t want to prepare pine cones collected outdoors.
Can I make a pine cone spider without a hot glue gun?
You can try a strong craft glue, but it may take longer to dry and may not hold as securely because pine cones have an uneven surface.
If you use hot glue, an adult should handle the glue gun and allow the glue to cool completely before children touch the spider.
Is this a Halloween spider craft?
Yes! This pine cone spider makes a fun Halloween craft for kids, but you don’t have to save it for Halloween.
It also works well for fall nature activities, spider lessons, classroom activities, or anytime your kids are learning about spiders.
What can I do with leftover spider craft supplies?
Use them for another spider activity!
More Fall and Halloween Fun
After making your pine cone spider, try another spider activity:
You can also make this Mason Jar Pumpkin Craft for another fall decoration.
This easy pine cone spider craft for kids is a fun way to turn something found in nature into a cute fall or Halloween decoration. Gather a few pine cones and basic craft supplies and enjoy making your own spiders this season!