-
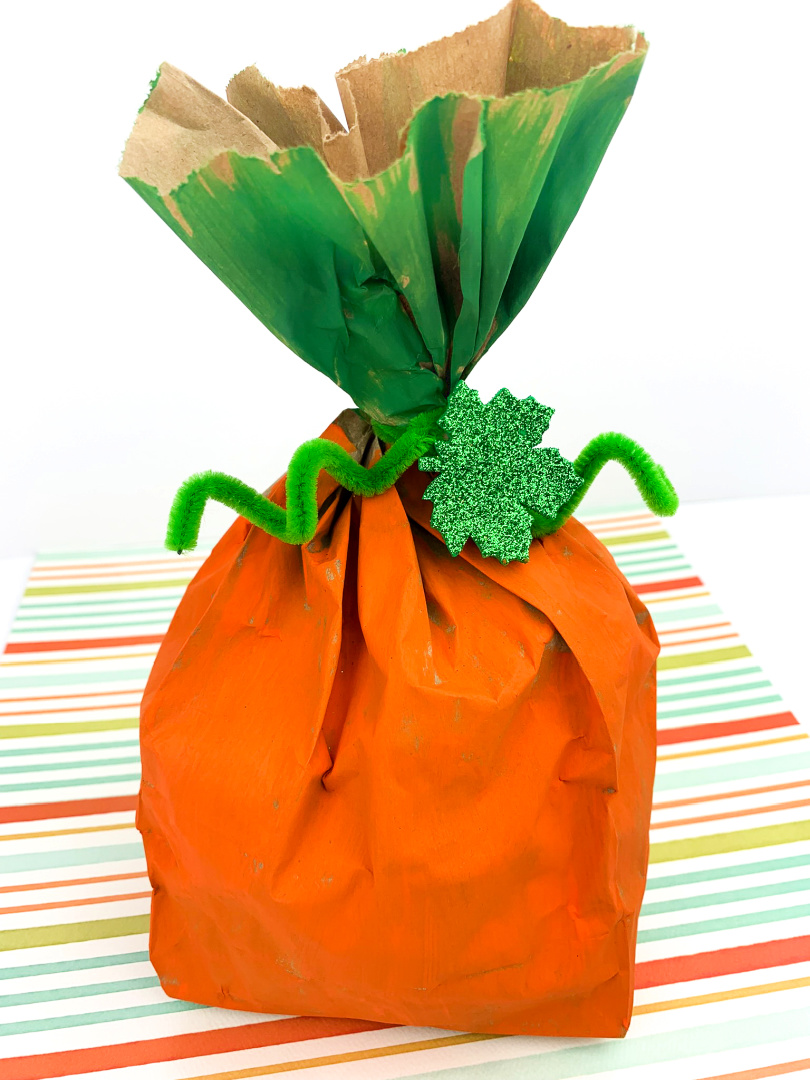
Paper Bag Pumpkin
Looking for an adorable, easy pumpkin craft that doesn’t require any carving? Look no further than the Paper Bag Pumpkin! This is a great project for kids of all ages and can be made in just a few simple steps. Plus, it’s perfect for decorating your home this fall. Gather up some supplies and get…
-
Printable Sea Animal Q Tip Painting Activity
Print this FREE Sea Animal Q Tip Painting set to enjoy with the kids! This set includes a variety of Sea animal themed activity sheets to paint. Sea Animal Q Tip Painting Are you teaching a lesson or themed unit on sea animals? Print these free q tip painting templates to complete as a supplemental activity for your…
-
Paper Bag Puppets
Making paper bag puppets is a fun and easy way to entertain your kids. All you need are a few simple supplies and a little bit of imagination. Your kids can create their own characters and stories, or follow along with one of the many puppet shows available online. Get creative and have some fun…
-
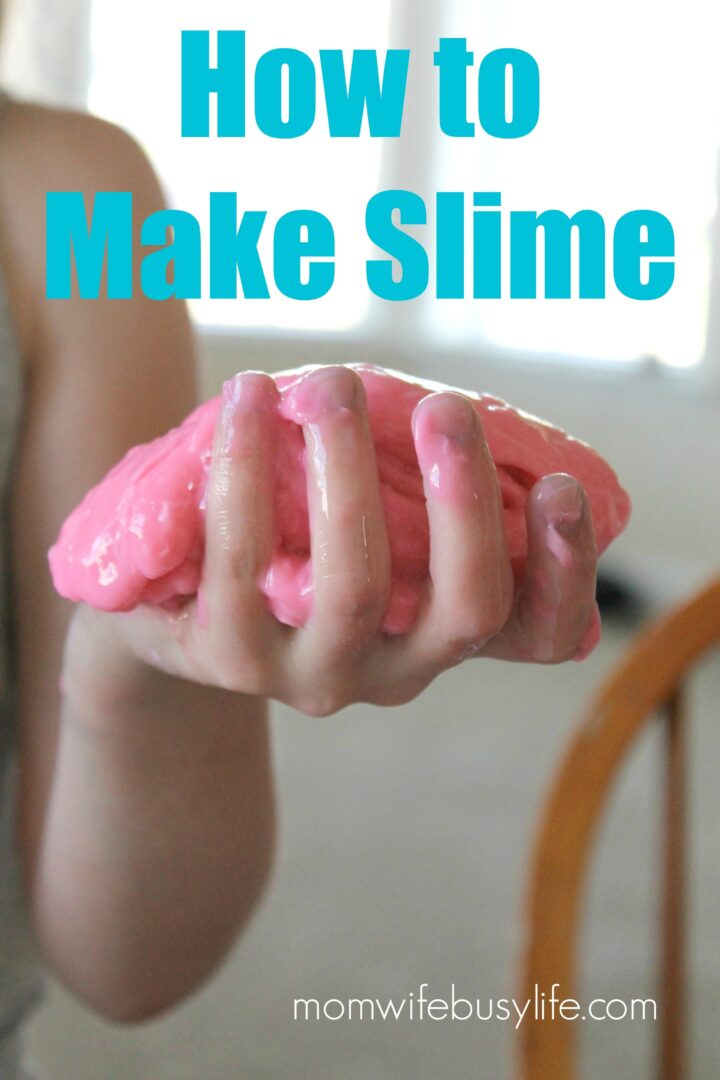
How to Make Basic Slime With Borax
Learn how to make basic slime with Borax! Borax is a common ingredient found in some slime recipes. This tutorial shows you how to make your own slime. There are plenty of benefits to making slime! Not only is making slime a fun and satisfying activity, but it can also be used for educational purposes.…
-
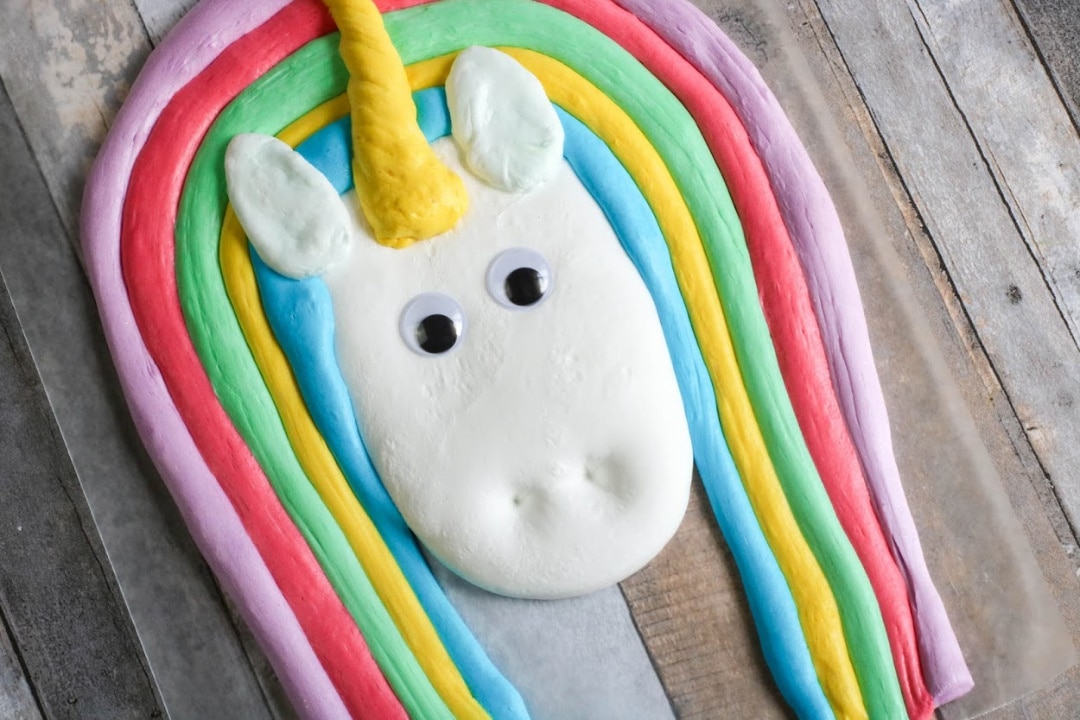
Fluffy Unicorn Slime Recipe
This Fluffy Unicorn Slime Recipe is super cool and fun to make! This colorful recipe will keep your kids entertained for a while! Create your slime today. When I was a young girl, I collected unicorns. When I saw unicorns making a come back over the last few years, I was super excited, especially since…
-
Benefits of Sensory Bottles
There are many benefits of sensory bottles for kids. They can help kids to develop their sensory skills, and they can also be a lot of fun. Here are some of the benefits of sensory bottles for kids. >>> Order your set of empty plastic sensory bottles today to get started on your own sensory…
-
Sea Animal Busy Books for Toddlers
Busy books for toddlers are a fun and educational way to keep your little ones busy. These books are packed with activities, games! Today I’m sharing with you my favorite Sea Animal Busy Books for toddlers! FREE Sea Animal Q Tip Painting Pack Sea Animal Handprint Art Under the Sea Coloring Pages From learning to…