-
Valentine’s Day Alphabet Letter Matching Game
Print this FREE Valentine’s Day Alphabet Letter Matching Game! This game will help kids identify lowercase and uppercase letters. Valentine’s day is around the corner! If you are teaching your child how to identify their letters, this letter matching game below is a great activity to help supplement this skill! Learning how to identify uppercase…

-
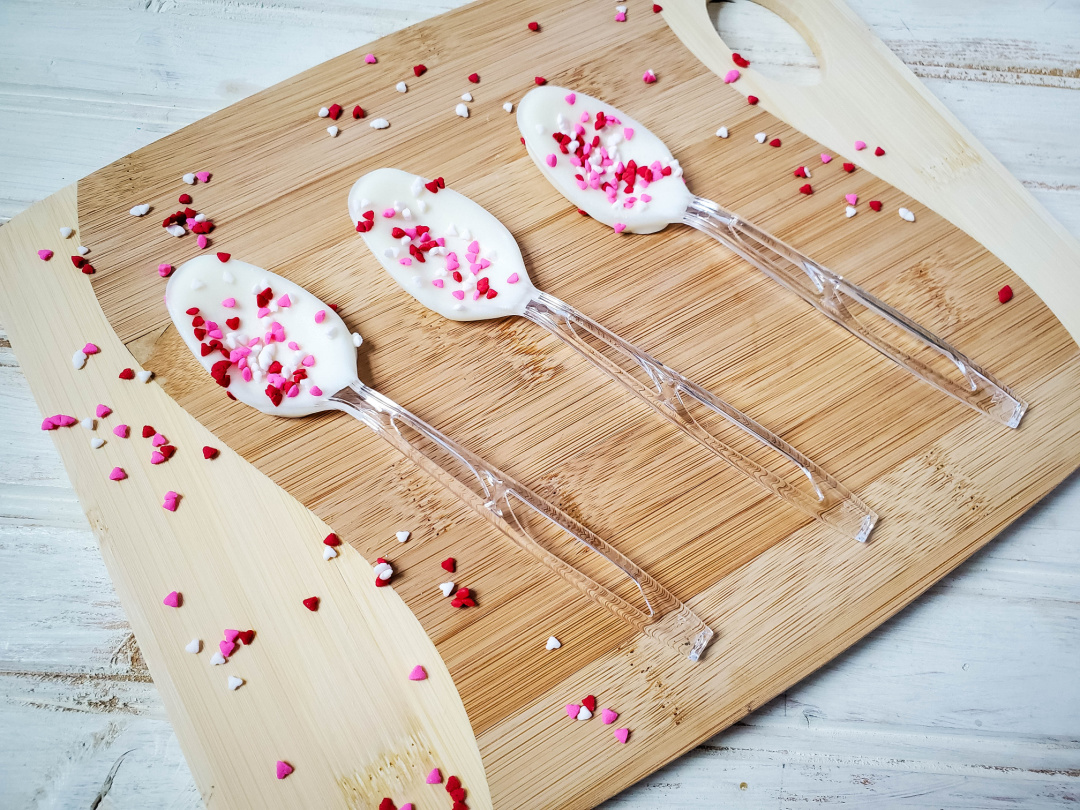
Valentine’s Day Chocolate Covered Spoons
Valentine’s Day Chocolate-Covered Spoons: A Sweet and Simple Treat for Moms Valentine’s Day is a special occasion that calls for a little extra love and sweetness. As a busy mom, finding the time to create elaborate treats might be challenging, but don’t worry! Making chocolate-covered spoons is not only easy but also a fun activity…
-
Printable Valentine’s Day Math Activities
Enjoy these FREE Printable Valentine’s Day Math Activities during the month of February! These Valentine Day themed math printables are a great way to practice basic math skills for kids! Printables are great for moms that homeschool, teachers that need supplemental activities at school, or use these printables at home for extra math practice with…
-
Valentine’s Day Marshmallow Pop Bouquet
Do you want to create something fun with the kids this Valentine’s Day? Create this Valentine’s Day Marshmallow Pop Bouquet to display or give as a gift to someone special! Are you looking for a unique, creative way to show your love this Valentine’s Day? Why not surprise your sweetheart or someone special with a…

-
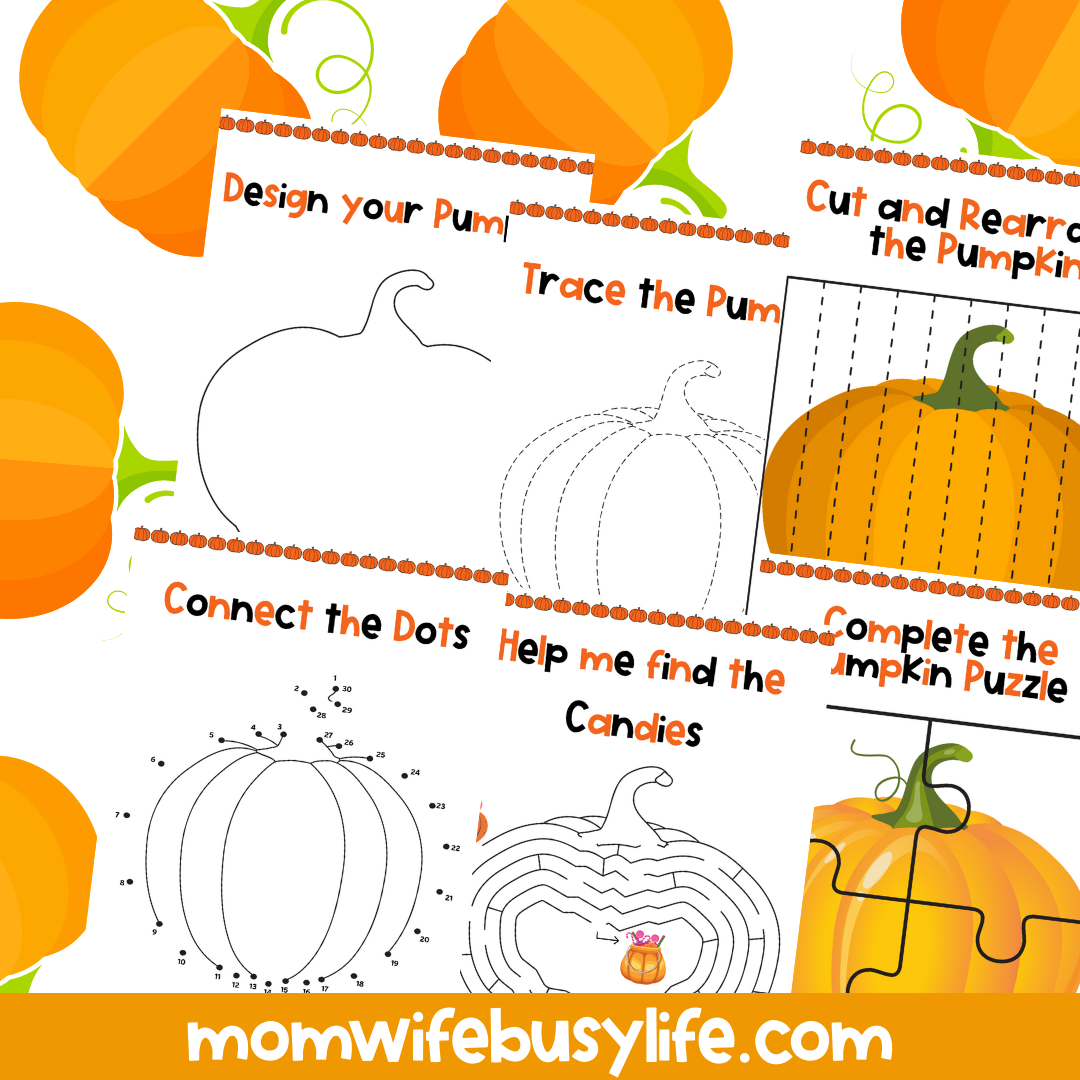
FREE Printable Pumpkin Activity Pack
Print this FREE Printable Pumpkin Activity Pack for the kids to complete and enjoy this fall season! If you are looking for FREE printable fall activities to enjoy this fall season, you are in the right place! I’m sharing a printable activity pack for you today to print, totally free! These activities will keep the…
-
Elf I’m Back Ideas
If you are planning a fun elf season for your kids this year, then it’s time to plan and prepare! Here’s a list of Elf I’m Back Ideas! Depending on how much you get into this fun holiday tradition, having a plan in place before the month gets here will save you plenty of time…
-
Candy Corn Playdough Sensory Activity
This is a very simple Candy Corn Playdoh Sensory Activity suitable for preschool and kindergarten-aged children. Creating crafts with Playdoh is perfect for helping young kids strengthen the muscles in their little hands! Rolling out Playdoh and cutting it with a plastic knife helps young kids strengthen their fine motor skills and enhances their hand-eye…
