Ring in the new year with a fun craft: a New Year’s Sensory Bottle for kids! Learn how to make your sensory bottle today!
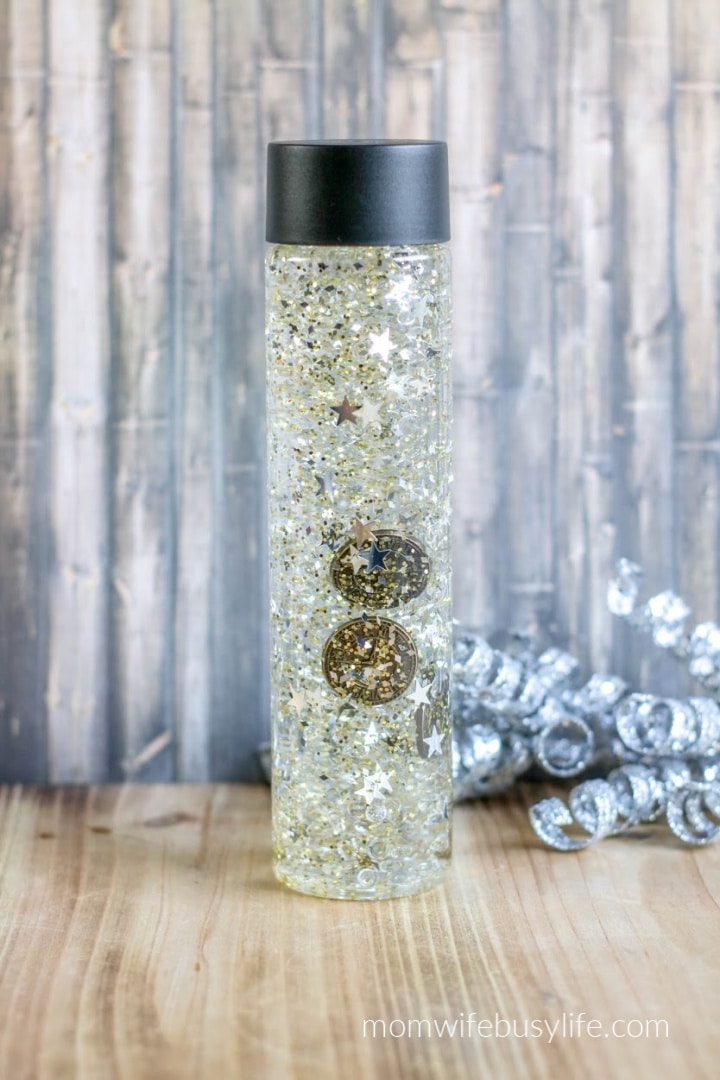
New Year’s Eve can be a magical time for kids, filled with excitement, anticipation, and maybe a little extra energy.
If you’re looking for a creative and fun way to channel that excitement, making a New Year’s sensory bottle is a fantastic activity to try.
It’s not only a calming tool but also a festive way to include kids in the celebration.
You may like these New Year’s Eve Printables:
Why a Sensory Bottle Is Perfect for New Year’s Eve
Sensory bottles are a hit with kids of all ages. They’re visually engaging, easy to personalize, and can double as a calming activity during the inevitable holiday overstimulation.
For New Year’s, these bottles can mimic the sparkle of fireworks, the shimmer of confetti, and the countdown excitement with creative elements like clock buttons and glitter.
Plus, it’s a low-mess activity compared to traditional crafts, which is a win for busy parents juggling holiday prep.
Tips for Making the Most of This Activity
When to Create It:
Gather the kids in the afternoon before the New Year’s festivities begin. Making sensory bottles can keep little hands busy while you prepare for the evening.
Or, if you’re hosting a New Year’s party, set up a craft table for kids to make their own bottles as a memorable party favor.
Where to Use It:
Sensory bottles are portable, so kids can take them anywhere!
Whether you’re celebrating at home, at a friend’s house, or watching fireworks, these bottles can be a soothing distraction when the noise or excitement gets overwhelming.
How to Incorporate It Into the Celebration:
Use the sensory bottle as part of a countdown activity. Shake it up and watch the glitter settle as you count down the minutes to the new year.
You can even make it a game—how long does it take for the glitter to fall to the bottom?
Creative Add-Ons and Substitutions
If you don’t have all the materials listed, don’t worry! Sensory bottles are incredibly flexible, and you can customize them with what you have on hand. Here are some fun ideas:
Themes Beyond New Year’s: Instead of clocks and silver stars, create a winter theme with snowflake confetti and blue glitter. Or go for a celebratory theme with multicolored sequins.
Kid-Friendly Decorations: Add small toys, beads, or buttons in your child’s favorite shapes or colors.
Alternative Bottles: If you don’t have a sensory bottle, use a clean plastic water bottle or mason jar with a tight lid.
Glow in the Dark: Add glow-in-the-dark stars or use glow-in-the-dark glue for an extra magical effect when the lights go down.
No Glitter? No Problem! Use small metallic sequins, foil confetti, or even bits of aluminum foil cut into shapes for sparkle without the mess.
Long-Term Uses for Your Sensory Bottle
Once the New Year’s celebration is over, these bottles can still be a valuable tool:
- Calming Tool: Sensory bottles can be great for calming down after a busy day or before bedtime.
- Fidget Toy: They make a perfect quiet activity for kids during long car rides or waiting rooms.
- Learning Aid: Use the sensory bottle to teach counting or simple science concepts, like how glitter falls at different rates depending on the glue-to-water ratio.
Keep It Fun and Stress-Free
The best part of this project is that it’s simple, fun, and kid-friendly. There’s no “wrong” way to make a sensory bottle, so let your kids get creative.
They’ll love seeing their unique creations come to life, and you’ll love how easy and low-prep this activity is.
Start the new year off with a sparkle—literally!
This sensory bottle will keep your little ones entertained, create lasting memories, and give them a personalized keepsake to remind them of the fun they had ringing in the new year.
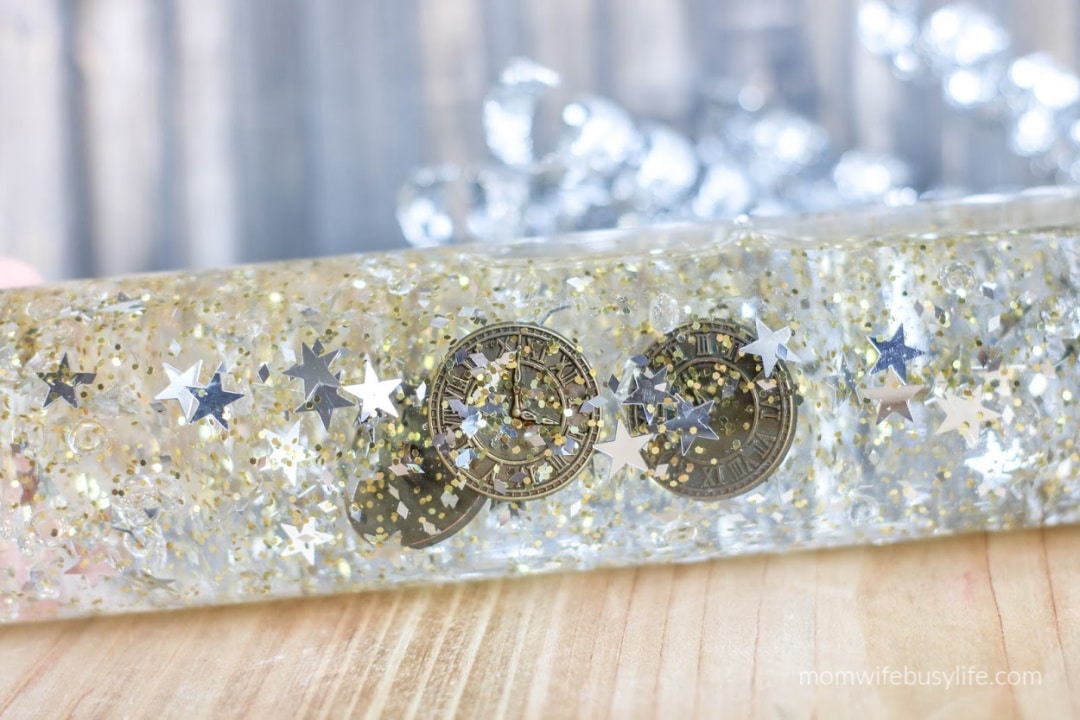
New Year’s Sensory Bottle for Kids
Supplies:
- 1 (16oz) clear sensory bottle
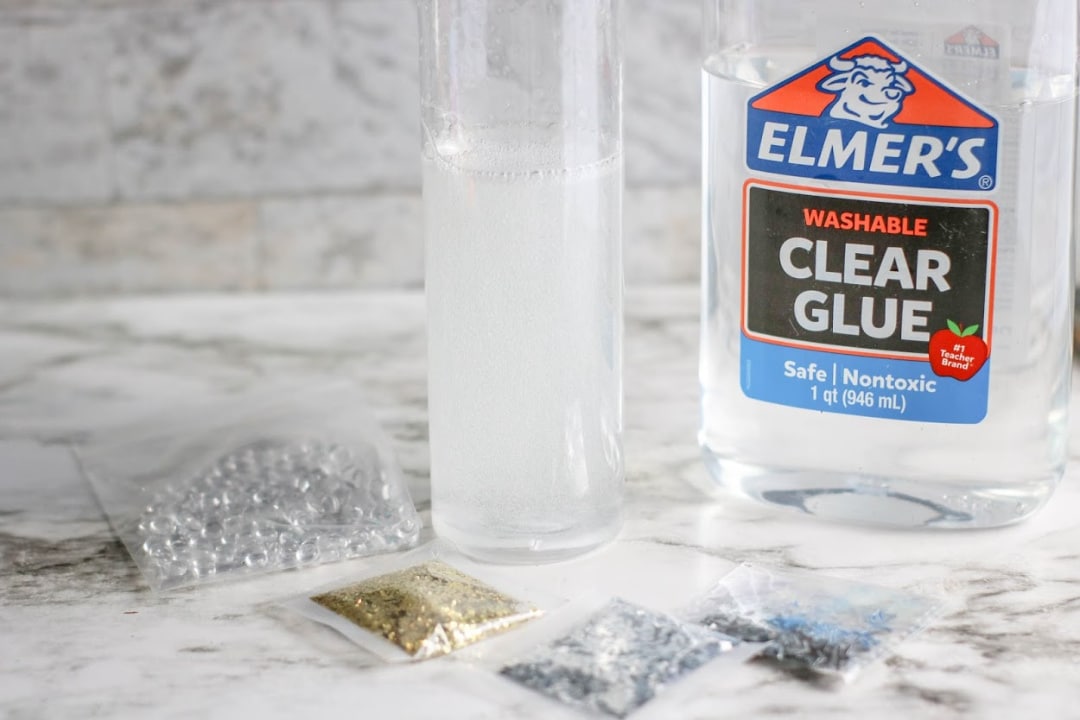
- 2 to 3 (6 ounce) bottles Elmer’s Clear Glue
- About 1 cup warm water
- About 1 tablespoon gold or silver glitter or confetti (if desired)
- Clock craft buttons
- Silver star confetti
- Silver glitter
- Gold glitter
Directions:
Empty one bottle of glue into bottle.
Fill the empty glue bottle about half full with warm water (about ¼ cup) and seal with the lid. Shake well to combine the remaining glue with the water. Pour into jar with glue and shake or stir to combine.
If you are adding glitter or toys, add part of the glitter and toys into the glue mixture.
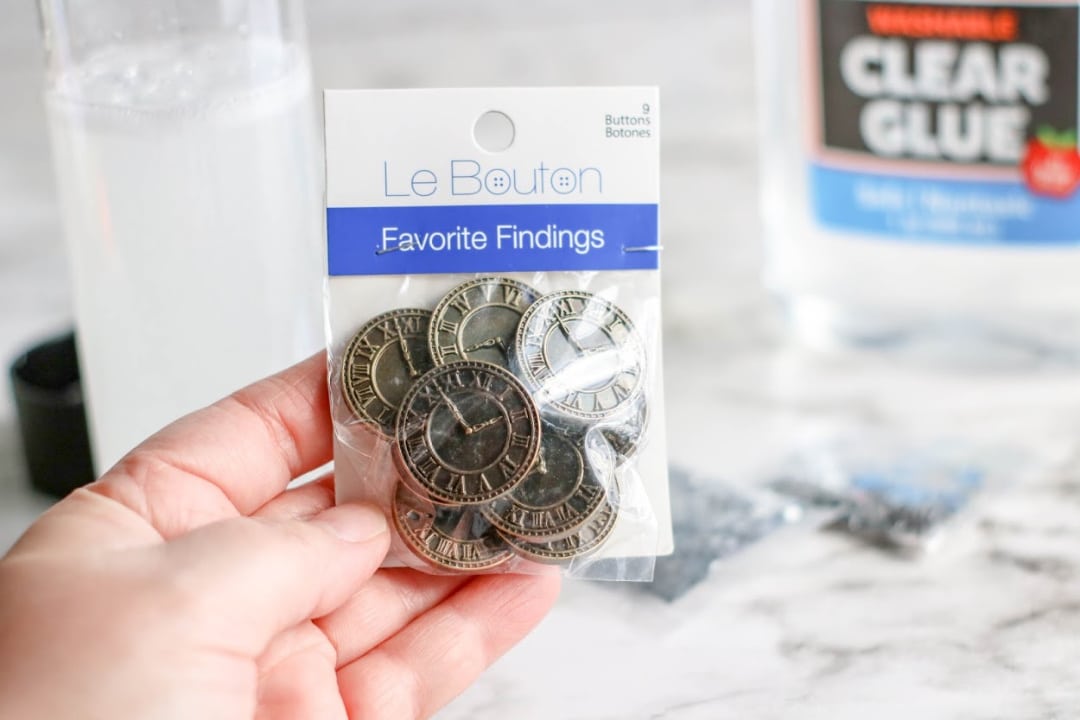
Seal the jar and shake well. If the glitter or confetti does not move easily, add more warm water.
If the glitter or confetti moves too quickly, add additional glue. Continuing adding in layers with the glitter and toys until you achieve your desired effect.
When the contents of the bottle move according to your preference, seal the bottle and glue the lid closed to avoid spills.
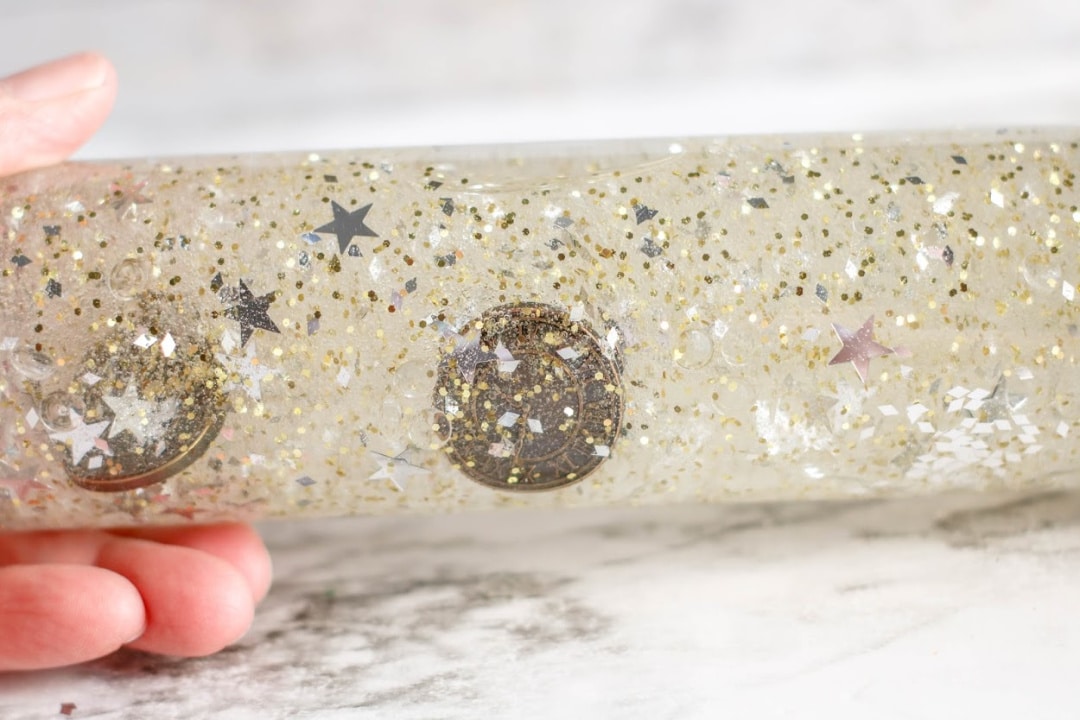
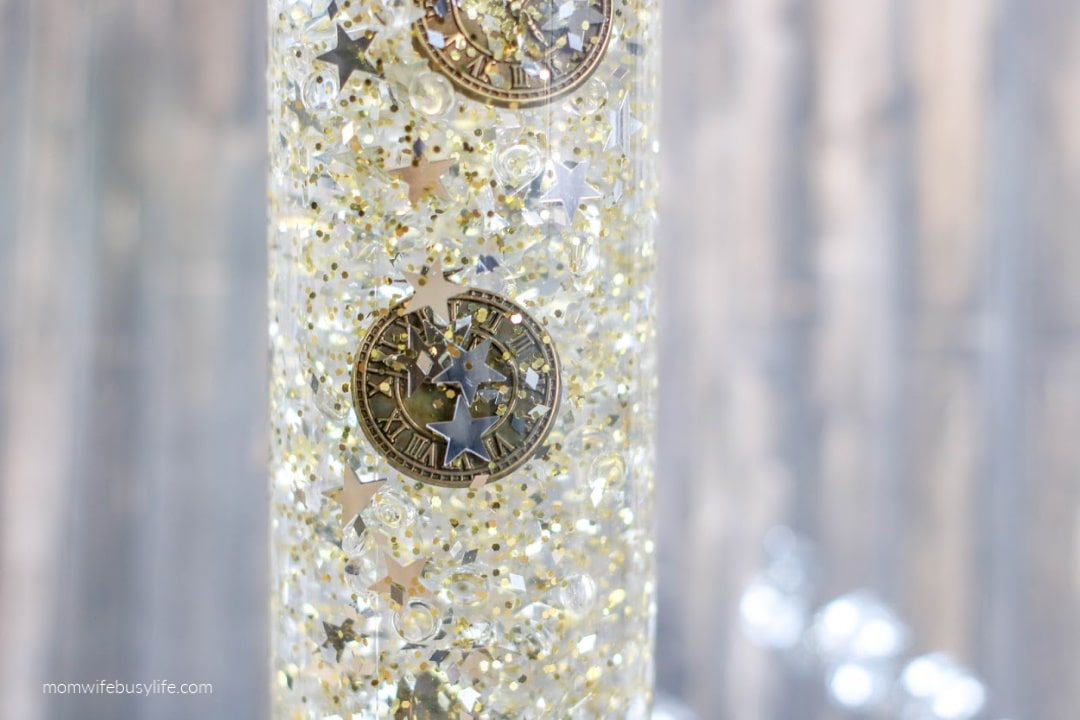
If desired, cover the lid with duct tape or additional decorations.
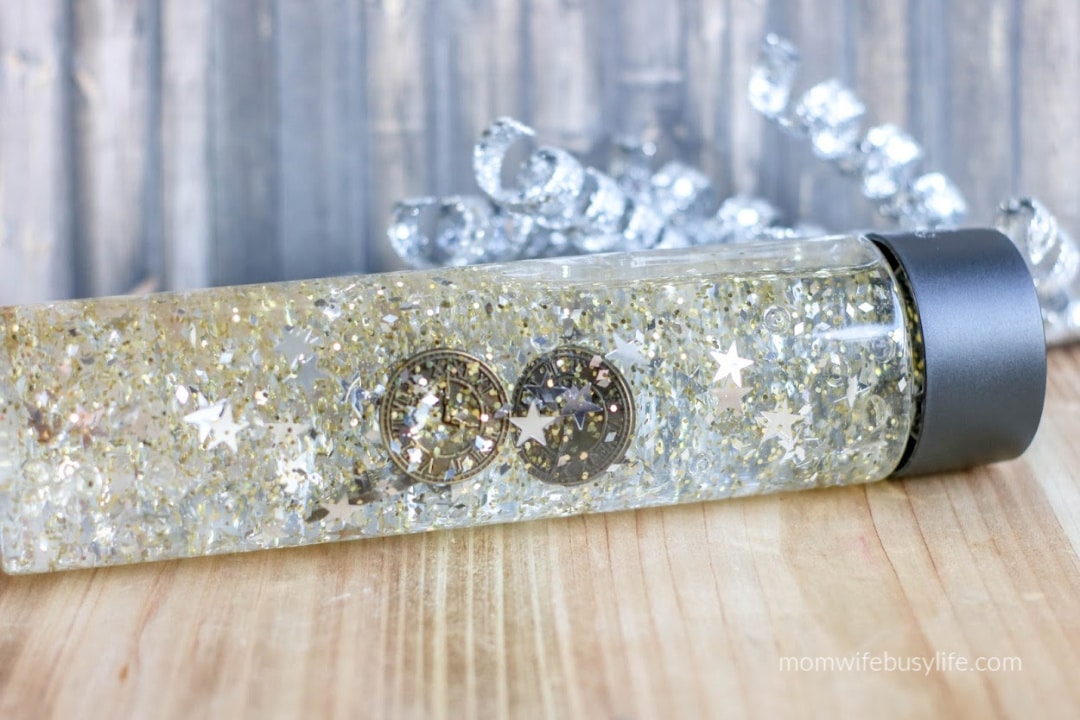
New Year's Sensory Bottle
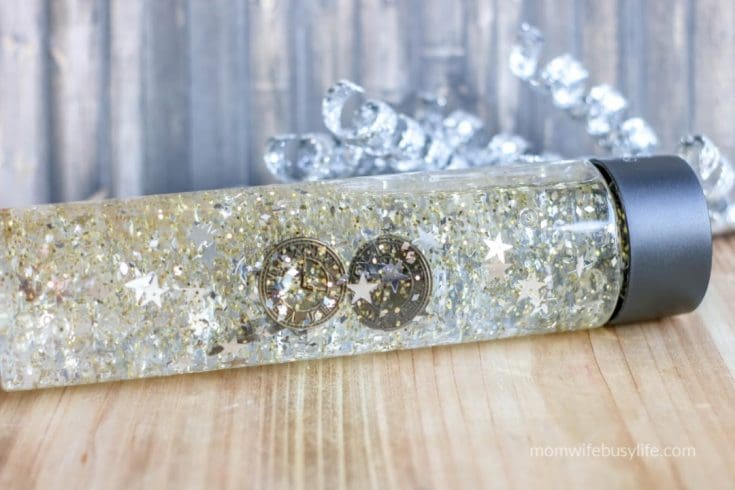
Materials
- 1 (16 ounce) plastic storage/sensory bottle
- 2 to 3 (6 ounce) bottles Elmer's Glue in clear
- About 1 cup warm water
- About 1 tablespoon glitter or confetti (if desired)
- Toys (if desired)
- For this project, we used:
- Clock buttons
- Silver star confetti
- Silver glitter
- Gold glitter
Instructions
Empty one bottle of glue into bottle.
Fill the empty glue bottle about half full with warm water (about ¼ cup) and seal with the lid. Shake well to combine the remaining glue with the water. Pour into jar with glue and shake or stir to combine.
If you are adding glitter or toys, add part of the glitter and toys into the glue mixture.
Seal the jar and shake well. If the glitter or confetti does not move easily, add more warm water. If the glitter or confetti moves to quickly, add additional glue. Continuing adding in layers with the glitter and toys until you achieve your desired effect.
When the contents of the bottle move according to your preference, seal the bottle and glue the lid closed to avoid spills.
If desired, cover the lid with duct tape or additional decorations.
Leave a Reply