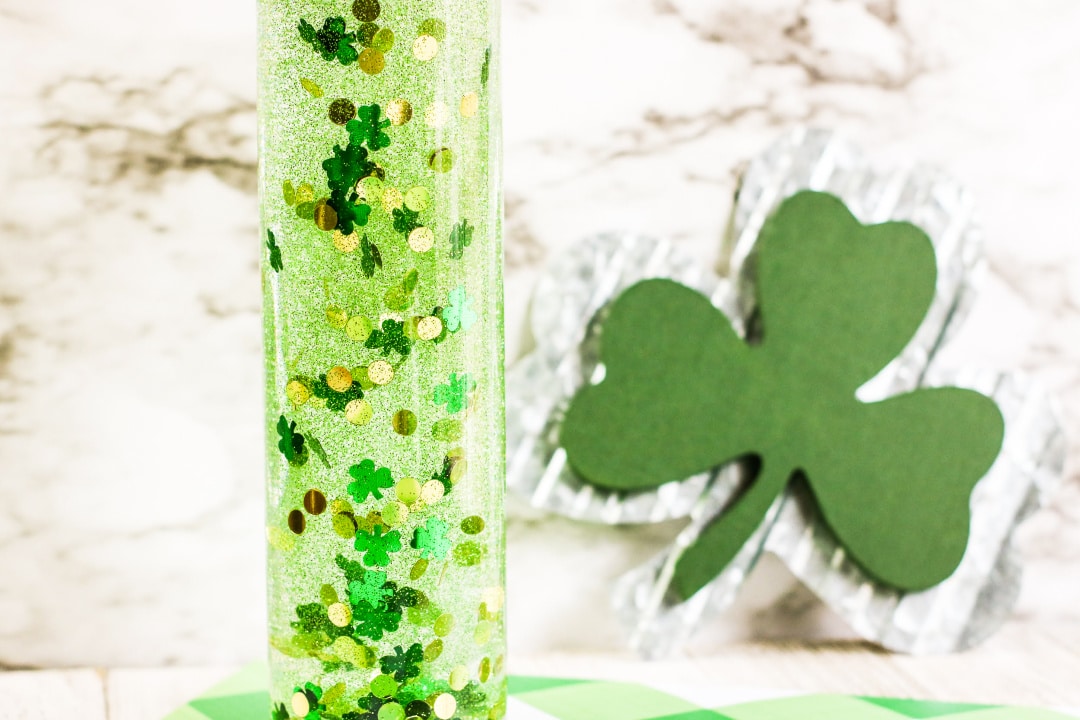
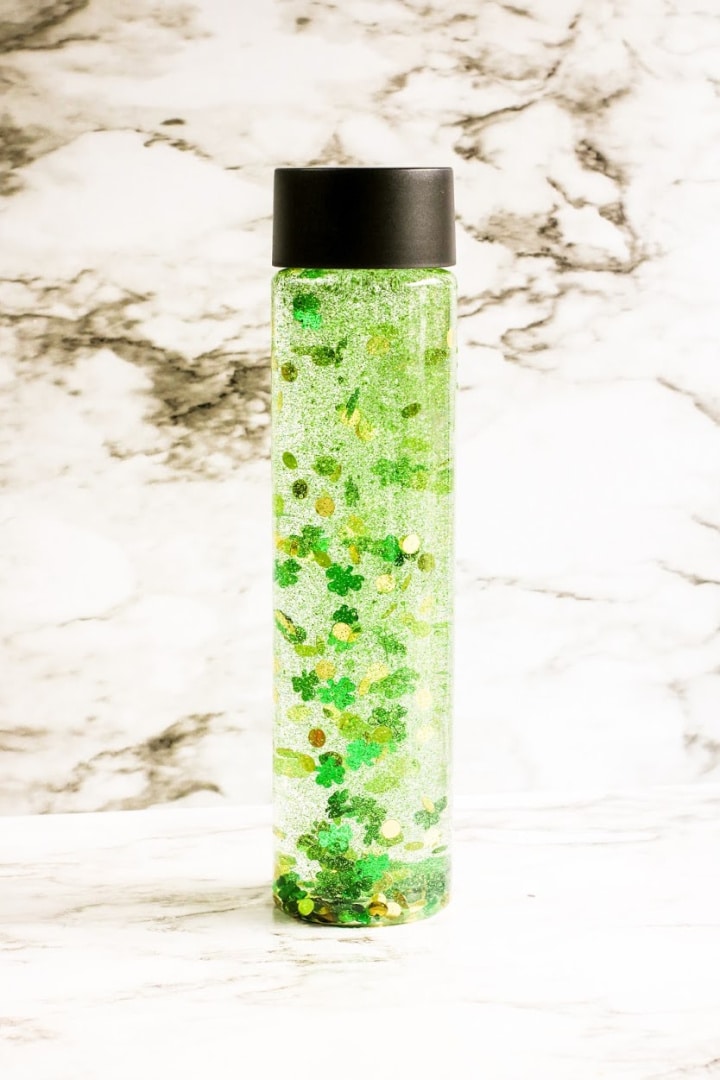
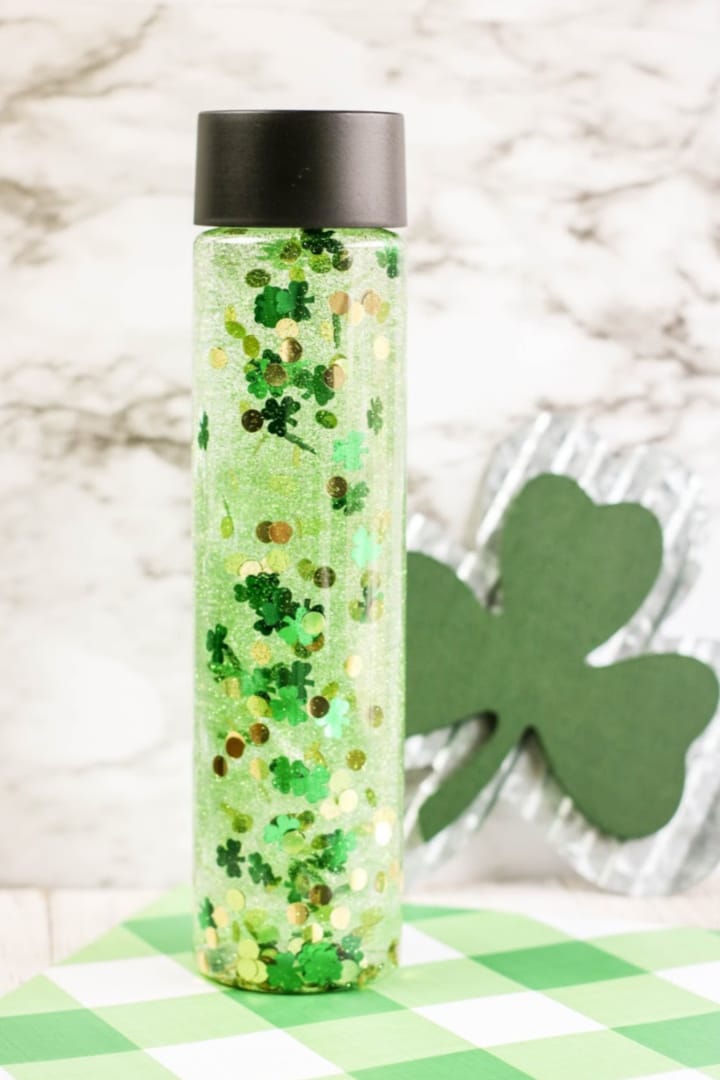
This super cool St. Patrick’s Day Shamrock Sensory Bottle is entertaining for children!
The glitter and confetti gives this bottle a fun effect. Create your bottle today!
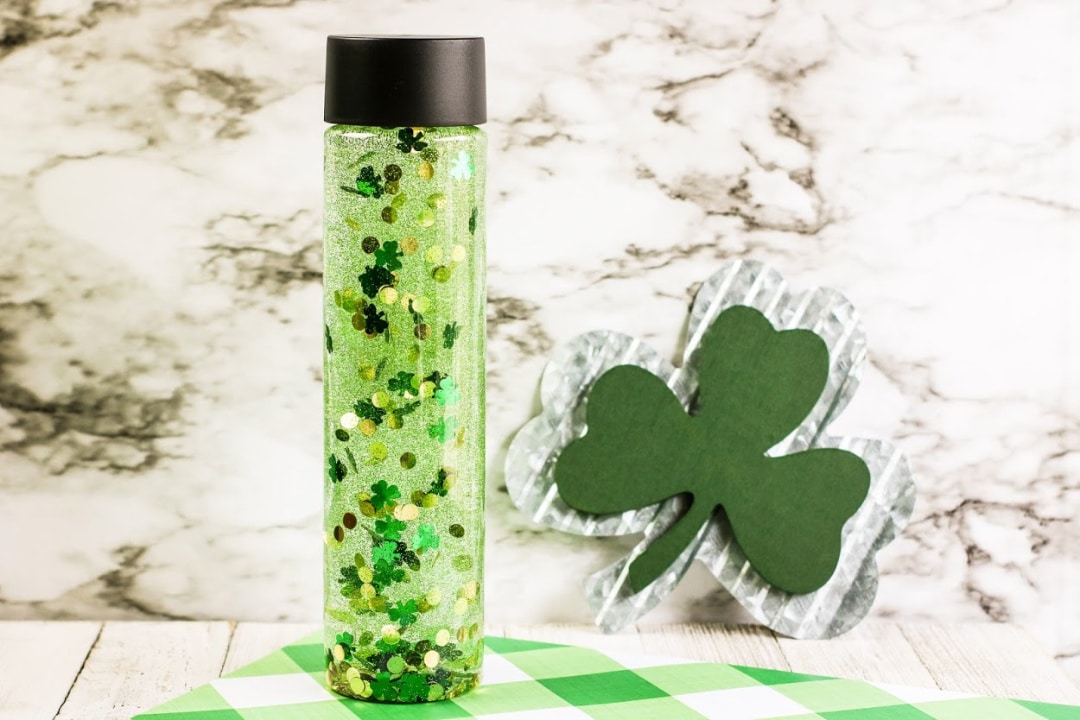
St. Patrick’s Day is March 17! To celebrate, create a fun sensory bottle!
This St. Patrick’s Day sensory bottle for kids is a fun, easy way to celebrate this special day with your little ones!
Not only do they get to experience the holiday in an engaging and tactile way, but they also get to create their own unique St. Patrick’s day themed bottle.
St. Patrick’s Day Play Dough Kit
All you need are a few simple materials, such as green glitter, shamrocks confetti, and some of your favorite St. Patrick’s day goodies.
Just fill the bottle with these items and add water – voila! Your St. Patrick’s day sensory bottle is ready.
Kids will love shaking it up and watching the contents swirl around. It’s sure to be a festive activity for this fun holiday!
So get your kids involved in the fun and let them create their own St. Patrick’s Day sensory bottle – they’ll love it!
How to Make Rainbow Rice (for Sensory Bins)
View our full collection of sensory bottles here.
Here’s our St. Patrick’s Day Sensory Bottle for kids to make during the month of March!
St. Patrick’s Day Shamrock Sensory Bottle
Supplies:
- 1 (13.6 to 16 ounce) clear sensory bottle
- 2 to 3 (6 ounce) bottles clear Elmer’s Glue
- about 1 cup warm water
- about 1 tablespoon glitter or confetti (if desired)
- toy coins (optional)
- shamrock confetti
- gold dot confetti
- lime green glitter
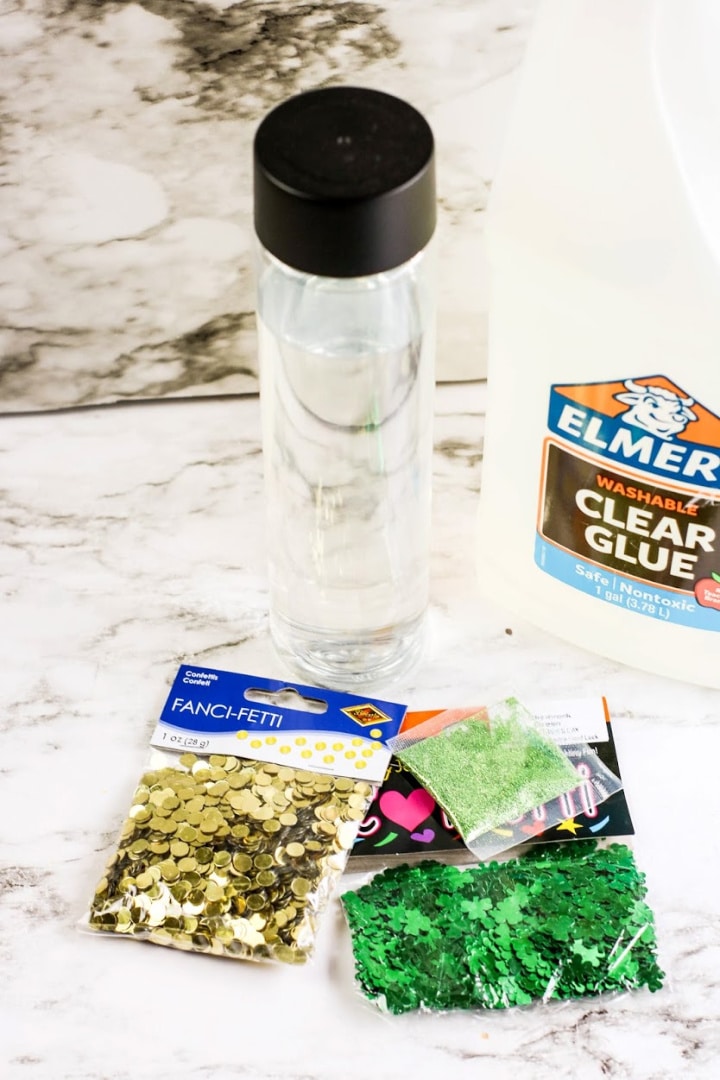
Directions:
Empty the contents of one bottle of glue into the bottle.
Fill the empty glue bottle about half full with warm water (about ¼ cup) and seal with the lid.
Shake well to combine the remaining glue with the water. Pour into the bottle with glue and shake or stir to combine.
If you are adding glitter or toys, add part of the glitter and toys into the glue mixture.
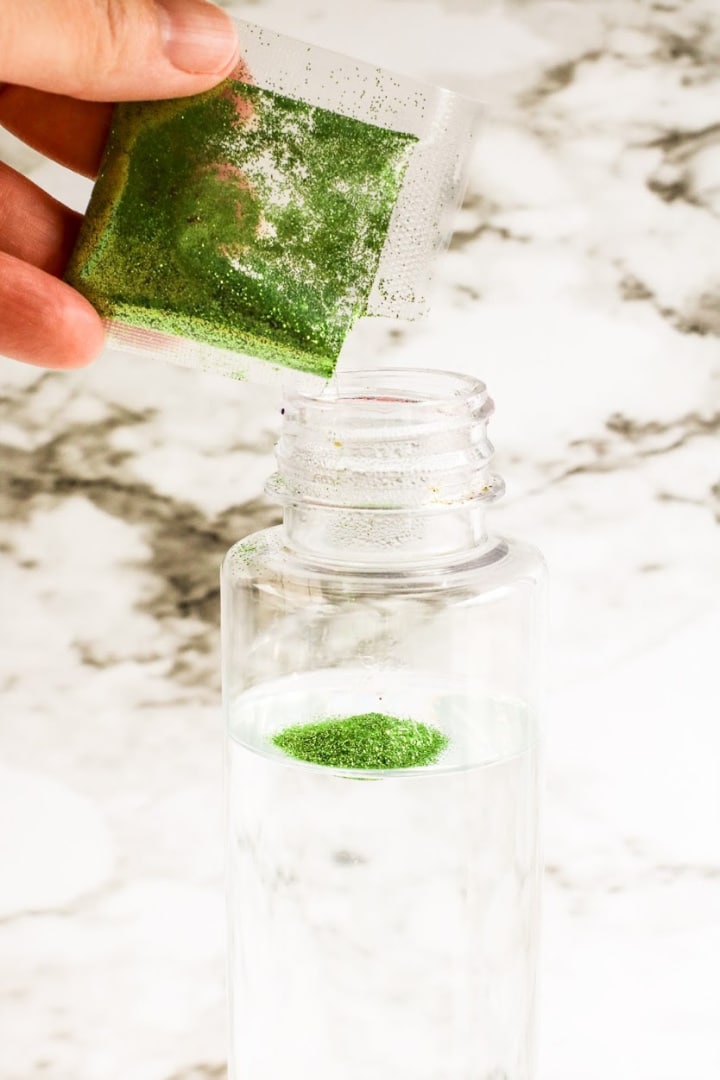
Seal the jar and shake well.
Note: If the glitter or confetti does not move easily, add more warm water. If the glitter or confetti moves too quickly, add additional glue. Continuing adding in layers with the glitter and toys until you achieve your desired effect.
When the contents of the bottle move according to your preference, seal the bottle and glue the lid closed to avoid spills.
If desired, cover the lid with duct tape or additional decorations.
Your St. Patrick’s Day Sensory Bottle is complete and ready for play time!
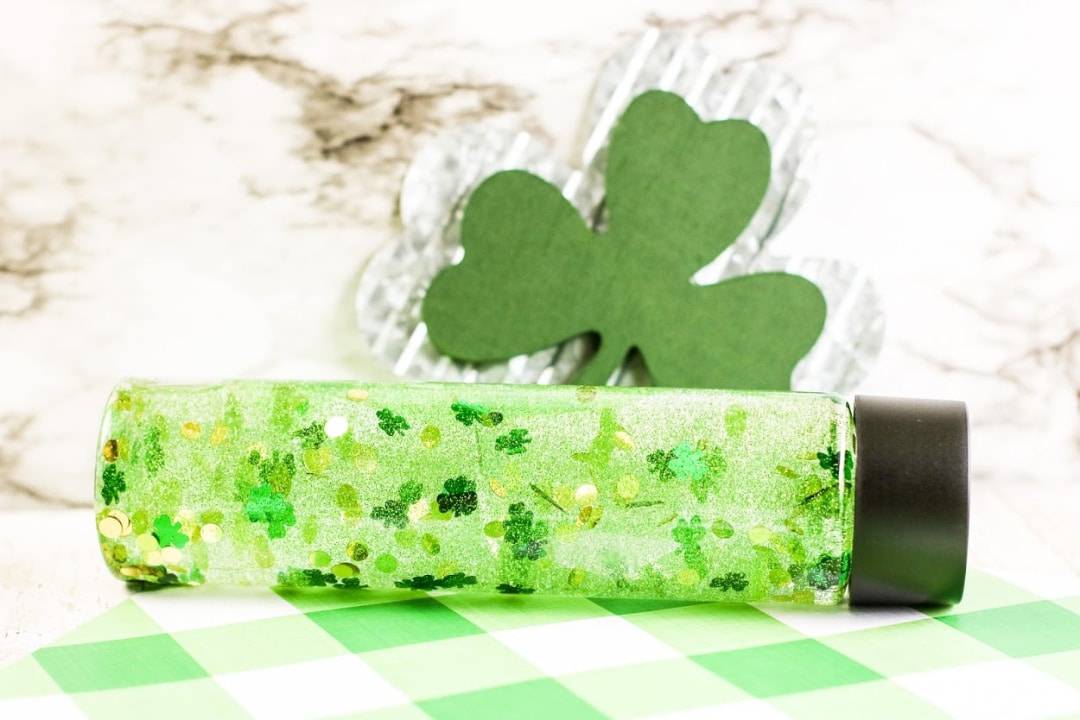
St. Patrick's Day Sensory Bottle
Materials
- 1 (13.6 to 16 ounce) clear sensory bottle
- 2 to 3 (6 ounce) bottles clear Elmer's Glue
- about 1 cup warm water
- about 1 tablespoon glitter or confetti (if desired)
- toy coins (optional)
- shamrock confetti
- gold dot confetti
- lime green glitter
Instructions
Empty the contents of one bottle of glue into the bottle.
Fill the empty glue bottle about half full with warm water (about ¼ cup) and seal with the lid.
Shake well to combine the remaining glue with the water. Pour into the bottle with glue and shake or stir to combine.
If you are adding glitter or toys, add part of the glitter and toys into the glue mixture.
Seal the jar and shake well.
Note: If the glitter or confetti does not move easily, add more warm water. If the glitter or confetti moves too quickly, add additional glue. Continuing adding in layers with the glitter and toys until you achieve your desired effect.
When the contents of the bottle move according to your preference, seal the bottle and glue the lid closed to avoid spills.
If desired, cover the lid with duct tape or additional decorations.
Your St. Patrick's Day Sensory Bottle is complete and ready for play time!
Leave a Reply