-
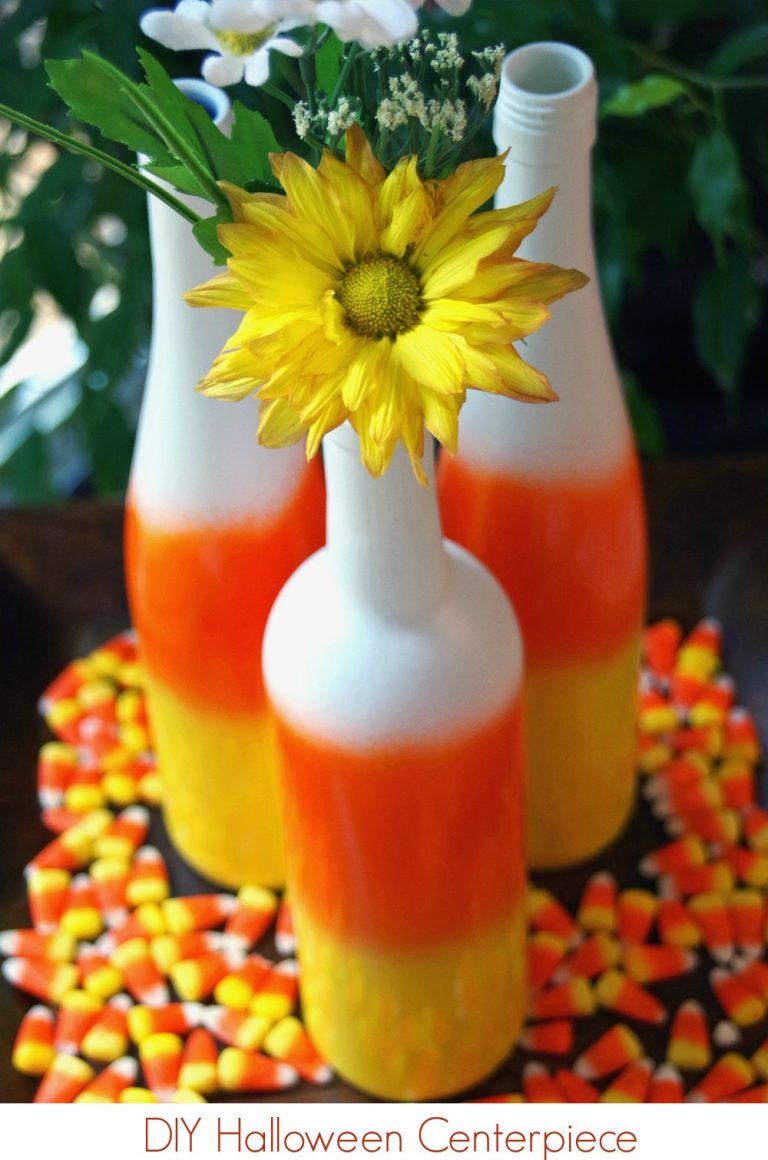
15+ Candy Corn Crafts
Get crafty this fall season! Here’s a list of my favorite Candy Corn Crafts to work on this fall season. Do you love candy corn? You either love it or hate it. I LOVE it. In fact, at the start of every fall season, I buy myself one bag of candy corn to enjoy for…
-
Pumpkin Popsicle Stick Craft
Get creative with popsicle sticks! Create this simple Pumpkin Popsicle Stick Craft to display this fall season. Pumpkin Popsicle Stick Craft Supplies: Directions: Cut each of the popsicle sticks in half. Place one piece on a flat surface. Glue one stick on each end at a slight angle. Glue one piece to the end of…
-
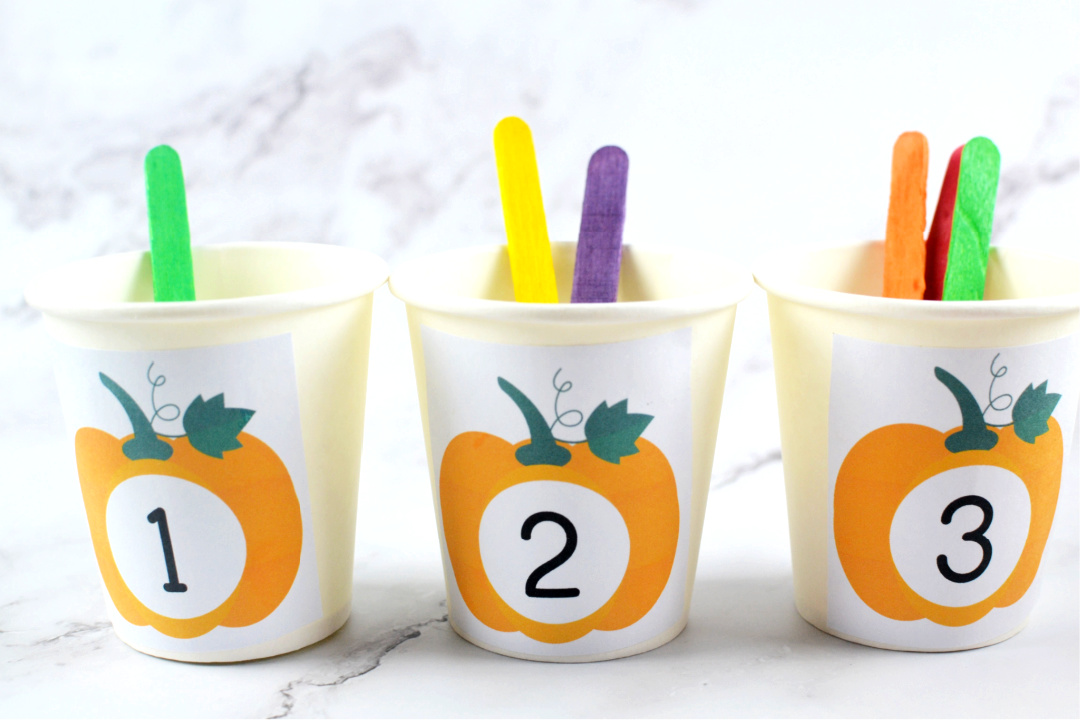
Pumpkin Counting from 1-10 Activity
Enjoy this fun fall Pumpkin Counting from 1-10 Activity for kids! This activity includes a free printable pumpkin template with numbers 1-10. The fall season is the perfect season to take advantage of fun and unique learning games with the kids! This Pumpkin Counting Activity for Kids is simple and easy to create and highly…
-
Paper Plate Pumpkin Wreath
Create this Paper Plate Pumpkin Wreath with the kids this fall season to display in your home or classroom! Fall is a season filled with colorful foliage, pumpkin patches, and cozy vibes. It’s the perfect time to engage in fun and creative activities with your kids. One exciting craft project that will spark their creativity…
-
Johnny Appleseed Paper Plate Craft
Do you know who Johnny Appleseed is? If not, then you are in for a treat today! I am going to show you how to make a fun Johnny Appleseed Paper Plate Craft inspired by this folk hero. Who is John Chapman, more commonly known as Johnny Appleseed? Most people know at least a little…

-
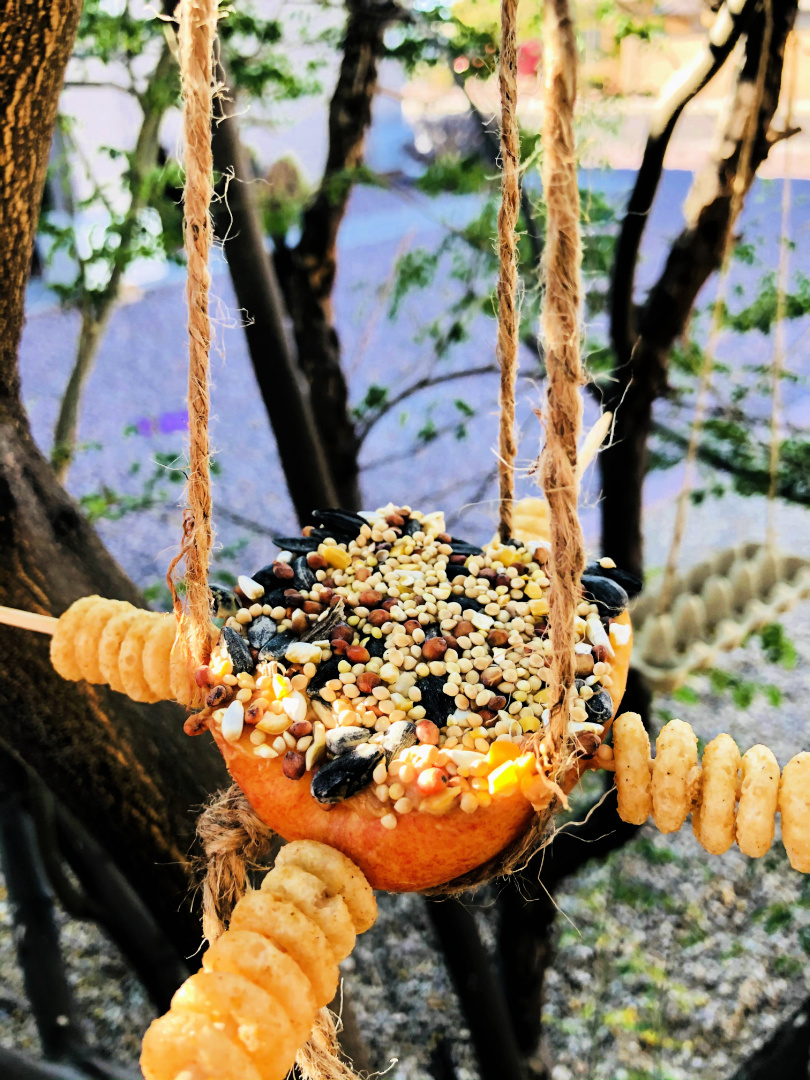
Apple Bird Feeder
Create this DIY Apple Bird Feeder to hang in your yard this spring or summer season! Your backyard birds will be thankful for this tasty treat! This spring season, get out your craft supplies and enjoy creating a variety of DIY bird feeders to hang in your yard this year! DIY bird feeders are easy…
-
Alphabet Q Tip Painting
Is your child learning the alphabet? Enjoy these Alphabet Q Tip Painting printables to help them learn their letters in a fun way! Supplies needed: Q Tip Painting Templates Alphabet Q Tip Painting Alphabet Q-Tip Activity Pack Alphabet Q-Tip Painting Alphabet Q-Tip Painting Alphabet Q-Tip Painting Alphabet Q-Tip Painting