-
Spring Flower Craft Ideas
Are you looking for spring crafts for the kids to enjoy this season? Check out these Spring Flower Craft Ideas! Is it just me, or does time seem to be flying by faster than ever these days? It’s already April, and that means summer is just around the corner. Before we know it, we’ll be…
-
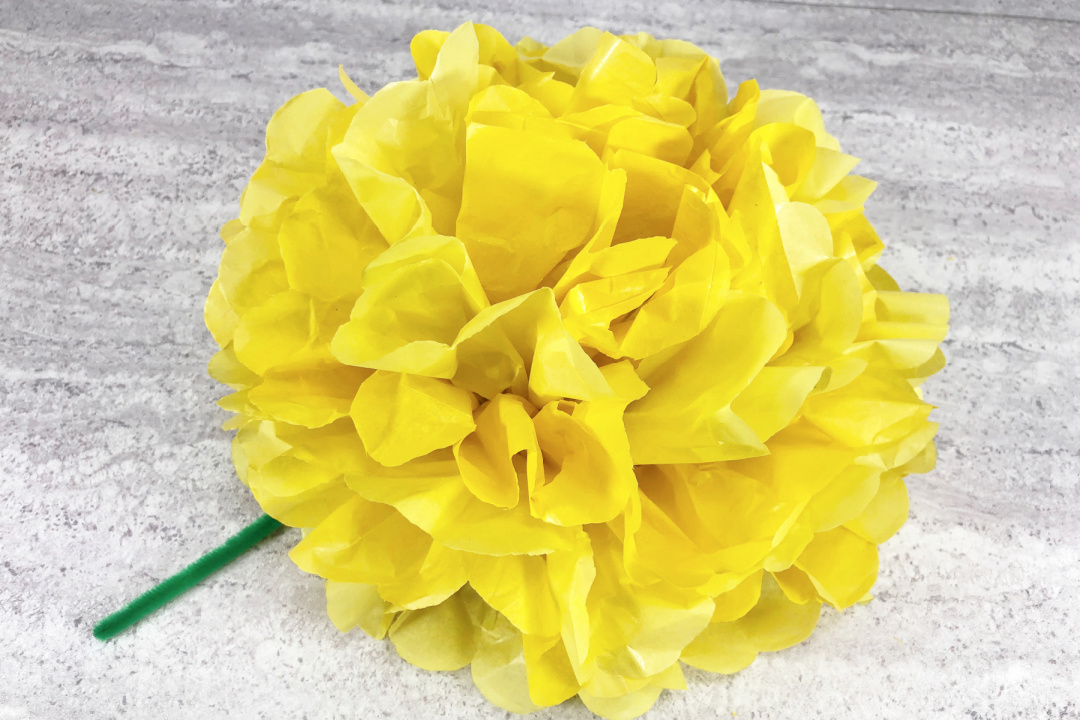
Tissue Paper Flower Craft
Are you looking for a simple flower craft for spring or Mother’s Day? Learn how to make this Tissue Paper Flower Craft! Don’t forget to check out all of my other flower crafts that you can make this year, too! Here are a few flower coloring pages, too! Tissue Paper Flower Craft Supplies: Directions: Gather…
-
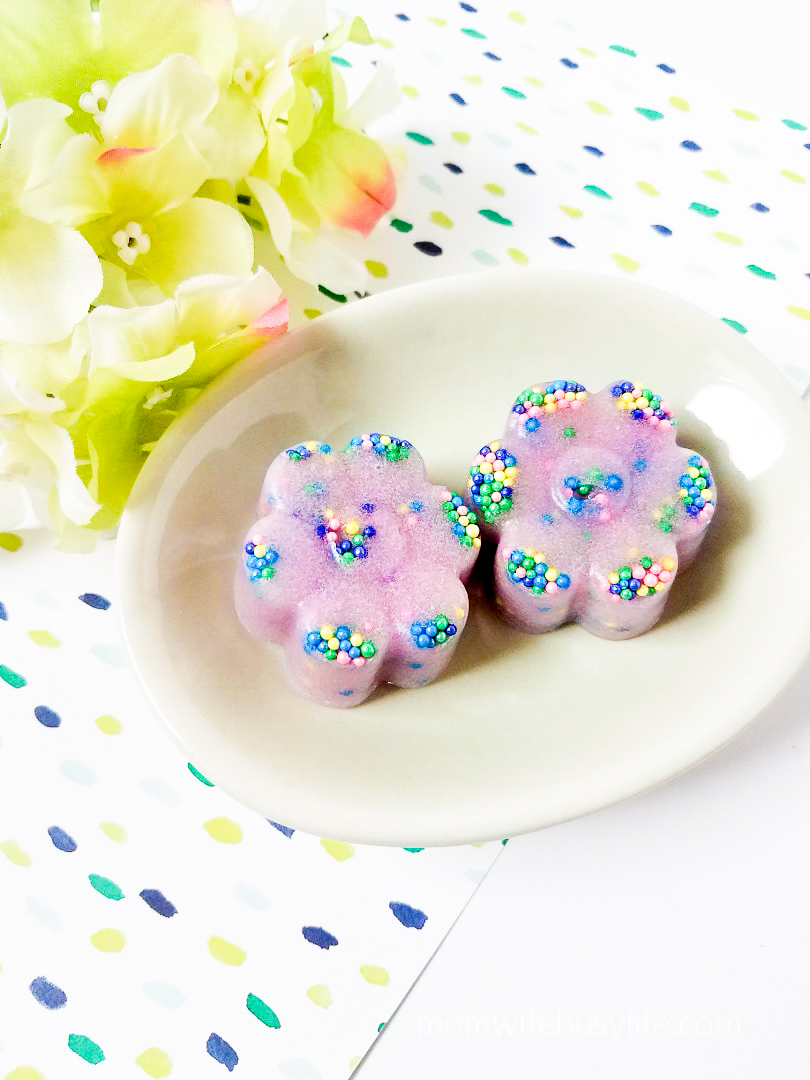
Flower Sugar Scrub Bars with Sprinkles
Bring the spring indoors this year with these colorful Spring Flowers Sugar Scrub Bars! I’m going to show you how to make homemade sugar scrub bars that are moisturizing and exfoliating. The sprinkles in these bars add just the right amount of color to make them fun! Add these to your bathroom this spring season.…
-
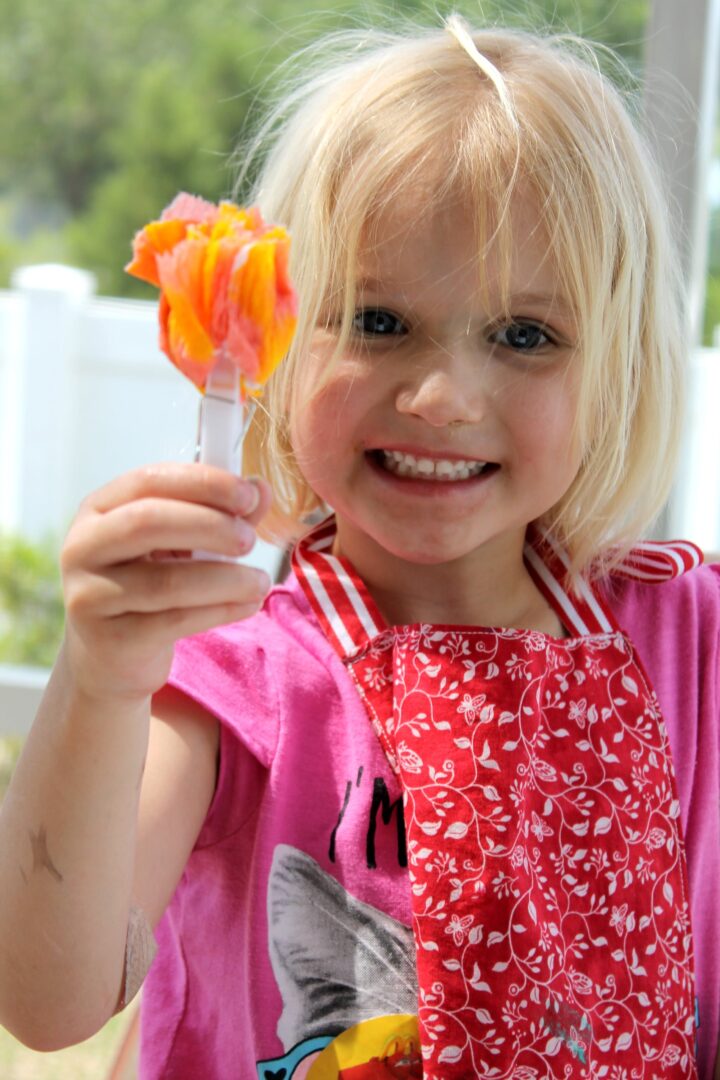
Toilet Paper Flowers
Learn how to make Toilet Paper Flowers using toilet paper! Toilet paper seems to make it’s way on my shopping list each week. Toilet paper can seem pretty dull and boring, but did you know you can make cool crafts with it? Yep! We did! We turned some of our toilet paper into a bouquet of…
-
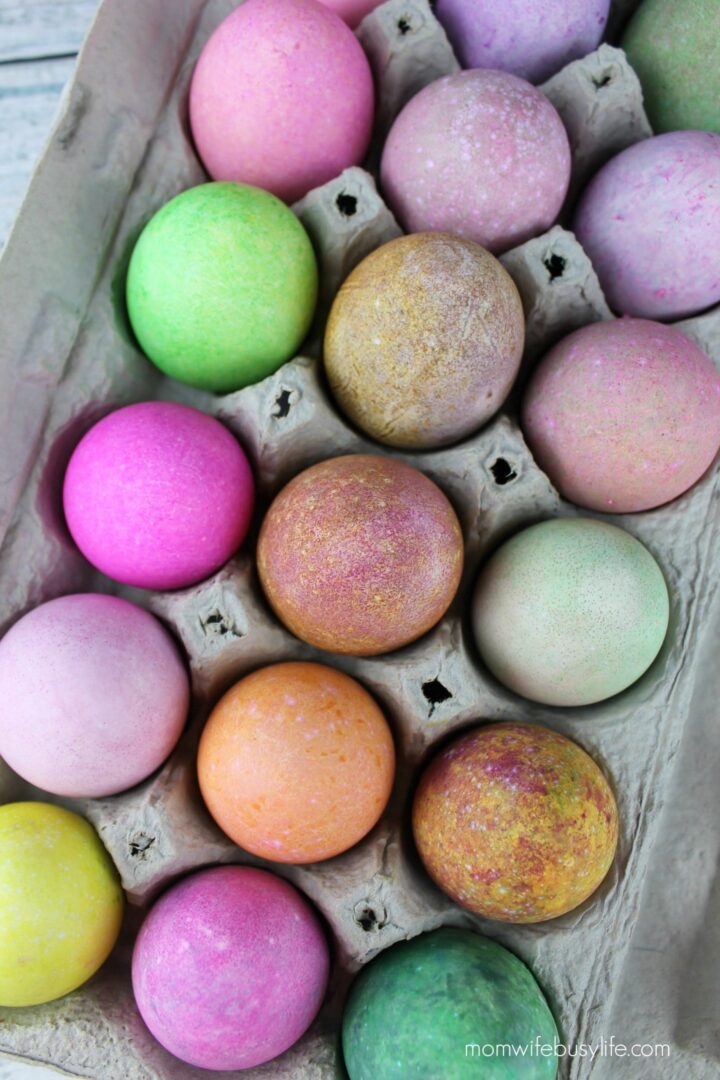
How to Dye Easter Eggs with Rice
Are you looking for a fun and new way to dye eggs this year? Learn how to dye Easter Eggs with Rice! This is one of our favorite ways to dye eggs as a family! We’ve been getting more creative in the kitchen lately! With the Easter holiday approaching, I thought it would be fun…
-
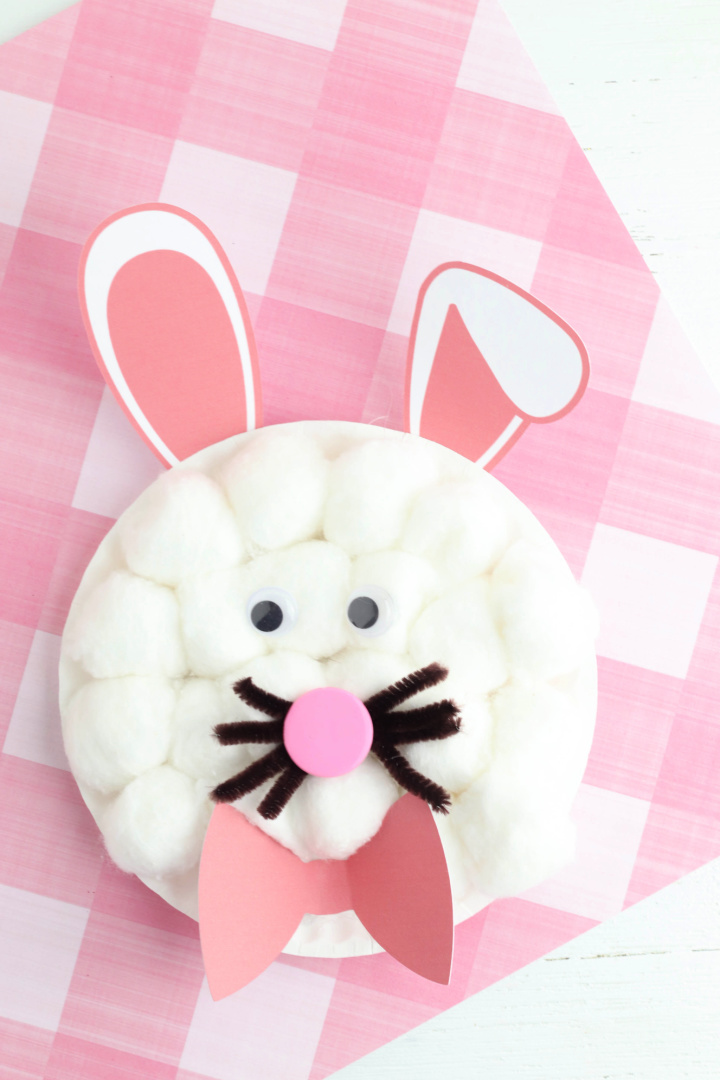
Easter Bunny Paper Plate Craft
With Easter coming up, it’s time to start thinking about fun Easter crafts that you can do with your kids. This Easter bunny paper plate craft is a great way to get started! It’s easy to make and your kids will love seeing the finished product. Plus, it’s something that they can keep for years…
-
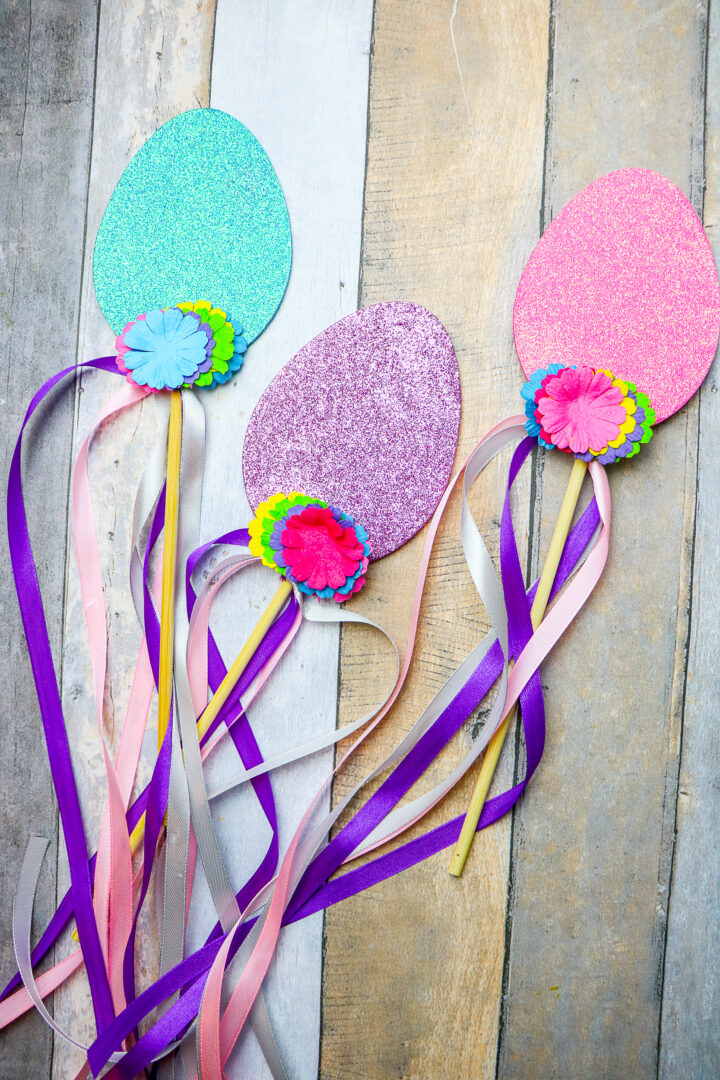
Easter Egg Ribbon Wands
Easter Egg Ribbon Wands are a fun and festive way to bring color and life to your Easter celebrations! Made with colorful ribbons, Easter eggs, and sticks, these wands can be used as decorations or an activity for children. They are simple to make yet look beautiful when completed. To create your own Easter egg…