-
Autumn Coloring Pages
The cooler months are approaching! Print and have the kids color these Autumn Coloring Pages to enjoy this season. Hey moms! Are you looking for a fun way to spend some time with your kids this fall? We’ve gotten a lot of requests for printable autumn coloring pages. You might also like: Fall Coloring Pages…
-
Paper Snowflakes
Do you want to learn how to make Paper Snowflakes? Learn the simple way with these easy to follow paper snowflake printables! Let’s face it, making paper snowflakes can be a bit complicated. Folding the paper and making the necessary cuts in the paper to create the best snowflake can be tricky, especially for little…
-
11+ Printable Nightmare Before Christmas Pumpkin Stencils
If you love The Nightmare Before Christmas, you’ll have a blast decorating this Halloween with these Nightmare Before Christmas Printable Pumpkin Stencils! Perfect for fans of Jack Skellington, Sally, Zero the Ghost Dog, and Oogie Boogie, these printables make it easy to bring your favorite spooky-yet-sweet movie characters to life on your pumpkins. Nightmare Before…

-
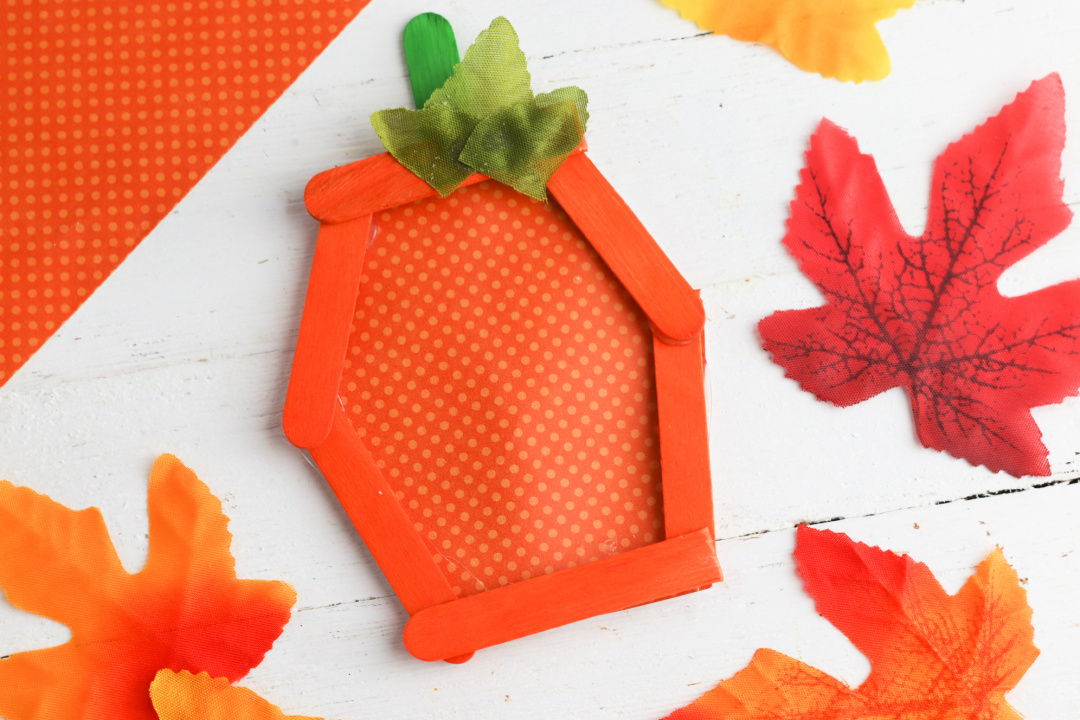
Pumpkin Activities for Preschool
Are you looking for Pumpkin Activities for Preschool students? We have quite the collection here of pumpkin activity ideas to share with you! Do you ever feel like all the things on your to-do list are never completed? Well, it’s time for a pumpkin break! This blog post has some great pumpkin activities that will…
-
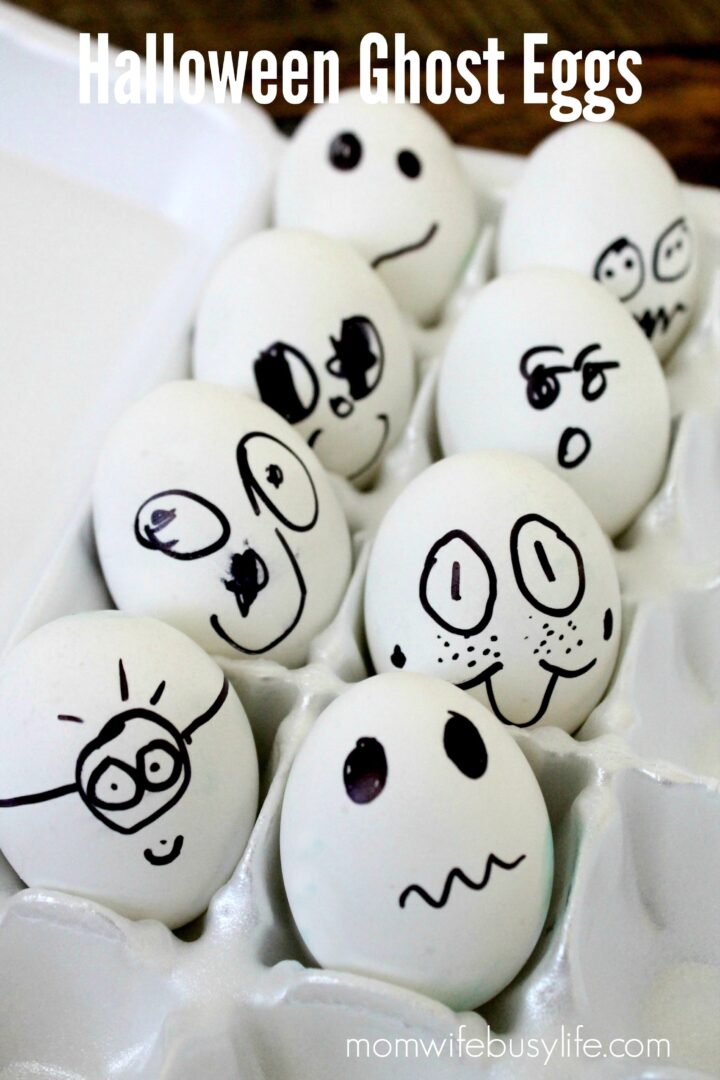
Halloween Ghost Eggs
I was cleaning out our refrigerator recently and noticed that I had some eggs in there that were past the expiration date by a few days. Being the paranoid mom that I am, I decided that it was best to toss these eggs to be on the safe side. Before throwing them out, I had…
-
Vampire Blood in a Bottle for Halloween
My girls love creating things out of recyclables. I enjoy seeing what they create with ‘trash.’ For Halloween this year, they decided to make Vampire Blood in a Bottle. These cute little vampire bottles are an easy Halloween craft that costs very little. Vampire Blood in a Bottle for Halloween Supplies: empty plastic water bottles…
-
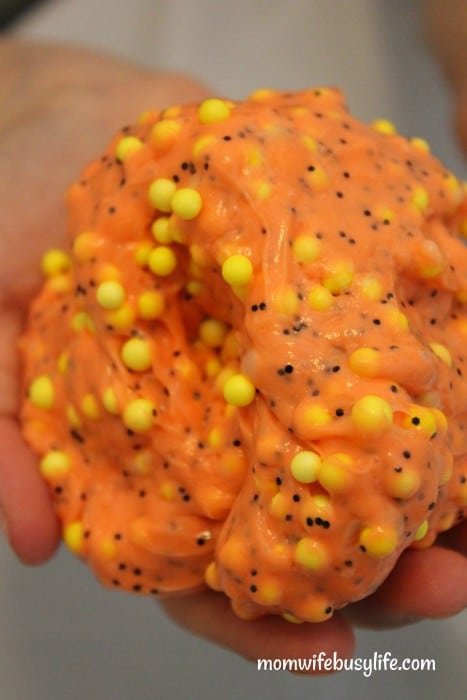
Halloween Floam Slime Recipe (Without Borax)
My girls have been begging me to make slime. It’s like a daily thing around here. “Mom, do we have this? Do we have that?” They love watching YouTube videos of kids making slime and always want to try the different recipes and ingredients. Recently, we stumbled upon an easy slime recipe to create that…