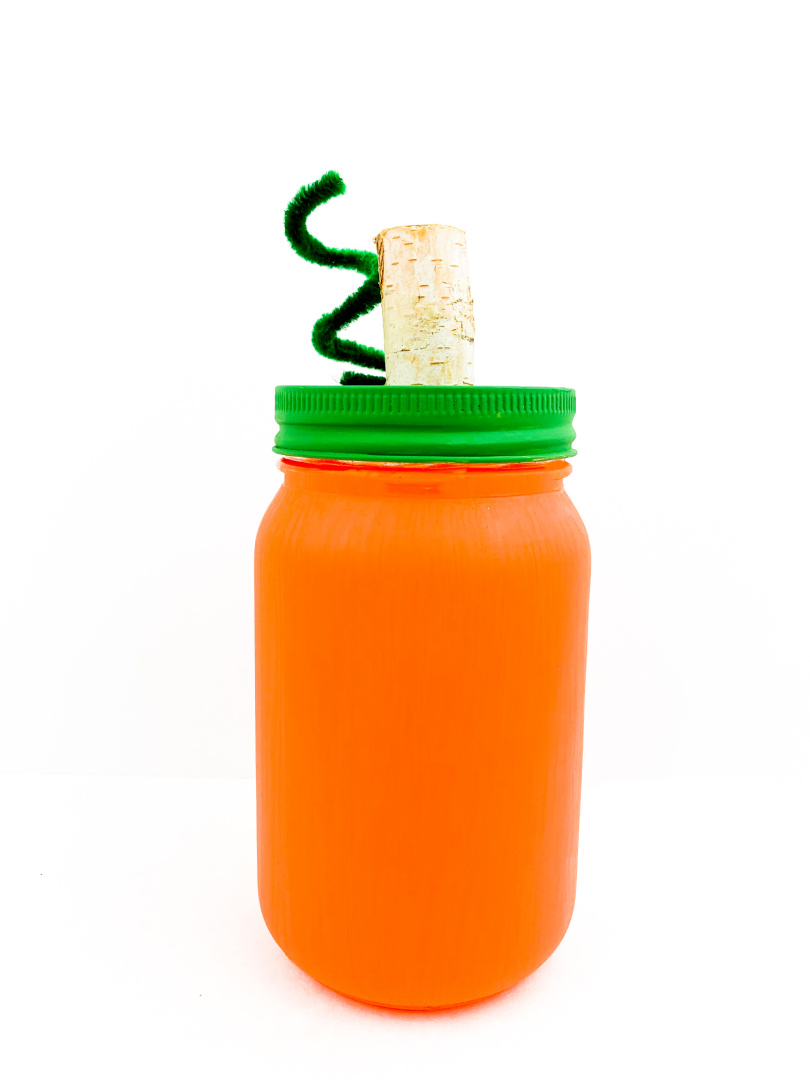
Paint the paper plate orange. Set aside to dry. Once dry, apply another coat if desired. Set aside to dry completely.
Cut a brown stem out of the brown construction paper.
Cut a green leaf out of the green construction paper.
Turn the paper plate over to the back and glue the stem on. Allow to dry.
Turn the paper plate over to the front and glue the leaf next to the stem.
Cut the ribbon into a 4-6 inch piece.
Turn the paper plate to the back and glue the ribbon to the back. Once dry, you can use a strong piece of tape to make sure the ribbon stays secure on the paper plate. Use scissor technique to curl the ribbon.
Decorate oranges with a fun or creepy face! Learn how to create these simple and easy Jack-o-Lantern Oranges!
If you are looking for a fun Halloween activity to do with the kids this fall, create Jack-o-Lantern Oranges! You can set these oranges around as decorations or serve them as a snack this fall season.
Let the kids get creative and have them create a variety of oranges with different Jack-o-Lantern faces! Draw scary faces, funny faces, or silly faces!
Here are a few Jack-o-Lantern face ideas if you need help figuring out what faces to draw on your oranges:
Here are a few books about Jack-o-Lanterns to read to supplement this activity:
Directions:
Using the permanent marker, draw a face on each orange. Be creative and mix it up! Draw different eyes, mouths, and/or noses! You can look up different face patterns online if desired.
If it’s too hard to draw with the permanent marker, try using a paint marker instead.
Here are more options for decorating with pumpkins this fall!
Create this adorable Pine Cone Spider craft for kids using a pine cone, googly eyes, pipe cleaners, and craft paint!
The next time you head out with the kids for a nature walk, consider searching for and gathering pine cones to make a variety of pine cone crafts this year! Pine cone crafts are super fun and simple to make. Turn them into animals, bird feeders, and so much more!
With the fall season approaching, I wanted to create a spider pine cone craft to display this year with our other fall DIY decorations we’ve made over the last few years.
Before creating pine cone crafts, it’s best to prepare the pine cones by rinsing them off, allowing them to dry, and then baking the pine cones in the oven at 200 degrees Fahrenheit for at least 30 minutes. This helps to rid the pine cones of excess dirt or bugs before crafting. When preparing this pine cone, I did find some webbing inside that I cleaned our before painting!
Set up your work space for painting. I painted my pine cone with a paper plate underneath to catch the spills or messes.
Paint the entire pine cone black. Set aside to dry.
Gather the pipe cleaners together. Twist them around in the center so that they are stay together.
Insert the pipe cleaners (legs of the spider) into the grooves of the pine cone. Pull the legs down to the side to touch the surface and separate if needed.
For this craft, we used the bottom of the pine cone for the face of the spider. This will give you plenty of room to assemble the spider eyes.
Using your hot glue gun, place a small dot of glue behind each googly eye and stick the eyes onto the spiders face in desired pattern.
We hope you enjoy creating this Pine Cone Spider this year! While you are here, check out these great books about spiders below!
Here are more fun spider decorations to decorate with this fall season:
Kids love to paint! This mess-free Pumpkin Painting in a Bag Craft for kids is a great way to finger paint without all of the mess. This is a great fall activity!
Pumpkin Painting in a Bag Craft
Supplies:
Tempera Paint
Gallon zip top freezer bag
Masking tape
Cardstock
Scissors
Template
Directions:
Trace template of your choosing over cardstock and cut out the design.
Squeeze paint into the plastic bag. Release all the air from the bag and seal.
Choose whether to tape the plastic bag to the table OR to the cardstock. If you are taping the plastic bag to the table, tape the cardstock over the plastic bag.
Instruct children to move the paint around the bag to fill the open space in the cardstock.
Pumpkin Painting in a Bag Craft
Materials
Tempera Paint
Gallon zip top freezer bag
Masking tape
Cardstock
Scissors
Template
Instructions
Trace template of your choosing over cardstock and cut out the design.
Squeeze paint into the plastic bag. Release all the air from the bag and seal.
Choose whether to tape the plastic bag to the table OR to the cardstock. If you are taping the plastic bag to the table, tape the cardstock over the plastic bag.
Instruct children to move the paint around the bag to fill the open space in the cardstock.
Healthier Option: Air fryers work by circulating hot air around the food, giving it a crispy outer layer without immersing it in oil. This means fewer calories and less fat without compromising taste. Pumpkin pop tarts cooked in an air fryer are a comparatively guilt-free snack!
Quick and Easy: For all the busy moms out there juggling a million tasks at once, air fryers are a lifesaver. You’ll be surprised at how quickly these pop tarts cook up, leaving you more time to help with Halloween costumes or simply relax with a cup of tea.
Perfectly Crispy Every Time: One of the challenges of making pop tarts is getting that perfectly crispy crust. The air fryer guarantees this result every single time.
Busy Moms, Here’s Why You Need These Pumpkin Pop Tarts in Your Life
Festive Fun: Halloween is all about spooky delights, and these pumpkin pop tarts tick all the boxes. Their Halloween-themed appearance will get the kids excited and can even be a fun activity to prepare together.
Nutritional Value: Pumpkin is a fall superfood. It’s packed with vitamins, minerals, antioxidants, and fiber. When you fill these pop tarts with pumpkin puree, you’re giving your kids a delicious treat that’s also beneficial for them.
Less Mess: Traditional baking can leave you with a kitchen that looks like a tornado hit it. With the air fryer, the cleanup process is minimal, making the whole cooking process less daunting.
Flexibility: These pop tarts can be customized easily. If your child isn’t a fan of pumpkin, switch up the filling. The basic recipe remains the same, allowing for various fillings to suit everyone’s tastes.
Halloween is a time for indulgence, creativity, and family fun.
With these Air Fryer Halloween Pumpkin Pop Tarts, you can create memories, serve up a delicious treat, and even sneak in some nutrition.
Busy moms, this recipe is an answer to your Halloween culinary dilemmas: less mess, more fun, and a treat everyone will love.
This year, make your Halloween a little crispier, a little healthier, and a whole lot tastier!
Remember, cooking should be an enjoyable experience.
So, get your little ghouls and goblins involved, play around with shapes and fillings, and have a spook-tacular time in the kitchen this Halloween season! 🎃👻🍂
While pumpkin offers a classic fall flavor, feel free to get creative. Apple cinnamon, cherry, or even chocolate fillings would all be delicious alternatives. Just ensure the filling isn’t too runny to prevent leaks.
Do I need to use an egg wash? What if I have egg allergies?
The egg wash provides a shiny, golden finish to the pop tarts. However, if you have egg allergies or prefer not to use it, you can brush the pop tarts with a bit of milk or even leave them plain. They’ll still turn out crispy and tasty.
My air fryer is small. Can I stack the pop tarts on top of each other?
It’s best not to stack them. Stacking can prevent even cooking and might result in some pop tarts not crisping up properly. Cook them in batches if necessary.
How do I store leftover pop tarts?
Store any leftover pop tarts in an airtight container at room temperature. They should stay fresh for 2-3 days. If you want to keep them longer, consider freezing them and reheating in the air fryer when ready to eat.
Can I make these pop tarts in advance?
Yes, you can prepare the pop tarts ahead of time and store them uncooked in the refrigerator for a day or two. When you’re ready to serve them, just pop them in the air fryer. No need to thaw or bring them to room temperature.
Do I need to use Halloween-themed cookie cutters?
While Halloween-themed cutters add to the festive spirit, they aren’t mandatory. You can use a simple round cutter, square, or even just cut rectangles with a knife. It’s all about the delicious filling inside!
My kids aren’t fond of pumpkin spice. Can I exclude it?
Definitely! The pumpkin pie spice adds a certain warmth to the filling, but if your kids or any family members aren’t fans, feel free to exclude it or replace it with a pinch of cinnamon or nutmeg.
Is there a vegan version of this recipe?
Yes, you can easily veganize this recipe. Use a vegan pie crust, substitute the egg wash with non-dairy milk or a mix of maple syrup and water, and ensure any decorations or fillings are vegan-friendly.
Remember, the beauty of homemade treats like these pop tarts is the flexibility they offer.
You’re in control of the ingredients and can adjust to suit your family’s preferences.
This website uses cookies to improve your experience. We'll assume you're ok with this, but you can opt-out if you wish.AcceptRejectRead More
Privacy & Cookies Policy
Privacy Overview
This website uses cookies to improve your experience while you navigate through the website. Out of these, the cookies that are categorized as necessary are stored on your browser as they are essential for the working of basic functionalities of the website. We also use third-party cookies that help us analyze and understand how you use this website. These cookies will be stored in your browser only with your consent. You also have the option to opt-out of these cookies. But opting out of some of these cookies may affect your browsing experience.
Necessary cookies are absolutely essential for the website to function properly. This category only includes cookies that ensures basic functionalities and security features of the website. These cookies do not store any personal information.
Any cookies that may not be particularly necessary for the website to function and is used specifically to collect user personal data via analytics, ads, other embedded contents are termed as non-necessary cookies. It is mandatory to procure user consent prior to running these cookies on your website.