-
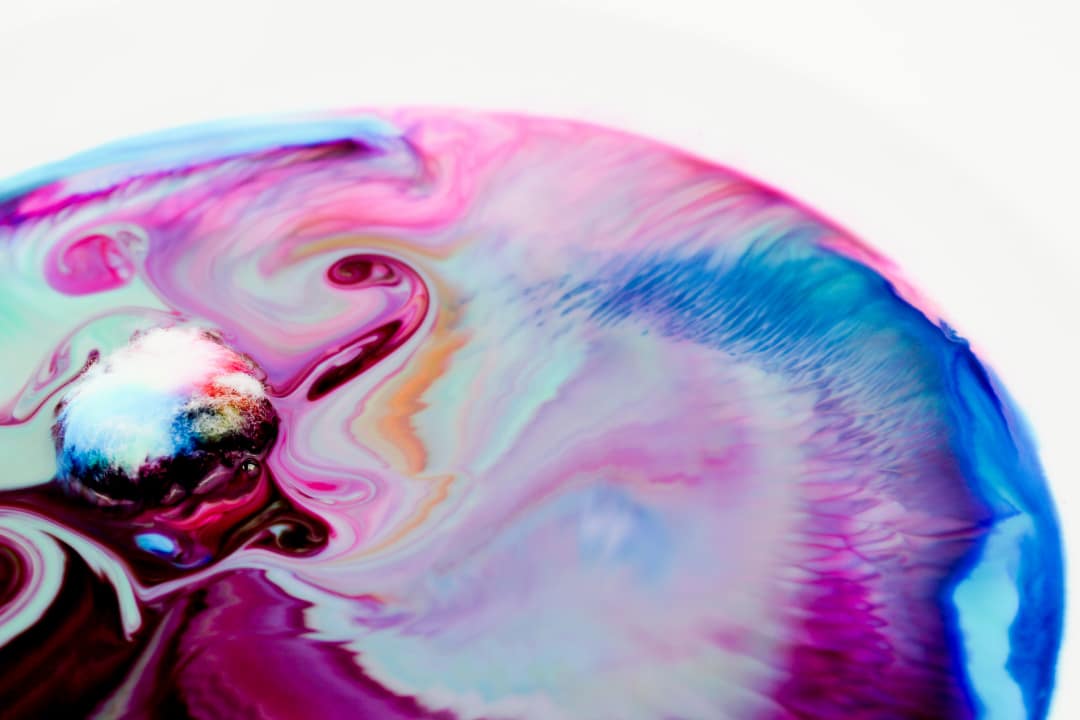
Magic Milk Science Experiment
This Magic Milk Science Experiment is so neat to watch! We are surprised with the color changes and designs every time we complete this activity. This Magic Milk Science experiment never gets old! This experiment is fun and easy to set up experiment for the kids. Watch our videos below to see this experiment and…
-
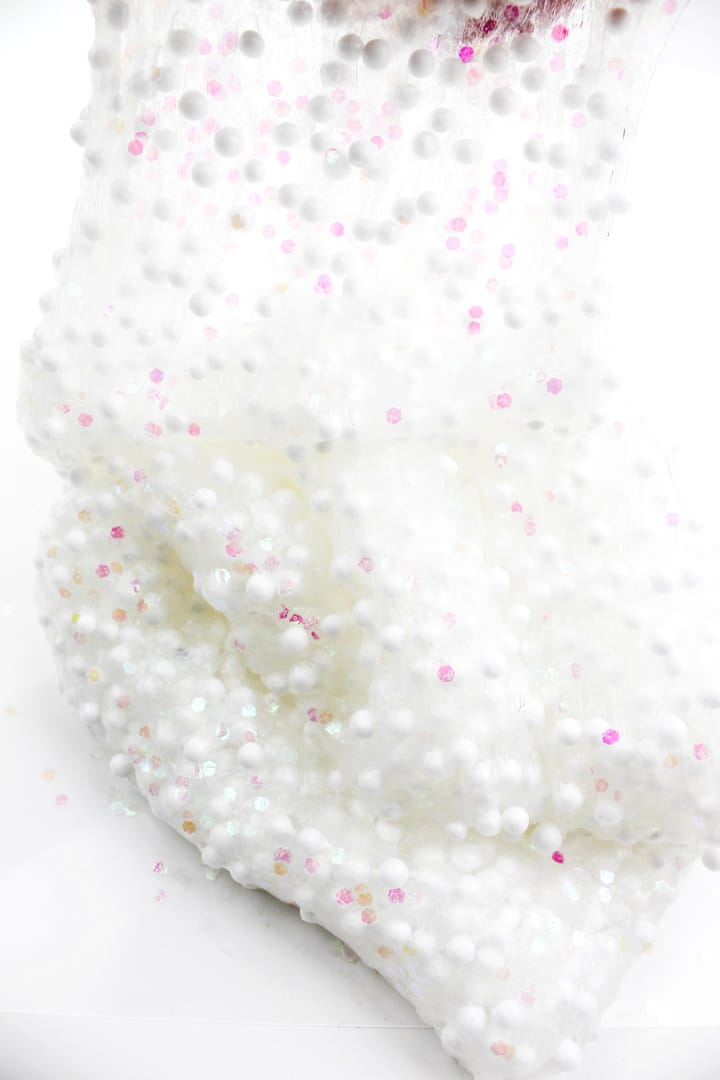
How to Make Floam Slime
Learn how to make floam slime with this easy to follow recipe! Add glitter to make it a little extra! Does your child love making slime? If so, this floam slime recipe is definitely worth adding to your list of slime recipes! My girls enjoy creating a variety of slime recipes. Their favorite part about…
-
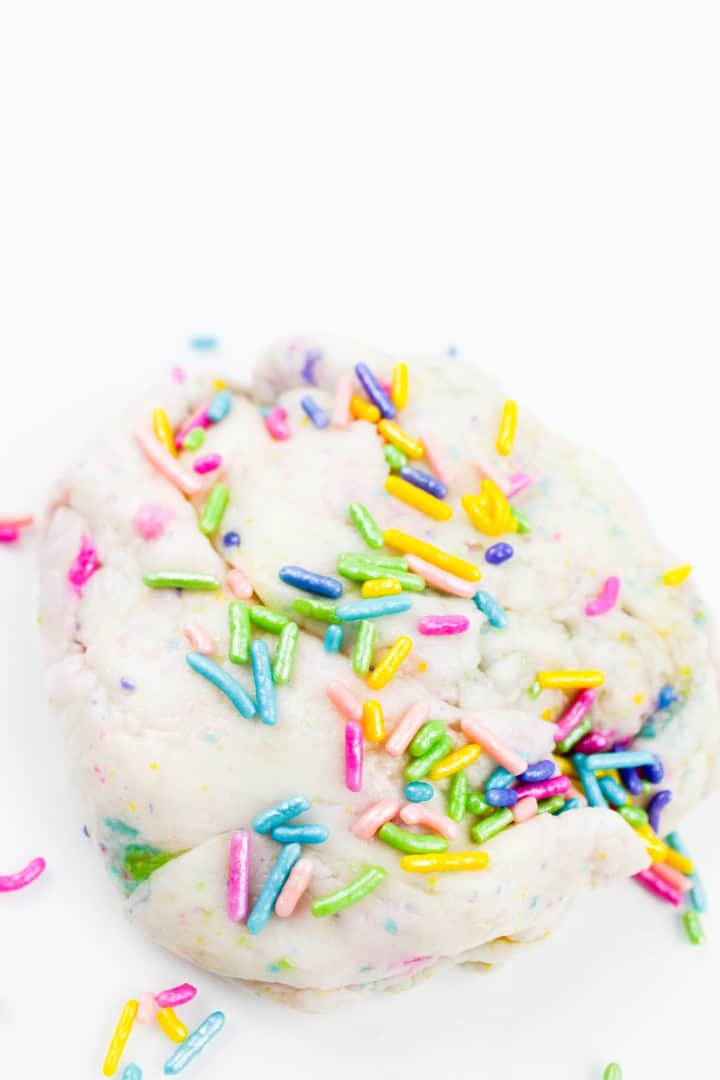
How to Make Edible Marshmallow Play Dough
A play dough recipe you can eat?! I’ll have some of that! There are a variety of ways to make play dough. Our favorites include marbled play dough and silky cloud dough. The best part about creating your own play dough recipes is that you can get as creative as you want! You can experiment…
-
How to Make Cloud Dough
Learn how to make How to Make Cloud Dough with this easy to follow step-by-step photo tutorial below! Cloud dough has become one of our favorite recipes to make! One of the reasons why we love cloud dough so much is because it’s super easy to make and requires very few ingredients. The other reason…

-
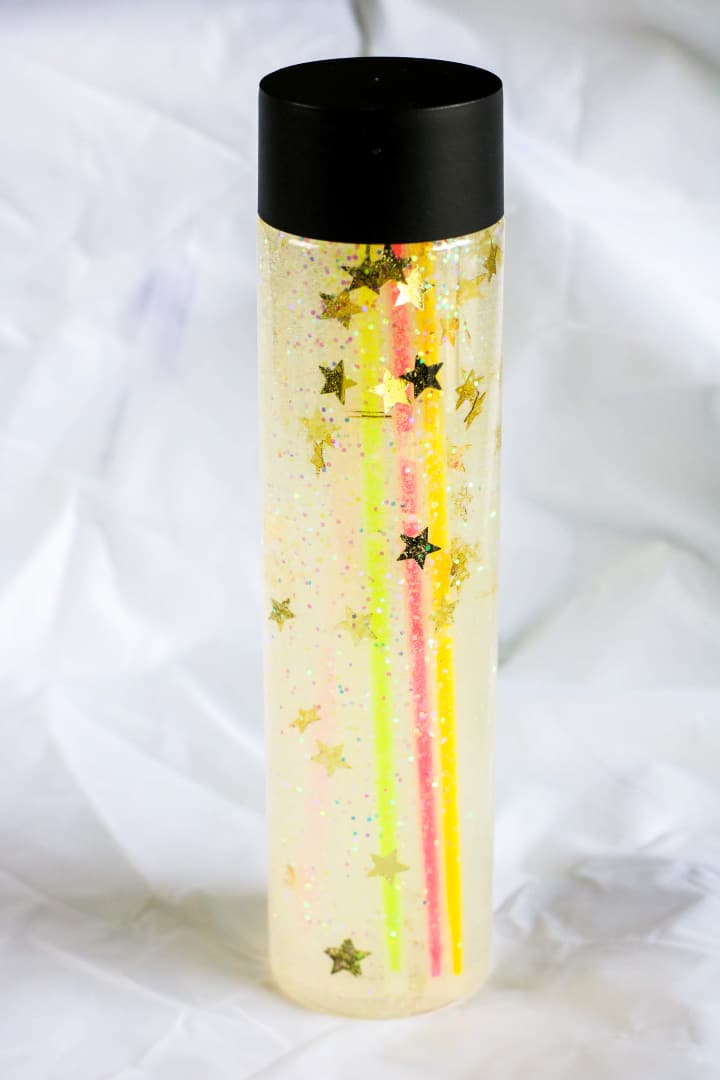
Glow in the Dark Sensory Bottle
This glow in the dark sensory bottle is entertaining for children! Learn how to create your own bottle today! Sensory bottles are a great way for kids to use their senses to make sense of the world around them. Sensory bottles are containers filled with a variety of materials for non-messy play! Get as creative…
-
Fun Activities for Parents and Teens to Do Together
Are you looking for fun activities for parents and teens to do together? Summer is a great time to reconnect to your teen. But many parents wrongly assume that teens would rather spend time doing just about anything else than hanging with their parents. Not true! They may act like that, but in reality they…
-
Games for Tween Girls to Play
Need fun ideas for tween girls? Here are ideas for games for tween girls to play! Whether the event is a sleepover, a birthday party or an afternoon playdate, girls love to play games. Board games or outdoor relays are always fun, but to really get the girls giggling, concentrate on offering up the materials…