-
10 Things You’ll Need for Toddler Paint Time
Painting is one of our favorite activities at my house. My girls love when I get the paint out! In fact, I have a tote devoted to paint supplies that I keep in a closet and pull out on a regular basis. It’s filled with bottles of paint, paint brushes, paint paper, and other paint supplies. My…
-
How to Throw a Princess Tea Party
Hosting a tea party is a fun and easy way to show your friends and family you care. And, what could be more enchanting than throwing a princess tea party? Here are some tips on how to make your next get-together one fit for royalty. By following these simple steps, you can create an unforgettable…
-
Unicorn Candy Machine
Learn how to make this adorable Unicorn Candy Machine! This simple craft is fun to make. Create yours today and place your child’s favorite candy inside! I love getting my daughters involved in crafting and putting their imaginations to work. When I told my girls we were going to be making faux candy “machines” my…

-
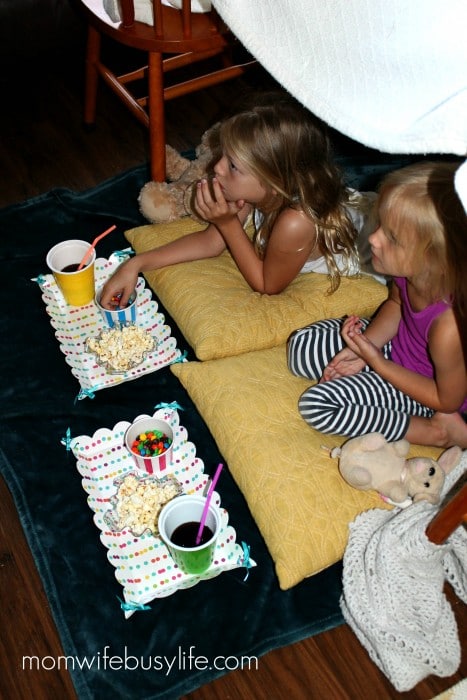
How to Plan a Family Movie Night
This has been one exciting summer so far. To save money this summer, we are skipping the costly day camps and planning activities of our own. We swim in our neighborhood pool almost daily, visit the children’s library around the corner, go bowling, skating, and take advantage of cheaper entertainment. My husband and I have been…
-
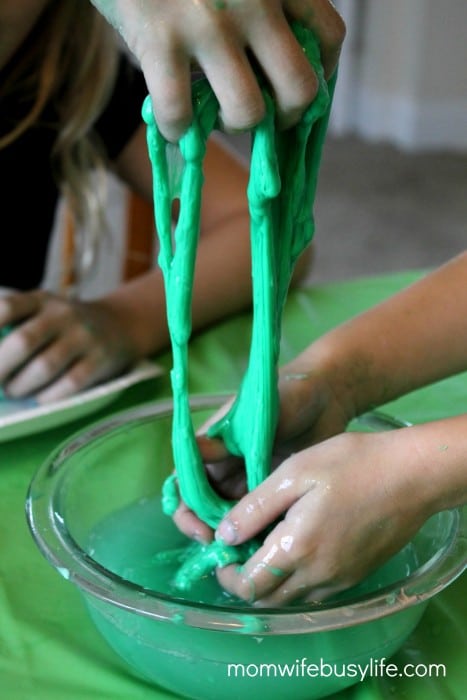
How to Make Green Slime
With St. Patrick’s Day around the corner, green slime is the perfect activity to make with the kids! My girls look forward to making slime! We make slime often. This slime recipe is pretty easy. You can always add fun textured beads, glitter, or gold sequins to the mix to make it more fun! How to…
-
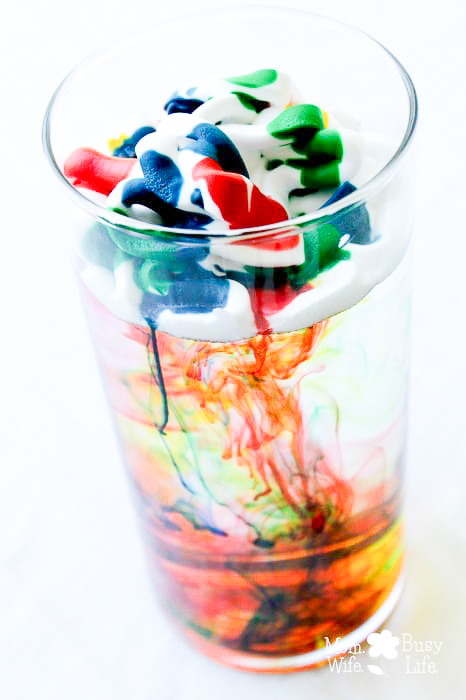
How to Make Shaving Cream Rain
How to Make Shaving Cream Rain – a science experiment With the spring and summer approaching, you can be sure I’ve stocked up on a few basic household craft items to keep my kids entertained during the breaks! I love to find fun activities for the girls to do that don’t require too many ingredients…
-
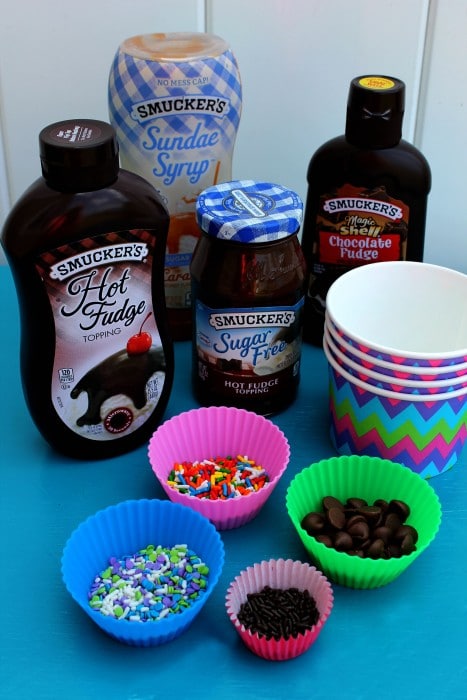
Sundae Fundae Ice Cream
Treat the kids to a Sundae Fundae Ice Cream party! This is such a simple set up that you can do at home during the summer or at an event like a birthday party. The beginning of summer is approaching quickly. When I think of summer, I think of swimming, backyard BBQs, and plenty of…