Cute Cat Pumpkin Stencil Printable Ideas for the Halloween Season!
The spooky season is upon us, and what better way to immerse yourself in the Halloween spirit than with some adorable cat pumpkin carving!
If you’re a cat lover (like so many of us are), you’ll find that incorporating your favorite fur friends into your Halloween decor is a great way to show off your feline affection.
100+ Printable Pumpkin Stencils
For busy moms who don’t have the time or perhaps the inclination to design from scratch, the good news is there are numerous printable cat stencils out there.
Whether it’s a digital download or physical products, this article aims to guide you to some of the best pumpkin carving ideas involving our favorite four-legged critters.
Printable Cat Stencils for Pumpkin Carving
The digital age is a marvel, isn’t it? The ease with which we can purchase digital products, like cat stencils, for personal use is simply remarkable.
All you need is a good printer, some pdf files, and voila! Here are some cute designs to consider:
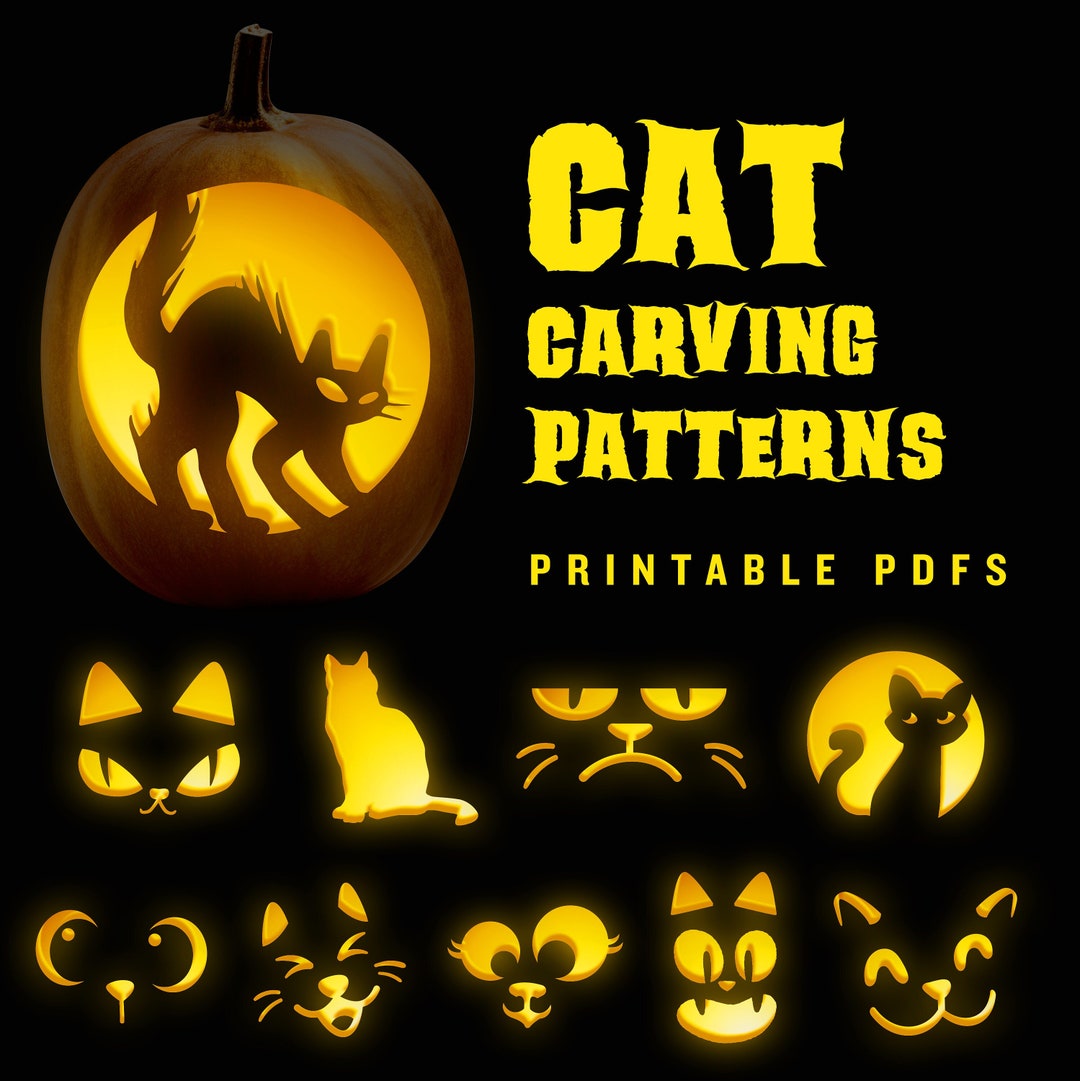
Cat Pumpkin Stencils
Classic Black Cat Design:
A timeless design that brings back memories of black cats crossing our path. It’s relatively simple but can be detailed with almond-shaped eyes and a crescent moon beside it.
Here are a few great options to choose from:
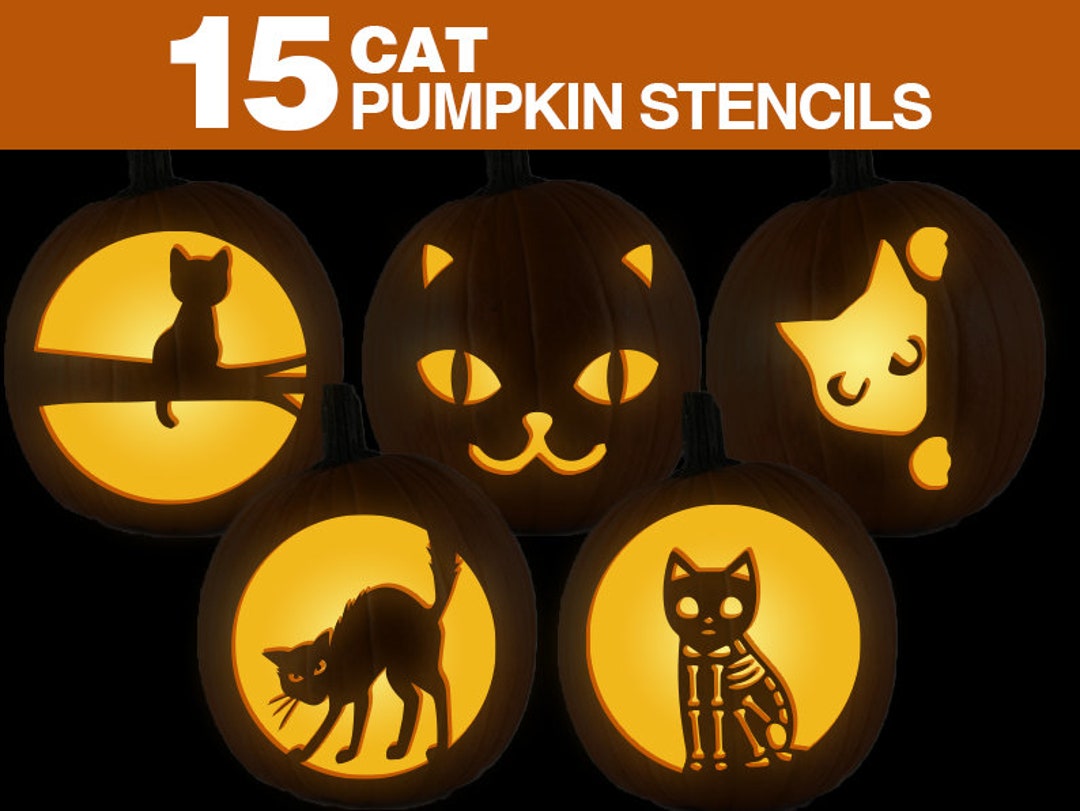
Cat Pumpkin Stencils
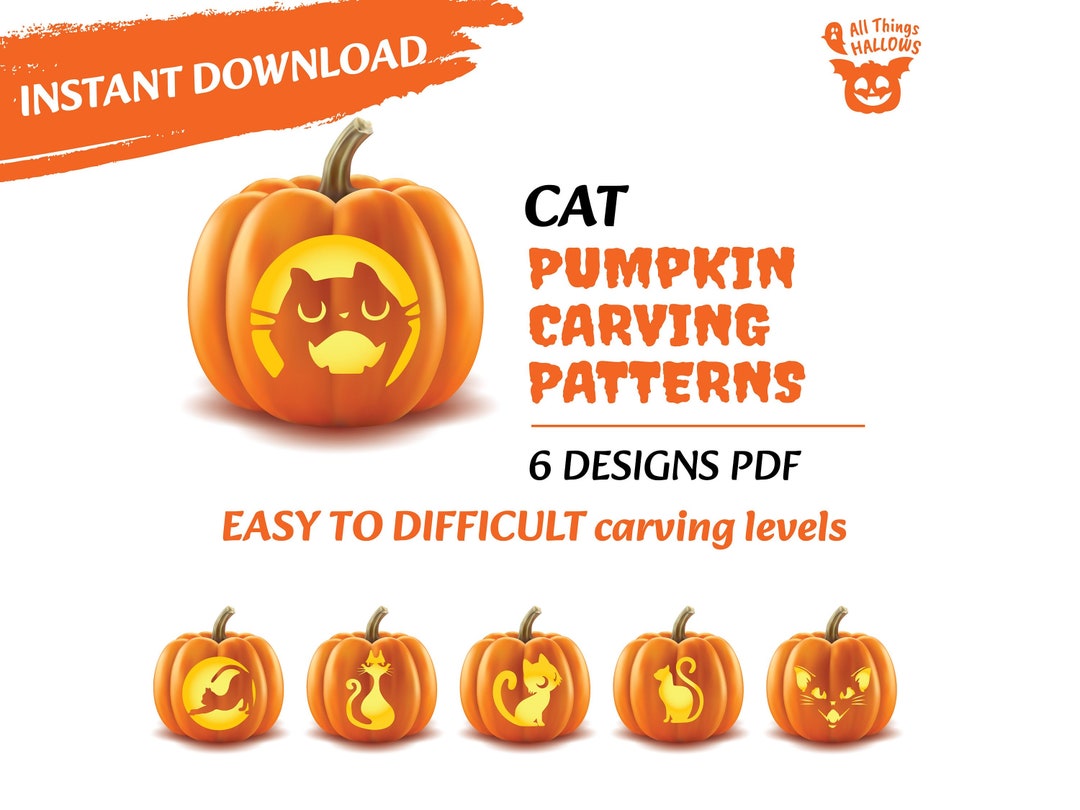
Cat Pumpkin Stencils
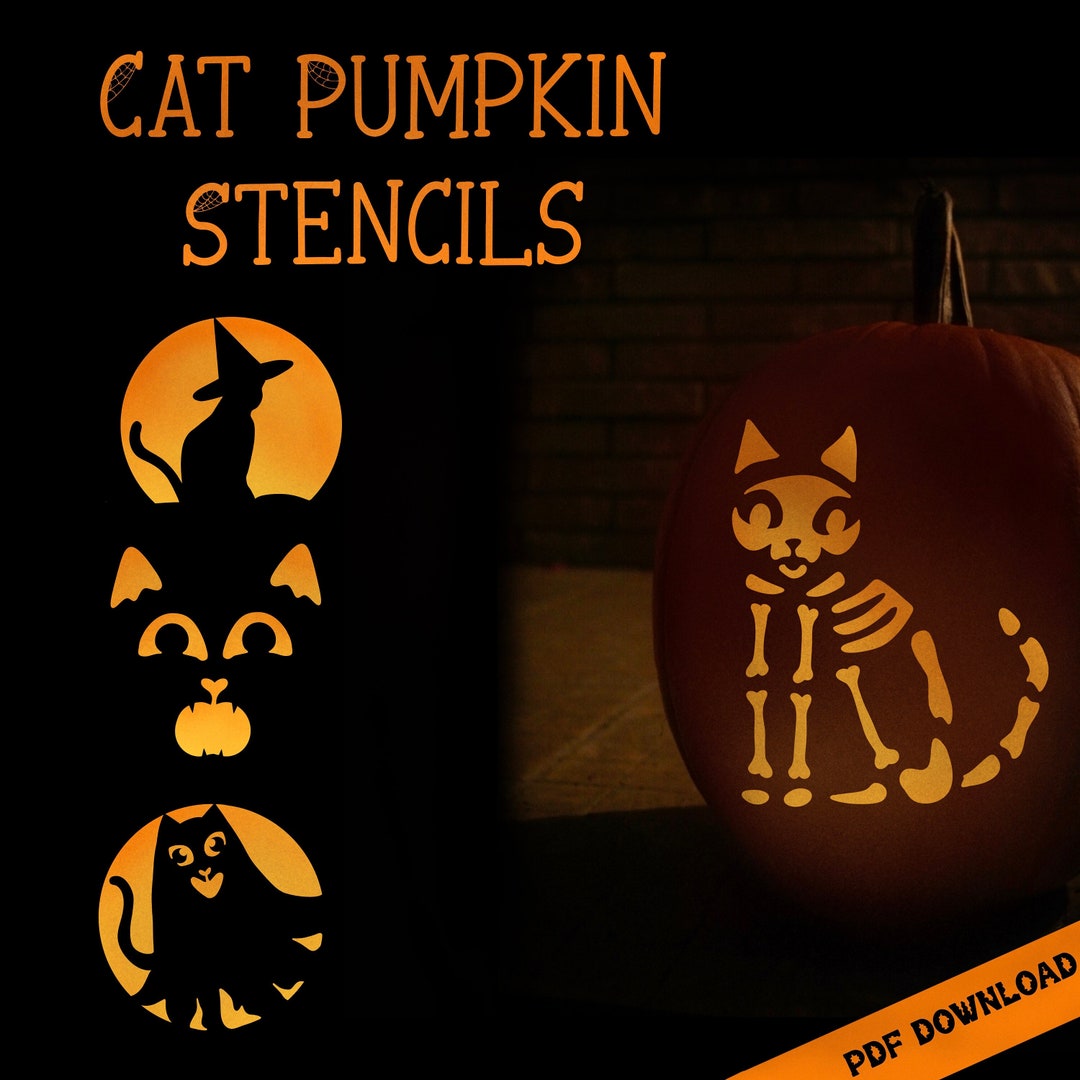
Cat Pumpkin Stencils
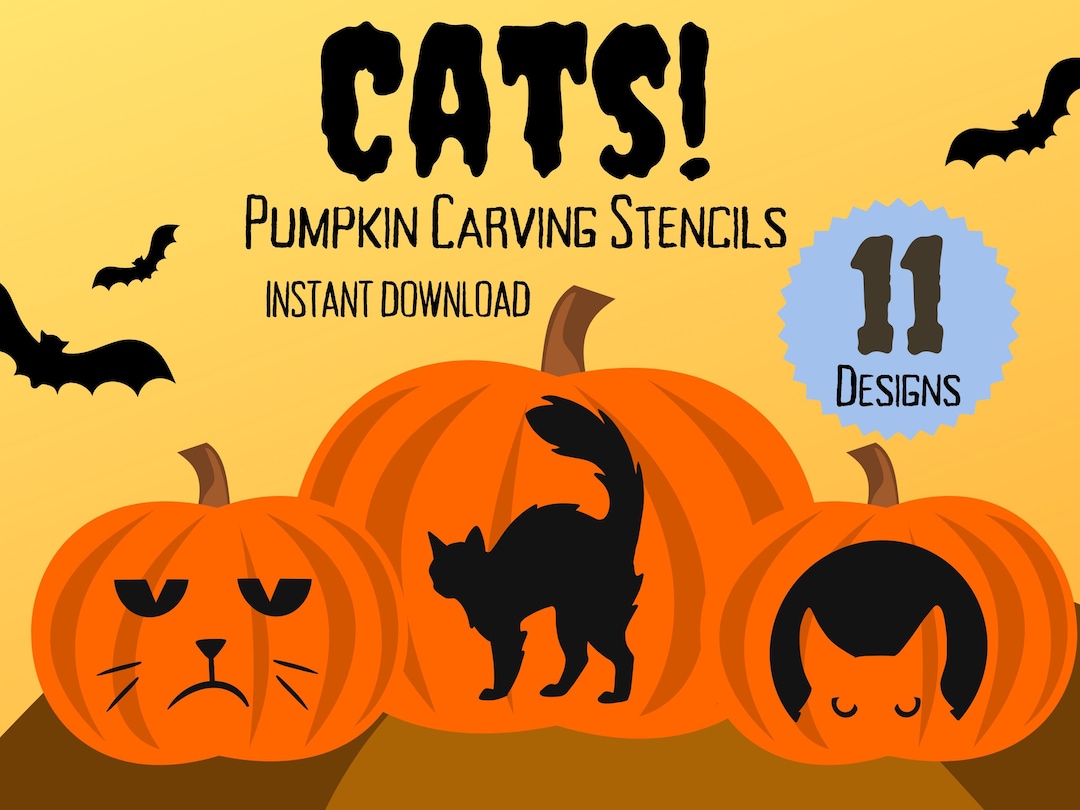
Cat Pumpkin Stencils
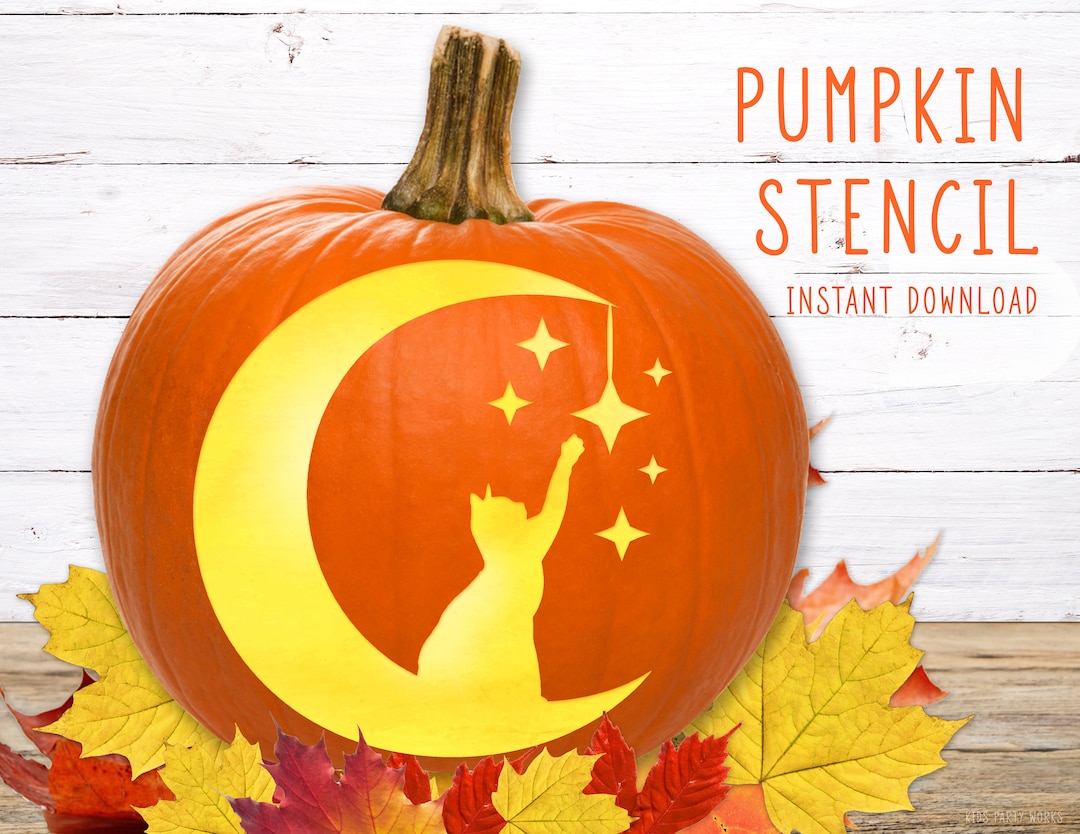
Cat Pumpkin Stencil
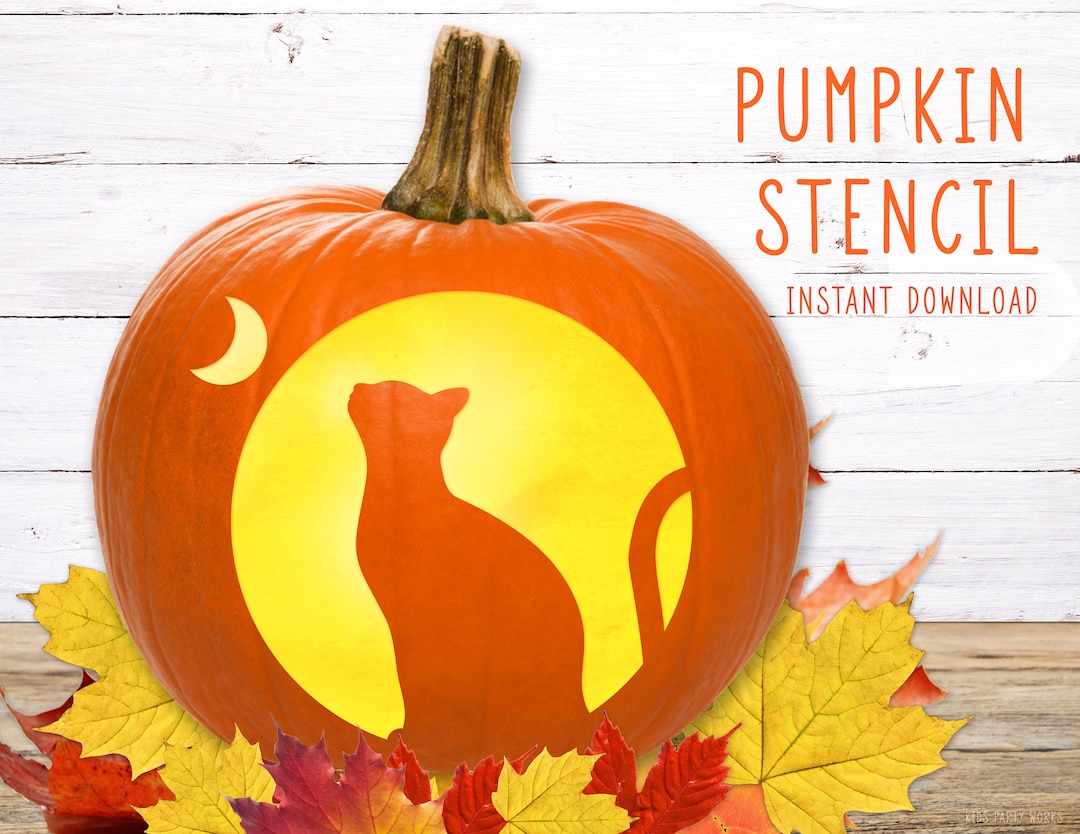
Cat Pumpkin Stencil
Spooky Black Cat Pumpkins:
These are for those looking to add a little more edge to their front porch.
While they still retain a level of cuteness, the sharp, eerie eyes and elongated body make for a spooky sight on Halloween night.
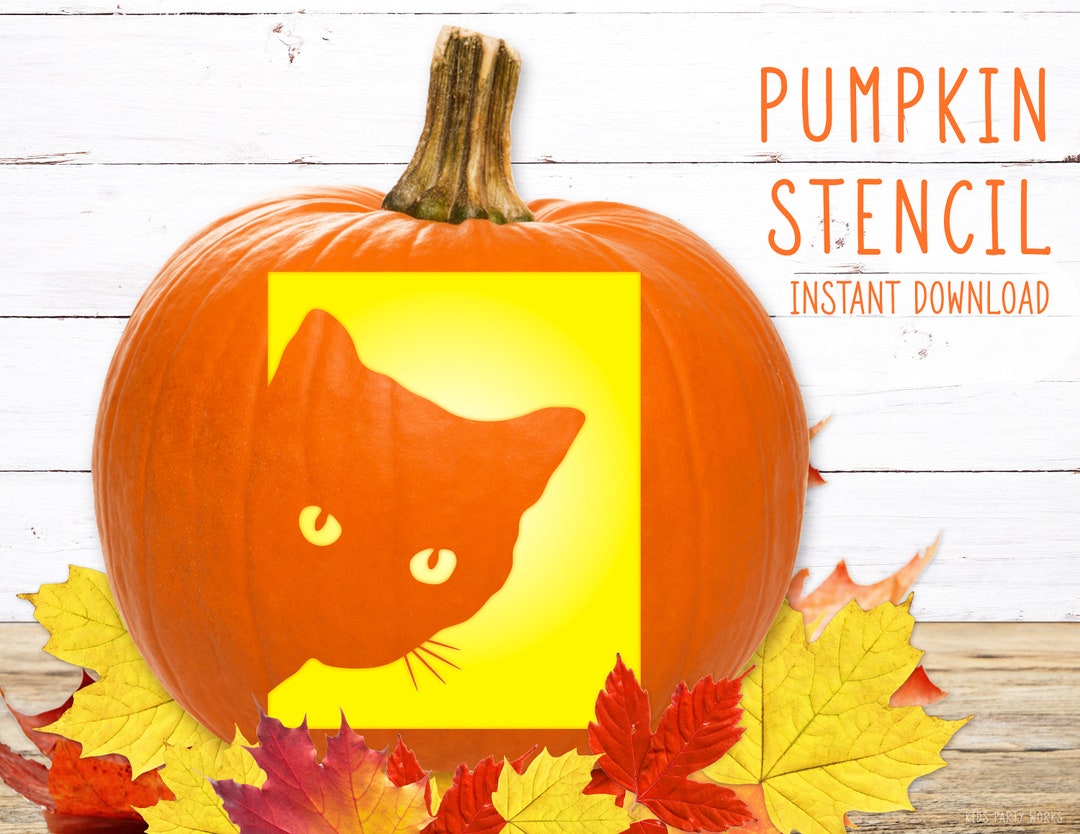
Cat Pumpkin Stencil
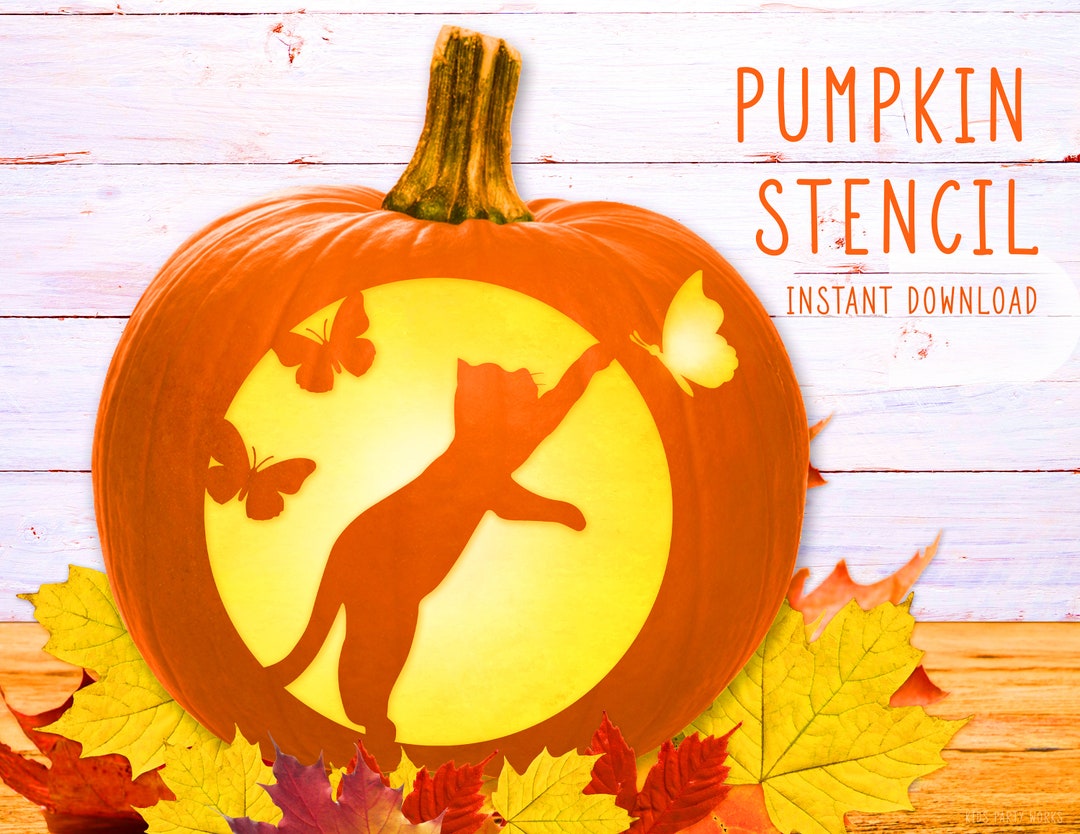
Cat Pumpkin Stencil
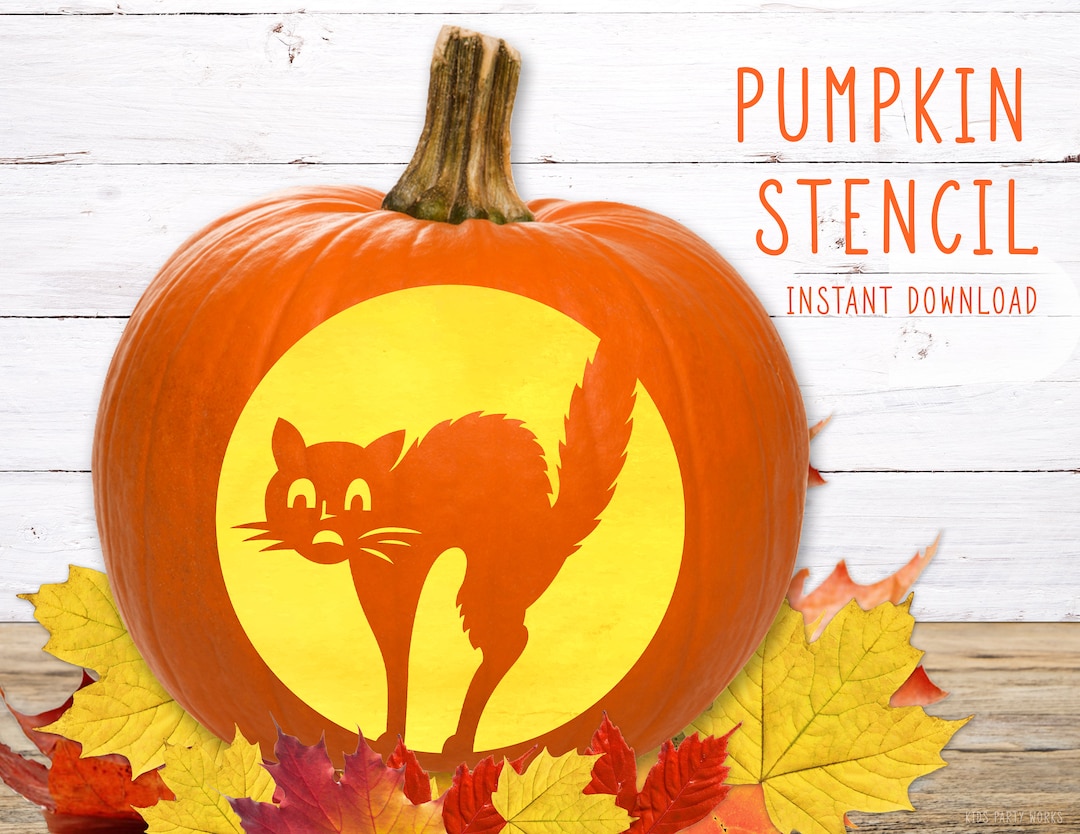
Cat Pumpkin Stencil
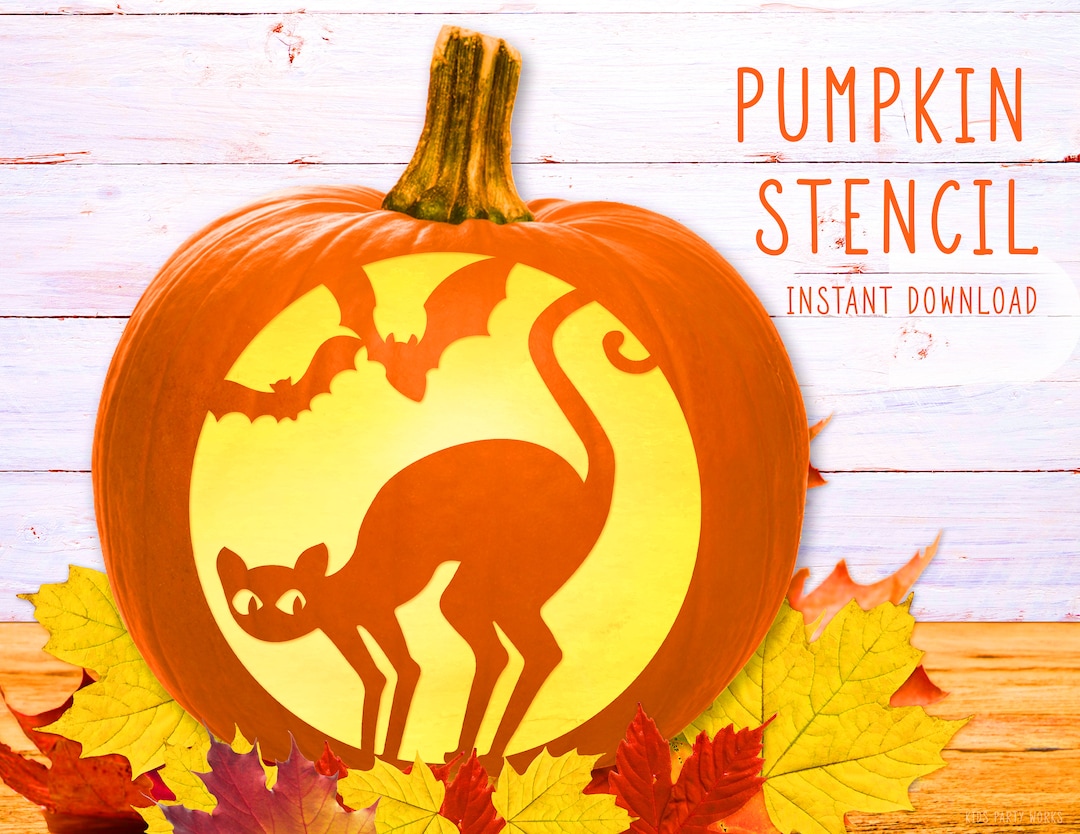
Cat Pumpkin Stencil/a>
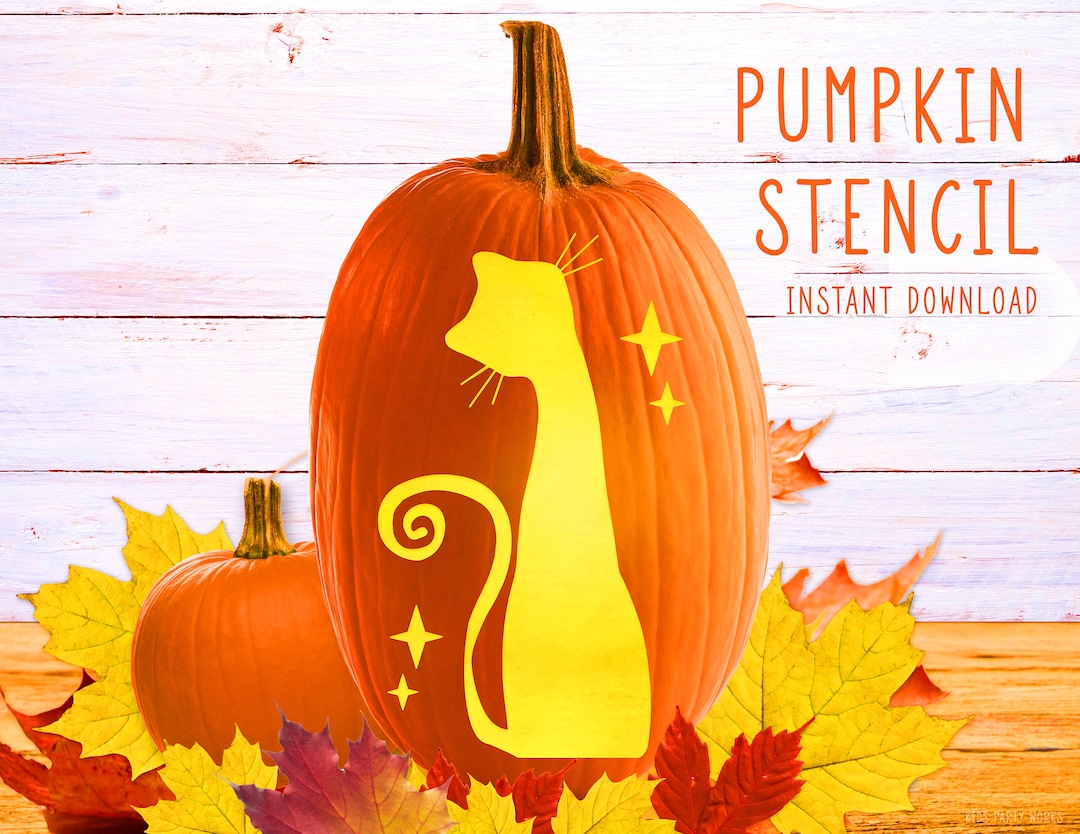
Cat Pumpkin Stencil
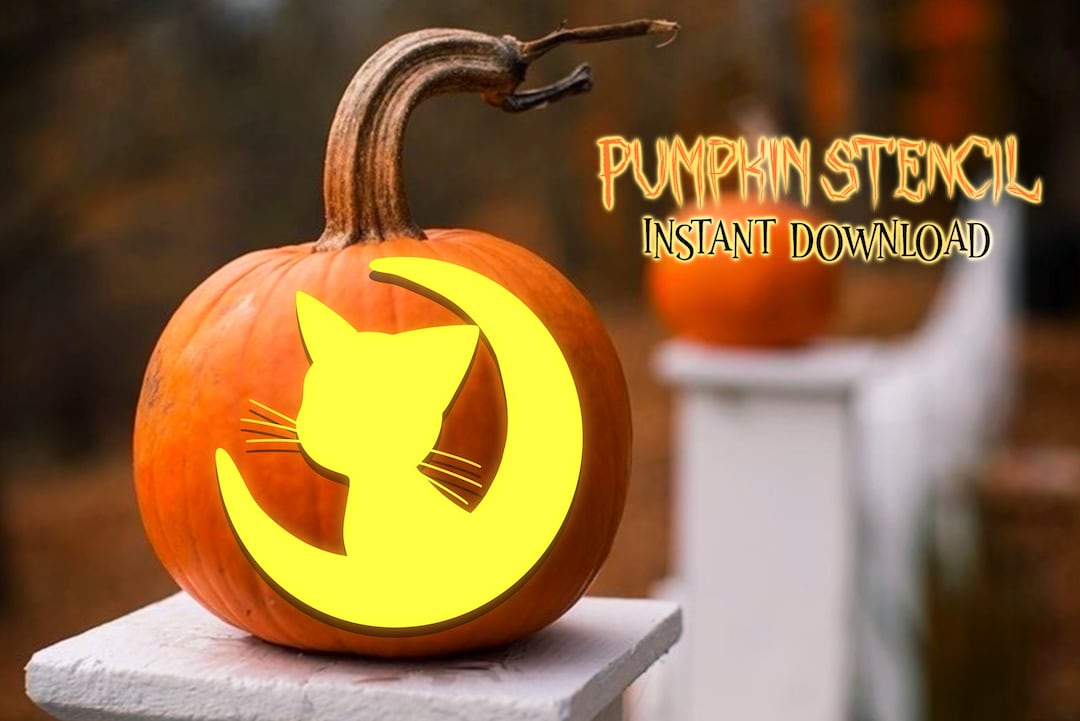
Cat Pumpkin Stencil
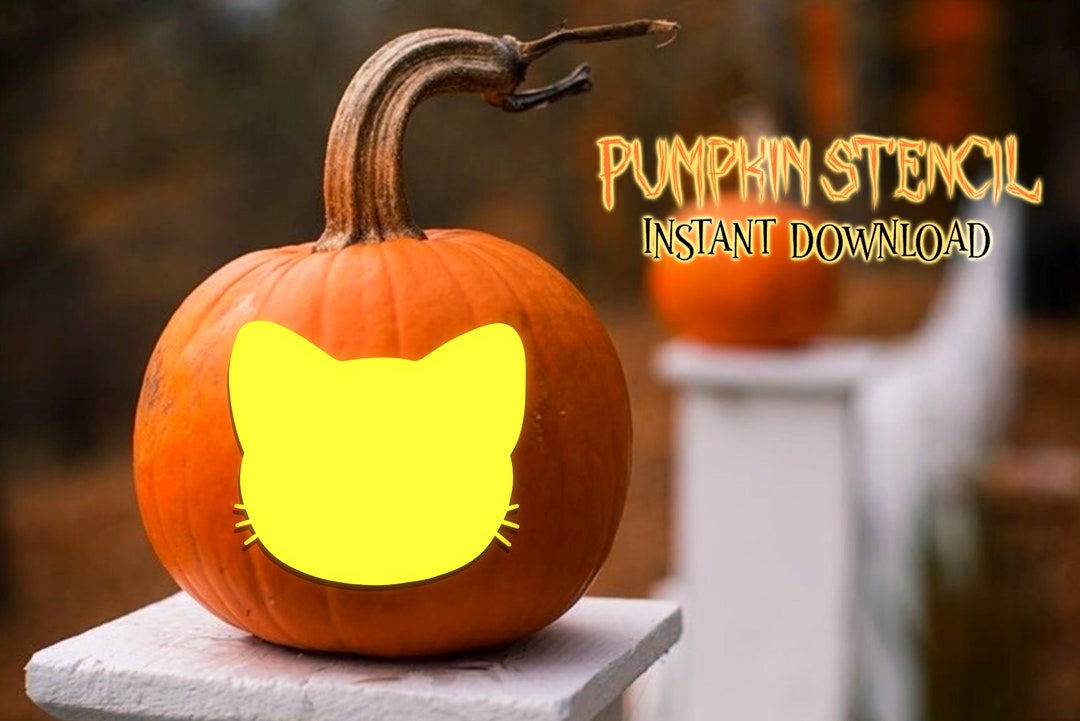
Cat Pumpkin Stencil
Downloading a cat pumpkin design today!

Cat Pumpkin Stencils
Kitty Pumpkin:
This small pumpkin design is perfect for those who prefer a smaller pumpkin. With just the face of the cat, including cute cat ears at the top of the pumpkin, this design is a hit among kids.
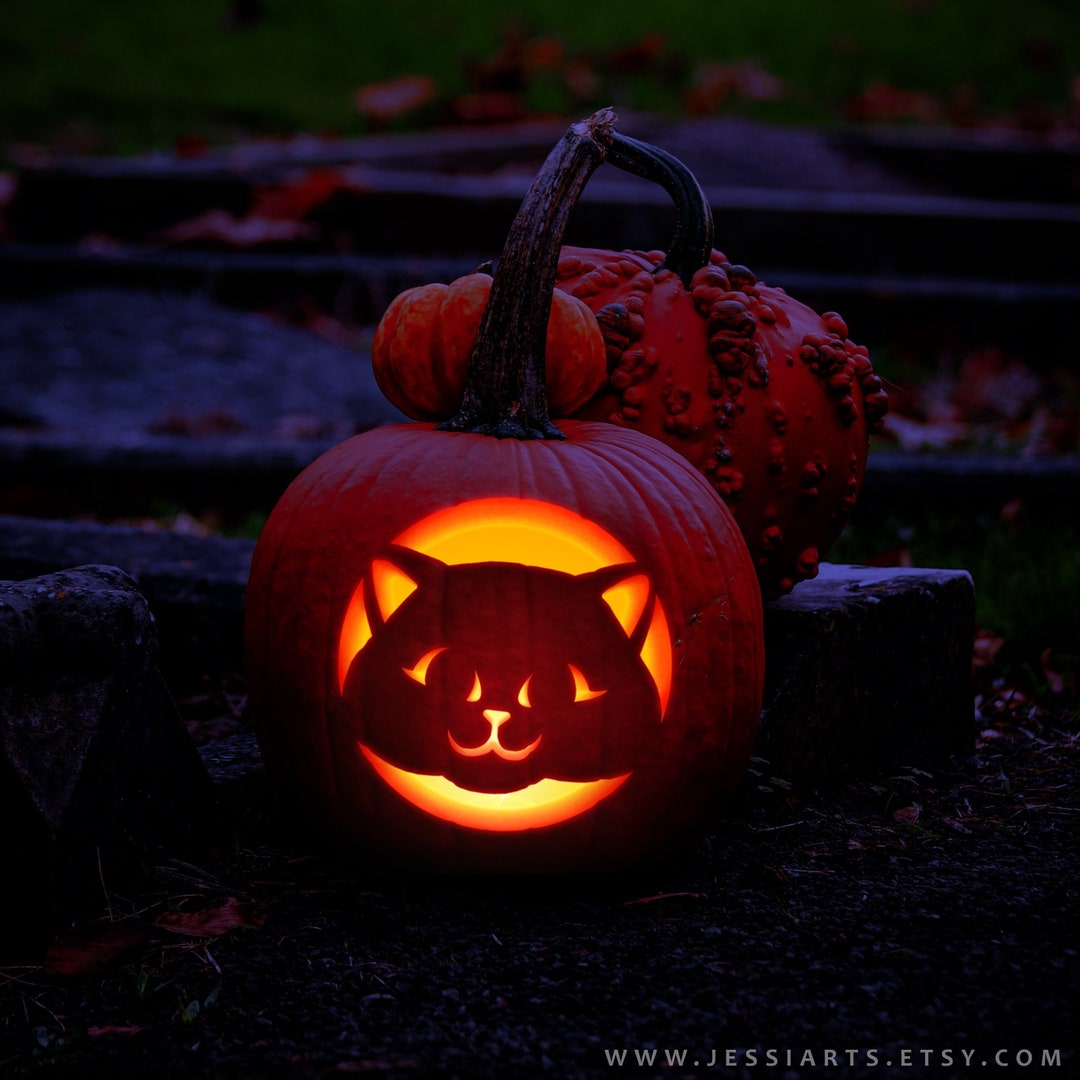
Kitten Halloween Stencil
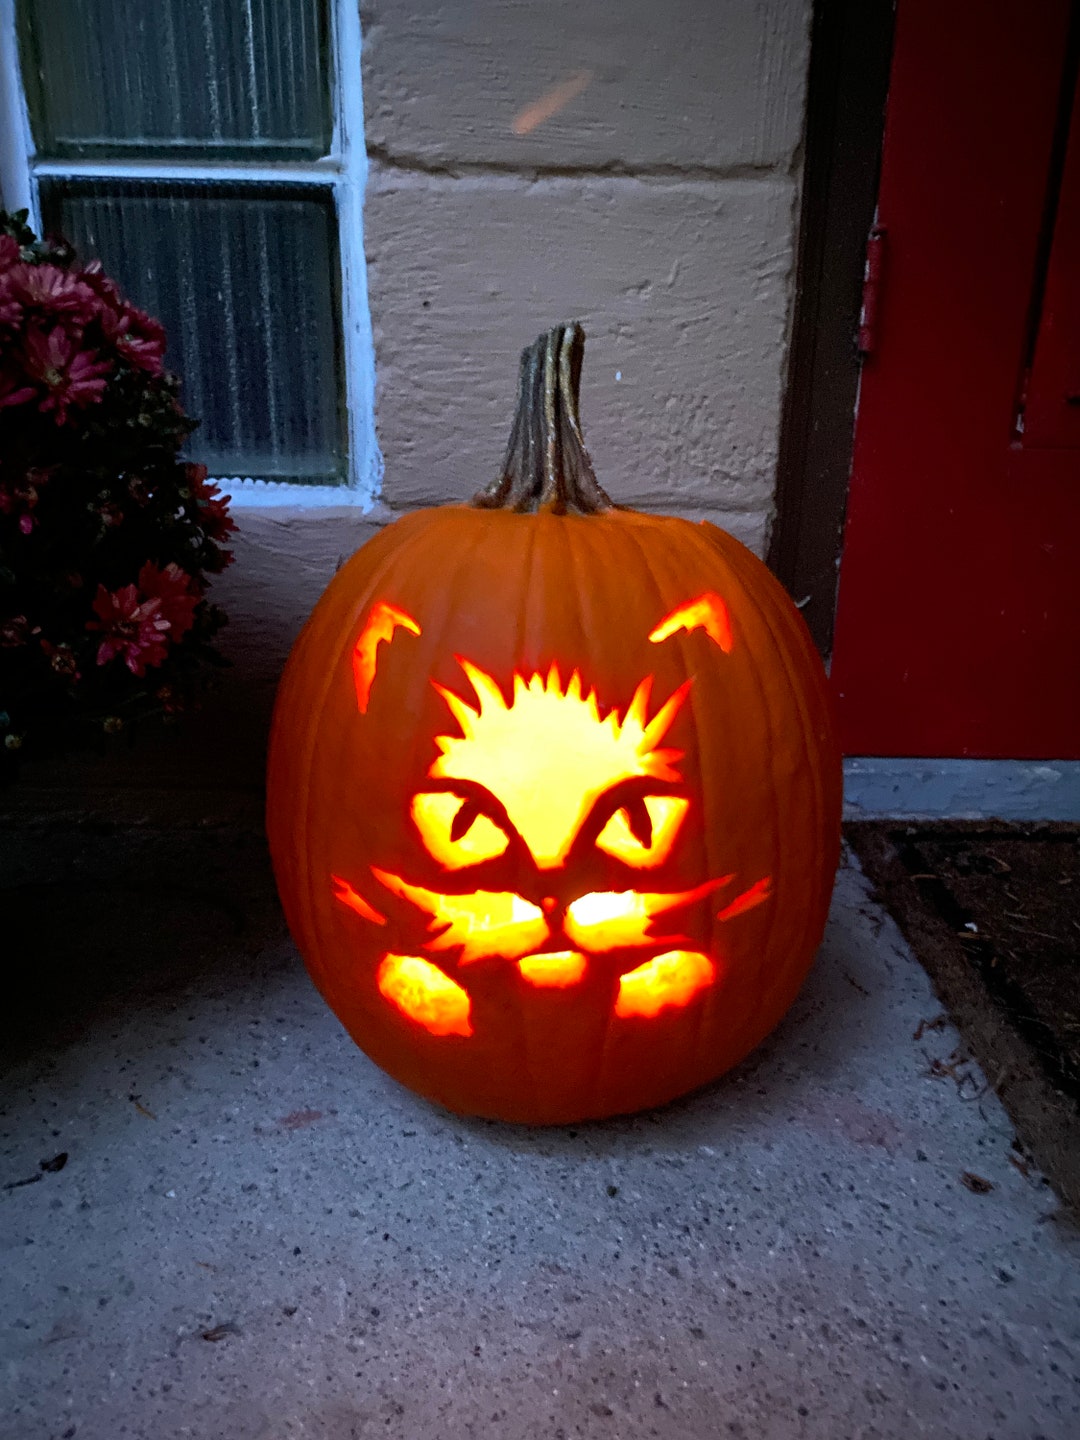
Cat Face Pumpkin Stencil
Purchasing Non-Printable Stencils
While having a digital download is convenient, some prefer physical products that can be used year after year.
These are typically made of plastic or other durable materials and offer more detailed design.
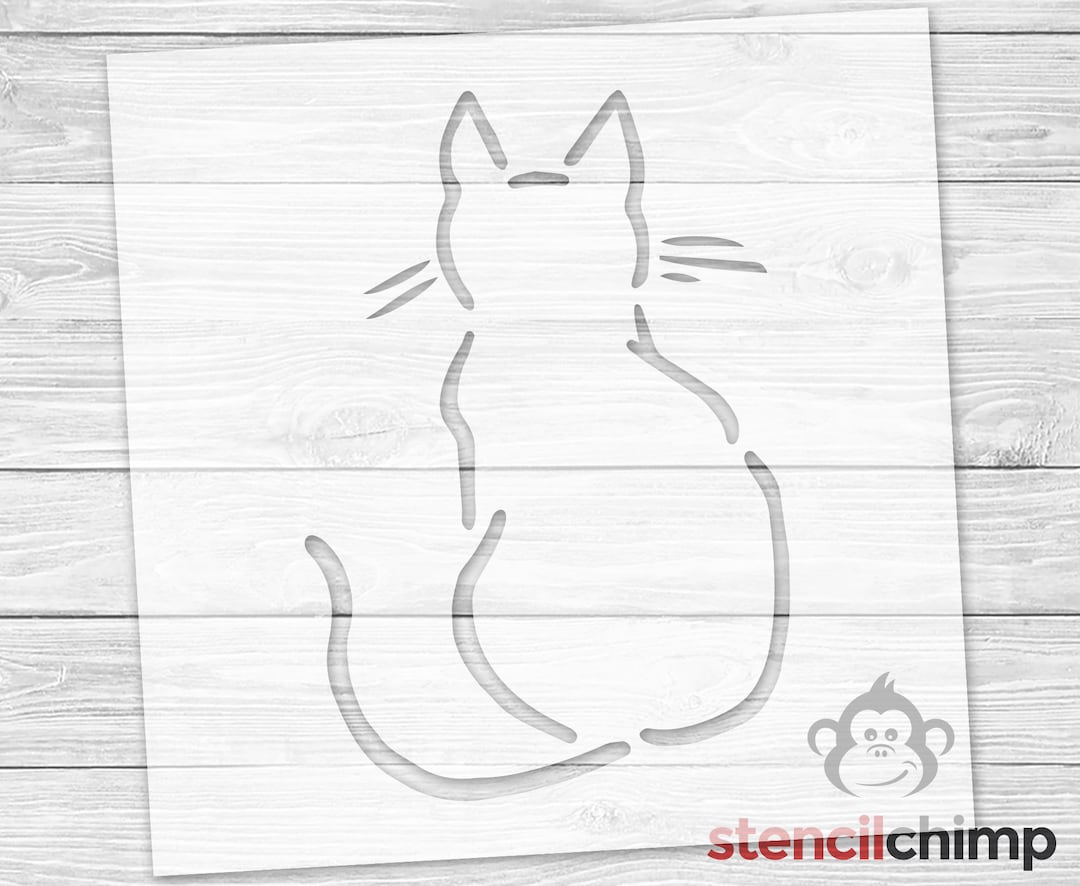
Cat Stencil
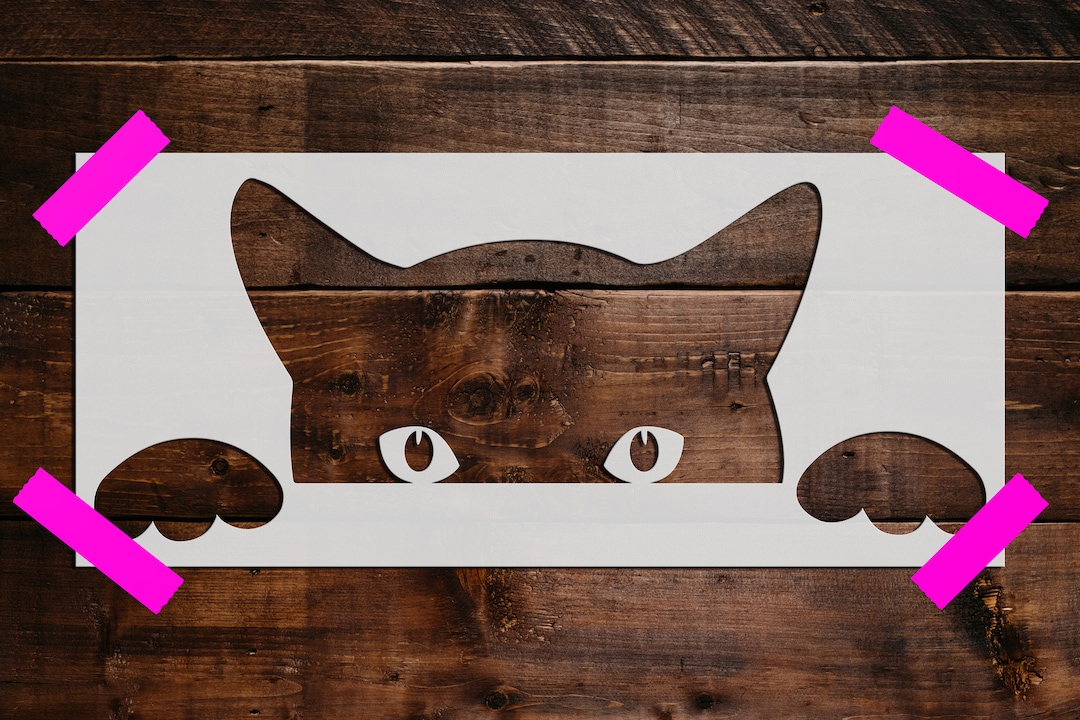
Peeking Cat Stencil
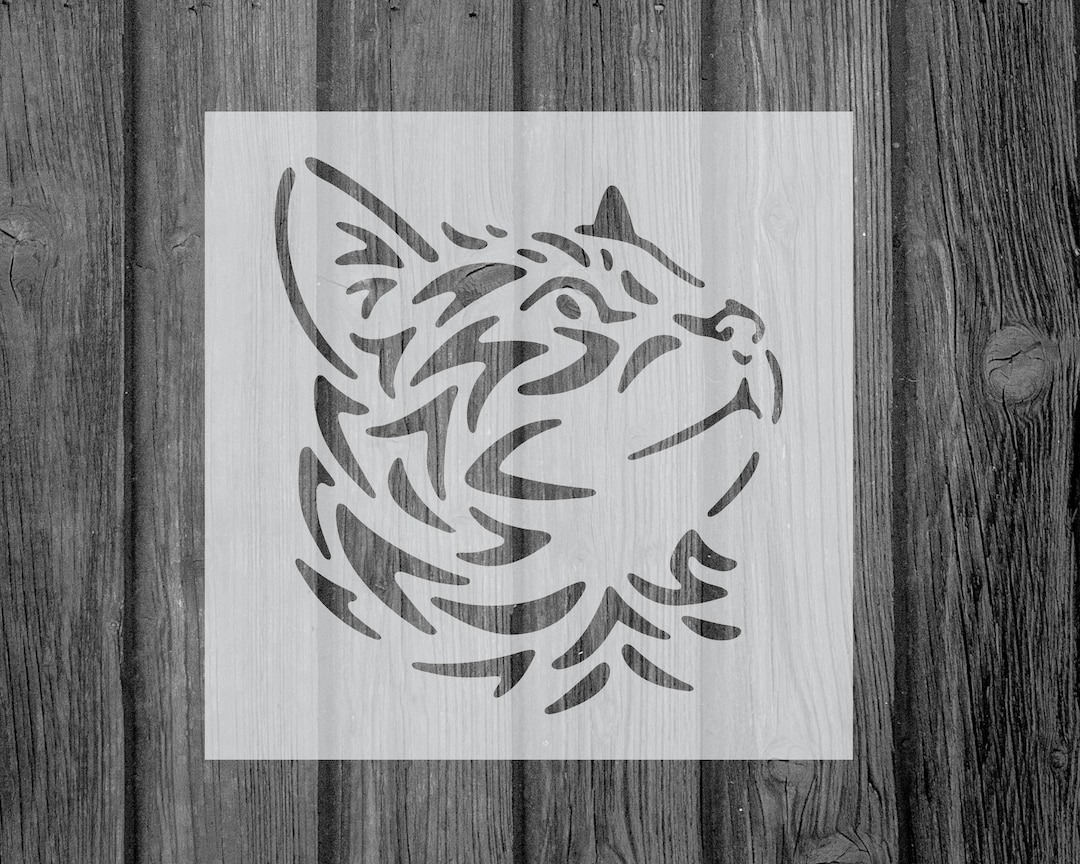
Cat Stencil
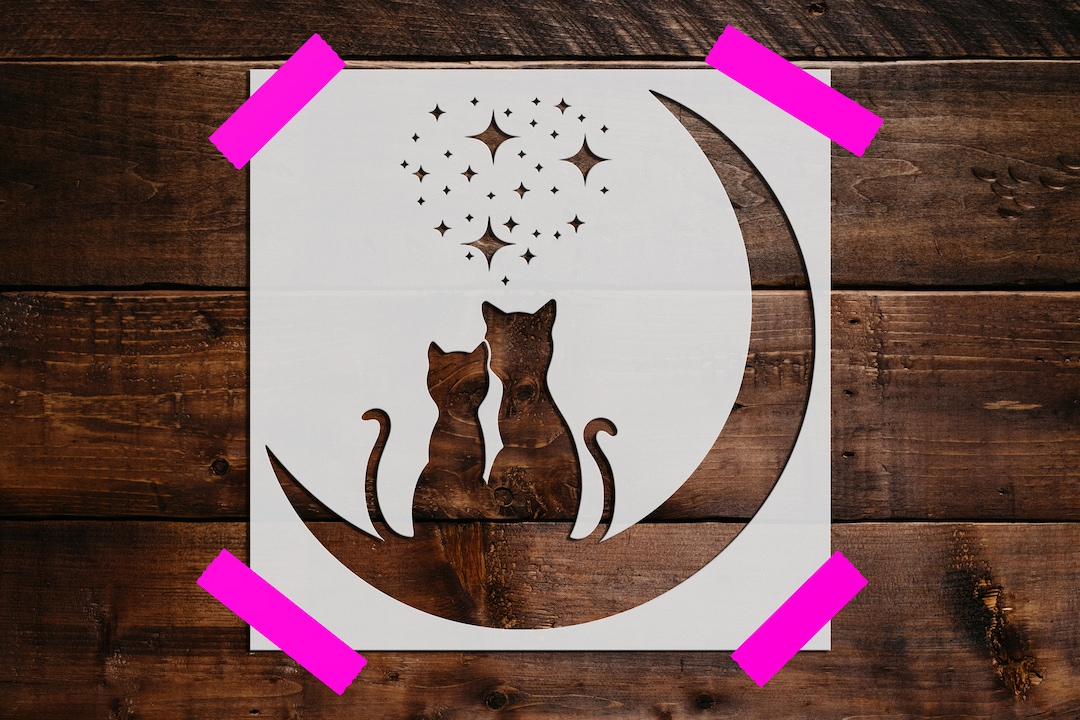
Cat Stencil
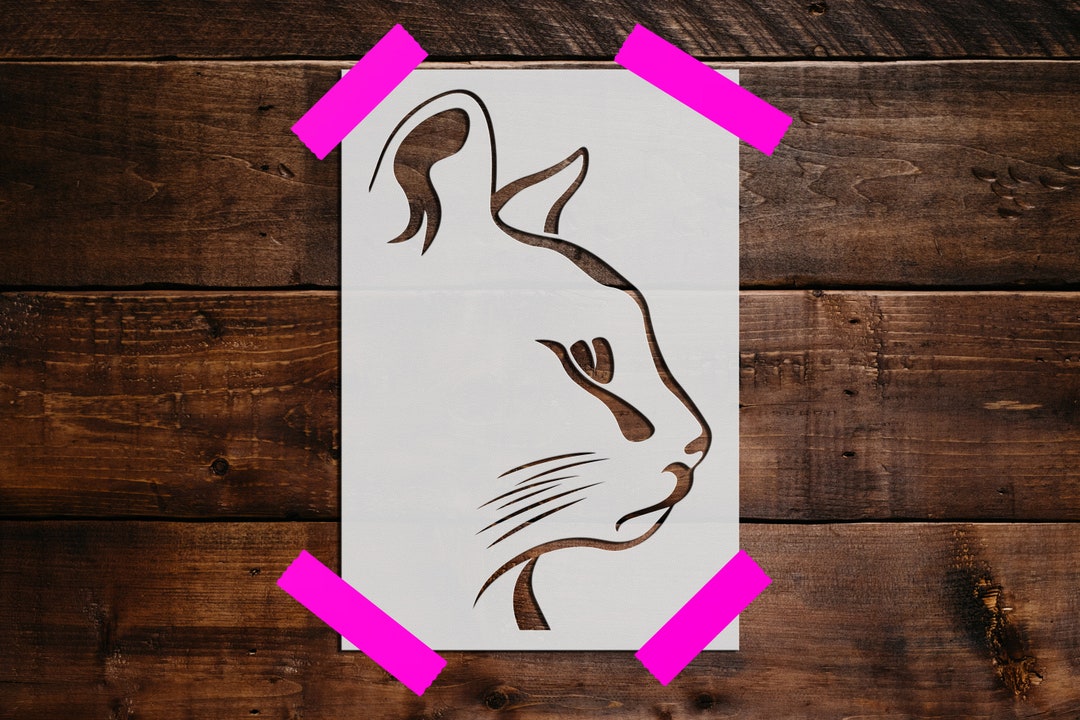
Cat Stencil
When purchasing non-printable stencils, it’s often a good idea to invest in pumpkin carving kits.
These come with carving tools suitable for carving out smaller details, which a regular kitchen knife might not achieve.
Carving Tips for Your Perfect Cat Pumpkin Design
The first thing to remember is safety. Working with sharp objects like a sharp knife or craft knife requires attention, especially when kids are around. Here are some pro-tips:
- Prepping the Pumpkin: Start by cutting a hole at the bottom of the pumpkin instead of the top. This makes placing a candle inside easier. Don’t forget to scoop out all the pumpkin guts!
- Transferring the Design: Once you have your cat pumpkin carving stencil, tape it onto the pumpkin’s surface. Use a small knife or pin to poke small holes around the design’s outline. Then, remove the stencil and connect the dots using a permanent marker.
- Carving: A serrated knife works wonders for larger areas, while a craft knife is great for the smaller details. Remember to carve from inside-out, so you don’t put pressure on already carved areas.
- Decor: Once carved, consider adding white paint to the carved areas or around the design for a more dramatic effect.
Sharing your masterpieces on social media is a great idea to show off your hard work and even inspire others with pumpkin ideas of their own.
Who knows, your front porch might become a viral hit!
Conclusion
As Halloween approaches, it’s time to dig into the spirit of the time of year.
Whether you’re on the lookout for a digital download or physical products, cat designs for your pumpkin are a wonderful addition.
From smaller pumpkins placed delicately on the front porch steps to a large pumpkin being the centerpiece of your Halloween party, cat stencils, and cute cat pumpkin carving patterns, go a long way in bringing out the fun and creativity of this spooky season.
So, roll up those sleeves, get those carving tools out, and immerse yourself in some feline festive fun. Happy carving! 🎃🐱
Frequently Asked Questions
What types of cat stencils do you offer for pumpkin carving?
There are a variety of cat pumpkin stencils, including faces of cats, full body cats, cats with moon backgrounds, and many more.
Whether you’re a cat lover looking for a cute design or someone wanting to spook up their front porch with spooky black cat pumpkins, there’s something for you.
Can I use these stencils on both large and small pumpkins?
While some designs might look best on a large pumpkin, others are perfect for a smaller pumpkin.
It’s always a good idea to gauge the stencil size against the top of the pumpkin you want to carve.
How do I get the stencils? Are they physical products?
These cat carving pumpkin stencils are available as a digital download, which means no waiting for physical products to be shipped.
Once purchased, you can download the PDF files and print them out for personal use.
There are a few options that you can purchase and have delivered to you if you prefer that.
I’ve never carved a pumpkin with a stencil. How do I start?
The first thing you’ll need are some basic carving tools or pumpkin carving kits.
Place your chosen cat design on the top or the front of your pumpkin and trace the design. Once outlined, use a sharp knife or craft knife to carve out the design.
How detailed are these cat stencils?
The range includes everything from simpler cat designs to detailed designs with smaller details, like cat ears or almond-shaped eyes. It caters to every skill level, from beginners to seasoned carvers.
What’s a creative way to enhance my carved pumpkin?
Lighting up the inside of your pumpkin with flameless led candles is a great way to showcase your design.
Some cat pumpkin ideas also include using white paint for a ghostly effect or adding small holes around the carved areas for a starry effect.
Do you have any tips for maintaining my carved pumpkin?
To prolong the life of your carved pumpkin, avoid placing it in direct sunlight. Using a small knife to remove the bottom of the pumpkin rather than the top helps in easier candle placement.
Clean out all the pumpkin guts thoroughly to prevent early rotting.
Any recommendations for carving out the smaller details?
For smaller details, a craft knife works best. It’s essential to be cautious and patient, as sharp objects can be tricky to handle on the pumpkin’s surface.
Can I share my carved pumpkins on social media?
Sharing your carved pumpkins to social media is a great way to get into the Halloween spirit and inspire others.
Are there any stencils with cats in spooky settings?
There are designs like cats with crescent moon backgrounds, spooky season elements, and even spooky black cat pumpkins to light up your front porch this time of year.
Do you offer any cute cat pumpkin carving patterns for kids?
There are various cute designs, from kitty pumpkin faces to fur friends with playful expressions.
They’re a great idea for a family Halloween party, ensuring the whole family gets into the spooky season mood.
Do I need a serrated knife to carve the designs?
While a serrated knife is handy for carving out larger areas, for detailed design work, a craft knife or a small knife is best. Always remember to mark your design with a permanent marker before carving.
What’s the best way to light up my cat carved pumpkin on Halloween night?
Traditional candles work well, but for a longer-lasting glow and safety, consider using LED lights or battery-operated candles.
I hope this FAQ helps bring your front porch to life with our cat pumpkin stencils. Embrace the Halloween spirit, and may your pumpkins be the talk of the neighborhood!
Leave a Reply