-
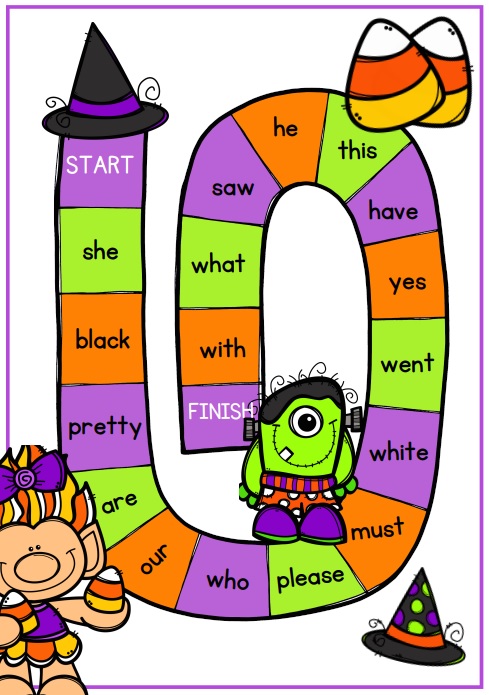
Halloween Sight Words Activity
Are you looking for a fun way to teach sight words during the month of October? Play this fun Halloween Sight Words Activity! You’ll get access to a FREE 3 page game that includes a Halloween themed sight word game board, spinner, and a sight words recording sheet. The following 17 sight words are used…
-
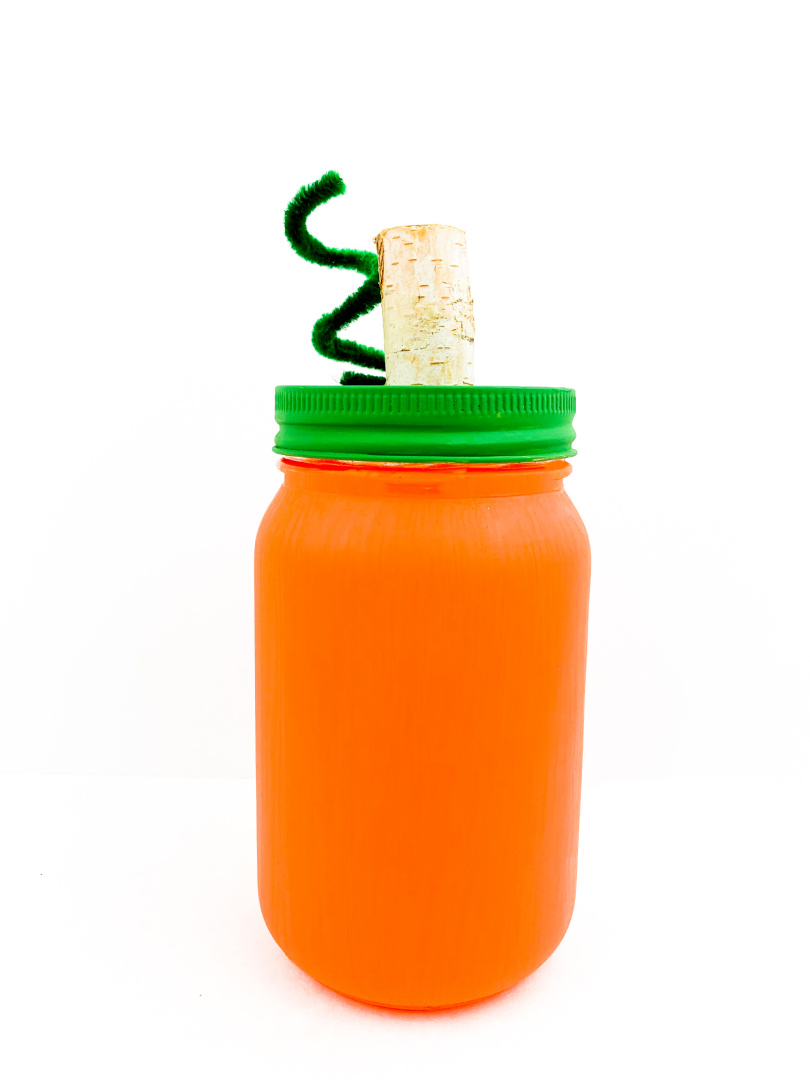
Mason Jar Pumpkin Craft
Create this easy Mason Jar Pumpkin Craft to display around your home this fall season! Kids can help make this, too! Are you looking for DIY fall crafts to work on this fall season? Grab your paint supplies and a mason jar or any jar that you can recycle and create this light up mason…
-
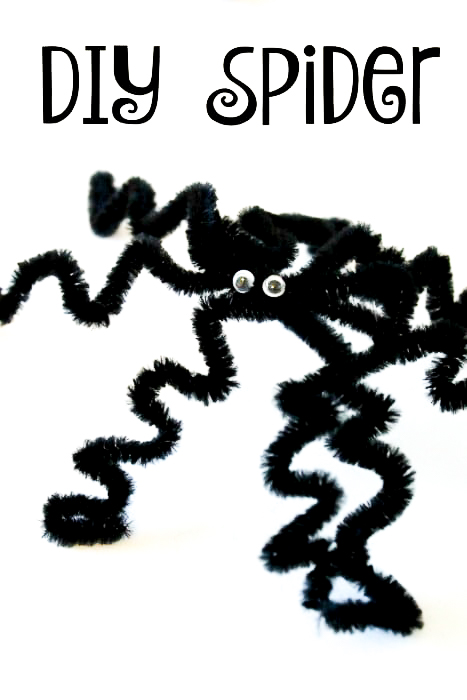
Pipe Cleaner Spider Craft for Kids
Create this easy and simple Pipe Cleaner Spider Craft with the kids this Halloween! Halloween is just around the corner! I love the month of October. There’s always several family friendly activities to take advantage of during the month of October including fall festivals, corn mazes, pumpkin patches, hay rides, trunk-or-treating, trick-or-treating, haunted houses, and…
-
Construction Paper Ghost
Create this simple and spooky Construction Paper Ghost to display in your home or classroom this Halloween! It’s almost Halloween, and that means it is time to start creating some spooky crafts for the little ones in your life. This construction paper ghost craft is a simple and easy project that kids will love. In…
-
Paper Plate Pumpkin
Paper plate crafts are fun to make! Create this easy Paper Plate Pumpkin craft with the kids this fall season! Turn a simple paper plate into a fun fall pumpkin craft for kids this fall season! This easy paper plate craft for kids is fun to make and is perfect to display in your home…
-
Spider Paper Plate Craft
Create this simple and adorable Spider Paper Plate Craft for Halloween with the kids this fall season! This week, I want to share with you a fun spider craft kids can do with paper plates. It’s easy and perfect for the fall season! When you are looking for a Halloween craft to make with your…
-
Jack-o-Lantern Oranges
Decorate oranges with a fun or creepy face! Learn how to create these simple and easy Jack-o-Lantern Oranges! If you are looking for a fun Halloween activity to do with the kids this fall, create Jack-o-Lantern Oranges! You can set these oranges around as decorations or serve them as a snack this fall season. Let…