Category: DIY

  • Gumdrop Tree

    Gumdrop Tree

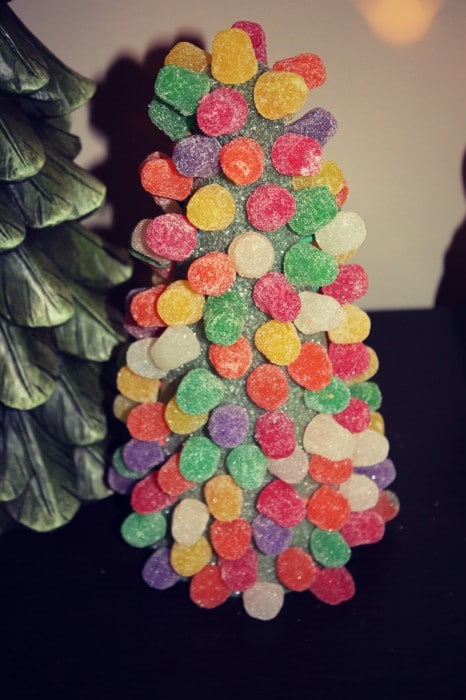
    Learn how to make this colorful Gumdrop Tree to display in your home this year!

    Gumdrop Christmas Tree

    I can remember back when I was a little girl around Christmas time, my dad would always have a Gumdrop Christmas Tree around.

    Some years we made the gumdrop tree and other years, we used a plastic gumdrop tree.

    It’s been several years now that we haven’t created a Gumdrop Christmas tree and while my girls are young, I wanted to carry on this special tradition that I remember and have my girls help us to create one to display at home!

    make a gumdrop tree

    Gumdrop Christmas Tree

    Supplies:

    Recommendations:

    If you have small ones helping you with the Gumdrop Christmas Tree, parental guidance is recommended.

    It can be hard to stick the toothpicks into the styrofoam, so my suggestion is to have an adult stick the toothpicks in first and then let the child add the gumdrops as seen below.

    You can do this a little section at a time, or cover the entire tree in toothpicks first before decorating.

    Gumdrop Christmas Tree

    You can space the gumdrops close together or far apart, all depending on how full you want your gumdrop tree to be.

    Then simply add a gumdrop to each toothpick.

    Gumdrop Christmas Tree
    Gumdrop Christmas Tree

    Once complete, set your Gumdrop Christmas Tree out for display for all to see!

    Gumdrop Tree
  • Bird Feeders for Children to Make

    Bird Feeders for Children to Make

    Are you looking for bird feeders for children to make? Check out our list of simple bird feeders to make with the kids!

    Bird watching is a fun activity for the whole family to enjoy! Over the last few months, my family has enjoyed feeding our backyard birds. We have several cardinal families that come to visit our yard daily. They visit regularly because I love to feed them every morning and again throughout the day as they eat!

    We also observe birds like blue jays, wood peckers, mourning doves, chickadees, titmice, and other small birds.

    Did you know that you can attract backyard birds with your own feeders? Get the kids involved with bird watching! Have your kids create bird feeders to hang in your back yard and see what types of birds you attract with your feeders!

    If you are interested in bird feeder kits, you can find our recommendations here.

    Best DIY Bird Feeder Kits for Kids

    Here are a few ideas to help you get started!

    Bird Feeders for Children to Make

    Bird Feeders for Children to Make

    Pine Cone Bird Feeder

    Pine cone bird feeders are easy to make! Select a pine cone during your next nature walk! Use peanut butter and bird seeds to create this bird feeder with the kids.

    Egg Carton Bird Feeder

    Save your cardboard egg cartons and make this super simple egg carton bird feeder!

    Coffee Container Bird Feeder House

    Save your empty coffee canisters and grab your paint supplies! Create a bird feeder house combination using an empty coffee container and decorate it with craft paint!

    Bird Feeders for Children to Make

    Toilet Paper Roll Bird Feeder

    Save your empty toilet paper rolls and create a toilet paper roll bird feeder with the kids using peanut butter and bird seeds! Hang your bird feeder in a nearby tree for bird watching!

    Orange Bird Feeder

    Make a homemade bird feeder using fresh oranges!

    Sugar Cone Bird Feeder

    Use sugar cones to make this easy bird feeder for your backyard!

    Gelatin Bird Feeder

    This gelatin hanging bird feeder is best used during the cold/cooler months!

    Apple Bird Feeder

    Use fresh apples sliced in half to create this apple bird feeder!

    Bird Feeders for Children to Make

    How to Make a Cute DIY Bird Feeder Out of Craft Sticks

    Follow this easy tutorial for how to make a simple bird feeder out of craft sticks. This great kids craft is a cute addition to your outdoor spaces and welcomes local birds!

    Bird Feeders for Children to Make

    Upcycled Plastic Bottle Bird Feeder

    Turn an old plastic bottle into a cute little bird feeder that is ideal for holding all kinds of seeds. This is a great upcycling project that kids can customize easily!

    ornament bird feeders

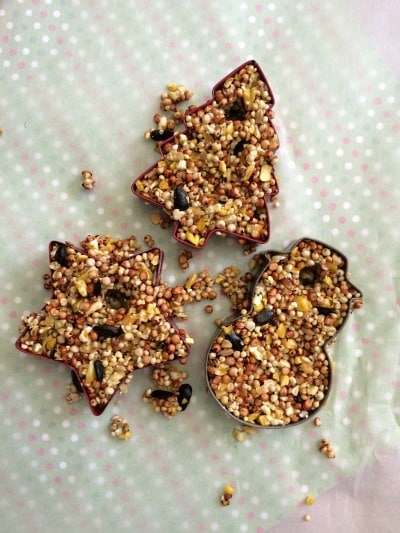
    Cookie Cutter Bird Feeders

    These Homemade Cookie Cutter Bird Feeders are a fun and easy Christmas craft idea! You likely already have most everything you need for this fun winter activity for kids plus these homemade bird feeders make great DIY gifts for teachers, friends, and family.

    I hope you enjoyed this list of bird feeders to make with your children! Let us know in the comments which bird feeder you want to try first!

  • Monkey Paper Plate Craft

    Monkey Paper Plate Craft

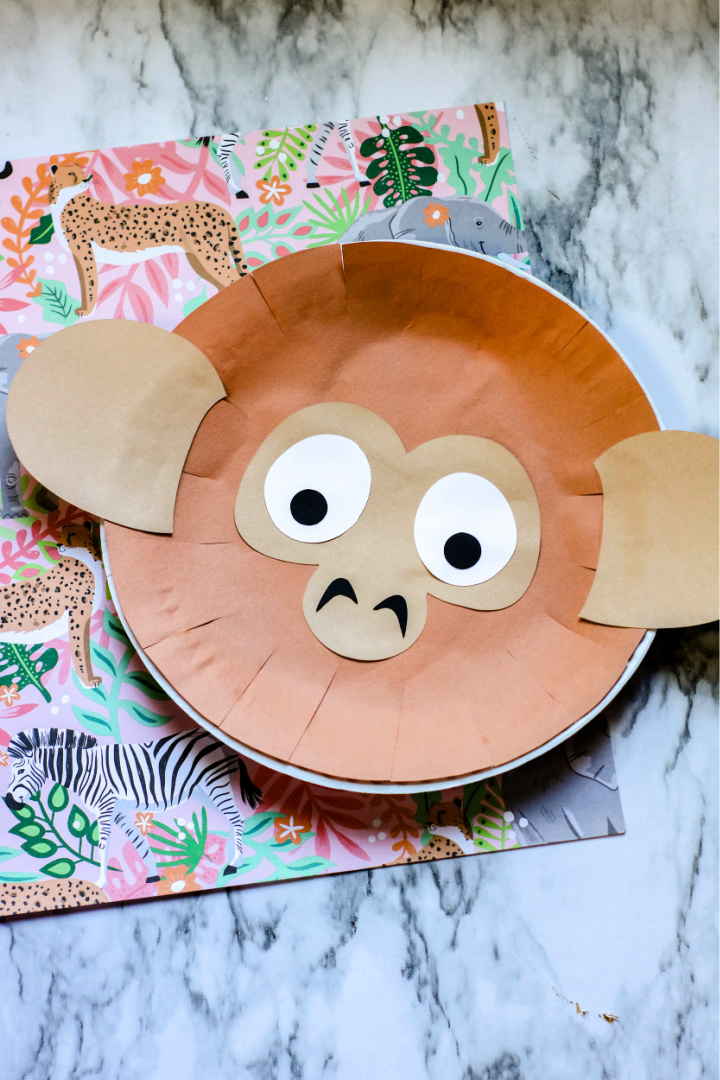
    Learn how to make this simple Monkey Paper Plate Craft. This craft includes the free printable template!

    Monkey Paper Plate Craft

    Paper plate crafts are so much fun to make!

    Did you know that you can make a variety of cute crafts using paper plates?

    Monkey Toilet Paper Roll Craft

    Today I’ll be sharing a Monkey Paper Plate Craft with you.

    If you are doing a unit on animals in the jungle or a study on monkeys, this paper plate craft is a great supplemental activity to work on.

    Monkey Paper Plate Craft

    Supplies:

    • 1 paper plate
    • Brown paper
    • Pencil
    • Glue
    • Scissors
    • Popsicle stick, if desired
    • Printable Monkey Paper Plate templates

    Get the free monkey face template!

      We respect your privacy. Unsubscribe at anytime.

      Monkey Paper Plate Craft

      Directions:

      To use a print and cut device (such as Cricut Explore), use the PNG images. Upload to your machine software and cut according to manufacturer’s instructions. Resize the pieces as follows:

      Face and ears = 11 inches in width

      White eyes = 4 inches in width

      Black eyes and nostrils = 3 inches in width

      If not using the print and cut option, print the PDF and cut pieces apart.

      Trace the paper plate on a piece of brown paper. Cut the circle from the paper.

      Monkey Paper Plate Craft

      Cut slits around the edge of the edge.

      Monkey Paper Plate Craft

      Glue the paper to the paper plate with the edges overlapping as needed to fit the curve of the paper plate. Allow the plate to dry completely.

      Monkey Paper Plate Craft

      Decorate the paper plate by attaching pieces with glue.

      Monkey Paper Plate Craft

      Monkey Paper Plate Craft

      Monkey Paper Plate Craft

      monkey paper plate craft

      Glue or tape the paper plate to the popsicle stick, if desired.

      Allow the craft to dry completely before playing or displaying.

    • Magic Milk Science Experiment

      Magic Milk Science Experiment

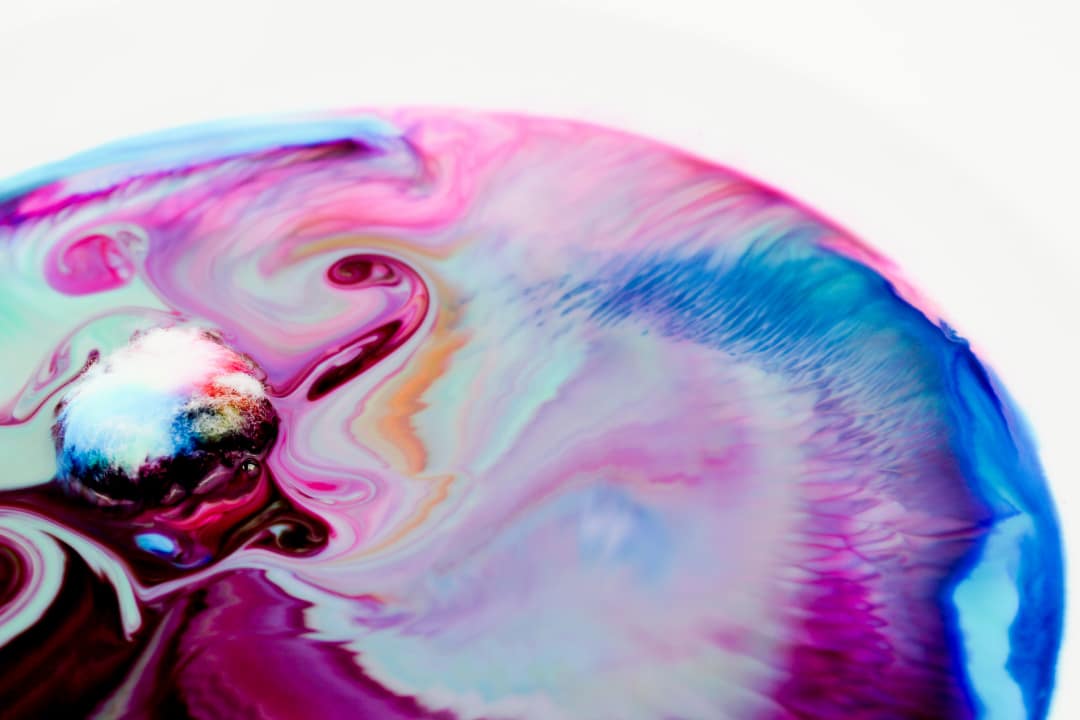
      This Magic Milk Science Experiment is so neat to watch! We are surprised with the color changes and designs every time we complete this activity.

      Magic Milk Science Experiment

      This Magic Milk Science experiment never gets old! This experiment is fun and easy to set up experiment for the kids. Watch our videos below to see this experiment and keep reading below for more information!

      Your kids may want to complete this experiment over and over a few times, so be prepared and have plenty of milk and supplies devoted for this experiment on hand! Try different color combinations to see what new designs you’ll get. Also, please note that your experiments will look different each time and it’s fun to see how they all turn out.

      I’ve completed this activity before with a cotton swab, but I found that when we used a cotton ball, the experiment lasted quite a white, so I definitely prefer the cotton ball method over the cotton swab method. Either is fine, having fun is the most important part!

      Don’t forget to check out our Shaving Cream Rain Science Experiment, too!


      Magic Milk Science Experiment

      Supplies:

      • 1 tsp. Dish Soap
      • Cotton ball
      • Food Coloring
      • Large Glass Plate
      • Whole or 2% Milk
      Magic Milk Science Experiment

      Directions: 

      Pour milk onto a large glass plate. Towards the center of the milk, pour about 5 drops of desired color of food coloring onto the milk leaving a space between the colors. Try not to let the colors touch, but it’s okay if they do touch. Colors may start to spread out a little and that’s fine, too.

      Place a cotton ball into the dish soap. Allow the cotton ball to absorb the dish soap.

      magic milk science experiment

      Gently place the cotton ball in the center of the colors and let go.

      magic milk science experiment

      The colors should disperse to the sides quickly and start moving around, leaving cool designs around the plate.

      magic milk science experiment
      magic milk science experiment

      If you notice the colors start to slow down with no activity, try pouring a drop of soap into the mixture or repeating the above step. You can also stir around the colors slowly to mix the colors.

      magic milk
      science experiment

      Here’s a look at how the same experiment above changed over time.

      Once complete, repeat the activity if desired!

      Why does this happen when using whole milk? According to Education.com:

      “The food coloring in the whole milk bowl will move the fastest because the dish soap bonds, or holds tight, with the fat in the milk. This bond is so strong that the water and the food coloring are pushed out. Everything else has to dance out of the way to make room for the dish soap and fat bond. Since there is less fat in 2 percent and 1 percent milk, you won’t see as much movement. In the bowl of skim milk, the dish soap has no fat to bond with, so the food coloring isn’t pushed away.”

      I hope you enjoyed seeing our Magic Milk Experiment! Try to complete this activity soon and tell us how it went!

    • How to Make Floam Slime

      How to Make Floam Slime

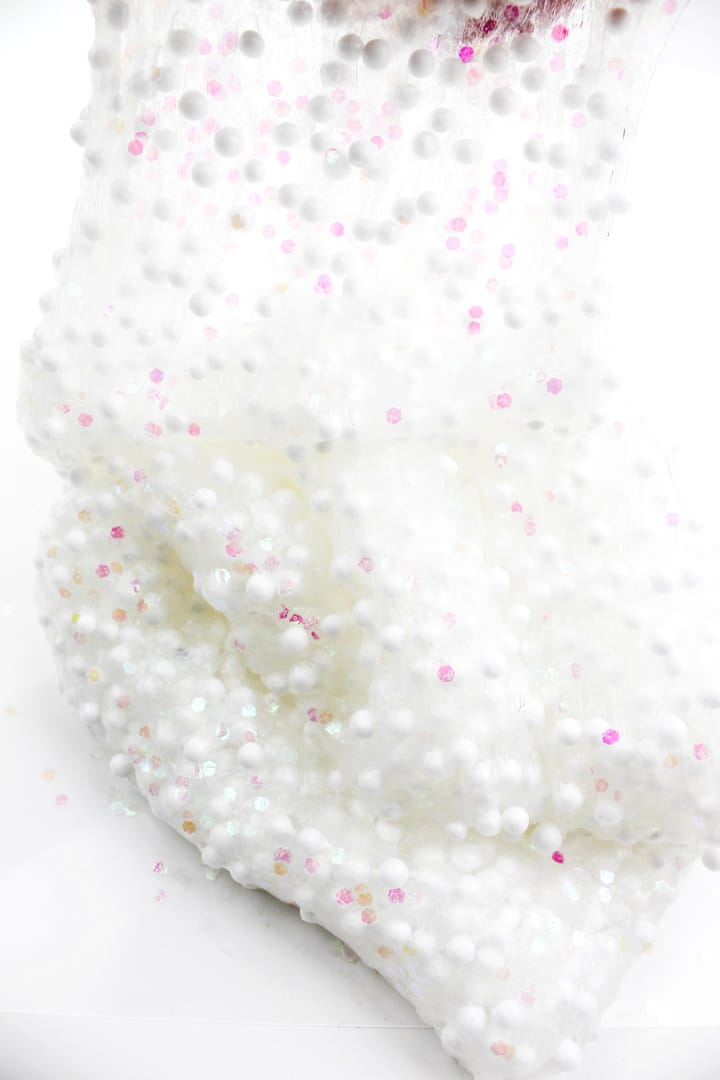
      Learn how to make floam slime with this easy to follow recipe! Add glitter to make it a little extra!

      How to Make Floam Slime

      Does your child love making slime? If so, this floam slime recipe is definitely worth adding to your list of slime recipes!

      My girls enjoy creating a variety of slime recipes. Their favorite part about making slime is adding additional items or ingredients like foam balls and glitter to the mix! If you aren’t familiar with making floam slime, the foam balls in this recipe give the slime a really fun texture! When playing with this slime, you can squish the mixture and create fun popping noises.

      Enjoy molding this floam slime into shapes! My oldest daughter shaped her slime into a heart and a butterfly. You can also see below just how stretchy this slime is, too. I also had fun playing with this slime. I may have enjoyed it as much as my girls did. It is fun to press your hands and fingers into the slime and feel how soft and fluffy it is!

      How to Make Floam Slime

      Supplies:

      Note: Adult supervision is recommended for this activity, especially when handling the chemicals during the creation process.

      Directions:

      Pour the glue into the mixing bowl.

      Add the water and mix well.

      Add in the liquid starch. Stir. (If mixture is too liquid, add about 1/4 cup more starch.)

      Slowly pour in foam balls and mix together.

      Add in desired amount of chunky glitter.

      Mix the slime together with your hands until you get the right consistency.

      When you are finished playing with the slime, store the slime in an air tight container. I also recommend washing your hands well soon after you finish playing with the slime.

      This floam slime has a super fun texture that makes popping noises when you squish it around with your hands!

      This slime is also very stretchy — a win for us!

      Fluffy Unicorn Slime Recipe

      Fluffy Winter Polar Bear Slime Recipe

      Halloween Floam Slime Recipe

      How to Make Green Slime

      How to Make Basic Slime (with Borax)

    • How to Make Edible Marshmallow Play Dough

      How to Make Edible Marshmallow Play Dough

      A play dough recipe you can eat?! I’ll have some of that!

      There are a variety of ways to make play dough. Our favorites include marbled play dough and silky cloud dough. The best part about creating your own play dough recipes is that you can get as creative as you want! You can experiment with different ingredients or by adding items to experiment with different textures!

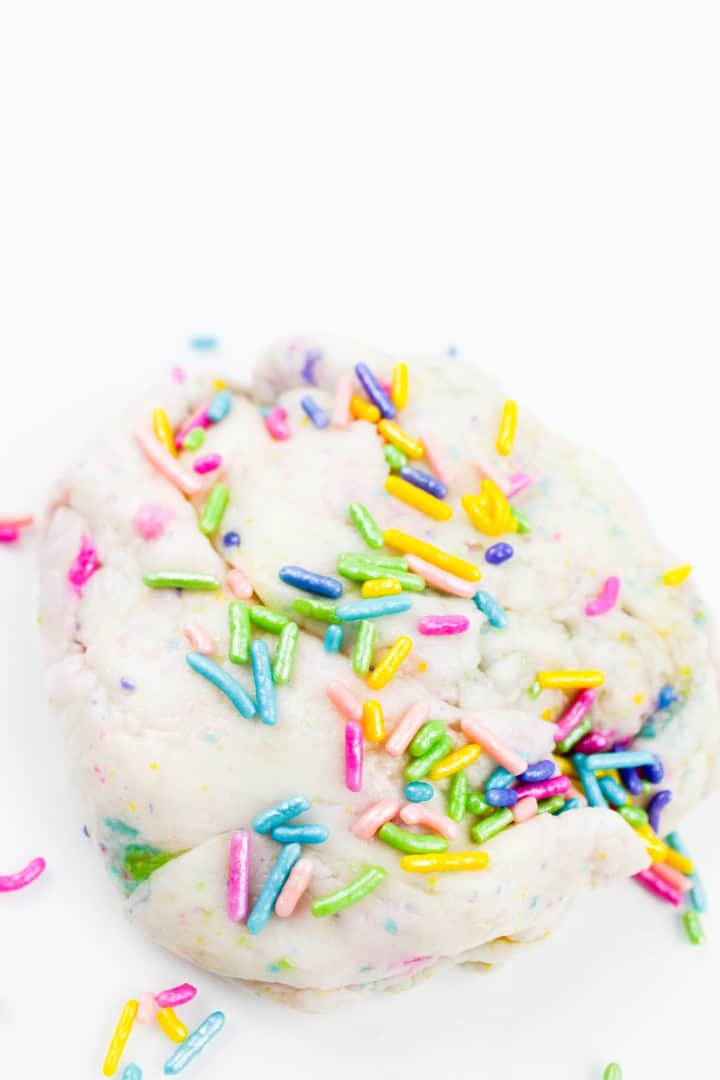
      This Edible Marshmallow Play Dough Recipe below is completely edible! This means that if your kids are curious about the taste and want a little nibble while they are creating this recipe, they can try it if you allow it! My kids ate some of our marshmallows and sprinkles when we were creating this play dough recipe.

      Check out how to make this edible play dough. We really enjoyed adding the metallic sprinkles to this recipe for a cool effect! At the bottom of this post, you can see how we created pretend play dough cupcakes, cookies, and pancakes!

      How to Make Edible Marshmallow Play Dough

      Supplies:

      • 2 cups of marshmallows
      • 3 tbsp. coconut oil
      • 1 1/2 cups of powdered sugar
      • sprinkles
      • microwave safe mixing bowl
      • spoon

      Directions:

      Add marshmallows to a microwave safe mixing bowl. Microwave for 40 seconds.

      Pour the coconut oil into the bowl of marshmallows.

      Mix the coconut oil and marshmallows together.

      Slowly add the powdered sugar. We used a small scoop and added the sugar one scoop at a time. Stir the mixture together until you get the consistency you’d like. We use at least one cup of powdered sugar to our recipe. Check the consistency after one cup and add the remaining powdered sugar if necessary.

      Knead the dough together with your hands.

      Add the sprinkles. For this recipe, we used cool metallic sprinkles for a neat look!

      This recipe does use coconut oil, so it’s normal to get some of the oil on your hands.

      Get creative with your dough. Check out our ideas below. We made dough cupcakes.

      We also made Marshmallow Play Dough cookies.

      Make a stack of Marshmallow Play Dough pancakes if you’d like!

      We love the cool effect that the sprinkles give when mashed into the play dough.

      We really enjoyed this recipe. The best part is that you can get creative with your recipe by adding a variety of different sprinkles or edible ingredients.

      Pin to Pinterest:

      How to Make Cloud Dough

      How to Make Marbled Play Dough

    • How to Make Cloud Dough

      How to Make Cloud Dough

      Learn how to make How to Make Cloud Dough with this easy to follow step-by-step photo tutorial below!

      how to make cloud dough

      Cloud dough has become one of our favorite recipes to make! One of the reasons why we love cloud dough so much is because it’s super easy to make and requires very few ingredients.

      The other reason we love this cloud dough recipe is because it’s super soft and silky smooth once you are ready to play with the dough!

      This dough recipe includes two ingredients that you may already have at home — corn starch and hair conditioner. Corn starch is a super soft ingredient and conditioner makes your hair soft and silky smooth, so imagine when you combine these ingredients together what you will get!

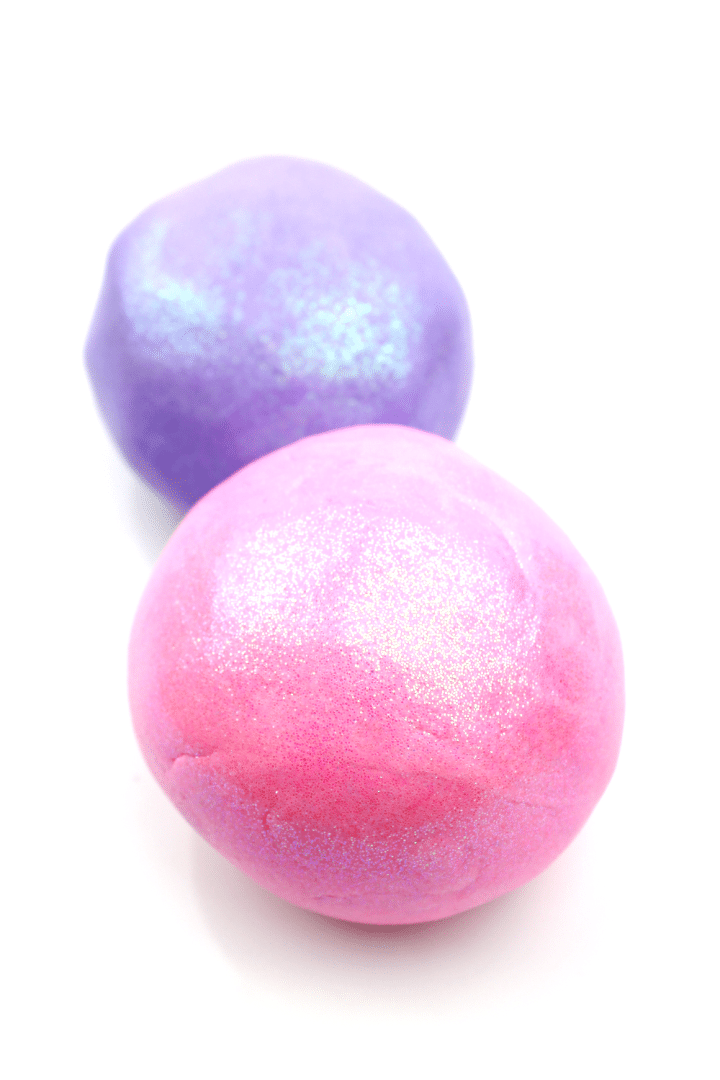
      Today we share a super simple cloud dough recipe with a fun twist at the end — adding iridescent glitter to give the dough a beautiful, shimmery look.

      How to Make Cloud Dough

      Ingredients:

      Directions:

      Gather your ingredients and supplies. Add the corn starch to a large mixing bowl.

      How to Make Cloud Dough

      Add the hair conditioner to the corn starch.

      Combine the hair conditioner and the corn starch.

      Mix the mixture with your hands until the dough has a soft and silky smooth texture.

      Divide the dough if you plan to do more than one color for the dough. You can keep the dough white, or you can add the food coloring.

      Add the food coloring to the dough.

      Fold the food coloring in to the dough and mix well until the dough is colored.

      Add the purple food coloring to the other half of the dough.

      Mix the dough well with your hands until the dough is completely colored.

      Sprinkle desired amount of iridescent glitter to the dough.

      Mix the glitter into the dough.

      We hope you enjoy this activity! Let us know below if you plan to make this or how your recipe turned out!

      Pin to Pinterest:

      Check out these fun activities:

      How to Make Cloud Dough

      How to Make Marble Play Dough

      Fluffy Unicorn Slime Recipe