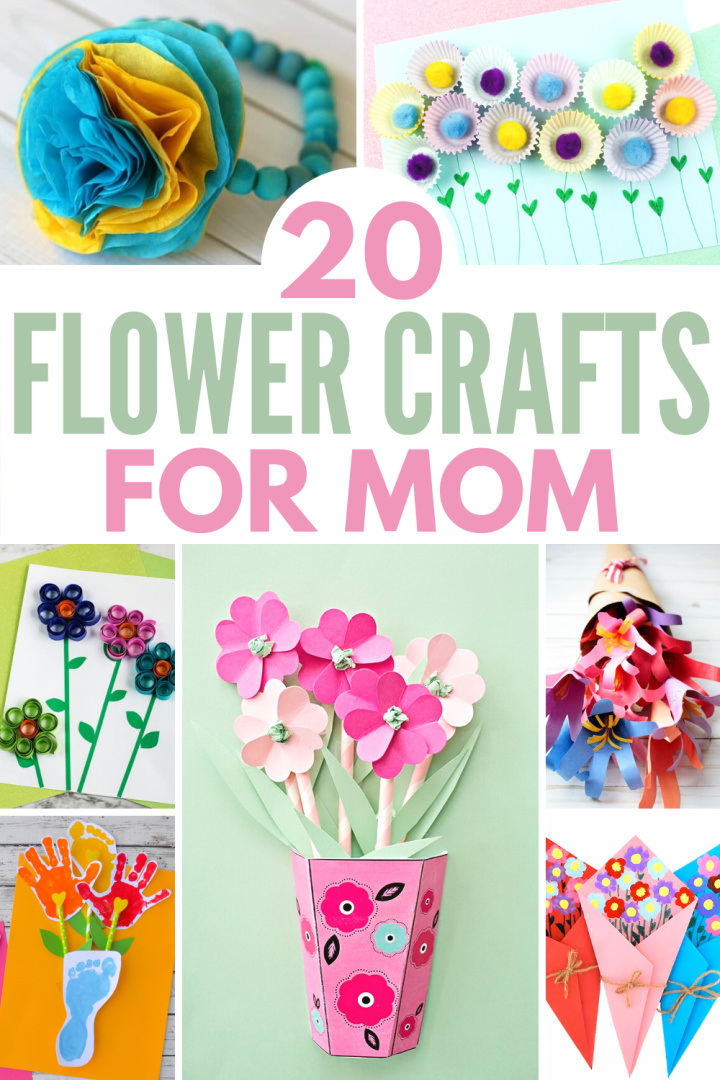
Mother’s Day is approaching! Here are 20 Flower Crafts for Mother’s Day that your child or student can make to celebrate Mother’s Day this year.
Flower crafts are a lot of fun to make! You can get very creative with a variety of types of flowers, colors, and more.
The list I’m sharing with you today includes flower crafts for mom. These flower crafts make great Mother’s Day Gift ideas!
If you are a teacher looking for ideas for your students, this list is perfect! If you are a mom wanting to help your child create a fun craft, you can help guide them through these flower crafts.
Or, have a friend or family member help create this if this is to be a “surprise” gift for mom!
I hope you enjoy these 20 Flower Crafts for Mother’s Day!
At the end of this post, you can find printable Mother’s Day gift ideas, too!
Learn how to make this beautiful bouquet using cupcake liners! This Cupcake Liner Paper Flowers craft is fun for kids and adults!
As the spring season blossoms, it’s the perfect time to engage in fun, creative projects that not only add a touch of beauty to your home, but also offer a wonderful bonding experience with your kids.
Today, we’re delving into the world of cupcake liner flowers – a simple yet stunning craft that’s ideal for busy moms looking to spend quality time with their little ones.
The beauty of the cupcake liner flower craft lies in its simplicity.
With just a few simple supplies like colorful cupcake liners, paper straws, and a bit of glue, you and your kids can create beautiful paper flowers.
This craft is so straightforward that even younger kids can participate with minimal assistance, making it an excellent activity for kids of all ages.
Versatile and Vibrant
One of the best parts about using cupcake liners is the variety of colors and patterns available.
From solid liners to flower cupcake liners, the options are endless, allowing you and your kids to unleash your creativity.
You can even use leftover cupcake liners from previous baking projects, making this a great way to recycle.
Decor and More
These paper flowers are perfect for DIY spring decor. Imagine a colorful bouquet sitting on your dining table or a homemade flower garland adorning your living room.
They’re also great gifts for occasions like Mother’s Day or as a cheerful addition to your workspace.
Tips for a Smooth Crafting Experience
Preparation is Key: Gather all your craft supplies beforehand. This includes cupcake papers, paper straws, glue, and scissors. If you’re feeling adventurous, add a few pipe cleaners for added texture in your bouquet.
Involve Older Kids: For older children, encourage them to experiment with different petal shapes or to use a hole punch for intricate designs in the center of the flower. They can even help with cutting small slits or creating smaller flowers using smaller cupcake liners.
Add a Twist: Try using a hot glue gun (with supervision) for a stronger hold, or add embellishments like a large button in the yellow center for an extra pop of color. Green paper can be used to create leaves, enhancing the natural look of your bouquet.
Document the Fun: Don’t forget to take photos of the process and the end result! Share them on your social media if desired.
The Joy of Crafting Together
The true essence of this craft is not just in the beautiful end result but in the process itself.
It’s a fun way for the whole family to celebrate the beauty of spring.
It’s about those little moments of joy and creativity, a chance for busy moms to connect with their kids, and for kids to enjoy a fun craft that’s not just about following instructions, but about expressing their imagination.
Grab those colorful cupcake liners, get your craft supplies ready, and dive into this lovely project.
Here’s to happy crafting and making the most of the spring season with your own paper flowers!
Cupcake Liner Paper Flowers
Supplies:
3 cupcake liners per flower
1 paper straw per flower
Glue
Scissors
Instructions:
Line up three cupcake liners and use the scissors to cut slits around the edge of each wrapper.
Fold the wrappers in half and cut a small slit in the center of each one.
Push the straw through the hole in one of the cupcake wrappers and slide it down one inch from the top of the straw.
Use glue to bunch the wrapper around the straw to hold it in place.
Continue adding cupcake wrappers to the straw and gluing in the center until all the wrappers are attached.
Cupcake Liner Paper Flowers
Materials
3 cupcake wrappers per flower
1 paper straw per flower
Glue
Scissors
Instructions
Line up three cupcake liners and use the scissors to cut slits around the edge of each wrapper.
Fold the wrappers in half and cut a small slit in the center of each one.
Push the straw through the hole in one of the cupcake wrappers and slide it down one inch from the top of the straw.
Use glue to bunch the wrapper around the straw to hold it in place.
Continue adding cupcake wrappers to the straw and gluing in the center until all the wrappers are attached.
Frequently Asked Questions
Can I use regular paper instead of cupcake liners?
While cupcake liners are ideal due to their shape and design, you can certainly use regular paper. Just cut the paper into circular shapes and create small slits around the edges to mimic the petal effect.
Is this craft suitable for toddlers?
Yes, with supervision. Toddlers can help with assembling the flowers and choosing colors. For safety, handle the scissors and hot glue gun yourself.
How long does it take to make one flower?
It typically takes about 5-10 minutes per flower, depending on the complexity of your design and the age of the children involved.
What if I don’t have a paper straw for the stem?
You can use a craft stick, an unsharpened pencil, or even a pipe cleaner as a substitute for the stem.
Can these flowers be used outdoors?
They’re best suited for indoor decoration as they’re made of paper and might not withstand outdoor elements like rain or wind.
How can I make the flowers look more realistic?
Try using cupcake liners with floral patterns, add more layers to each flower, or use a small hole punch to create intricate designs in the center of the flower.
What’s the best way to display these flowers?
You can place them in a vase, make a garland, or even create a wreath. They’re versatile and lightweight, making them easy to display in various ways.
Can older kids make these on their own?
Older kids can follow the directions and even add their creative touches like mixing and matching different cupcake liner designs.
Are there any variations to this craft?
Yes, you can create different types of flowers by changing the way you cut the cupcake liners or by arranging the petals differently. Experiment with different sizes and colors for variety.
Is it possible to make other crafts with cupcake liners?
Cupcake liners can be used for a variety of crafts like making garlands, festive lights, or even as part of a collage.
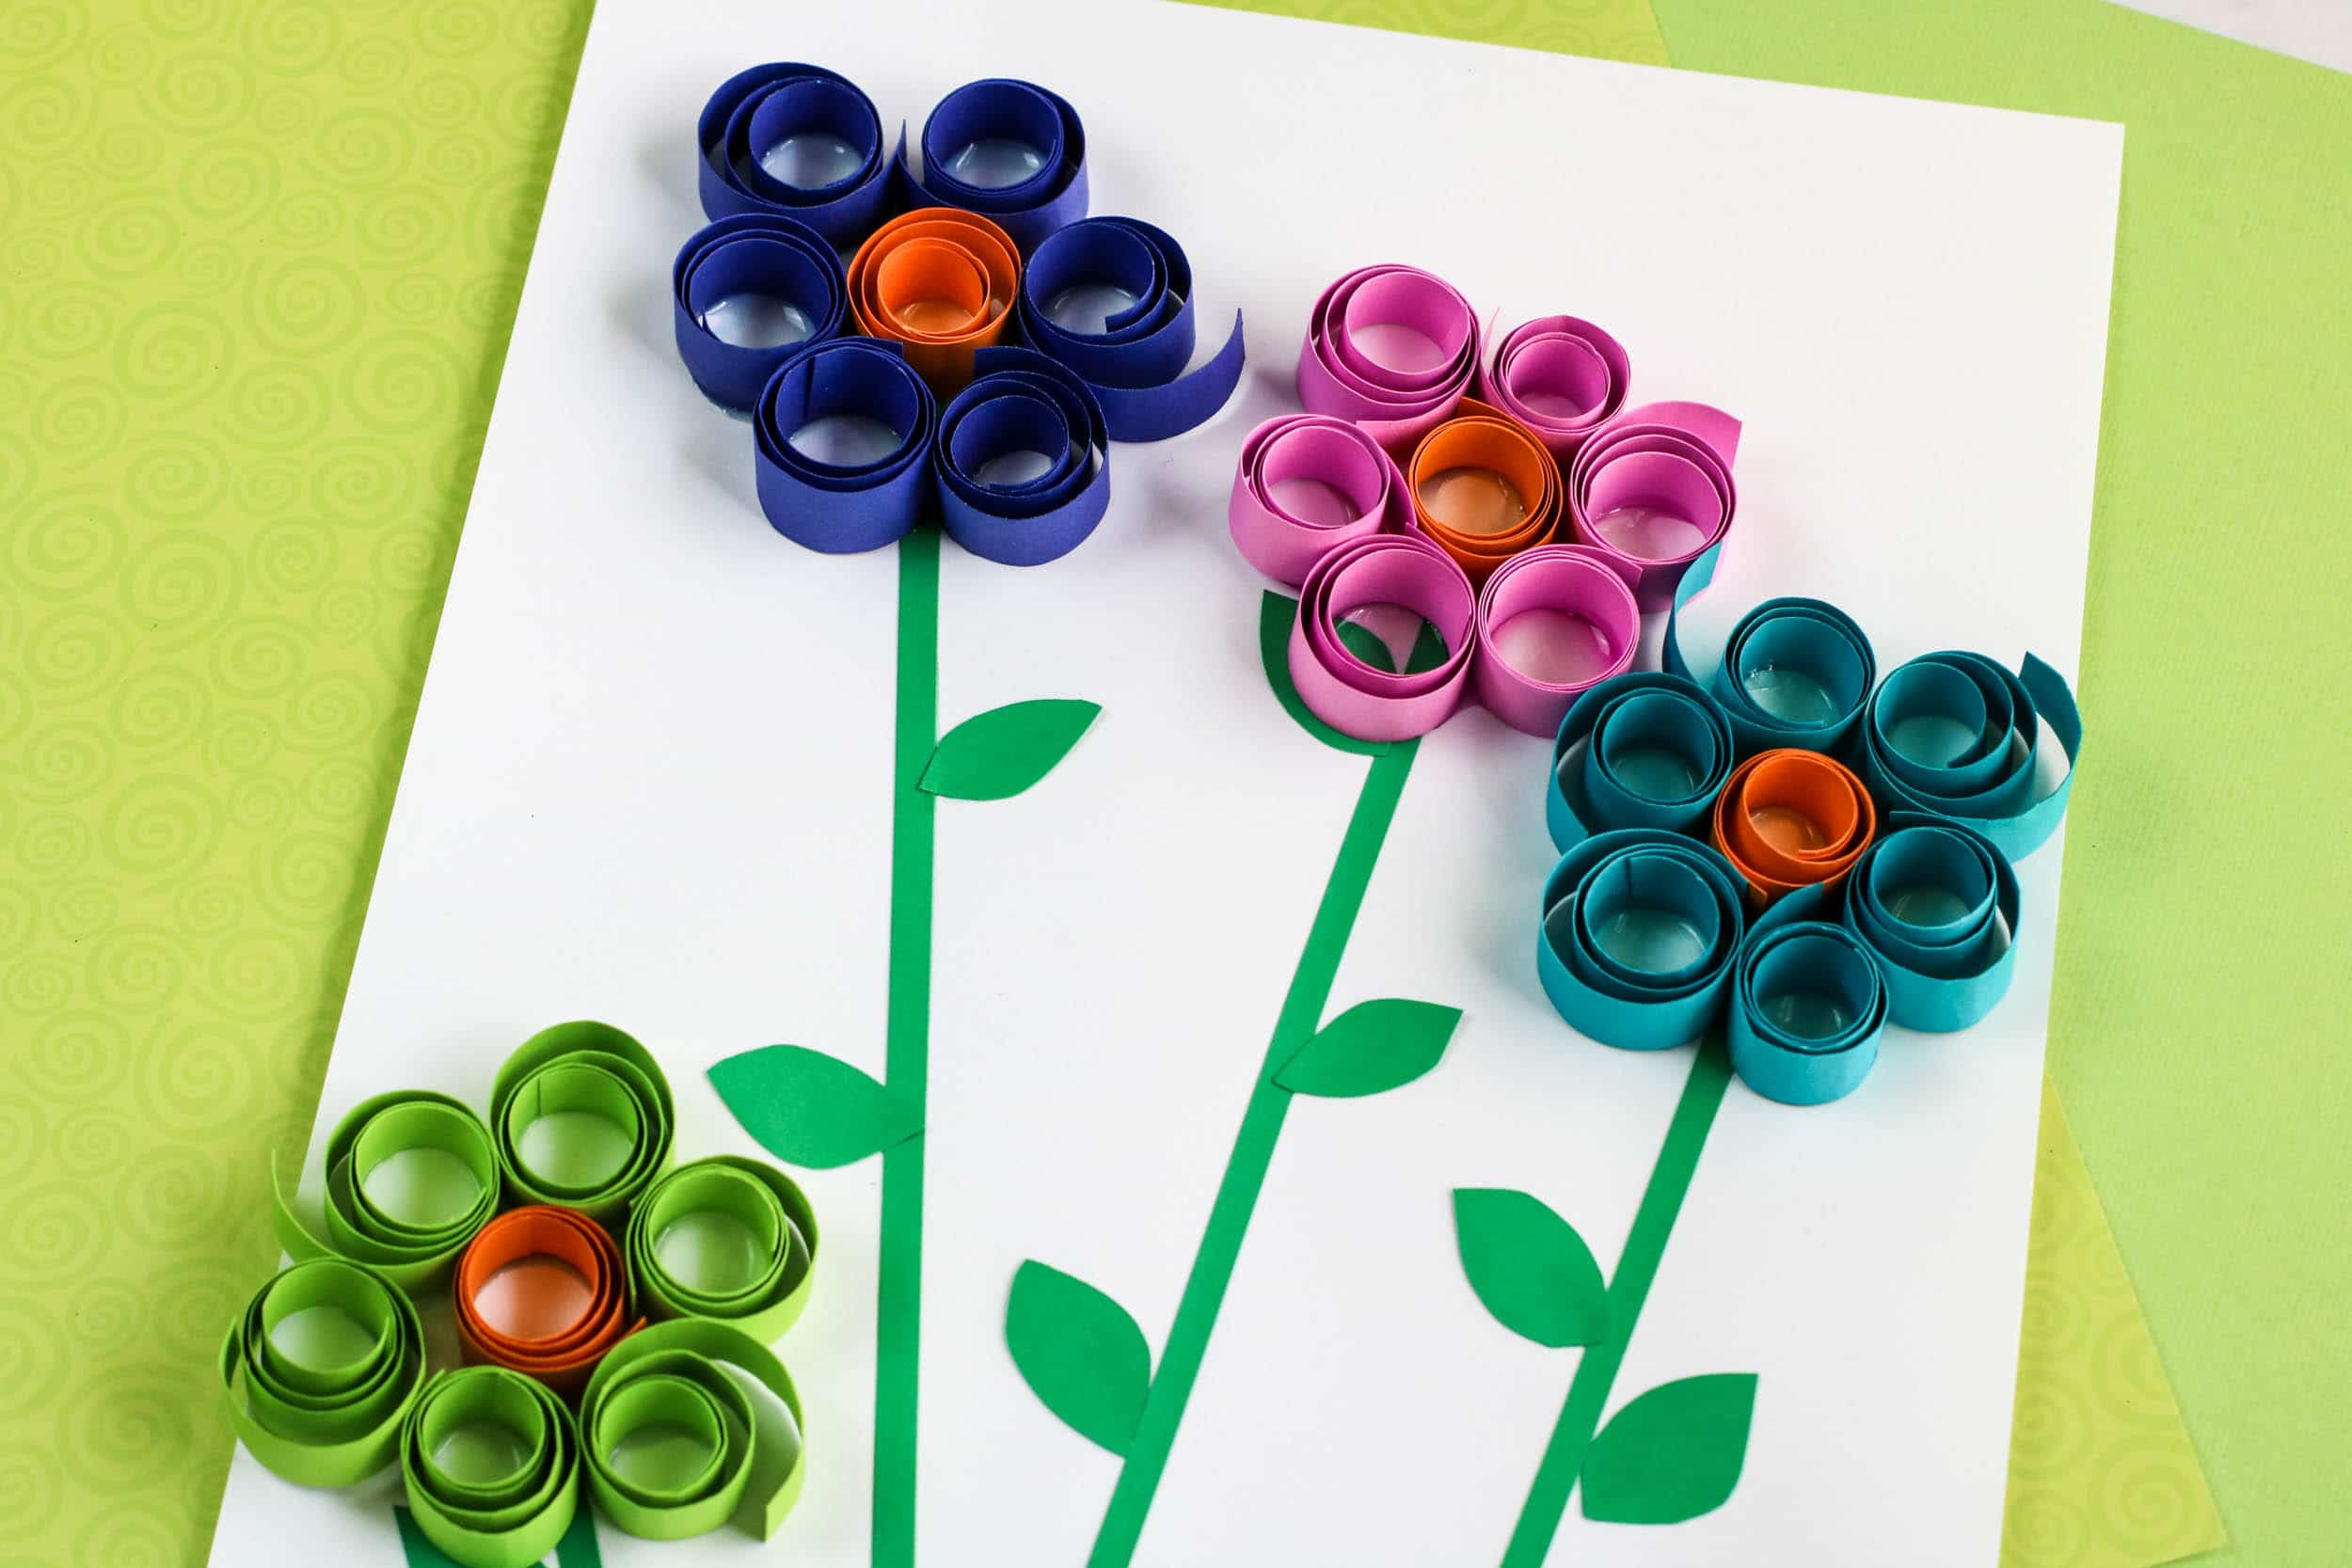
Curled Paper Spring Flowers are not just a craft; they’re an experience.
As a busy mom, finding activities that are engaging and simple is a win-win. This craft promotes creativity, is budget-friendly, and results in beautiful spring decor that can brighten any part of your home.
It’s also a wonderful way to spend quality time with your teens, away from screens and the hustle of daily life.
Remember, crafting is not just about the final product; it’s about the joy and relaxation it brings during the process.
So, grab your supplies, and let’s welcome spring with open arms and creative spirits!
Cut paper into ½ to 1 inch strips, depending on how thick you want each flower.
Cut thin strips for stems.
Cut leaf shapes. You can cut two at once by folding the paper in half and cutting along the seam.
Glue stems and leaves onto the paper.
Wrap the paper strips around a pencil to create the curls.
Create a flower by gluing the stem and leaves to a plain sheet of paper. Add puddles of glue where you want to place the flower curls. Place the curls on top of the glue and press the curls down.
Allow to dry completely before displaying.
Display your flowers around your home this spring season!
There are a ton of great flower craft ideas to create this spring! Here are a few resources if you are interested in learning how to make more flower crafts.
Curled Paper Spring Flower Craft
Materials
cardstock paper
guillotine cutting board or ruler
scissors
unsharpened pencil
gluestick
Instructions
Cut paper into ½ to 1 inch strips, depending on how thick you want each flower.
Wrap the paper strips around a pencil to create the curls.
Also cut thin strips for stems and cut leaf shapes. (You can cut two at once by folding the paper in half and cutting along the seam.
Create a flower by gluing the stem and leaves to a plain sheet of paper. Add puddles of glue where you want to place the flower curls. Place the curls on top of the glue and press the curls down.
Allow to dry completely before displaying.
Frequently Asked Questions:
What type of paper is best for this project?
Cardstock paper is ideal as it holds the curl well and is sturdy enough for the flowers.
Can I use a regular cutting board instead of a guillotine cutting board?
Yes, a regular cutting board can be used along with a ruler to ensure straight cuts.
Do I need a specific type of scissors?
No, any sharp scissors will work, but smaller craft scissors may offer more precision.
Can I use a pen instead of an unsharpened pencil to curl the paper?
Yes, any cylindrical object like a pen or pencil works well for curling the paper.
Is a gluestick the best adhesive for this project?
A gluestick works well for light materials like paper, but you can also use liquid glue for a stronger hold.
How thick should the paper strips be?
Strips can be ½ to 1 inch thick, depending on your preference for the flower’s appearance.
Can I create different shapes for the leaves?
Yes, feel free to experiment with different leaf shapes to add variety to your flowers.
How do I ensure the curls stay in place on the paper?
Make sure to apply a good amount of glue and press the curls down firmly until they stick.
How long does it take for the project to dry?
It usually takes a few hours to dry completely, but it can vary depending on the amount of glue used.
Can these paper flowers be used for other types of crafts?
These paper flowers are versatile and can be used in scrapbooking, card making, or as decorations.
Learn how to make flowers using cupcake liners! This Cupcake Liner Pom Pom Flowers Craft is simple and fun to make this spring season.
What do you think of when you think of the spring season?
The first things I think about are warmer temperatures, green grass, butterflies, and flowers!
I love flowers. I do think I have a green thumb and would love to eventually have a beautiful flower garden. For now, we will enjoy making flowers instead of growing them!
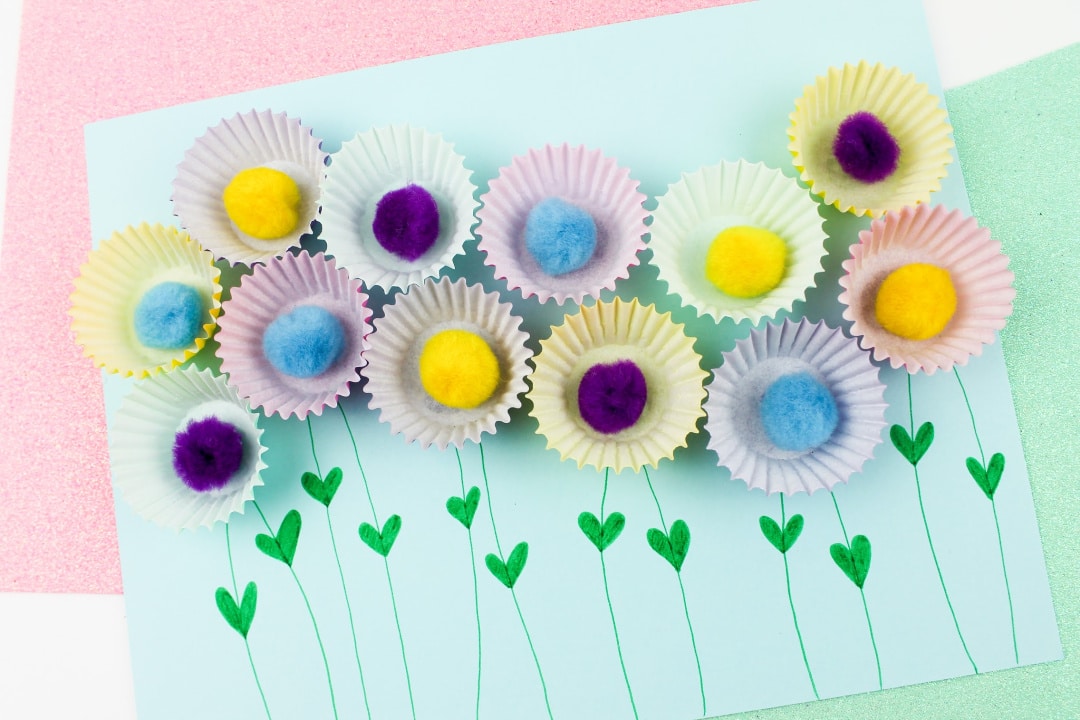
This spring season, create this beautiful Cupcake Liner Pom Pom Flowers Craft! This artwork is great to display in your home this season if you want to bring the spring season indoors. You can also create these for Mother’s Day this year!
Get creative with your flowers. There are a variety of cupcake liners available. You can choose pastel, bold, patterned, or plain liners. Pom poms also available in a variety of colors to choose from.
Enjoy this photo tutorial!
Cupcake Liner Pom Pom Flowers Craft
Supplies:
paper cupcake liners
Elmer’s school glue
pom poms
green marker
cardstock paper
Directions:
Gather your supplies.
Line up the cupcake liners onto the paper in the way that you’d like for your flowers to appear. Place a dot of glue on the back of each cupcake liner and glue to the paper.
Place a dot of glue in the center of each cupcake liner.
Place a pom pom onto the glue. Add more glue if necessary if your pom poms have trouble sticking.
Using the green marker, draw stems coming down from each flower.
Draw leaves on each stem. For this activity, I made my leaves look like hearts!
Set the flowers aside to dry.
Display your flowers in your home this spring season or give as a gift this Mother’s Day!
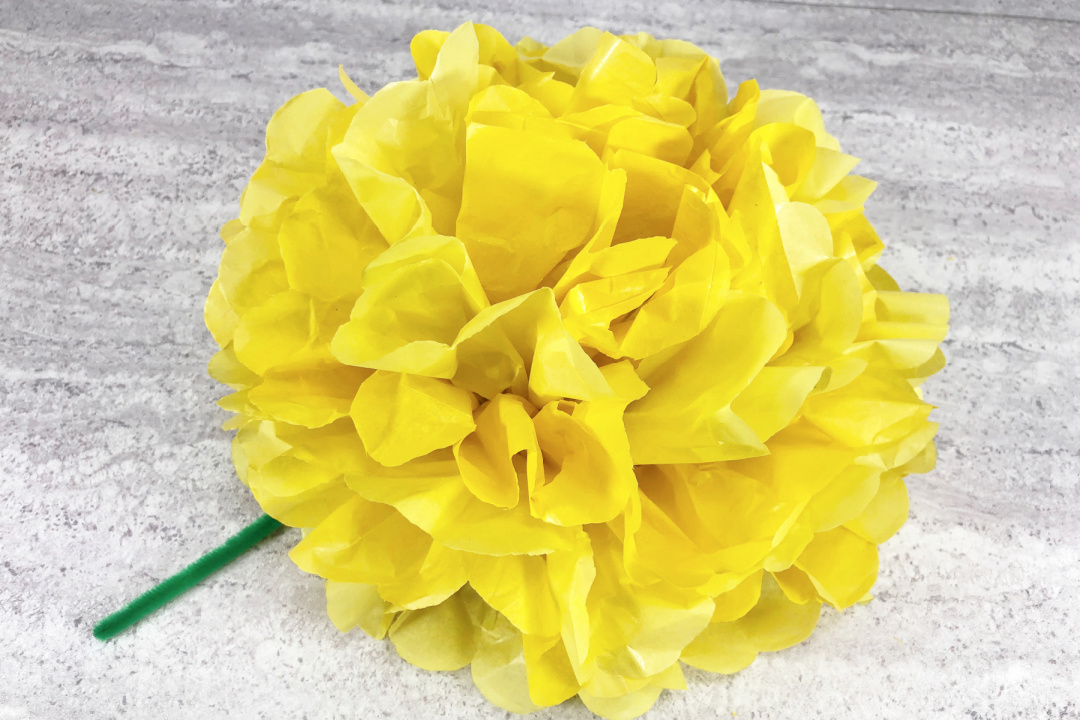
Gather all supplies. Layer five sheets of tissue paper together in one stack.
Fan fold the tissue paper, back and forth, in approximately 1” widths. Use the ruler to measure the first fold.
Once the entire length of the tissue paper has been fan folded, measure the center point, and cut in half.
Leave as is or cut the ends in a half circle or point to create different textures for the flowers.
Tightly twist a green chenille stem around the center of the fan folded tissue paper.
Extend the layers out, creating a fan shape with the folded tissue paper.
Gently separate each layer of tissue paper, starting with the top layer. Don’t worry about a few tears here and there, as they can be hidden within the layers. Repeat with second side.
Fluff the layers of separated tissue paper to shape the flower.
The tissue paper used is 20” by 20” and will make two 10” flowers. The perfect decoration for any special occasion, event, or party. Layer different colors together for a festive touch.
Bring the spring indoors this year with these colorful Spring Flowers Sugar Scrub Bars! I’m going to show you how to make homemade sugar scrub bars that are moisturizing and exfoliating. The sprinkles in these bars add just the right amount of color to make them fun! Add these to your bathroom this spring season.
If you need to feel pampered, use these sugar scrub bars in your next bubble bath!
Spring Flowers Sugar Scrub Bars with Sprinkles DIY Recipe
1. Add a few sprinkles to the bottom of each of the flower molds.
2. Put the cube of soap into the measuring cup and microwave on high for about 20-30 seconds.
3. Add the olive oil, sugar and fragrance oil. Stir well. This will thicken up very quickly, so if it is getting thick, place in microwave for addition 10 seconds.
4. Put a drop of lavender soap colorant in and give just a quick stir. You want to be able to see a marbled effect of colors when this sets.
5. Add teaspoon of sprinkles. Stir well.
6. Pour into two flower molds and let set for about 45 minutes to allow the bars to completely form.
7. Remove from mold and put in an airtight container.
Makes 2 bars. Just double or triple the recipe to make more!
Check out more soap making resources below:
While you are here, watch these inspiring YouTube videos for more great DIY ideas:
11 DIY Soap and Bath Crafts You Need To Make
10 Amazing DIY Soap Crafts You Need to Make!! How to Make Soap at Home!
Are you looking for a fun and new way to dye eggs this year? Learn how to dye Easter Eggs with Rice! This is one of our favorite ways to dye eggs as a family!
We’ve been getting more creative in the kitchen lately!
With the Easter holiday approaching, I thought it would be fun to dye Easter eggs a few different ways. I guess I was a bit bored with dyeing eggs the traditional way of just sticking them in colored water and vinegar!
Dyeing eggs with colored rice gives the eggs an entirely new and cool look! Even I thought this way of dyeing eggs was way more fun and hands on for all.
My girls said that they preferred dyeing eggs with rice over just soaking the eggs in colored water and then taking them out.
What’s neat about this activity is that in the end, you have colored rice left over for sensory play if you are interested in that!
Can you use rice vinegar to dye eggs?
Yes, you can use rice vinegar to dye eggs. It works as well as regular white vinegar.
How to Dye Easter Eggs with Rice
Supplies:
boiled eggs
white rice
food coloring
sandwich bags that seal
vinegar
Directions:
Fill 6-8 different sandwich baggies with about a cup full of rice in each bag.
Add at least 10-15 drops of food coloring into each bag. You can experiment with different colors in each bag.
Seal the bags well.
Use your fingers to mix the rice and food coloring together until the rice is colored.
If you have any rice left uncolored, add more drops of food coloring into the bag and seal again.
Mix until you get the desired colors.
Place a boiled egg into a small bowl of vinegar for a few seconds.
Open the bag of colored rice and place the egg inside.
Seal the bag and gently mix the egg around the rice until you get the desired color on the egg. Be careful not to break the egg!
Feel free to experiment with placing the eggs in different baggies to give the eggs a multi-colored look.
We will definitely dye Easter eggs with colored rice in the future.
We enjoyed our new method of dyeing Easter eggs this year and I hope you do, too!
How to Dye Easter Eggs with Rice
Materials
boiled eggs
white rice
food coloring
sandwich bags that seal
vinegar
Instructions
1. Fill 6-8 different sandwich baggies with about a cup full of rice in each bag.
2. Add at least 10-15 drops of food coloring into each bag. You can experiment with different colors in each bag. (This is my favorite food coloring that I use for crafts and activities!)
3. Seal the bags well.
4. Use your fingers to mix the rice and food coloring together until the rice is colored. If you have any rice left uncolored, add more drops of food coloring into the bag and seal again. Mix until you get the desired colors.
5. Place a boiled egg into a small bowl of vinegar for a few seconds.
6. Open the bag of colored rice and place the egg inside.
7. Seal the bag and gently mix the egg around the rice until you get the desired color on the egg. Be careful not to break the egg!
8. Feel free to experiment with placing the eggs in different baggies to give the eggs a multi-colored look.
This website uses cookies to improve your experience. We'll assume you're ok with this, but you can opt-out if you wish.AcceptRejectRead More
Privacy & Cookies Policy
Privacy Overview
This website uses cookies to improve your experience while you navigate through the website. Out of these, the cookies that are categorized as necessary are stored on your browser as they are essential for the working of basic functionalities of the website. We also use third-party cookies that help us analyze and understand how you use this website. These cookies will be stored in your browser only with your consent. You also have the option to opt-out of these cookies. But opting out of some of these cookies may affect your browsing experience.
Necessary cookies are absolutely essential for the website to function properly. This category only includes cookies that ensures basic functionalities and security features of the website. These cookies do not store any personal information.
Any cookies that may not be particularly necessary for the website to function and is used specifically to collect user personal data via analytics, ads, other embedded contents are termed as non-necessary cookies. It is mandatory to procure user consent prior to running these cookies on your website.