Bring the winter indoors! Learn how to make these beautiful winter Curled Paper Snowflakes this winter season.
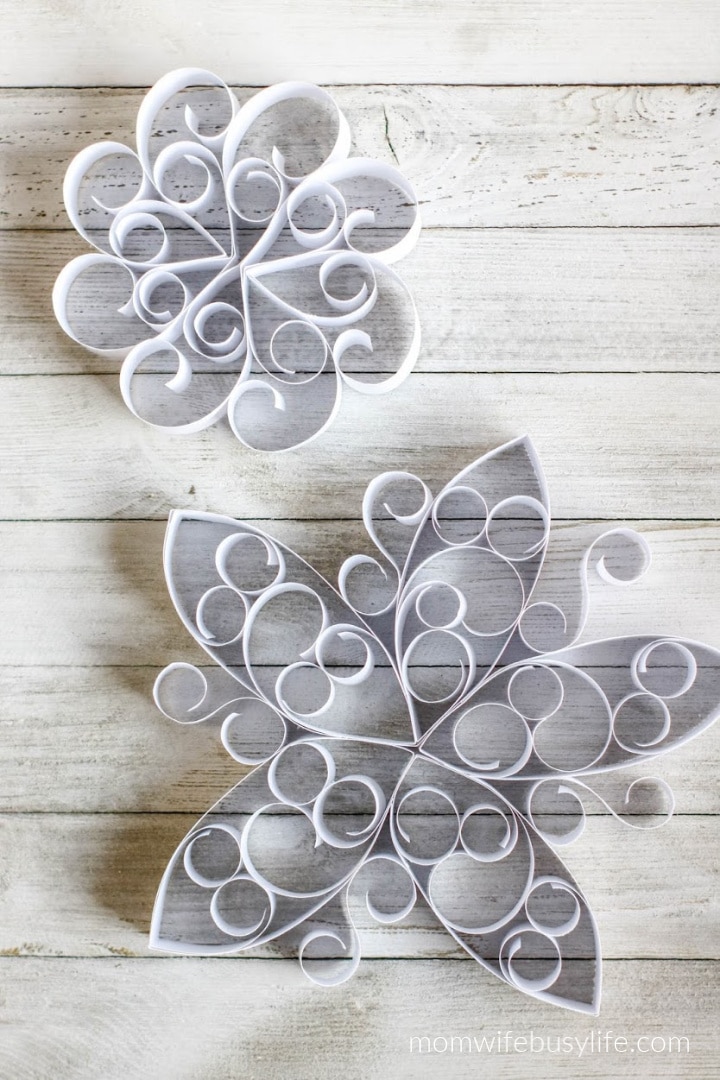
We have snow in the forecast for the next week!
I wasn’t sure that we would get snow this year here in the Pacific Northwest, but it looks like there’s a great chance of it coming soon.
It’s time to get out the snow gear (again!)
Just over Christmas break, we took a trip to the mountains to find snow and we packed anything and everything snow gear related and we did get to spend plenty of time in the snow!
Snowflake Activities for Preschoolers
Snow is exciting during the winter time and many people find themselves wanting to experience a snow day at least once a year!
I know that personally, I like a day of snow. I encourage the kids to get outside and play in the snow while it lasts.
Anything over a day and I’m ready for it all to melt and get back to life again.
Last year, we had an entire week off of school due to snow.
As a mom, you may understand what it’s like to have the kids stuck at home for an entire week due to snow!
Snowflake Popsicle Stick Craft
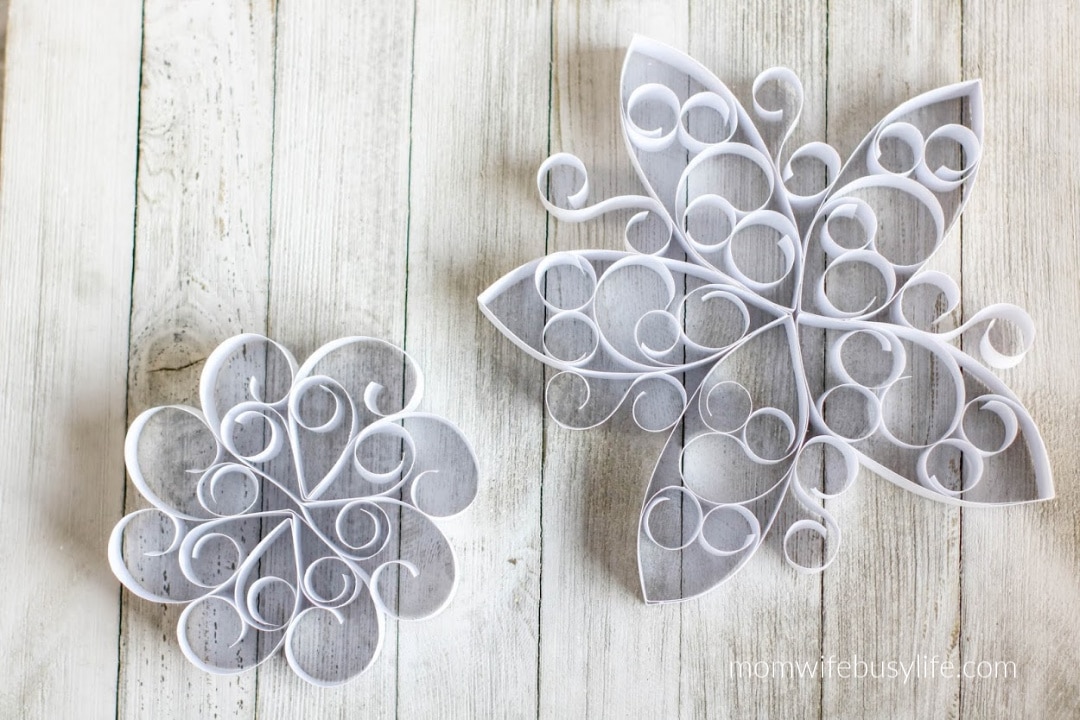
This year, whether you see snow or not, bring the snow indoors with these cute Curled Paper Snowflakes!
This is a great craft for kids and adults to work on together! Display these snowflakes in your home during the winter season.
Winter Curled Paper Snowflakes
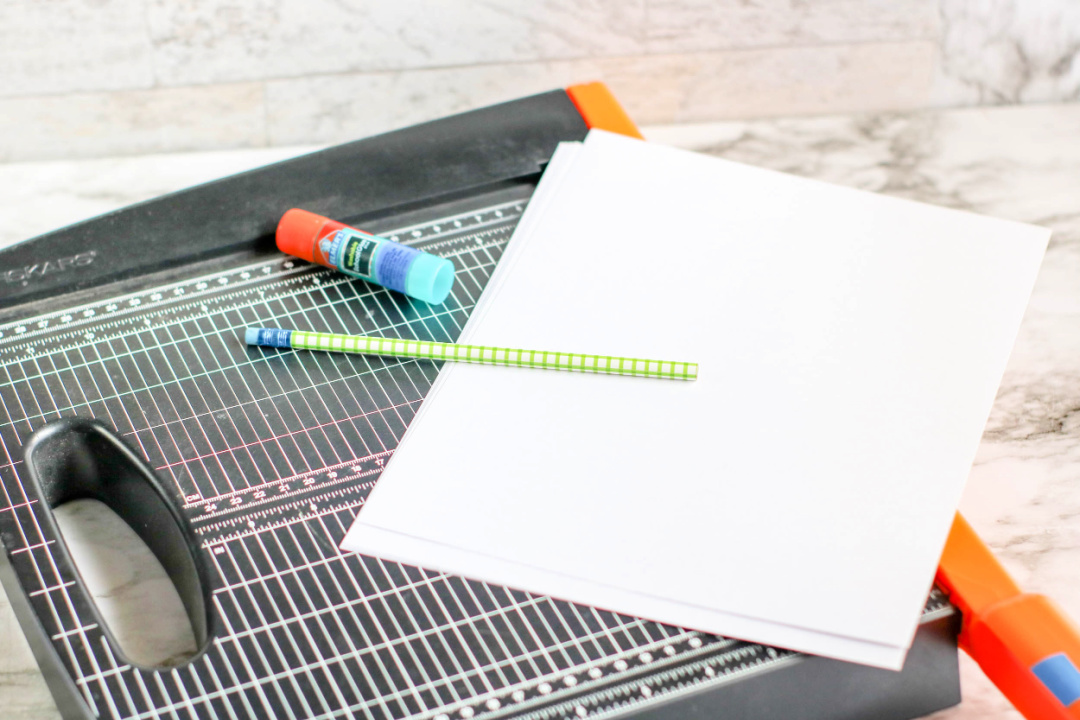
Supplies:
- white cardstock paper
- Guillotine cutting board or ruler
- scissors
- unsharpened pencil
- glue stick
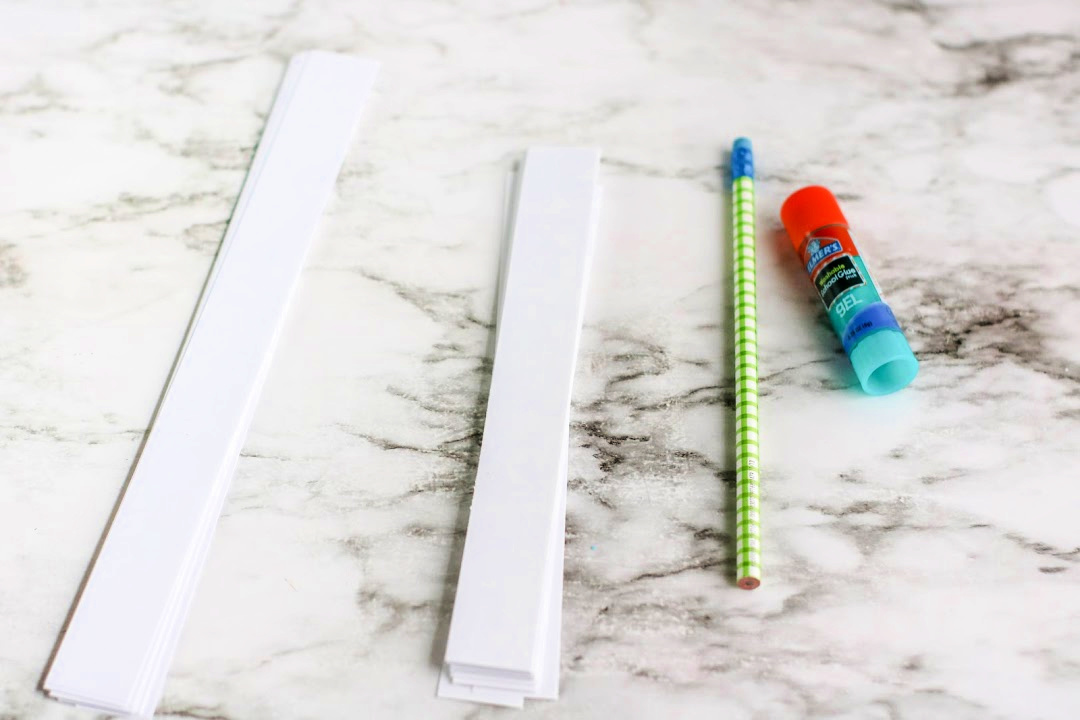
Directions:
Cut paper into ½ to 1 inch strips, depending on how thick you want each snowflake.
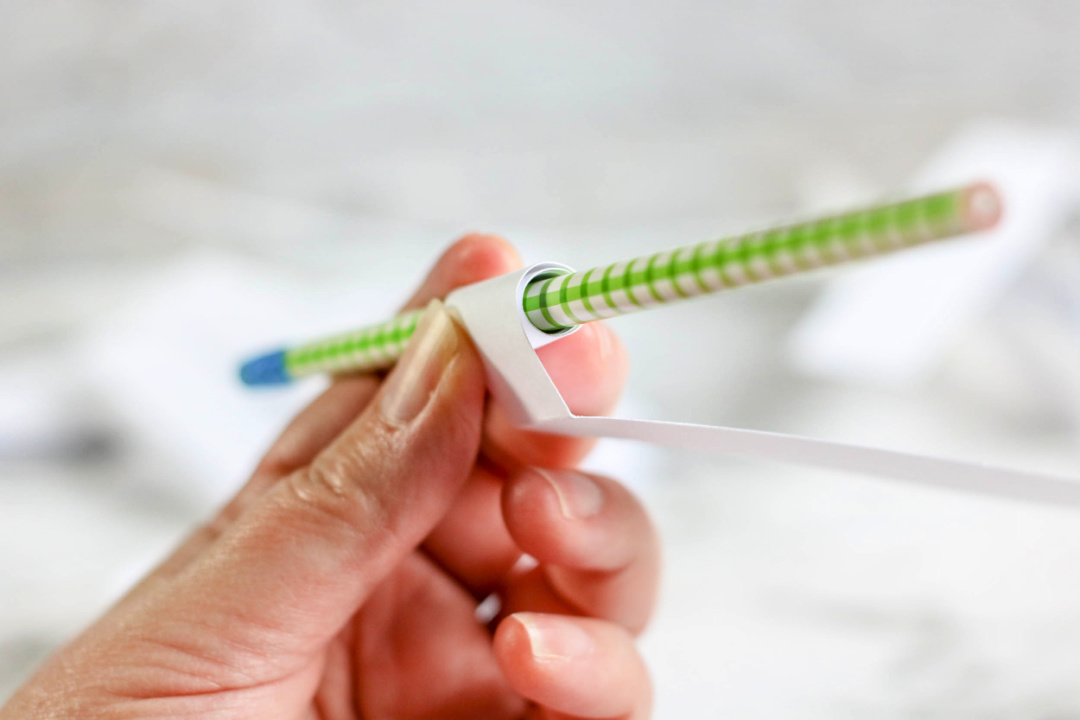
Wrap the paper strips around a pencil to create the curls.
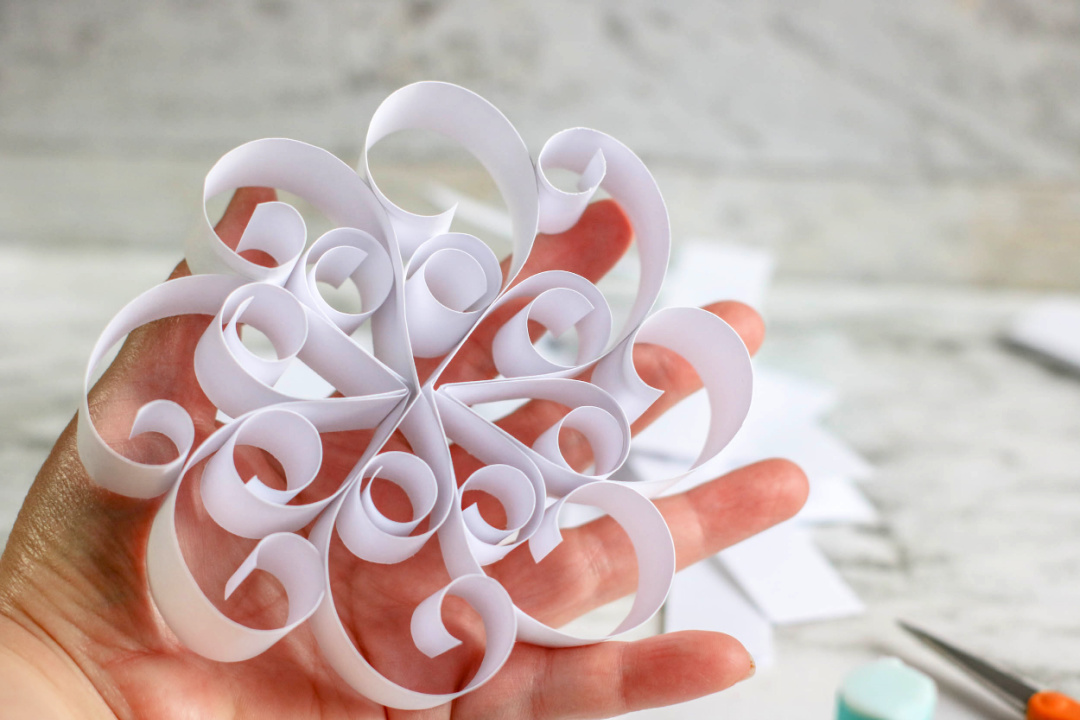
Create a snowflake shape by gluing the pieces of paper together.
Tips:
- Remember that snowflakes are symmetrical. (Makes a great challenge for older kids.)
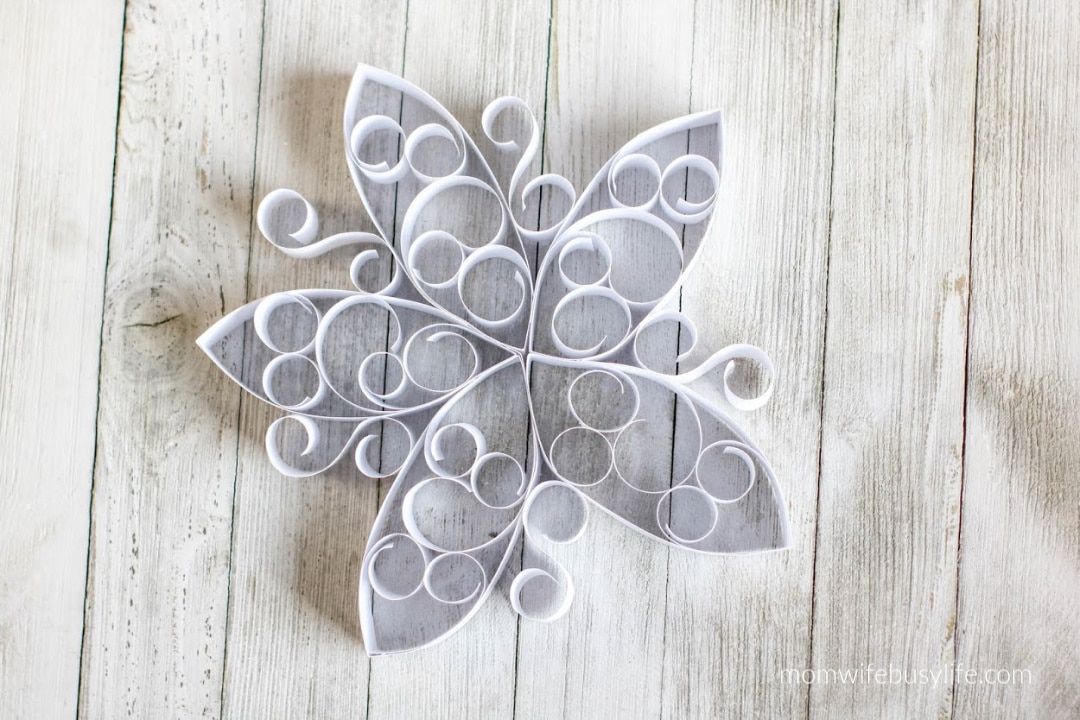
- To create pointed tips on the snowflakes, Fold strips of paper in half and use the fold as the point.
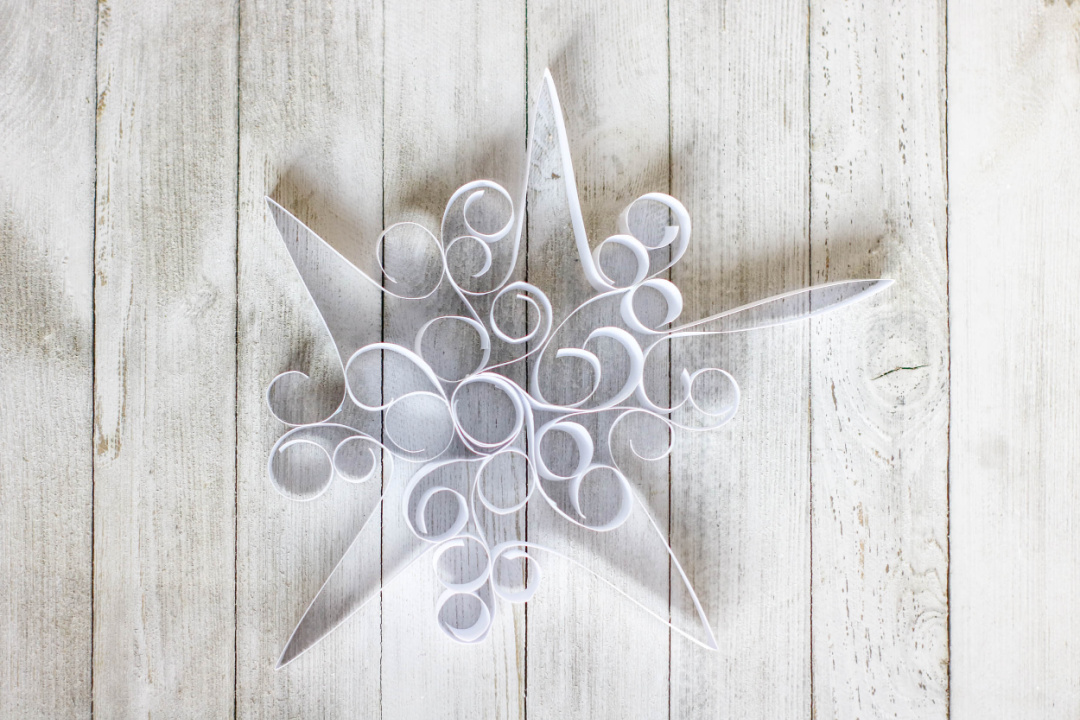
- Make the snowflakes as simple or as elaborate as desired.
- Hang the snowflakes as decorations using thin thread or fishing line.
Winter Curled Paper Snowflakes

Materials
- Paper (I used cardstock.)
- Guillotine cutting board or ruler
- Scissors
- Unsharpened pencil
- Gluestick
Instructions
Cut paper into ½ to 1 inch strips, depending on how thick you want each snowflake.
Wrap the paper strips around a pencil to create the curls.
Create a snowflake shape by gluing the pieces of paper together.
Tips:
Remember that snowflakes are symmetrical. (Makes a great challenge for older kids.)
To create pointed tips on the snowflakes, Fold strips of paper in half and use the fold as the point.
Make the snowflakes as simple or as elaborate as desired.
Hang the snowflakes as decorations using thin thread or fishing line.
Frequently Asked Questions: Curled Paper Snowflakes Craft
What type of paper works best for making curled paper snowflakes?
Cardstock is ideal because it’s sturdy enough to hold the curls and maintain the snowflake’s shape. However, regular paper can also be used, especially for younger kids who might find it easier to handle.
Can I use something other than a guillotine cutting board or ruler for cutting the paper?
While a guillotine cutting board or ruler ensures straight cuts, you can also freehand with scissors. The key is to get strips of roughly the same width, but they don’t have to be perfect.
My child is having trouble wrapping the paper strips. Any tips?
Try using an unsharpened pencil as a guide. The pencil makes it easier to wrap the paper evenly and creates consistent curls. For smaller hands, a thinner object like a chopstick might work better.
How can I make the snowflakes stick together securely?
A good glue stick should do the trick. Make sure to apply enough glue at the ends of each strip where they connect. Press firmly and hold for a few seconds to ensure a strong bond.
Are there any variations for older kids to keep them engaged?
Challenge older kids to create symmetrical snowflakes or to experiment with different strip lengths and widths. They can also try creating pointed tips by folding strips of paper in half and using the fold as the point.
I’m not very crafty. How simple can these snowflakes be?
They can be as simple as you like! Even just gluing a few curled strips together can make a beautiful snowflake. Start with basic shapes and as you get more comfortable, you can add more strips and details.
What’s the best way to display these snowflakes?
Hanging them is a popular choice. Use thin thread or fishing line to suspend them from the ceiling, in windows, or on a Christmas tree. You can also stick them directly onto walls or windows with a bit of tape.
Is this craft suitable for a group activity, like a classroom or playgroup?
It’s a great group activity because it’s adaptable to different skill levels and everyone can work at their own pace. Plus, it requires minimal and inexpensive materials.
How do I store these snowflakes for next year?
Lay them flat in a box, separating layers with tissue paper to prevent sticking. Store in a cool, dry place. Since they’re made of paper, keep them away from moisture and direct sunlight.
Any other creative uses for these snowflakes?
Beyond decorations, they can be used as gift toppers, greeting card embellishments, or even as part of a winter-themed mobile for a child’s room. Get creative!
[…] just paper, glue, and scissors you can create a winter wonderland of Curled Paper Snowflakes to decorate the whole […]